
 admin
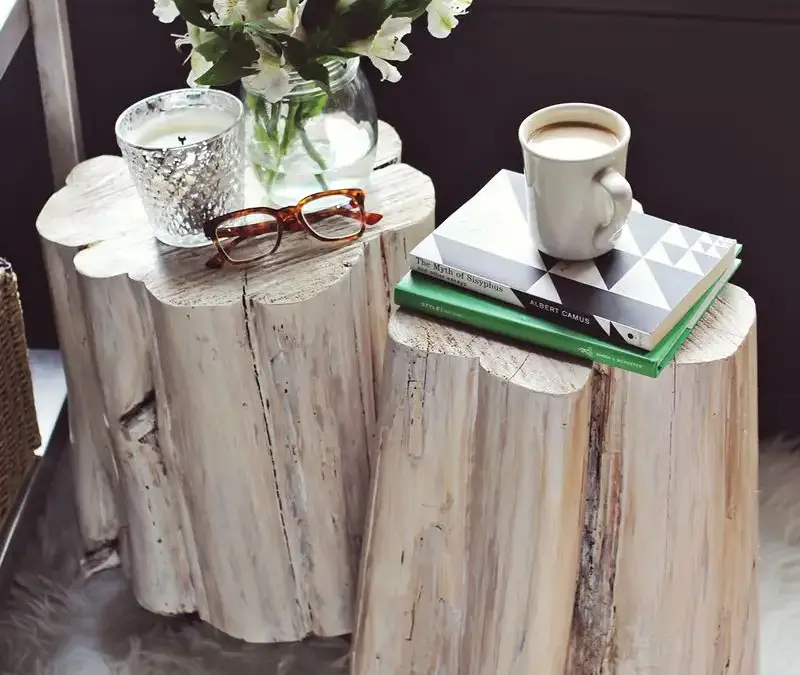
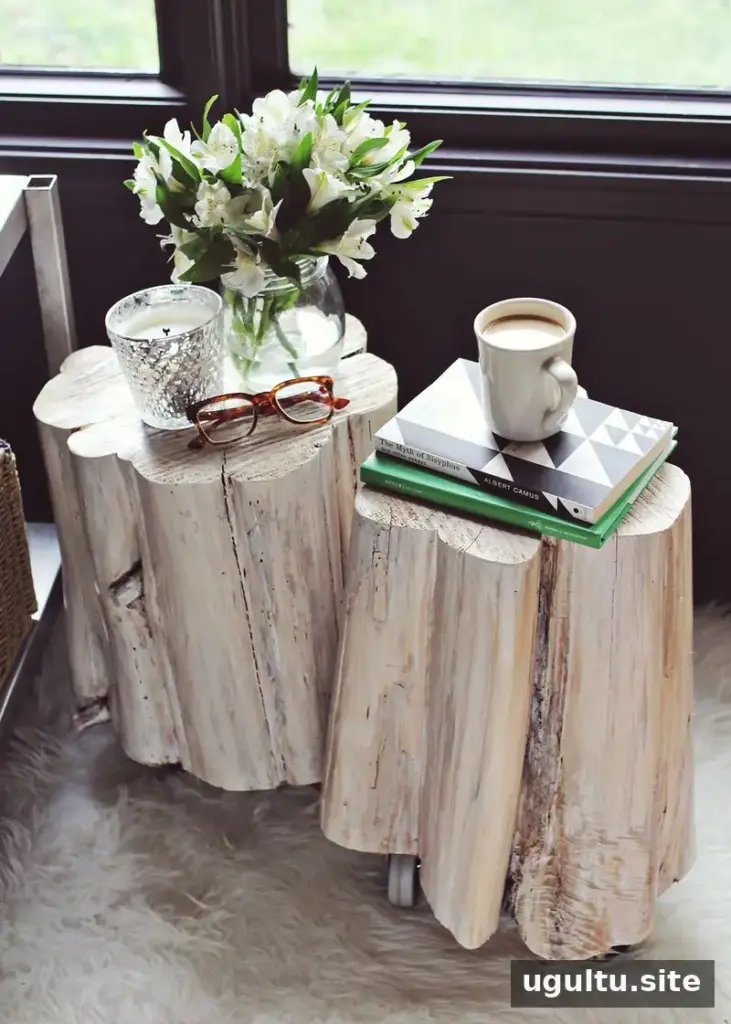
DIY tree stump side tables bring natural wood grain and a distinctive shape into a living space. With a dry stump, a little preparation, and a protective finish, you can turn a piece of wood into a useful side table while keeping its organic character.
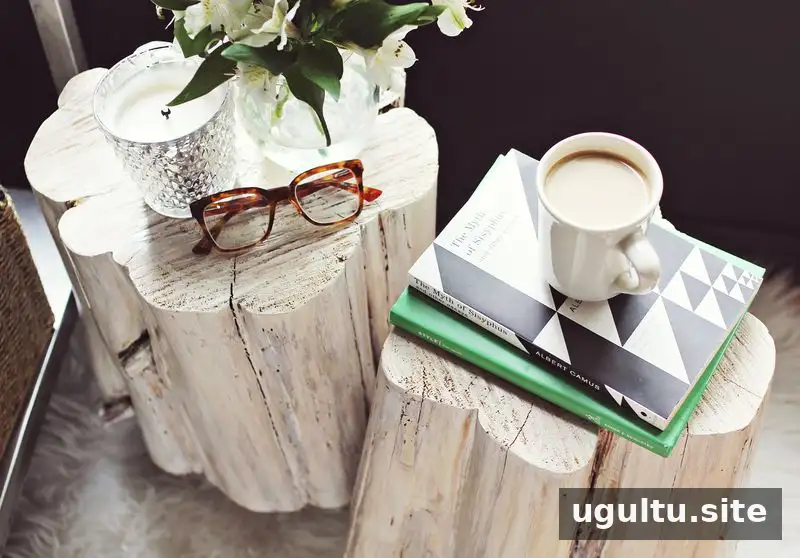
Tree stumps can be painted, partly painted, or stained to show off the grain. Before choosing a finish, consider the wood’s natural pattern and the style of the room. Stain is a good option when preserving the visible grain is a priority.
DIY Tree Stump Side Tables: Find and Dry the Wood
Start by locating suitable stumps. They may be available from landowners, through local listings, or from people who have recently had trees removed. Choose the driest pieces you can find. Wood that remains wet may rot, making it unsuitable for furniture.
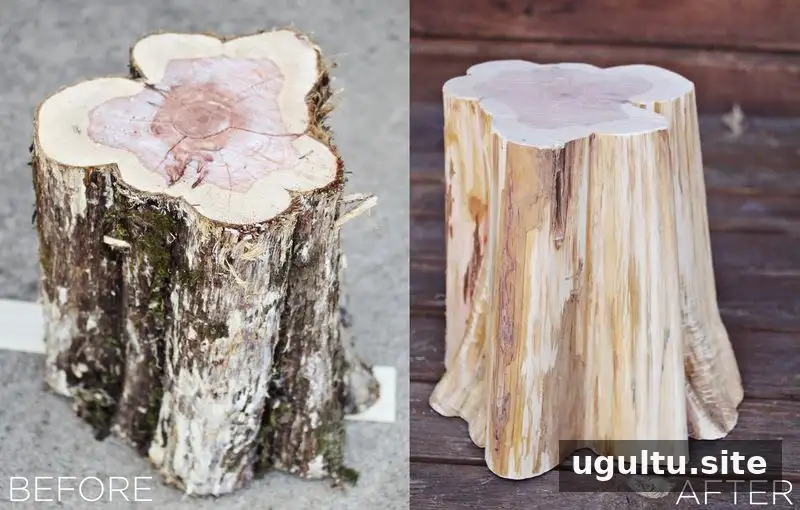
Freshly cut or damp stumps need time to dry. Raise each stump slightly so air can circulate around it, then leave it in a dry, sheltered place such as a garage or attic. Allowing a couple of months for drying is one approach, but conditions and the stump itself can affect how long the process takes. Check that the wood is dry before moving on.
Remove the Bark and Smooth the Surface
Once the stump is dry, the bark is generally easier to remove. Carefully work a chisel or flat-head screwdriver between the bark and the wood, using a hammer or mallet to loosen it. Remove as much bark as possible; small remnants can be addressed during sanding.
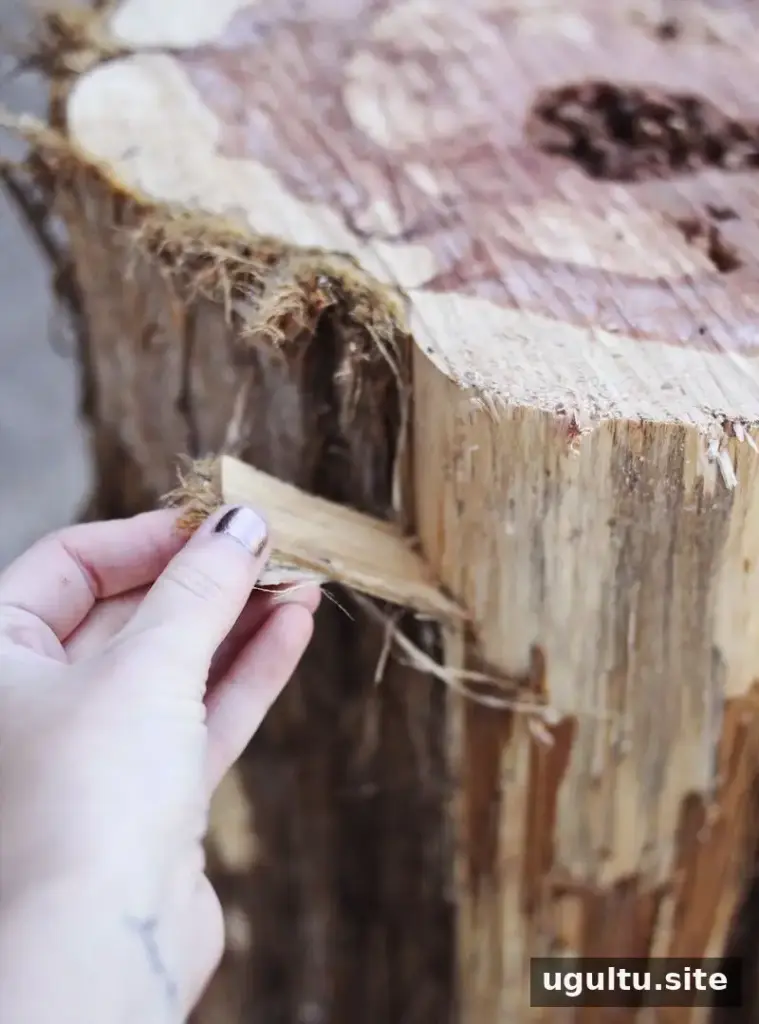
Use a hand sander or belt sander to remove leftover bark and smooth the surface. Wear appropriate eye and dust protection, and work gradually to avoid removing more wood than intended. A smooth surface also helps the stain and clear finish look more even.
Fill Cracks and Apply a Finish
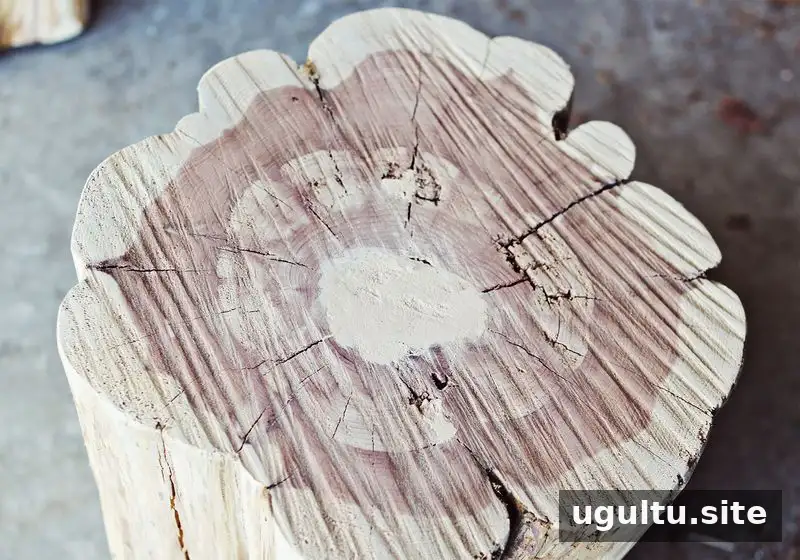
Fill larger cracks or holes with wood filler, especially where an uneven opening could affect the tabletop’s usability. Follow the product label for drying time, then sand the filler until it sits flush with the surrounding wood.
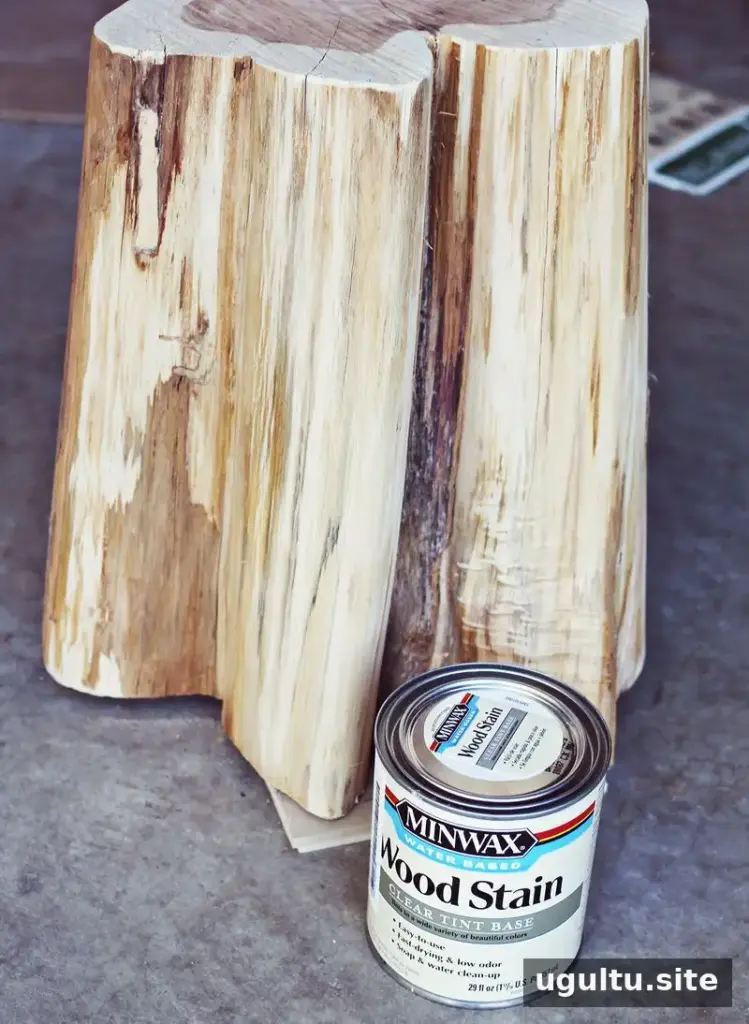
Choose paint or stain according to the look you want. Tintable wood stain is available in a range of colors, including white. Follow the can’s directions for application and drying times. A coat of glossy polyurethane can be added over the stain for a protective finish; check its label for application and curing instructions before placing items on the table.
Add Casters and Check Stability
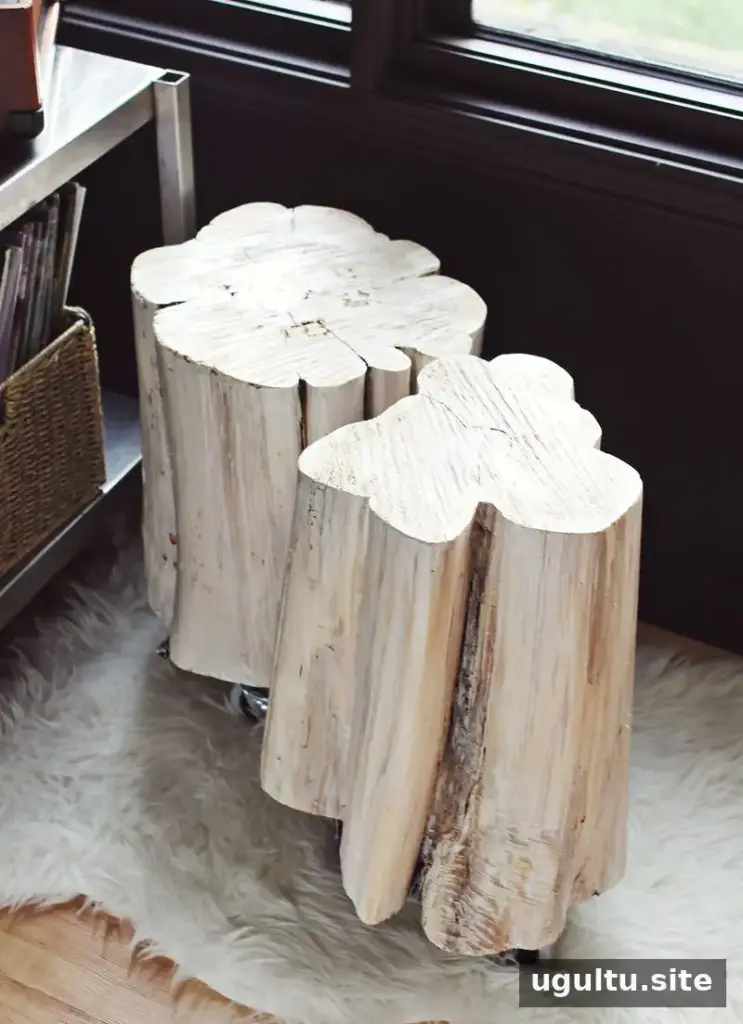
Casters can make a stump table easier to move. Attach them to the bottom of the stump, and use washers if needed to help compensate for an uneven area. If the base needs to sit especially level, smooth it with a planer before installing the casters or other legs. Check that the finished table is stable before setting drinks or other objects on it.
Enjoy Your DIY Tree Stump Side Tables
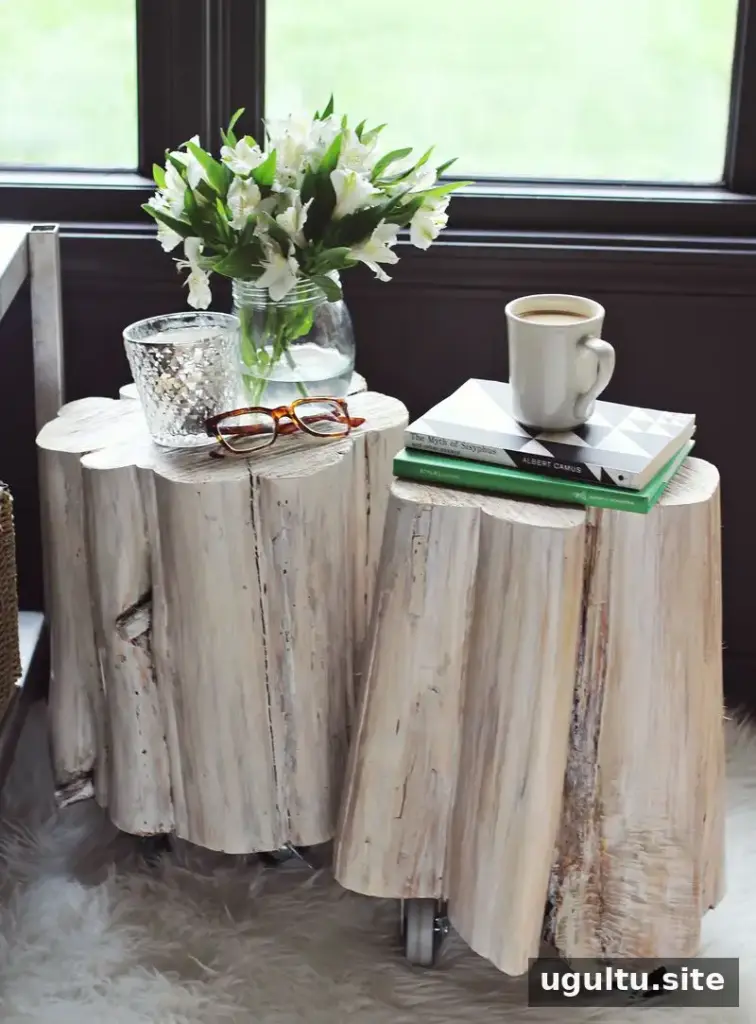
The finished tables keep the natural shape and grain of the wood while adding a practical surface to a room. For the best result, take time to dry the stump fully, sand it carefully, and let each finish dry according to its instructions. These simple steps help DIY tree stump side tables look polished and remain useful.
— Emma


