
 admin


A DIY upholstered waterfall bench can add comfortable seating and a clean, continuous profile to an entryway, bedroom, or living room. This project uses a simple wooden frame, foam, and heavyweight upholstery fabric. The instructions below make a bench about 55 inches long and explain how to assemble the frame, upholster the top and legs, and finish the feet.

Materials and tools for a DIY upholstered waterfall bench
Gather the following supplies before starting. If you prefer a shorter bench, adjust the length of the boards and fabric to suit your space.
- Two 2x8x7 boards; poplar was used for the original project
- 3-inch construction screws; 12 were used
- Wood glue
- 2 1/2 yards of heavyweight upholstery fabric
- 2 1/3 yards of 16-inch-wide, 2-inch-thick foam
- 3/8-inch T50 staples
- Chipboard tack strip and metal tack strip
- Six furniture glides
- Chop saw, two long clamps that span at least 15 inches, carpenter’s square, power drill, staple gun, electric carving knife, and rubber mallet
Tool alternatives
If you do not have a chop saw, ask a lumber yard or hardware store whether it can cut the boards for you. Long clamps help hold glued pieces securely; if you do not have them, tightly stretched duct tape can temporarily hold the joints while the glue dries. Use eye protection when cutting or drilling, and follow the safety instructions for each tool.
Build the wooden bench frame
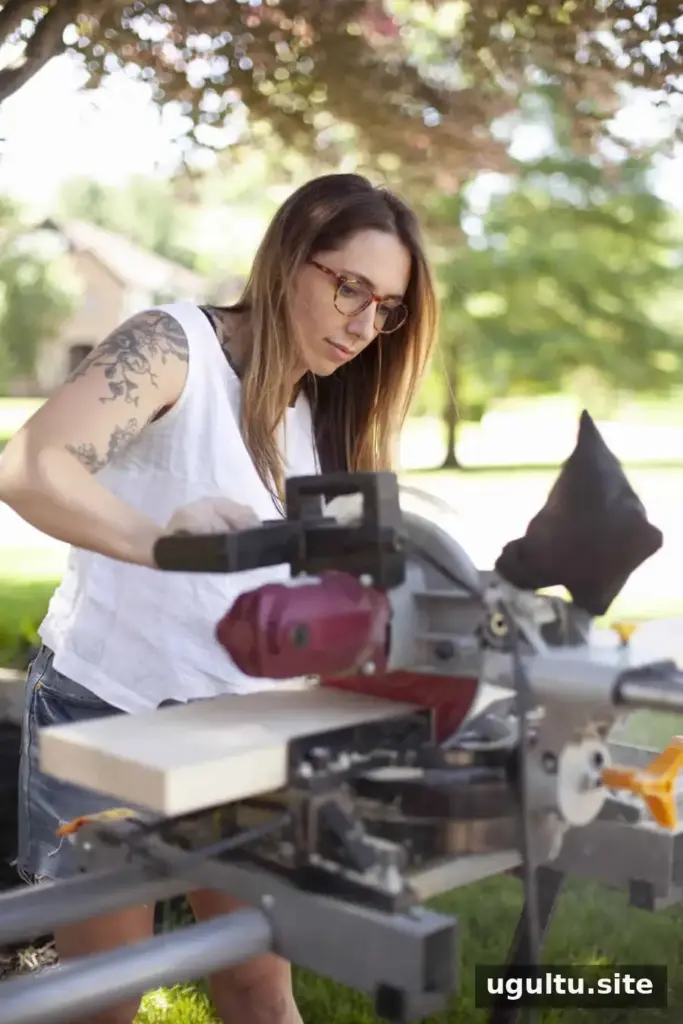
Step 1: Cut the boards. For a 55-inch bench, cut each 2×8 board into two 13.5-inch pieces and one 55-inch piece. Together, the two boards will provide four short pieces for the legs and two long pieces for the seat.
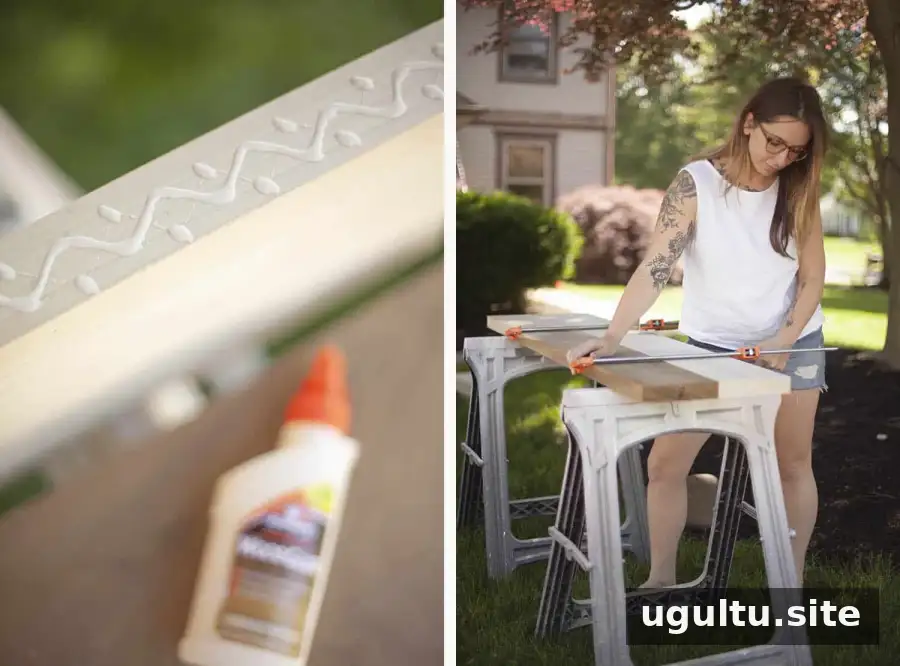
Step 2: Glue the boards edge to edge. Each board is about 7.5 inches wide. Apply wood glue to the edge of one 13.5-inch piece and clamp it to a matching piece. Repeat with the other pair of short boards and the two 55-inch boards. The resulting pieces should measure approximately 14.5 inches wide. Leave the clamps in place for at least 10 minutes, and wipe away glue squeeze-out before it dries.
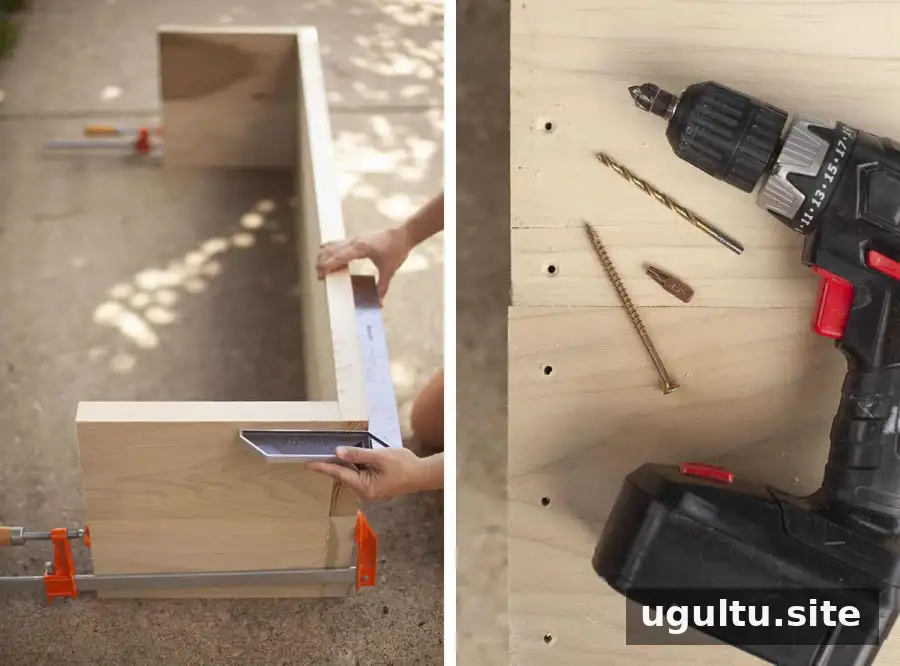
Step 3: Attach the legs to the top. Glue the tops of the two leg assemblies and position them beneath the long bench top. Clamp the joints, then check that each leg is square to the top with a carpenter’s square.
Step 4: Drill and countersink. Keep the legs clamped for about 10 minutes. Drill pilot holes and countersink them so the screw heads will sit below the wood surface. The holes can be drilled while the frame is clamped or after removing the clamps. Drive the screws before the glue has fully cured.
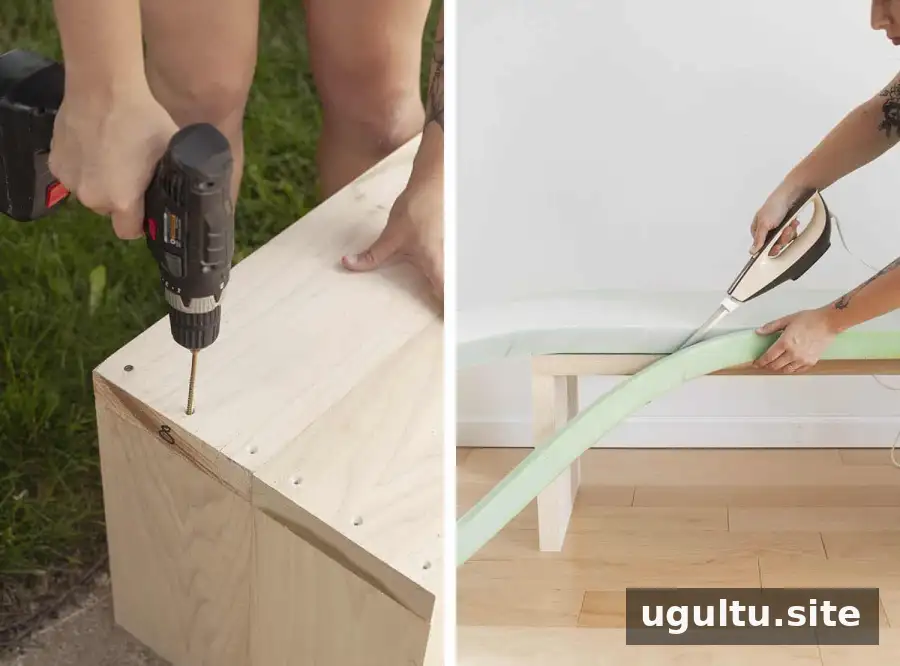
Step 5: Secure the frame. Install the screws while the glue is still workable. Check that none of the screw heads protrude above the bench top. If a screw sits proud, remove it and deepen the countersink before reinstalling.
Upholster the bench
Step 6: Trim the foam. Lay the foam over the wooden top and cut it to fit the bench’s length and width. An electric carving knife can help create an even edge. Keep the blade clear of the wood as you trim.
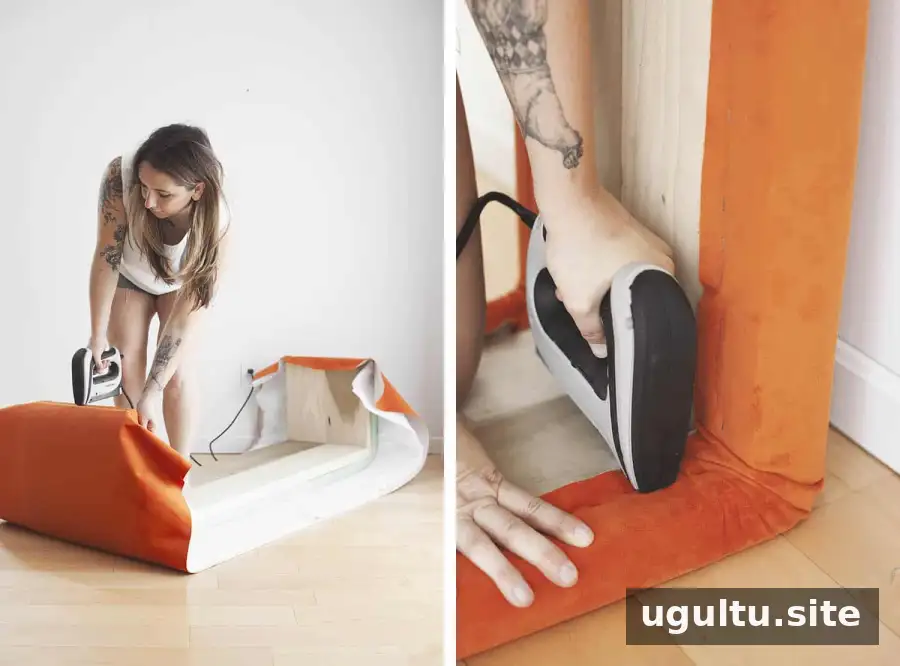
Step 7: Cover the top and sides. Cut a 30-inch-wide strip of upholstery fabric. Start by stapling it to the underside of one leg, then pull it firmly across the bench and attach it to the other side. Continue stapling around the underside, keeping the fabric evenly tensioned. The bench can be turned upside down to help compress the foam while you work. Fold the fabric neatly at the corners. A layer of quilt batting between the foam and fabric is optional when using heavyweight fabric.
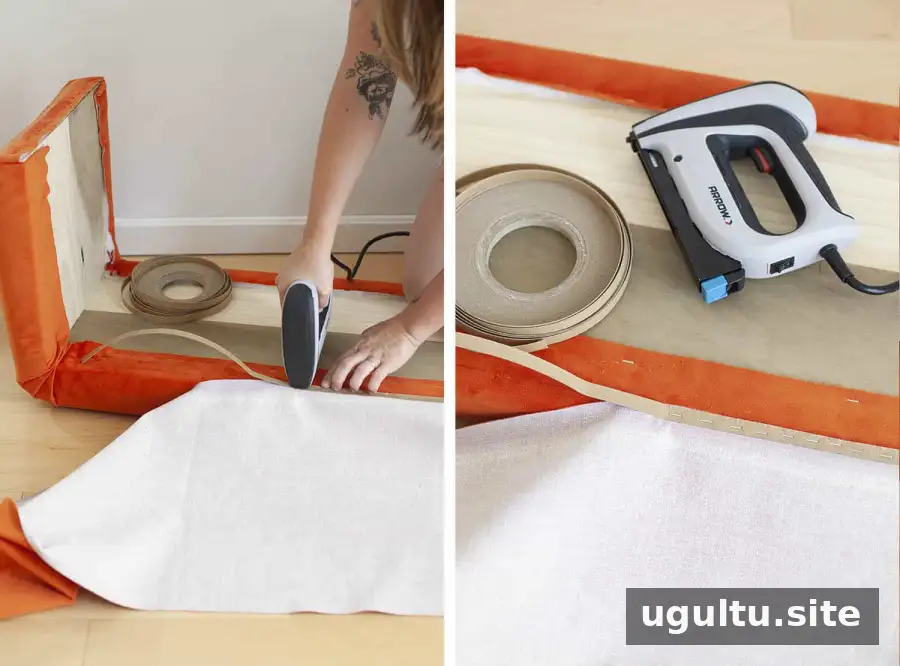
Step 8: Prepare the underside edge. Cut a 16-inch-wide fabric strip for the underside. Place it face down and staple chipboard upholstery tack strip close to the bench edge along the middle section, leaving the legs for later. The tack strip helps create a clean, straight edge.
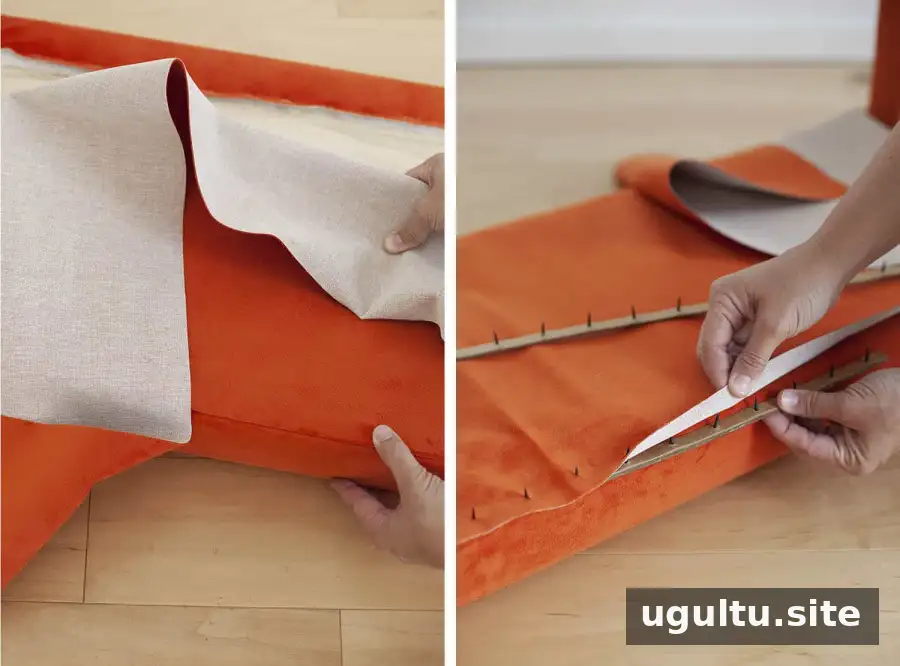
Step 9: Position the tack strip. Turn the fabric so its finished side faces up. Place the metal or spiked tack strip through the fabric that extends slightly beyond the bench edge. Keep the fabric taut as you work; slack can lead to visible wrinkles.
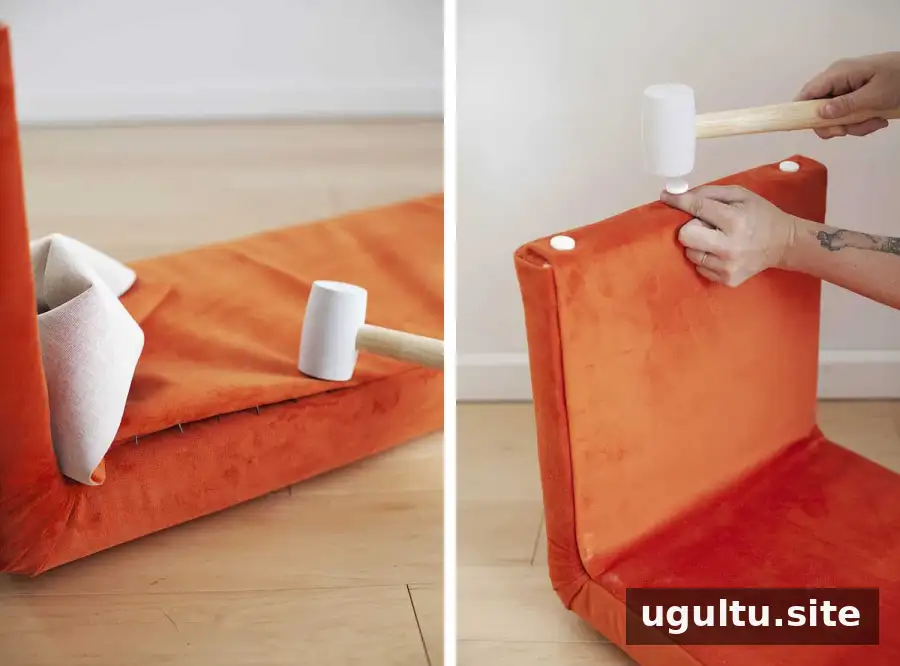
Step 10: Secure the strip. Fold the tack strip underneath and gently tap along it with a rubber mallet until the spikes are secured in the wood. Repeat steps 8 through 10 on the legs. At the feet, use another spiked tack strip to tuck in the raw fabric edges.
Step 11: Add furniture glides. Attach the plastic glides to the feet. Six glides were used for this bench, with three on each side.

Finishing tips and ways to use the bench
Before calling the project finished, inspect the upholstery for loose areas and uneven folds. If you notice wrinkles near a tack strip, the fabric may need to be pulled tighter before the strip is secured. Take care not to over-tighten in one area, as this can distort the fabric elsewhere.
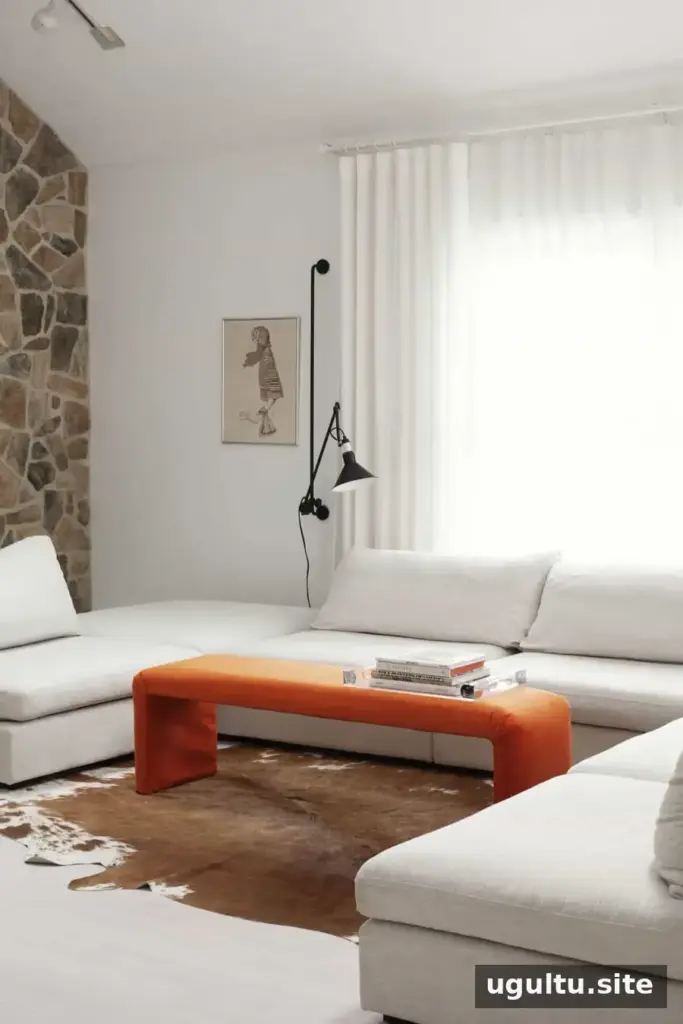
A finished DIY upholstered waterfall bench can serve as an entryway seat, a coffee table, or a place to sit at the foot of a bed. For a smaller room, use shorter boards for the center section; this also reduces the amount of lumber required. Two compact matching benches are another option when a single 55-inch bench will not fit. Choose a durable upholstery fabric suited to how the bench will be used, and measure the available space before cutting the wood. — Mandi


