
 admin
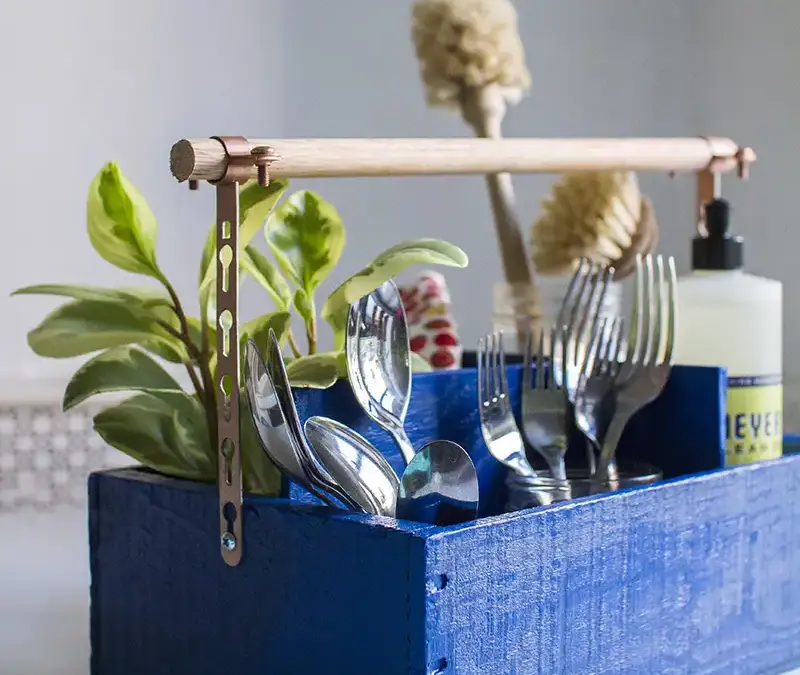
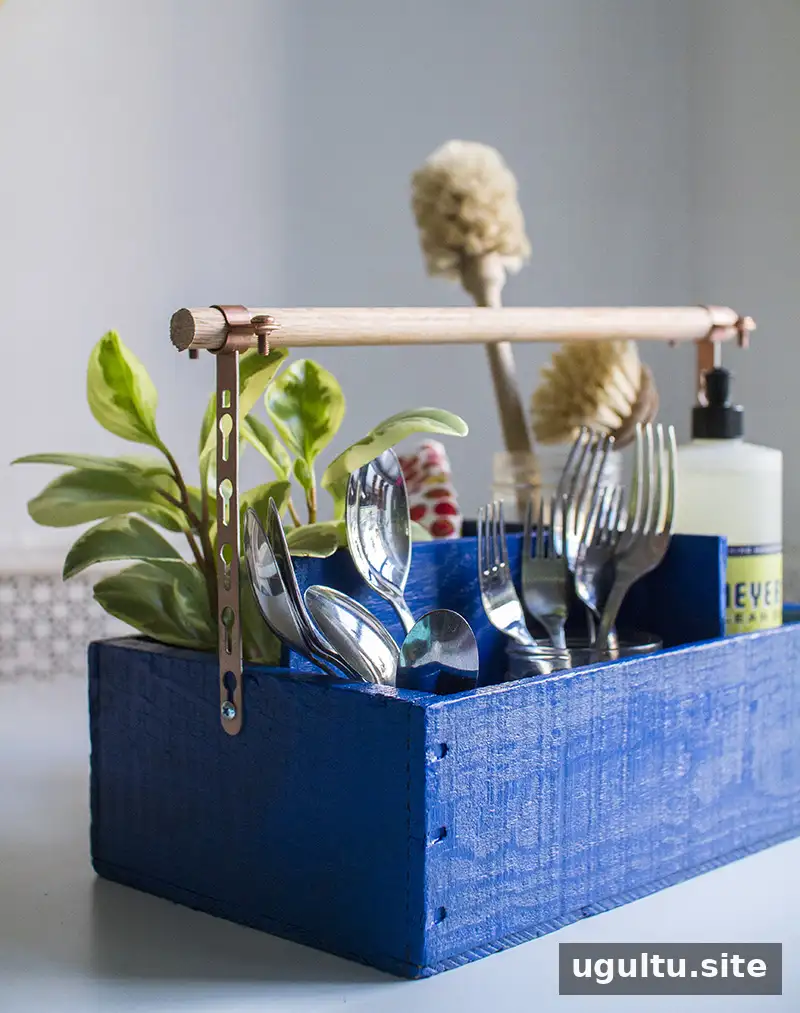
A DIY utensil organizer can add useful storage to a small kitchen while keeping forks, spoons and other everyday items easy to reach. This portable wooden caddy is made from a box, simple dividers and a dowel handle. It can also be adapted for party supplies, craft materials or other small items. The project instructions are by LaTonya.
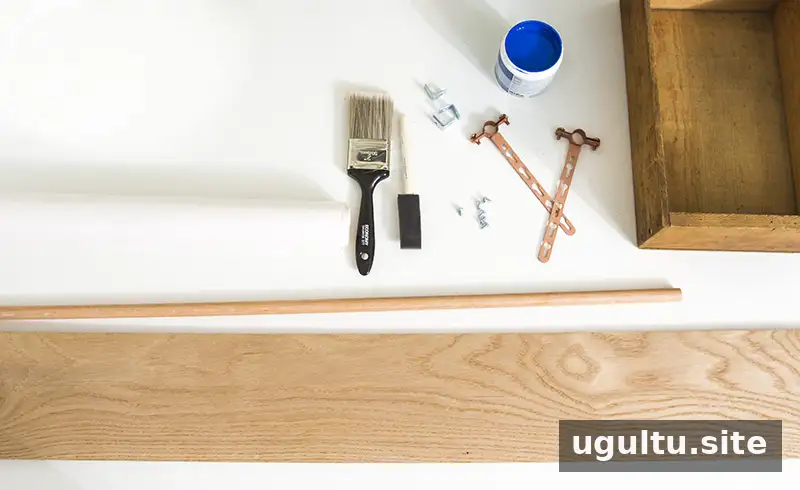
Materials for a DIY Utensil Organizer
The example uses a vintage wooden box measuring 7 1/2 × 12 inches. A similar box can work too; measure yours before cutting or fitting the dividers, since box dimensions determine their size.
- Wooden box
- Wooden dowel
- Two pieces of wood for dividers; use more if you want additional sections
- Paint and paintbrush
- Copper pipe brackets with an 8-inch extension
- Screws
- L brackets, optional, to stabilize the dividers
- Shelf liner
Small Mason jars or fabric baskets can be used inside the finished compartments to hold utensils. Before starting, check that the box is sturdy and that the dividers and handle hardware will fit its dimensions.
How to Make the Wooden Utensil Caddy
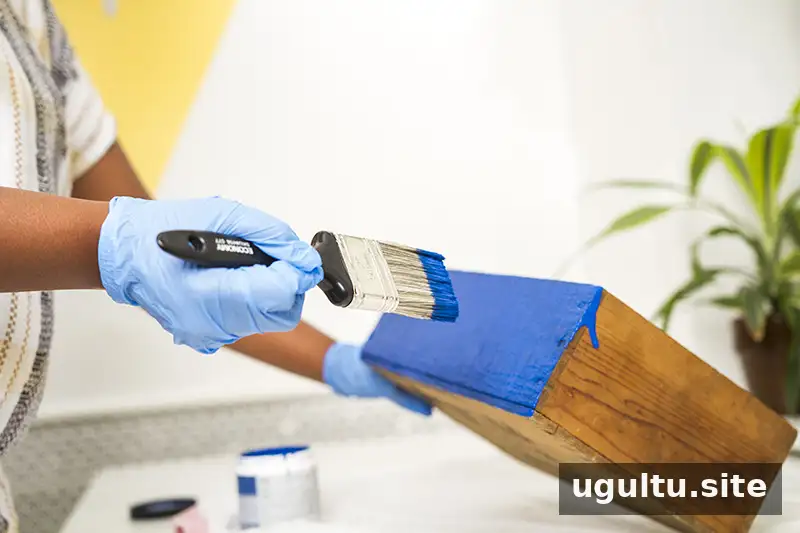
1. Clean and paint the box
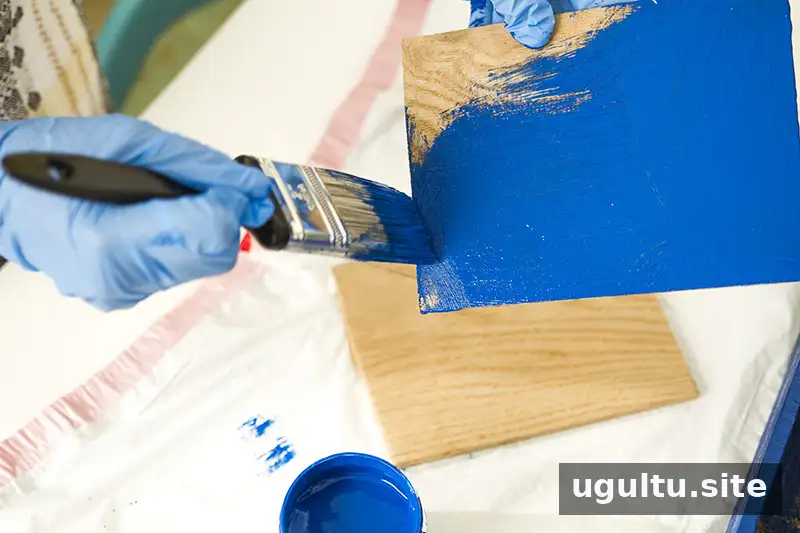
Empty and clean the wooden box, then apply paint. Older wood may need several coats; the original project used three, with a few touch-ups afterward. Let the paint dry fully between coats and before moving on. Very light colors can show marks more readily on older wood, so choose a finish that suits the condition and look of the box.
2. Fit the shelf liner
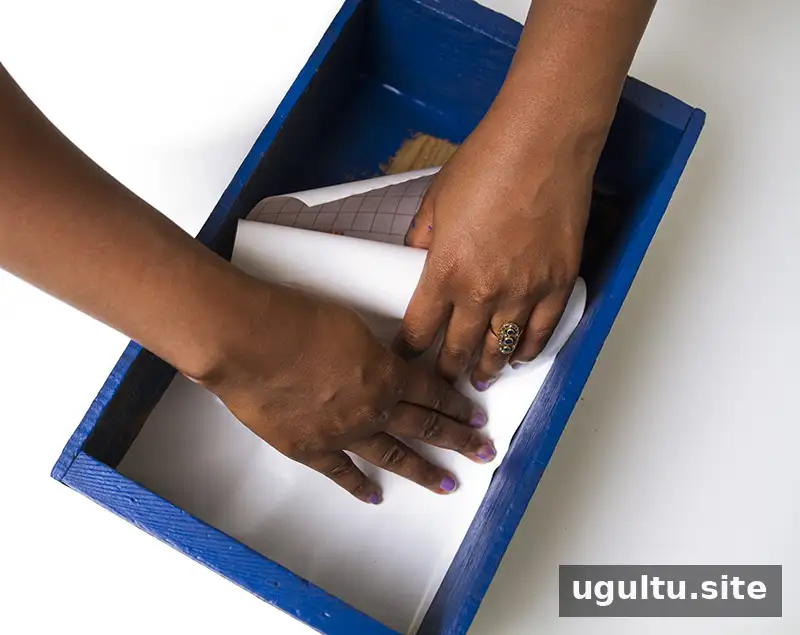
Measure the inside of the box and cut the liner slightly larger than the area it needs to cover. Lay it in place first, then trim the excess along the edges for a close fit. A plain liner keeps the interior simple, while a patterned one can add color. Make sure the liner lies flat so it does not interfere with the dividers or containers.
3. Add the dividers
Paint the divider pieces and allow them to dry. Position the two pieces inside the box in a T shape to create three sections. Divider sizes depend on the box, so check the fit before securing them. L brackets can add stability if the wood does not stay firmly in place; they may not be needed if the dividers already fit securely.
4. Attach the handle brackets
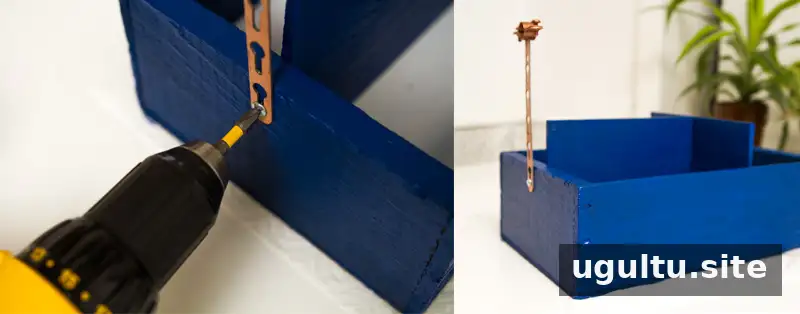
Mark the center positions for the copper pipe brackets on the box. Keeping them aligned helps the dowel sit evenly as a handle. Mark the screw locations before drilling, and use screws that suit the box material and bracket holes. Take care when drilling, and keep the box steady on a stable surface.
5. Fit the dowel
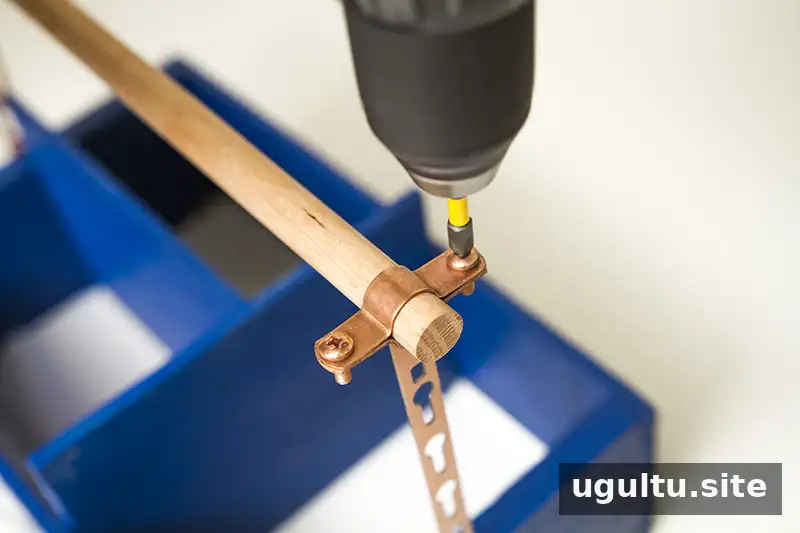
Place the wooden dowel through the two brackets to form the handle. Secure the hardware with the appropriate screws, checking that the dowel is held firmly before lifting the organizer. Test the handle with the empty box first, then add items gradually to confirm that the assembly remains stable.
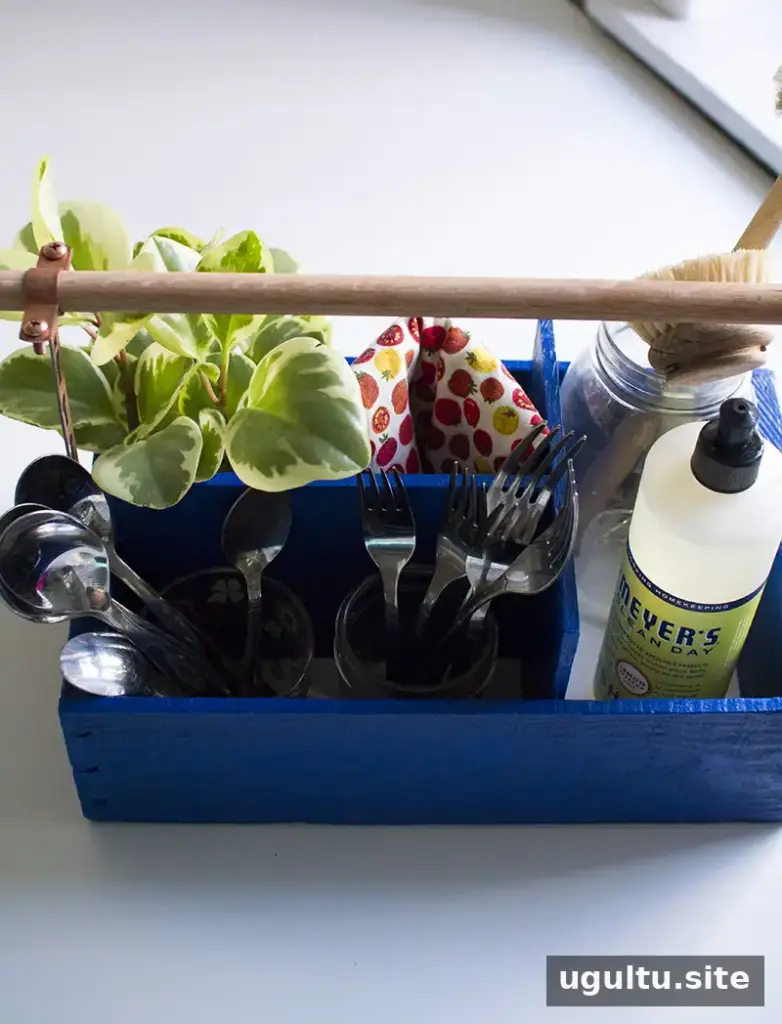
Ways to Use the Finished Organizer
Place Mason jars or small fabric baskets in the sections to keep utensils separated and easy to sort. Choose containers that fit without crowding the box, and avoid overloading the caddy so it remains comfortable to carry.
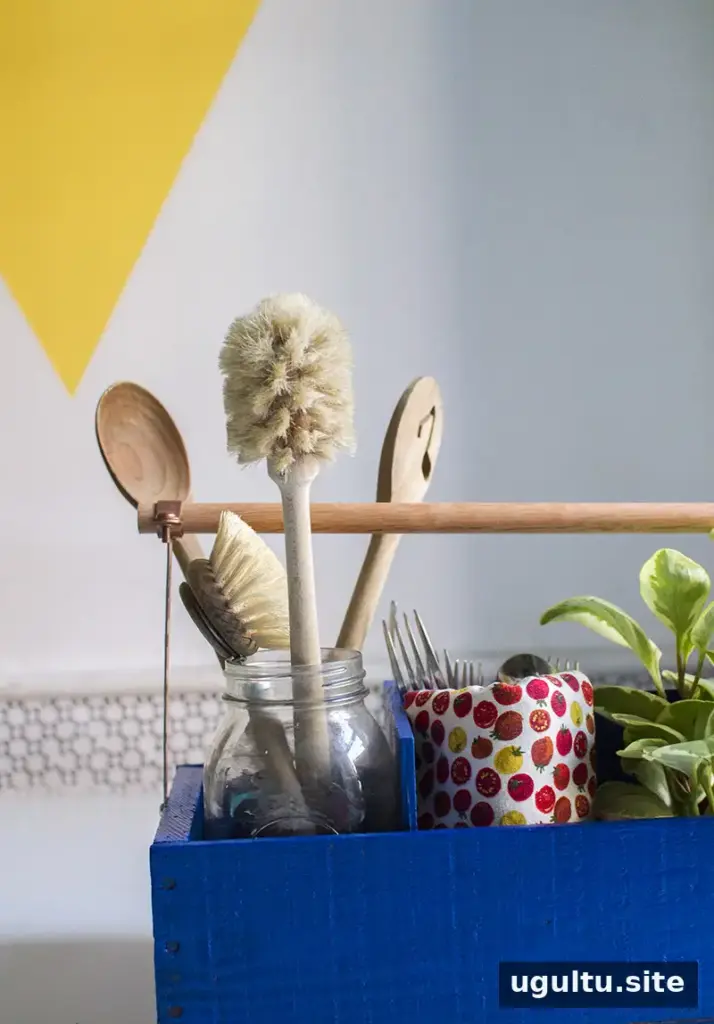
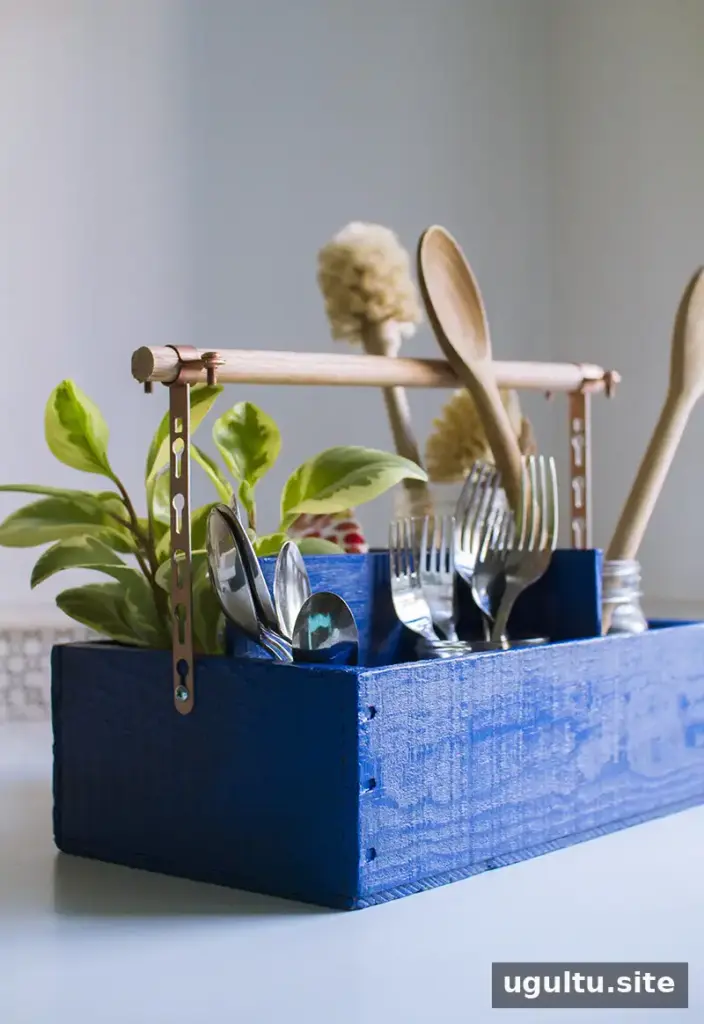
This lightweight, portable caddy can hold cutlery for picnics or parties, or be repurposed to organize craft supplies and small garden items. Keep it on a counter or carry it where needed, and change the containers to suit the contents. With a measured box, secure dividers and a firmly attached handle, a DIY utensil organizer offers flexible storage for compact spaces and beyond.


