
 admin
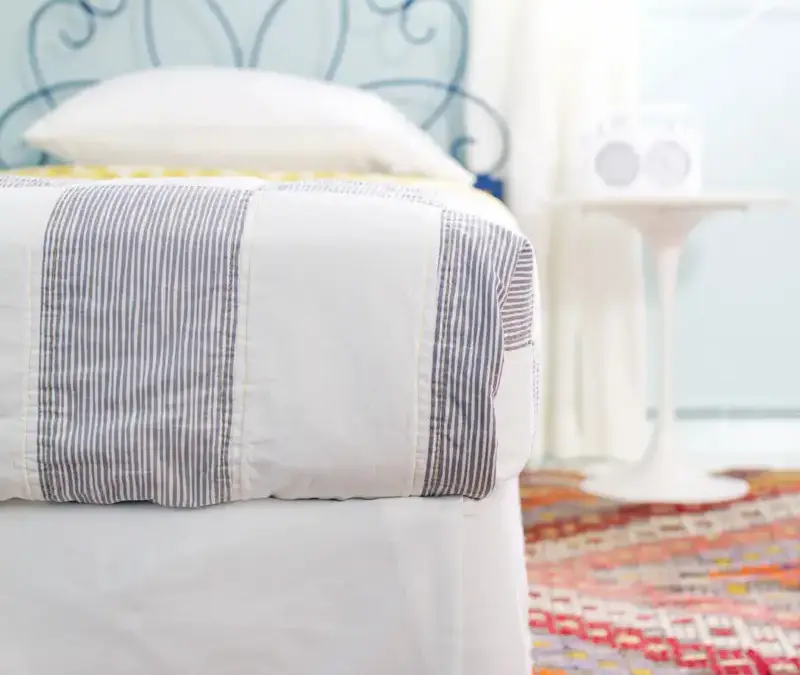
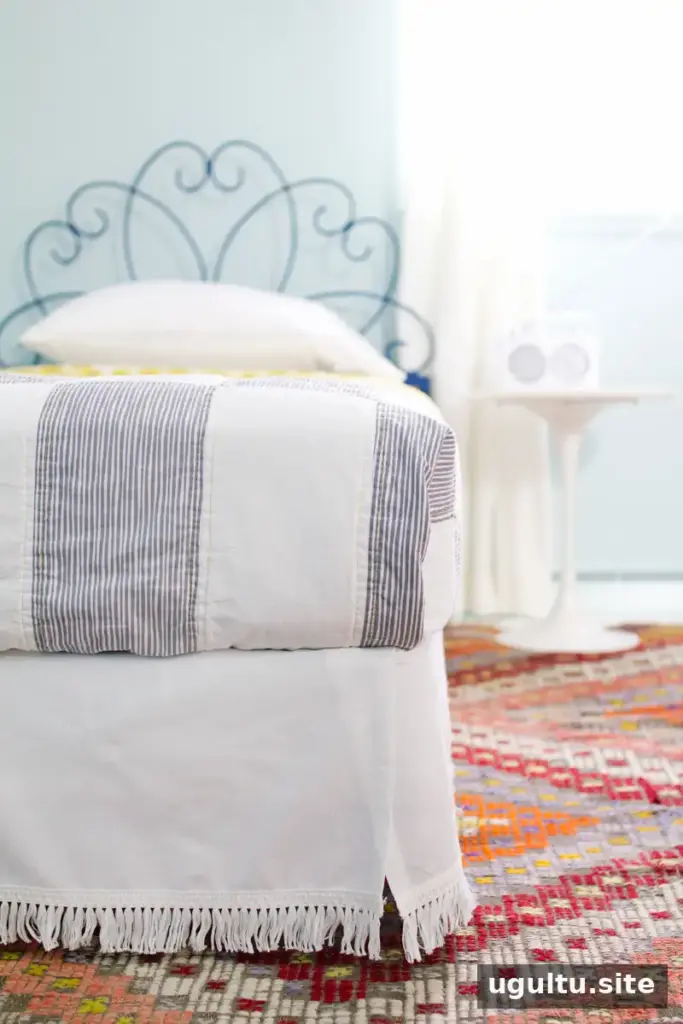
A DIY Velcro bedskirt is a practical way to hide a box spring and bed frame without lifting the mattress each time the skirt needs washing. It is especially useful for vintage headboards, which may be sold without a matching frame, and for beds where a traditional skirt would leave excess fabric resting on top of the box spring. This simple sewing project uses three fabric panels and removable hook-and-loop fasteners. If your bed sits in a corner, you may only need to cover the exposed sides.
Supplies for a DIY Velcro Bedskirt
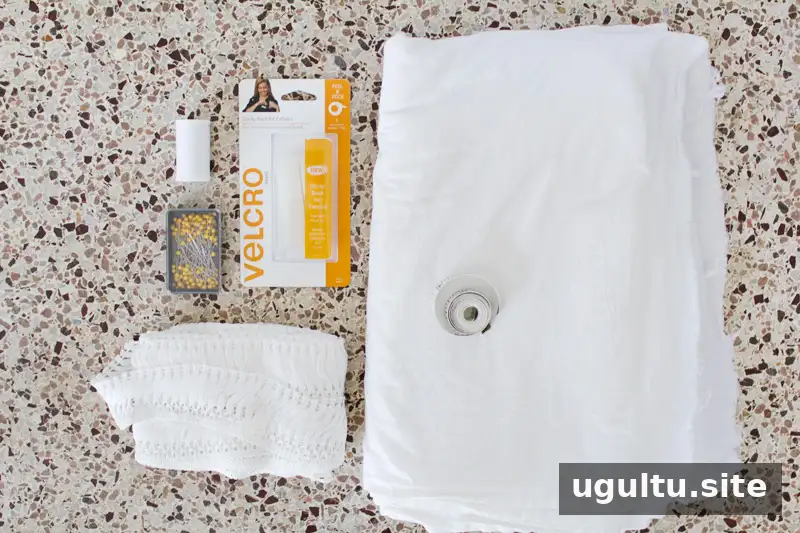
- Muslin fabric; calculate the amount and width using the measurements below
- Fringe trim
- Sticky-back Velcro for fabrics; about 1.5 packs were used for a twin bed
- Straight pins and matching thread
- Tape measure
- Sewing machine, iron, and ironing board
Before buying fabric, measure the bed carefully and check the fastener package instructions. Adhesive strength can vary by surface, so testing a small area of the box spring first can help you confirm that it will hold.
Measure and Cut the Bedskirt Panels
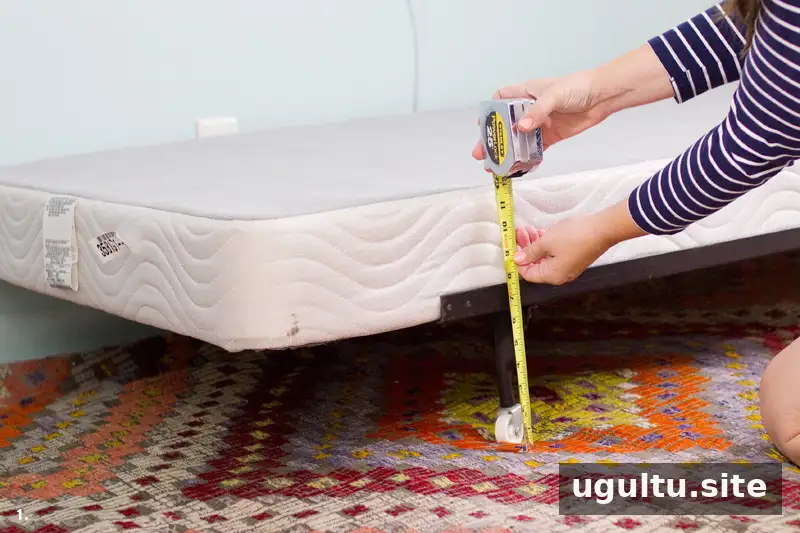
Step 1: Measure the box spring
Measure the length of the bed sides and the distance from the top of the box spring to the floor. Use these calculations to determine the size of each fabric strip:
- Strip length: Length of the bed side + 4 inches for the hem and overlap allowance.
- Strip width: Distance from the top of the box spring to the floor − 2 inches for the hem − your preferred clearance from the floor − any trim overlap.
Multiply the strip width by three to find the minimum fabric width to purchase. In this project, the combined width was 36 inches, which matched a standard muslin width. One length of 36-inch-wide muslin could therefore be cut into three long strips. Add about 1/8 yard to the fabric purchase to allow for shrinkage when prewashing.
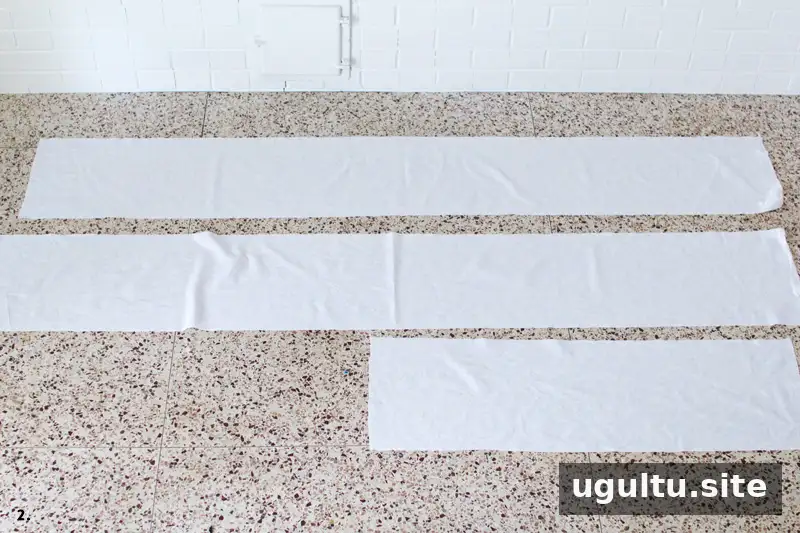
Step 2: Prewash and cut
Wash and dry the fabric before cutting so that later shrinkage is less likely to change the finished fit. Cut three strips using the measurements from Step 1.
Sew the Hems and Add Trim
Step 3: Hem the long edges
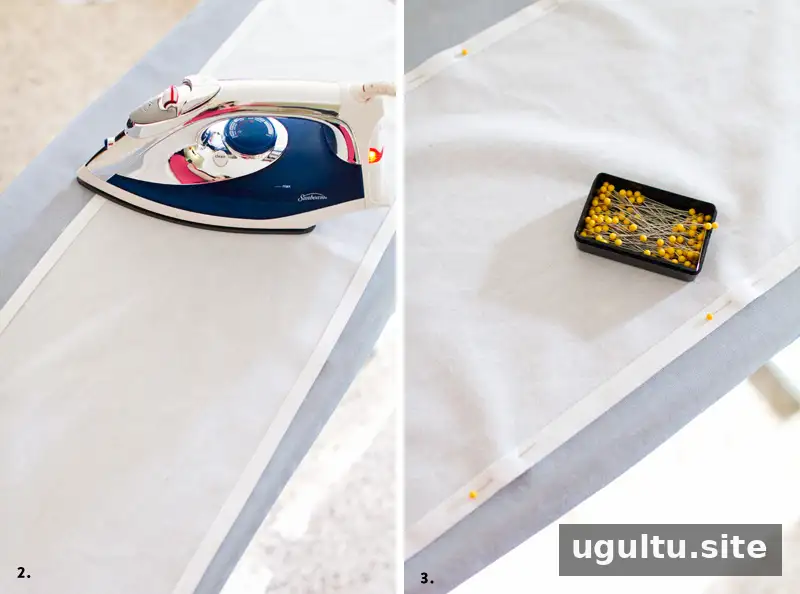
Iron 1/2 inch of fabric along the edges, fold it over another 1/2 inch, and press again to form a neat double-fold hem. Pin the fold and stitch it in place. Pressing before sewing helps keep the hem even and makes the panels easier to handle.
Step 4: Finish the ends
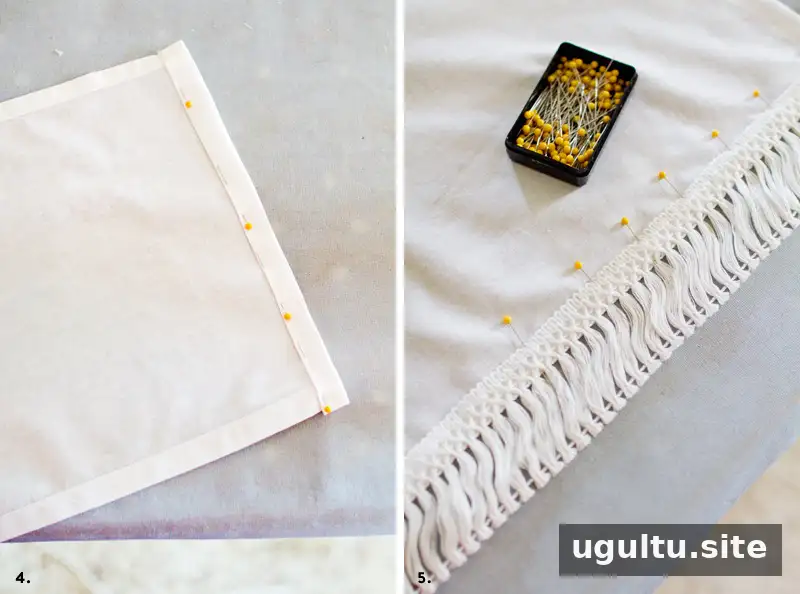
Repeat the same folding, pressing, pinning, and stitching process on the ends of all three panels.
Step 5: Attach the fringe
Pin the fringe trim along the finished, visible edge of each bedskirt panel and sew it in place. Keep the trim aligned with the edge as you stitch for a consistent finish.
Attach the Velcro to the Fabric and Box Spring
Step 6: Add fasteners to the panels
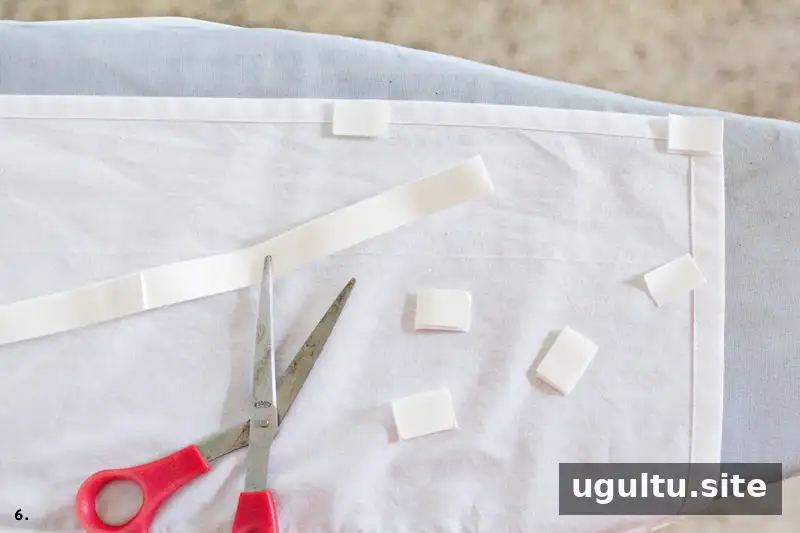
Join the fuzzy loop side and the rough hook side of the Velcro, then cut the joined strips into 1-inch pieces. Remove the backing from the loop-side pieces and space them a few inches apart along the top of the back of each fabric panel. Keeping the softer loop side on the skirt helps protect it during washing.
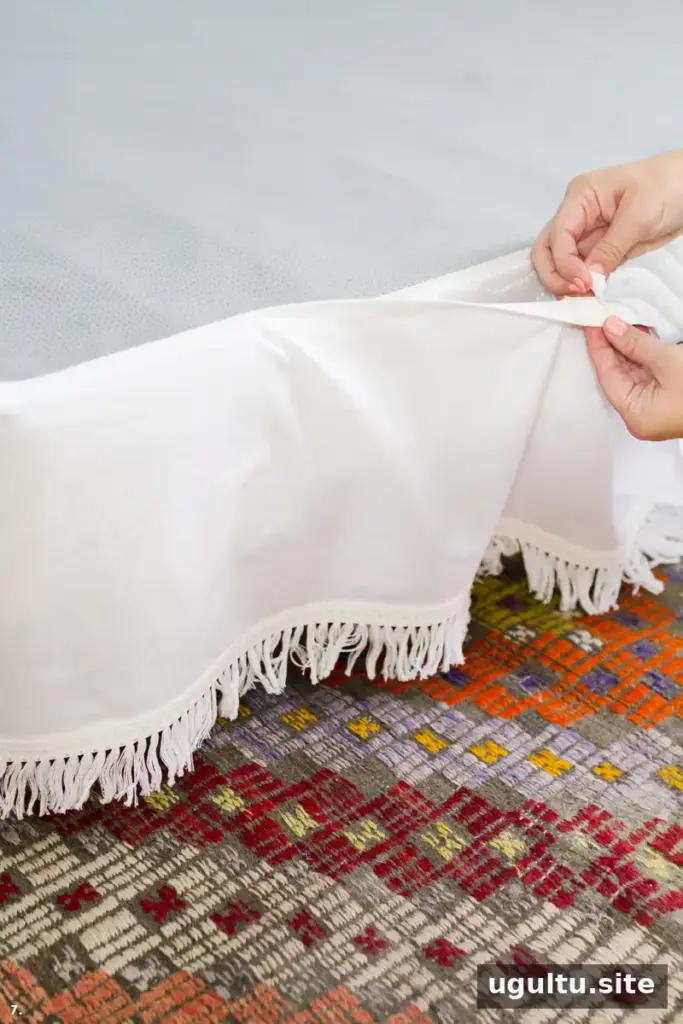
Step 7: Position the panels
With the hook-side pieces still attached to the loop-side pieces, peel away their adhesive backing and press them onto the box spring. Position the panels so their lower edges hang evenly, and overlap the pieces at the foot of the bed where the panel lengths allow. Follow the fastener instructions and allow any recommended setting time before adjusting the skirt.
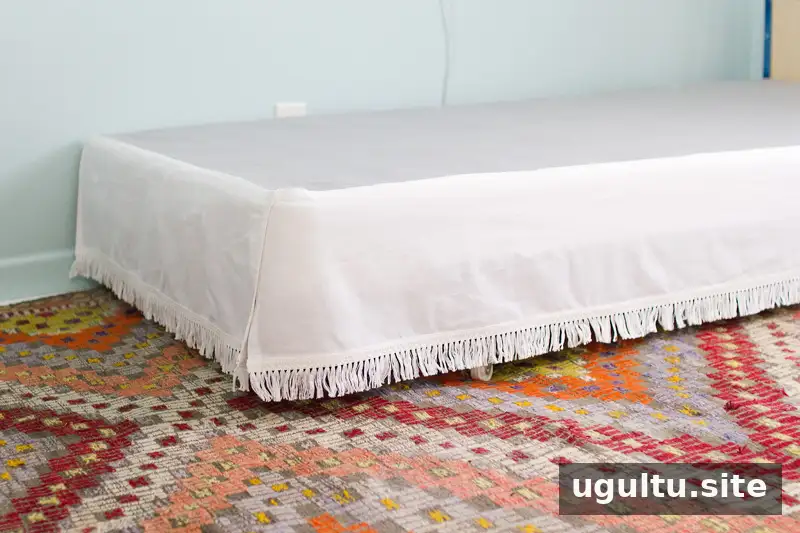
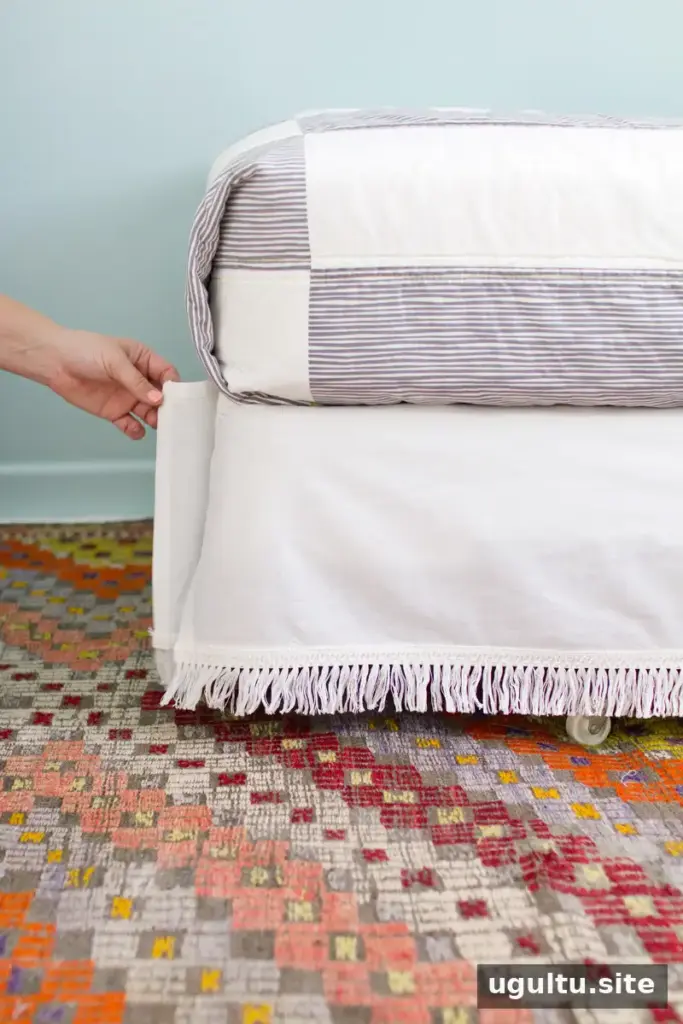
The removable attachment makes laundering simpler: pull the panels away from the box spring instead of wrestling with the mattress. For future washes, remove the skirt gently and follow the fabric and trim care instructions.
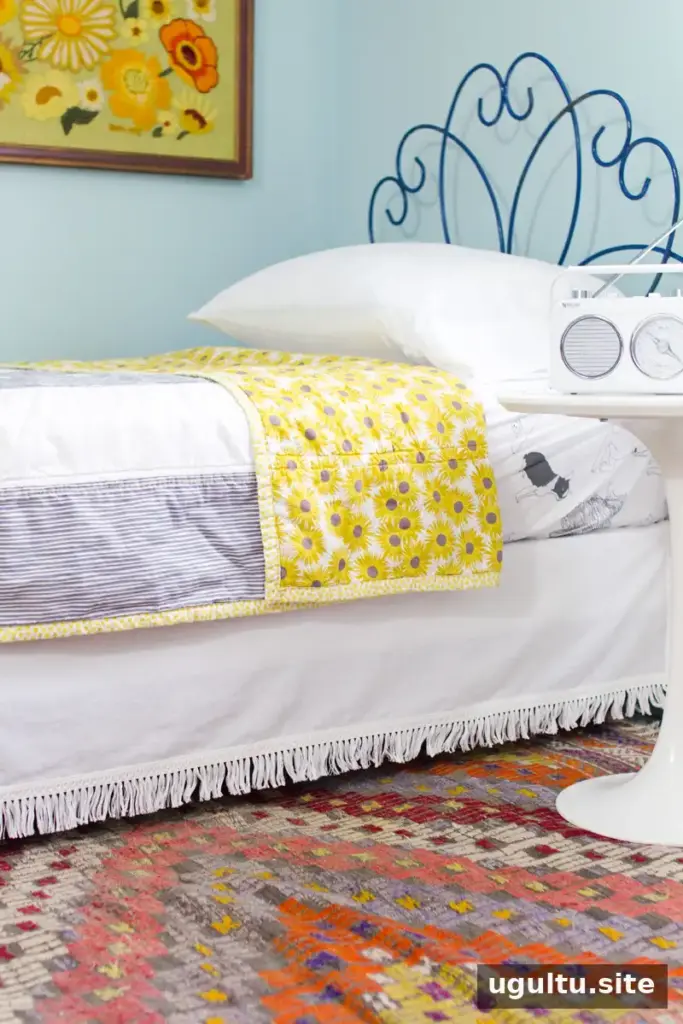
A custom bedskirt can cover an exposed frame and give the bed a more finished appearance while remaining easy to take off. This DIY Velcro bedskirt uses straightforward measurements, basic sewing, and detachable fasteners to make a useful update for a vintage or everyday bed.
—Mandi


