
 admin
DIY vinyl record storage can make the most of a small room by combining an easy-to-access record cabinet with practical seating. This rolling bench uses metal milk crates, two pieces of wood, and casters to keep records organized and on display. Set aside an afternoon for assembly, and work in a well-ventilated area if you plan to stain or paint the wood.
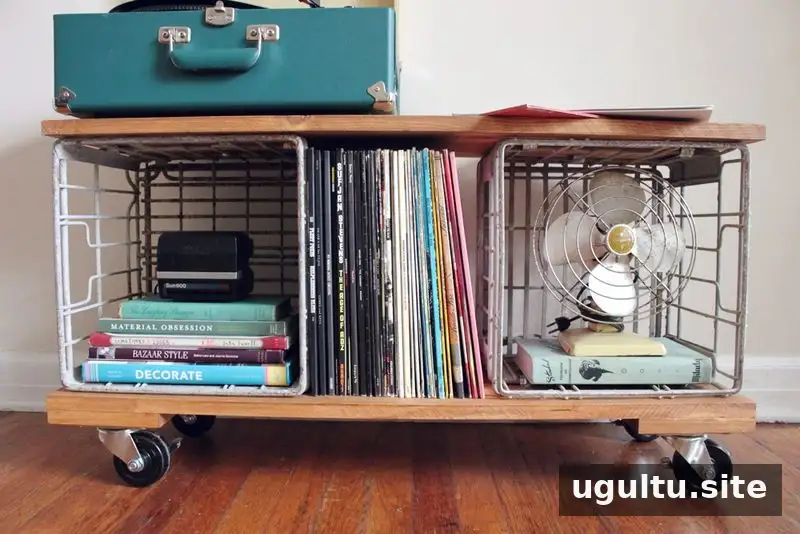
Materials and preparation for DIY vinyl record storage
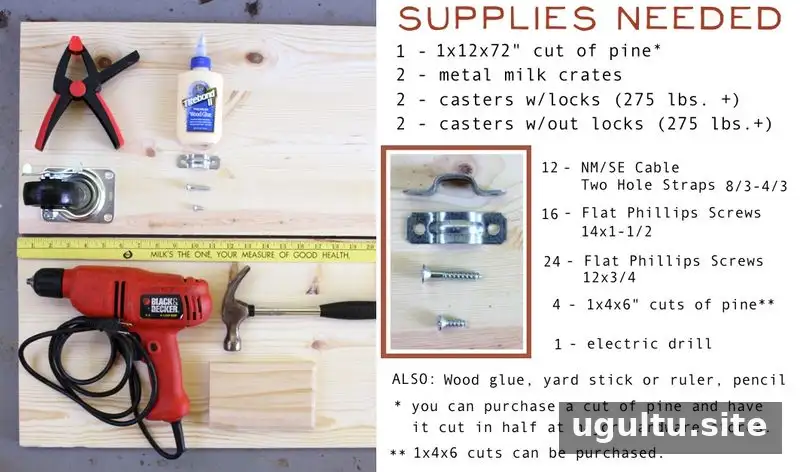
You will need two metal milk crates and one 1x12x72 piece of wood, cut into two 1x12x36 pieces. You will also need four pre-cut 1x4x6 wood blocks, four casters (at least two of them locking), wood glue, screws, and NM/SE cable two-hole straps. The straps help secure the crates to the wood.
Optional supplies include stain or paint, rough sandpaper, and a damp cloth. Clamps and a hammer are shown in the original materials image, but they are not needed for this project. If you do not have a saw, ask a hardware store to cut the long board and look for pre-cut blocks. Used crates may be available at flea markets or through local listings; check them for corrosion or damage before building.

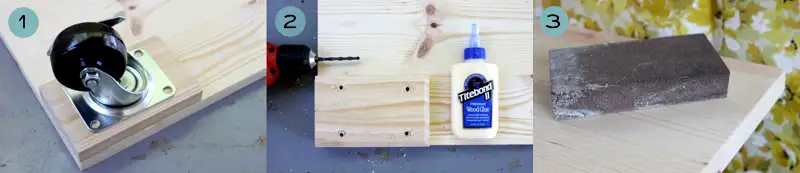
Prepare a stable work surface near an electrical outlet for your drill. If applying a finish, provide good ventilation and follow the product instructions. Sand the wood before assembly for a smoother finish, and wipe away dust with a damp cloth before staining or painting.
Assemble the wheeled base
- Place one 1x12x36 board on the ground. Position a 1x4x6 block in each corner, nearly flush with the board’s edges. Center a caster on a block and mark the screw holes.
- Move the caster and block aside. Drill through the block at the marked points, then place it back in position. Use those holes as guides to drill about one-third of the way into the larger board. Do not drill through the board. Keep your hands clear of the drill bit, and repeat for the other three corners.
- Sand the board and blocks if you have not already done so.
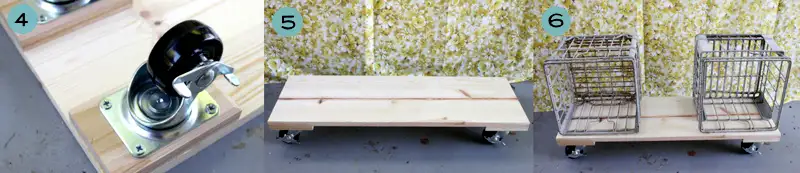
- Apply wood glue between each block and the base board, then set the blocks flush in the corners. Screw the casters into the pre-drilled holes. Put the two locking casters at the same end, and wipe away excess glue.
- Let the glue dry according to its product instructions. Turn the base over once it is secure.
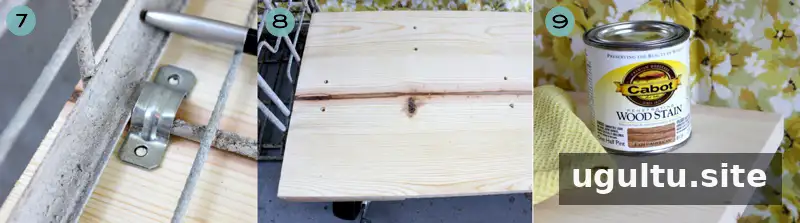
- Place one metal crate near each end of the base, with the open sides facing outward. Keep each crate slightly inside the edge of the board—about 1/3 inch.
Secure the crates and attach the top
- Place three two-hole cable straps on the bottom of each crate, positioned across the bottom rods: one near the back and two at the sides. Arrange the side straps flush against the back of the strap and the back strap flush against the front, as shown. Mark the screw holes.
- Pre-drill about 1/3 inch into the bottom board at the marks. Do not drill all the way through.
- If you plan to stain or paint, apply the finish before fastening the crates and let it dry fully. The underside of the base can be left unfinished if desired, but finish the visible edges as needed.
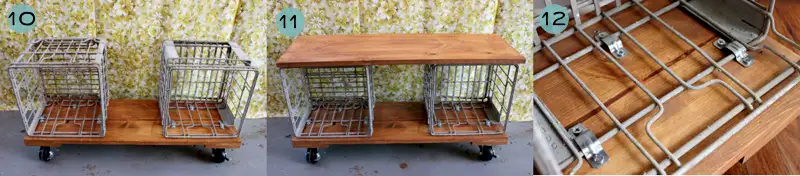
- When the finish is dry, return the crates to their positions and screw the straps into the base.
- Center the second 1x12x36 board on top of the crates, aligning the edges. Mark the strap positions on the underside, remove the board, and pre-drill about 1/3 inch into it. Do not drill through the wood.
- Put the top board back in place and secure the straps with screws. Position the side and back straps against the crate rods as described in step seven. Check that the boards and crates are aligned and that the fasteners are snug.
Before loading the cabinet, test that the crates are secure and the casters roll smoothly. Lock the casters before placing a record player on top or using the piece as seating. No weight rating is provided, so avoid overloading it and check its stability before anyone sits down.
Use and style your record cabinet
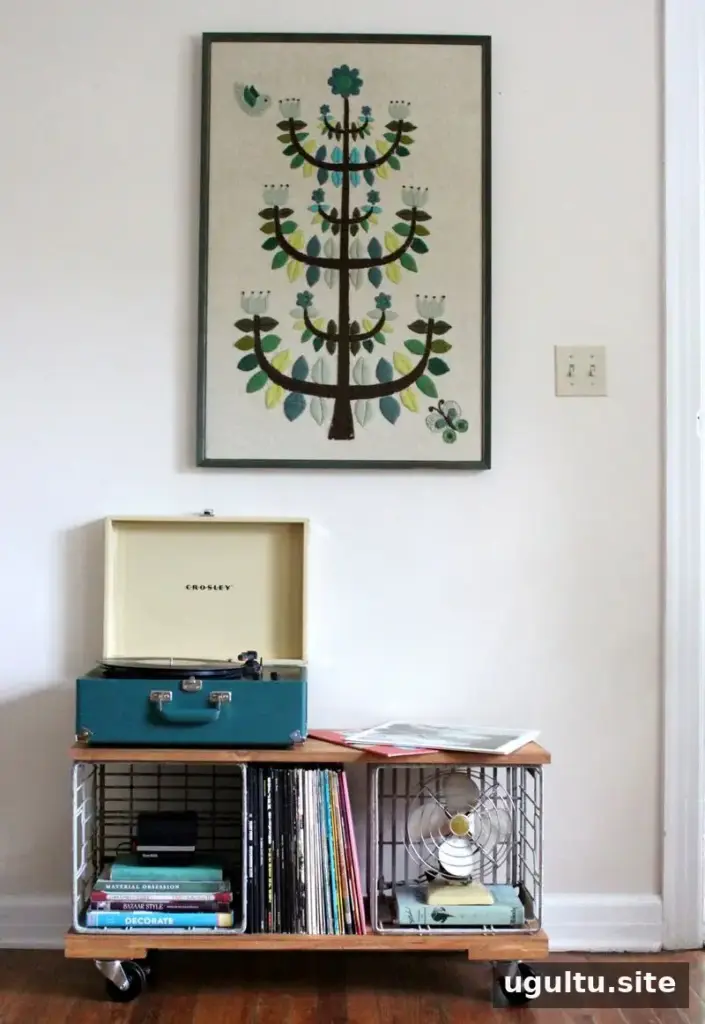
Place the finished cabinet near an outlet if you plan to use a record player on top. Arrange records so they are easy to browse, and keep the top surface clear enough for the player and its controls. Lock the casters to help prevent the cabinet from moving during use.
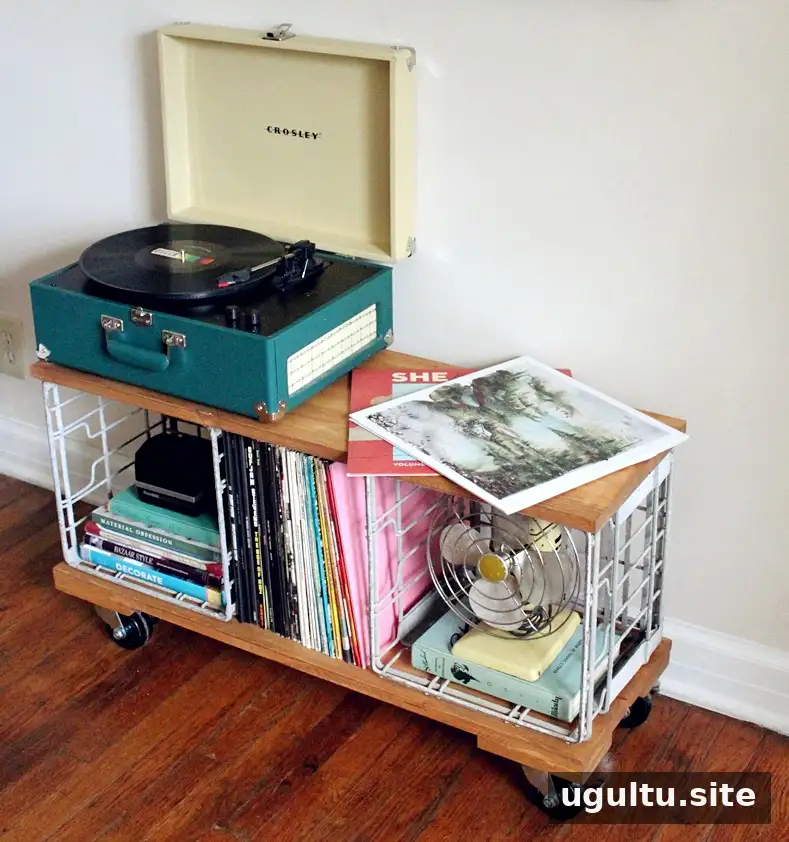

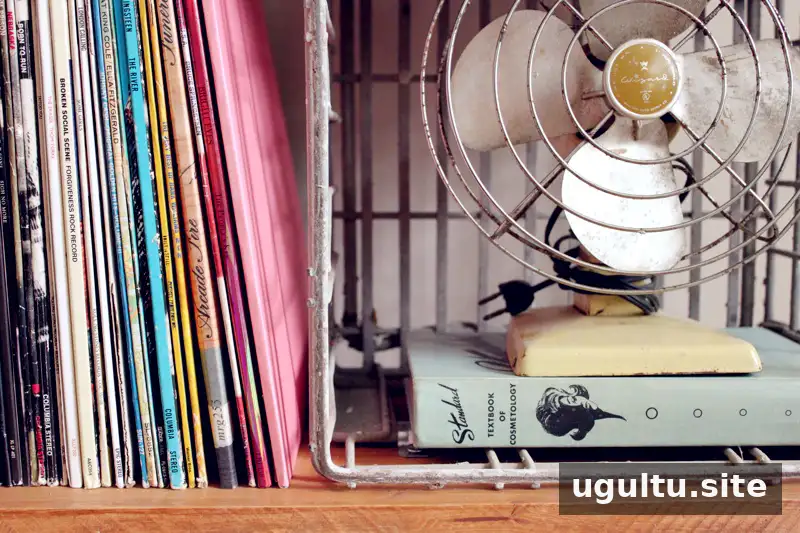
This design can also work as an entryway bench for shoes or as extra seating when guests visit. For outdoor use, choose weather-treated wood and a suitable exterior finish, and protect the cabinet from conditions that could damage the records or equipment.
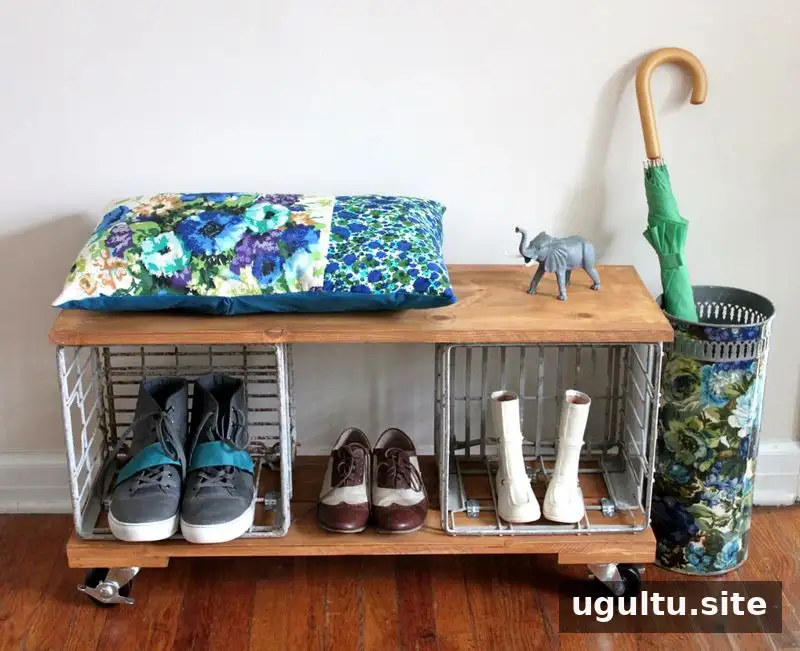
With a few basic materials, DIY vinyl record storage can provide a compact place to keep a collection while adding useful furniture to a room. Rachel


