admin
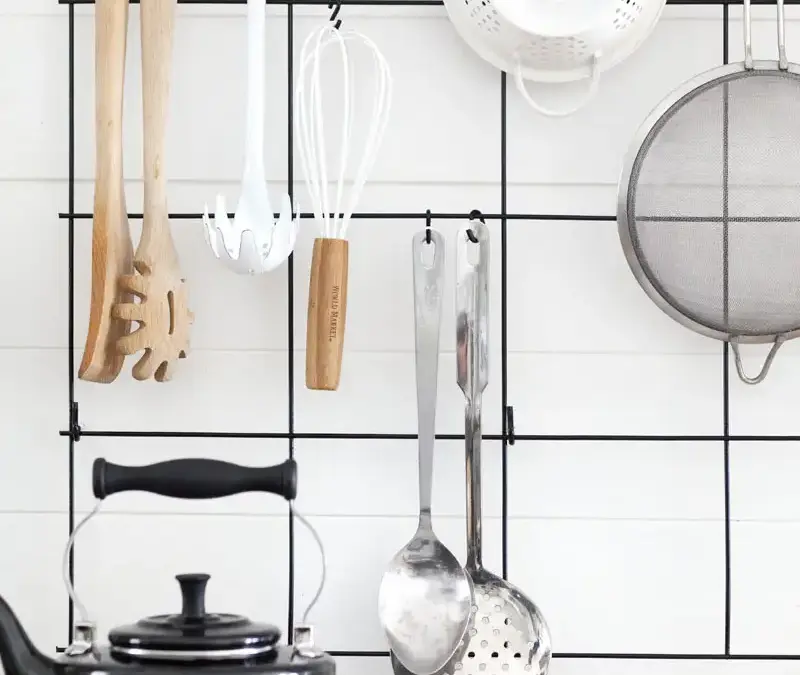
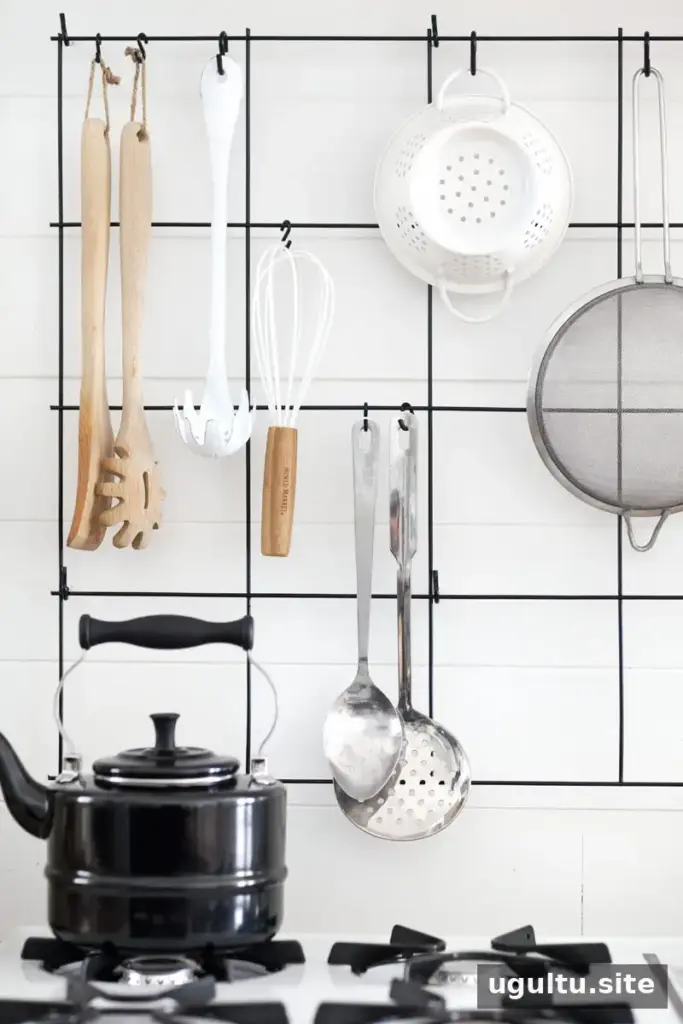
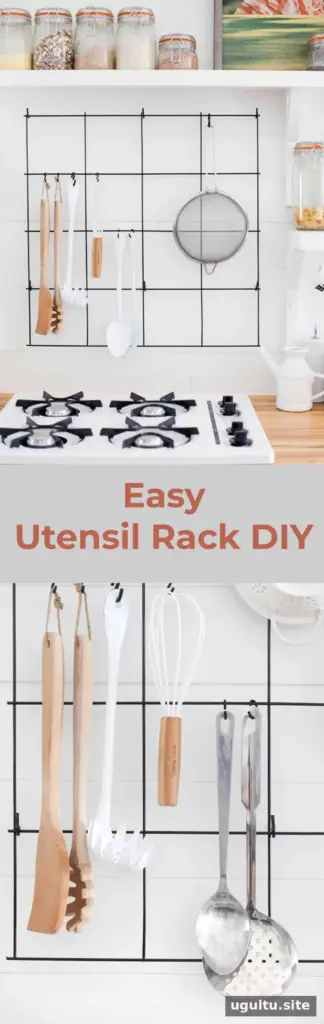
A DIY wire utensil rack can add useful storage to a kitchen while making frequently used tools easy to reach. This wall-mounted design uses wire mesh and hooks to hold utensils, strainers, and other lightweight kitchen items. Its open, industrial-inspired look also makes it a flexible option for a backsplash or another suitable wall space.
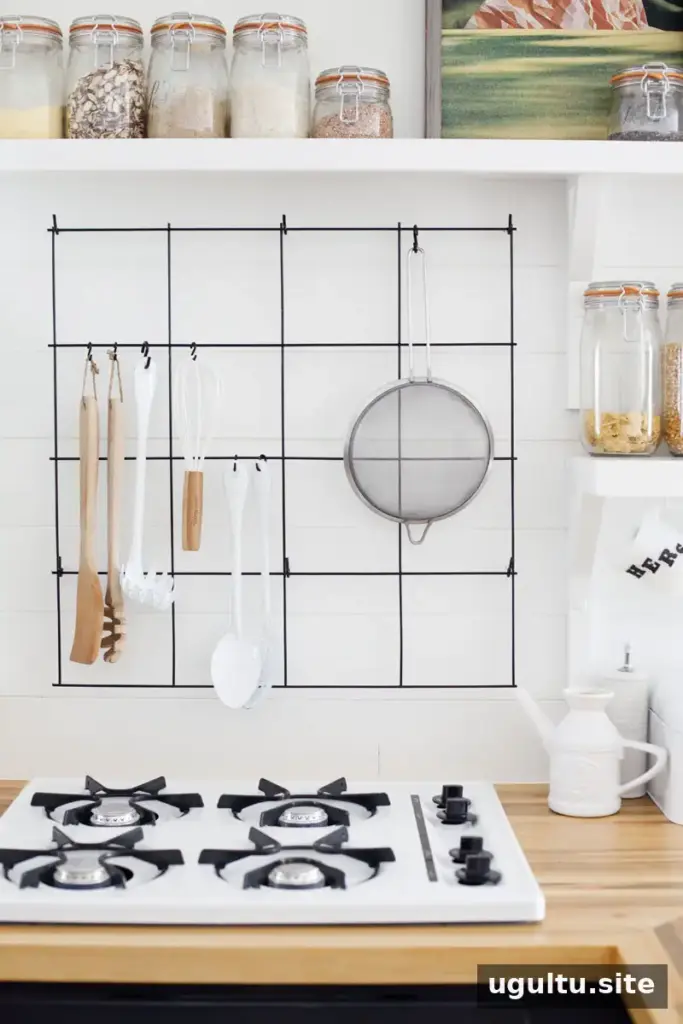
Unlike a simple utensil rail, a wire rack provides several points for hanging items with S-hooks. You can adjust the arrangement as your storage needs change, or leave some sections open for a less crowded appearance. Before starting, measure the available wall area and consider what you plan to hang; the rack is not intended for heavy cookware such as cast-iron pans.
Materials and estimated cost
The project materials cost up to $38 based on the listed prices. The original project cost was $28, excluding the rust-removing cleaner, because some primer, paint, and mesh were already available from other projects. Prices may vary by store.
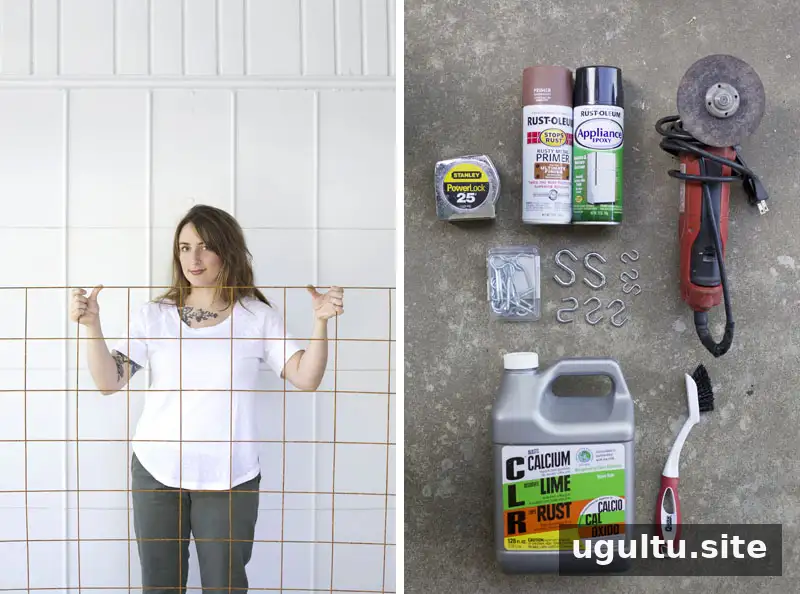
- Wire mesh rebar: $7, available in the concrete section of hardware stores
- Ceiling hooks: $8 for a 10-pack
- Assorted S-hooks: $5–$10
- Bare-metal rust-preventing primer: $4
- Appliance epoxy: $4
- Rust-removing cleaner: $5
Tools and safety equipment
- Industrial wire cutters or a metal grinder
- Chemical-resistant and fabric protective gloves
- Safety glasses
- Cleaning brush or metal scouring pad
- Tape measure, pencil, and power drill
Wear safety glasses whenever cutting or grinding metal. If using a grinder, wear long sleeves and fabric protective gloves to help guard against flying sparks and sharp wire ends.
How to make a DIY wire utensil rack
1. Measure and cut the mesh
Measure the wall space and choose the rack dimensions. The mesh squares are 6 inches wide, so the cut size must align with the nearest square. The example rack measures 24 × 24 inches, or a 4 × 4 grid.
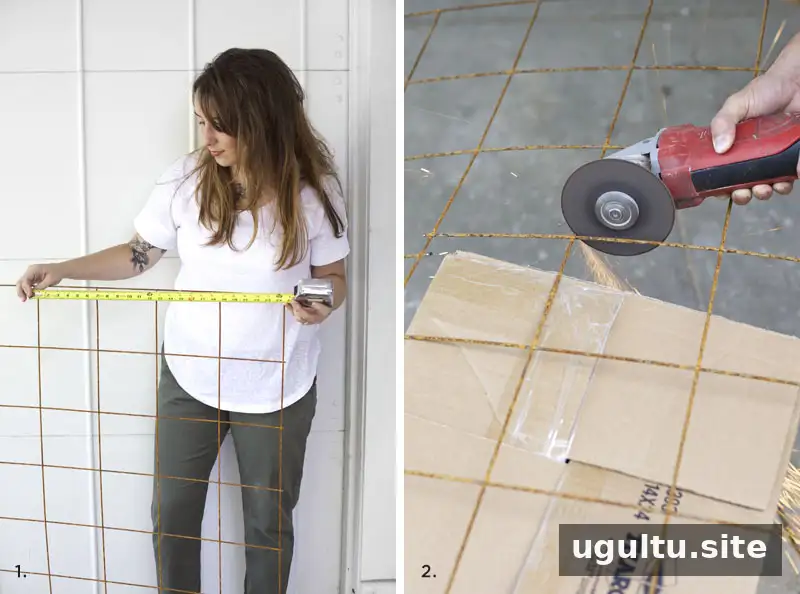
Cut the mesh to size with industrial wire cutters or a metal grinder. Check the dimensions before cutting, since the grid spacing limits the available cut lines. Use appropriate protective gear throughout this step.
2. Remove rust and dry the steel
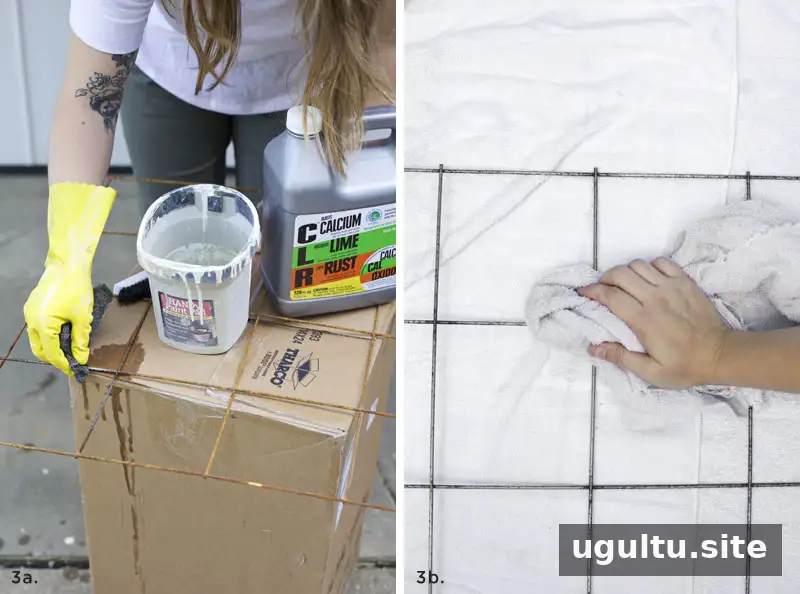
Clean the raw steel with a rust-removing cleaner, following the product’s instructions. Scrub as needed with a metal scouring pad or brush, then rinse the mesh and let it dry completely. Applying primer to damp or dirty metal can affect the finish.
3. Prime and paint the rack
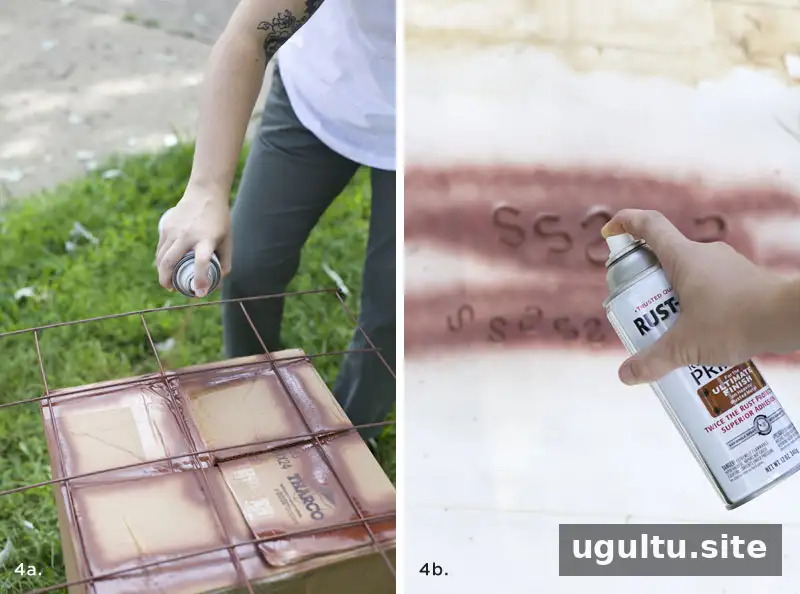
Apply bare-metal primer to the mesh and hooks. Raw steel can rust, so a rust-preventing primer is a practical choice. The S-hooks and ceiling hooks may already have a coating; priming them is optional. Once the primer is ready for coating, apply appliance epoxy in the color you prefer and allow the finish to dry fully.
4. Mark the support points
Hold the dried mesh against the wall and check that it is level. If the wall does not have a straight feature to use as a guide, ask someone to help hold a level while you mark the support locations. The example uses six support hooks for a 24 × 24-inch, 4 × 4-grid rack.
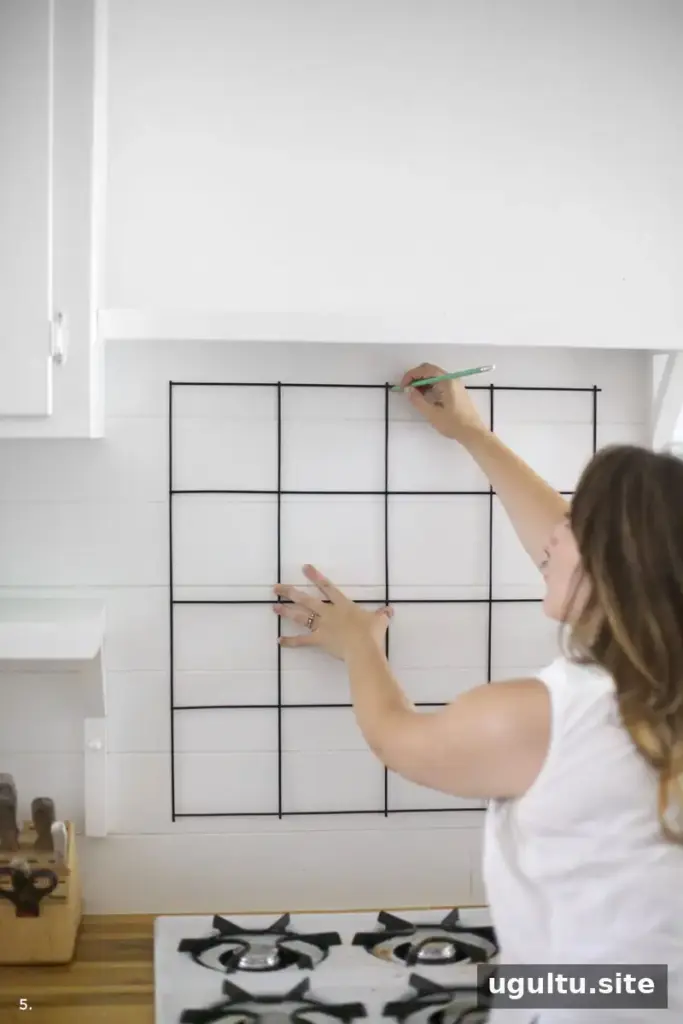
5. Install the hooks and hang the rack
Drill pilot holes at the marked points, then install the ceiling hooks. When attaching hooks to drywall rather than studs or wood, use suitable drywall anchors to reduce the risk of the hooks pulling out. Select anchors and hooks appropriate for the wall and expected load, and follow their installation instructions.
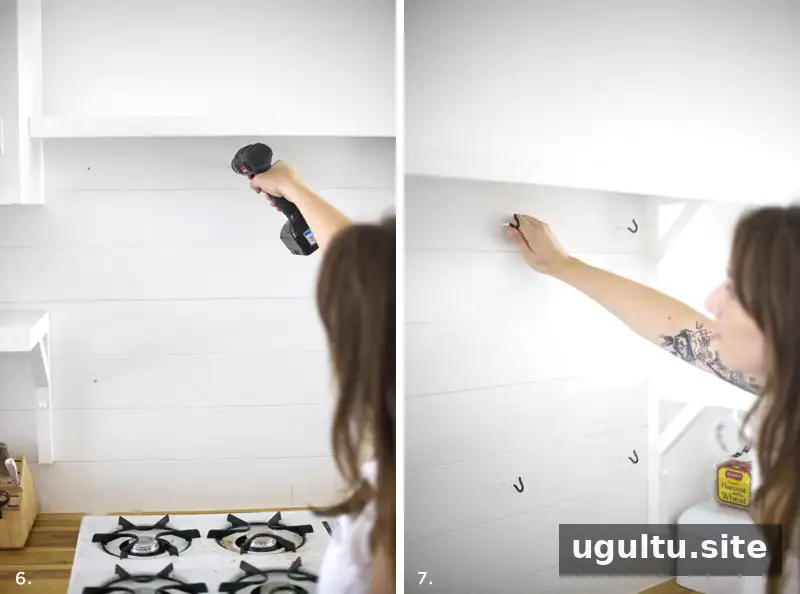
Screw the hooks into place and hang the rack. The hook ends can be painted to match the mesh, while the necks can be painted to blend with the wall, if desired.
Choosing items to hang
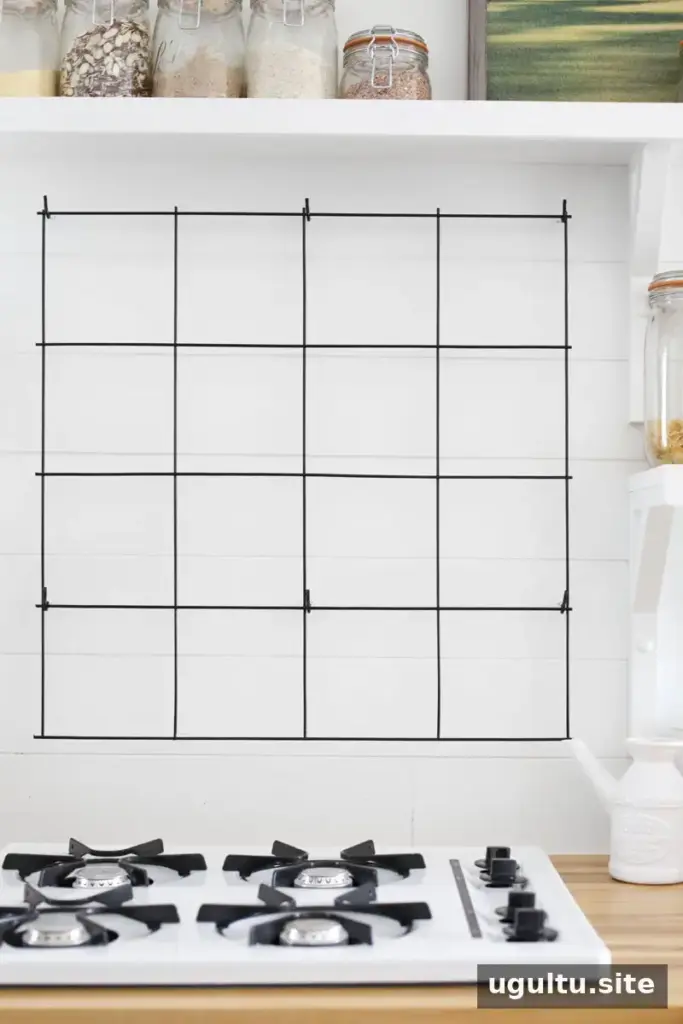
Use S-hooks in different sizes to hang utensils and strainers. The rack’s safe load depends on the mesh, support hooks, anchors, wall material, and how the weight is distributed. These factors are not given a tested load rating, so do not assume the rack can support heavy cookware. Items placed near mesh intersections may be less likely to bend the wire, but the rack should still be used only for suitably light items. If the mesh flexes under an item’s weight, remove it and store it elsewhere.
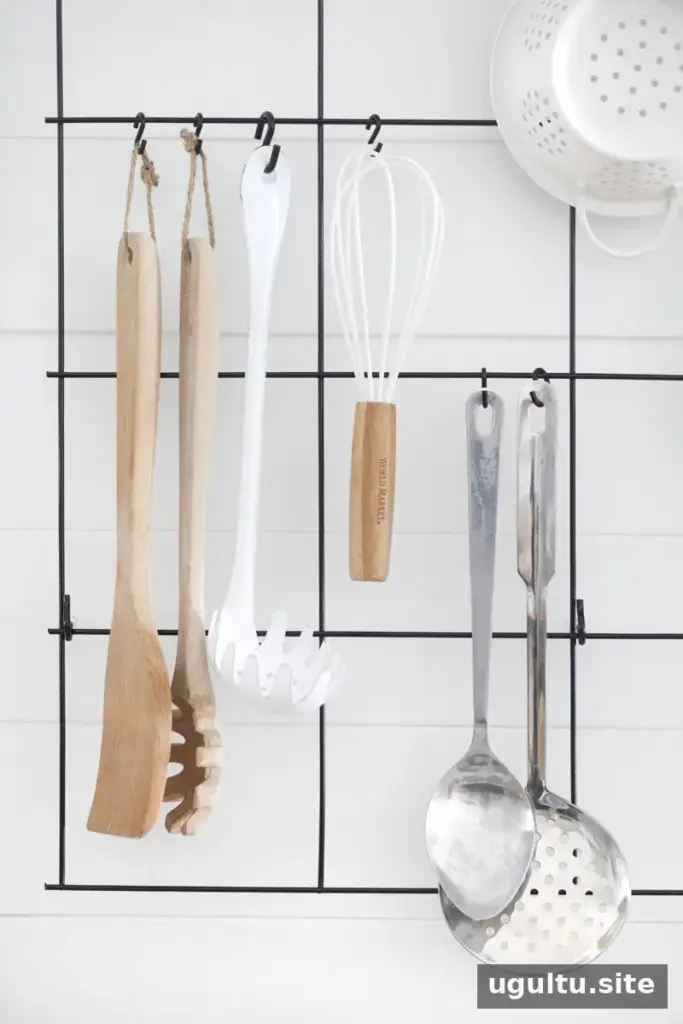
Everyday use and storage tips
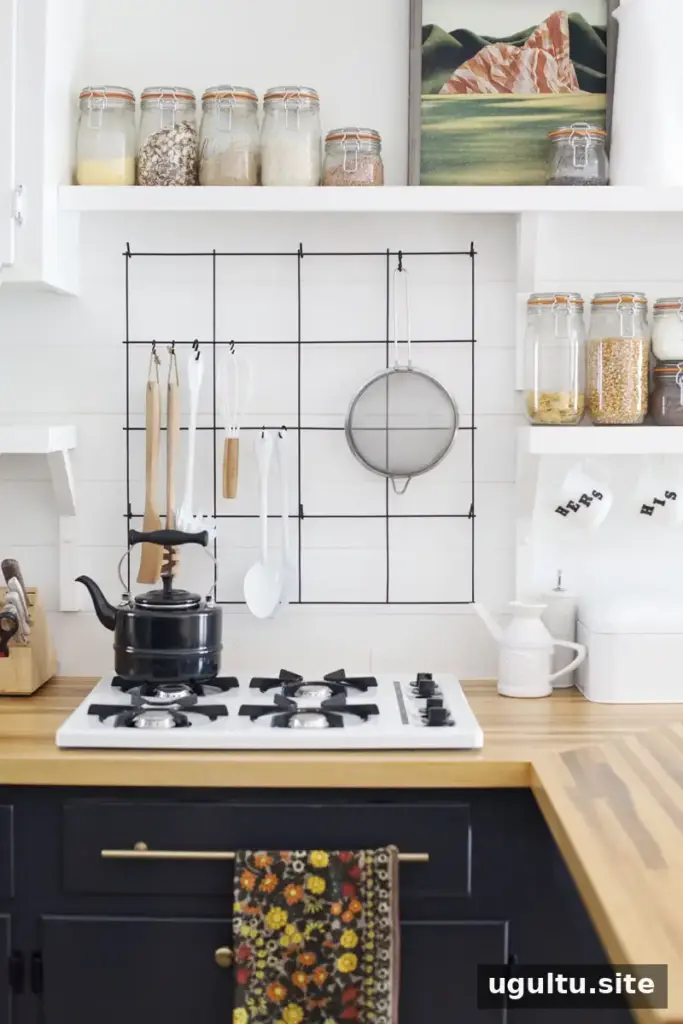
An open rack keeps everyday spoons and strainers within reach, while less-used utensils can stay in a drawer to limit dust and visual clutter. Leave enough space between hanging items so they are easy to lift off and do not crowd the cooking area. —Mandi