admin
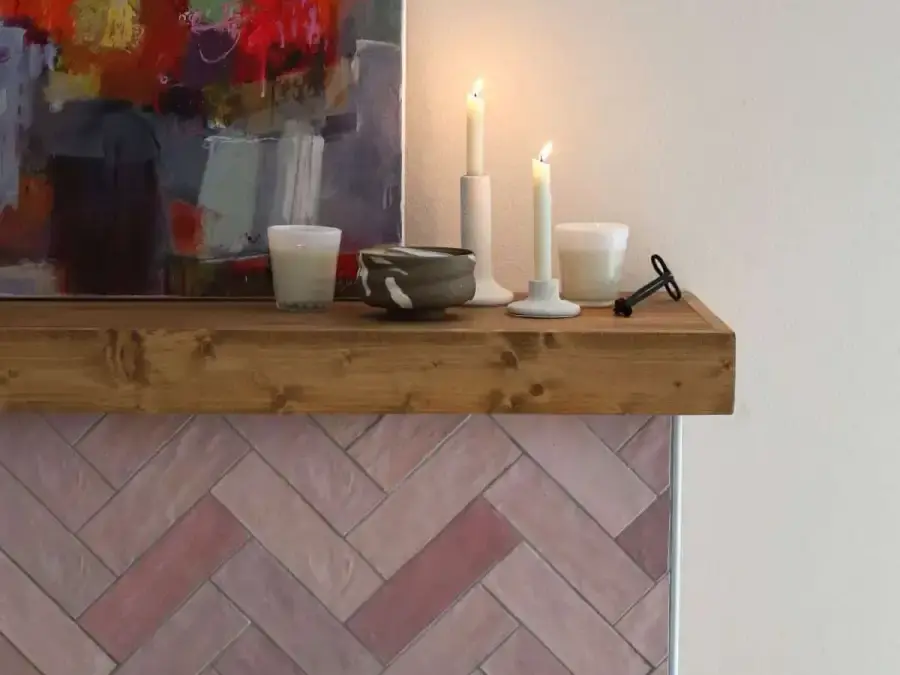
DIY wood wick candles bring together the soft glow of a candle and the gentle crackle of a small fire. This simple project uses soy wax, wood wicks, and essential oils to create candles for your home or as handmade gifts. Before you begin, choose heat-safe containers and set up a stable, uncluttered work surface.
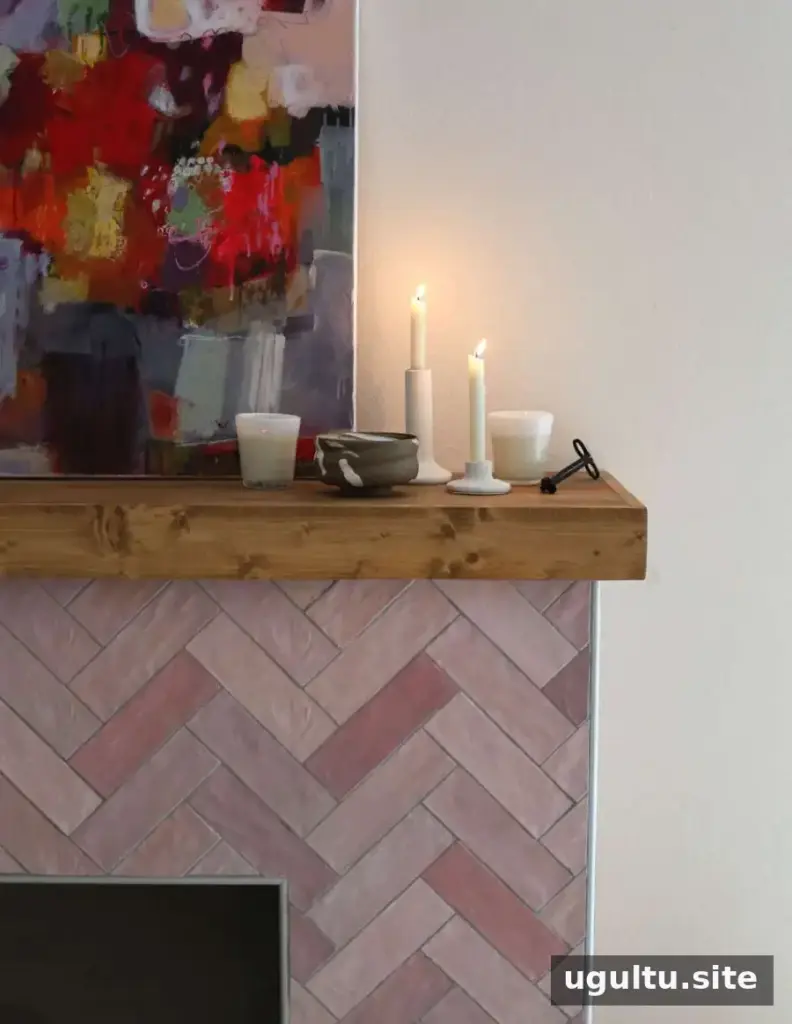
These instructions use soy wax beads and essential oils. The amount of fragrance is adjustable, and the candle-making process is straightforward: prepare the wick, melt the wax, add scent, pour, and let the candle set.
Why make DIY wood wick candles?
Wood wicks make a soft crackling sound as they burn, adding an extra sensory detail alongside a candle’s glow and fragrance. They also offer a different look from traditional cotton wicks, making them a distinctive choice for decorative candles.
For a balanced result, use a wick suited to the size and shape of your container, and follow any guidance supplied with your wax and wick. A wick that is not appropriate for the vessel may not burn as intended.
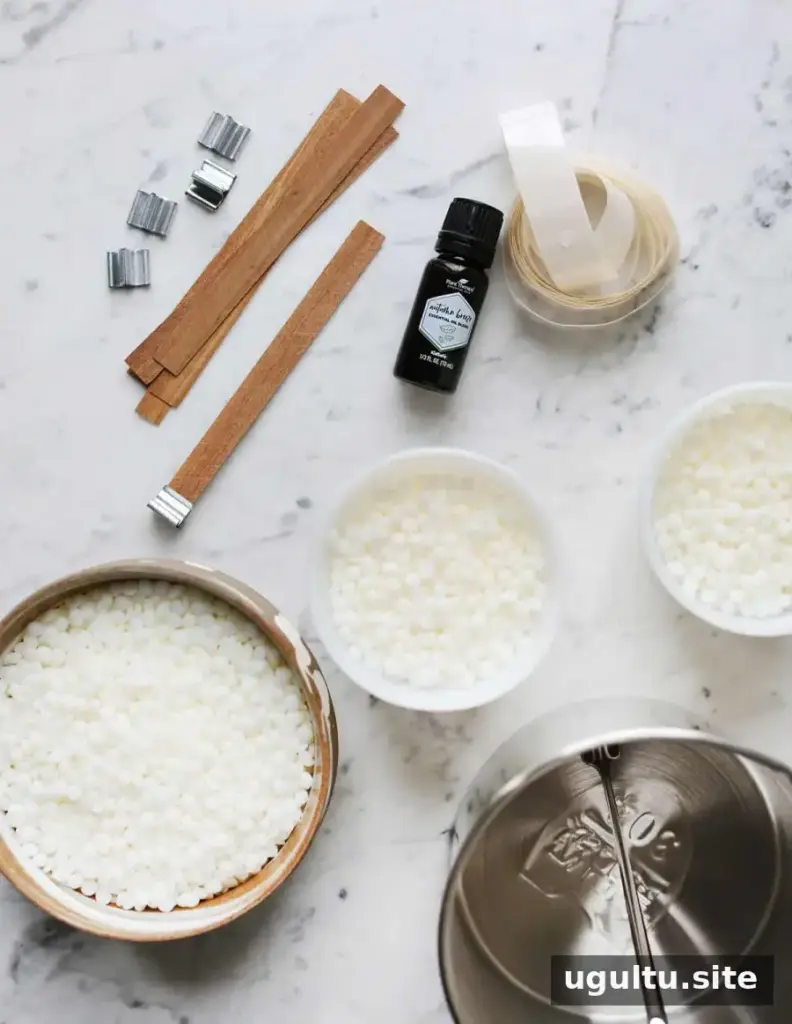
Supplies for soy wood wick candles
- Soy wax beads
- Essential oils
- A candle-making melting pot
- Heat-safe candle containers
- Wood wicks with metal bases
- Wick stickers, glue dots, or hot glue
You can use purpose-made candle containers or look around your home for suitable vessels to reuse. Make sure a container is clean, sturdy, and heat-safe before using it for a candle. Leftover candle wax can be removed from old containers before reuse, and thrifted containers may offer additional options.
How to make DIY wood wick candles
- Measure the wax. Fill each intended container with wax beads to estimate how much you need. Melted wax takes up less space than the beads, so measuring this way helps account for the difference.
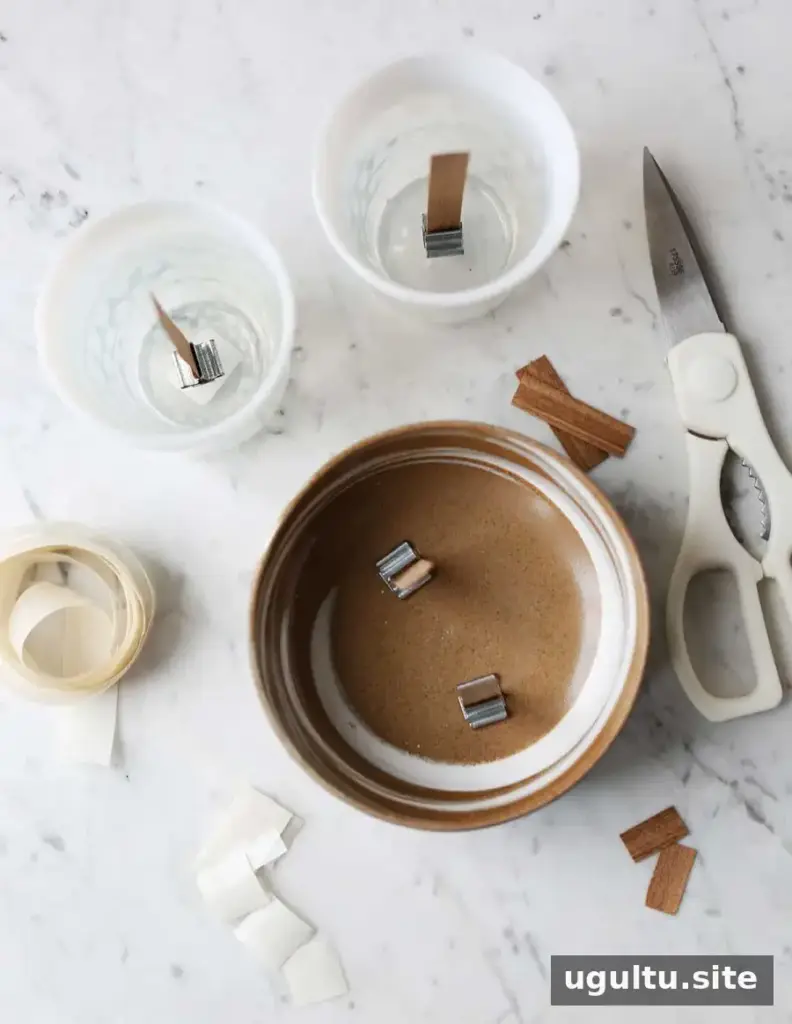
- Secure the wick. Insert the wood wick into its metal base. Attach a wick sticker or glue dot to the underside of the base, then fix it to the bottom of the empty container. If using hot glue, handle it carefully.
- Melt and scent the wax. Melt the wax in a candle-making pot, following the instructions for your wax. Remove it from the heat before adding essential oil. For a smaller candle, the original recipe uses 8–12 drops; adjust the amount to suit your preference and follow the oil and wax suppliers’ recommendations.
- Pour the wax. Carefully pour the melted wax into the prepared containers. If a wick leans while the wax is setting, use a stable support, such as a wooden spoon, to help keep it upright. Take extra care with multiple wicks or a rounded vessel.
- Let the candle set and trim the wick. Wait until the wax is fully solid before trimming the wood wick and using the candle. Keep the candle away from drafts while it sets so the wick stays in position.
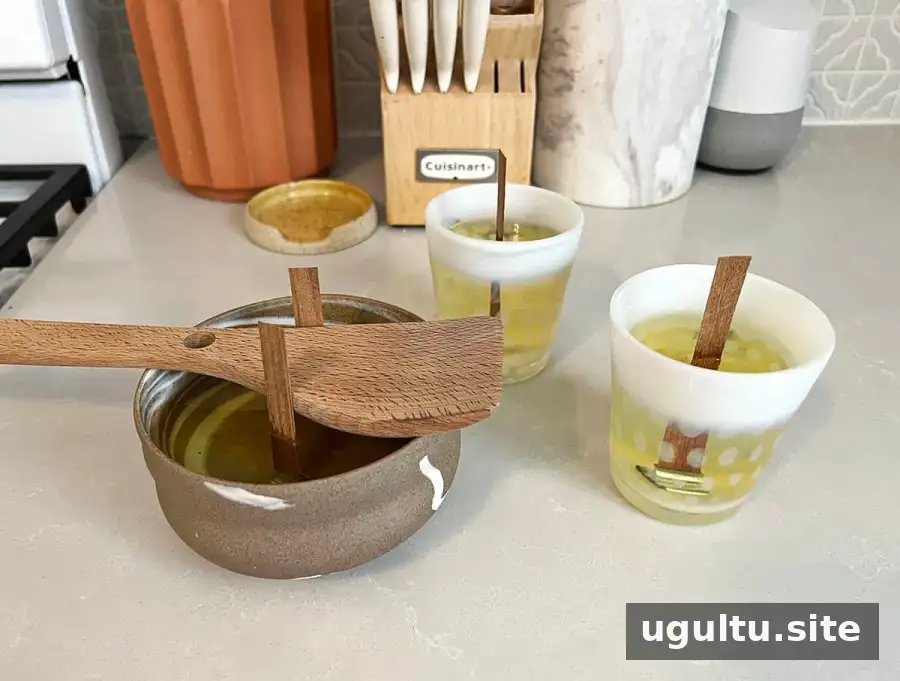
For safety, never leave melting wax unattended, and keep the work area clear of anything that could catch fire. Let hot wax and the finished candle cool fully before moving the container. When burning a candle, place it on a stable, heat-resistant surface and never leave it unattended.

Finishing and gifting your candles
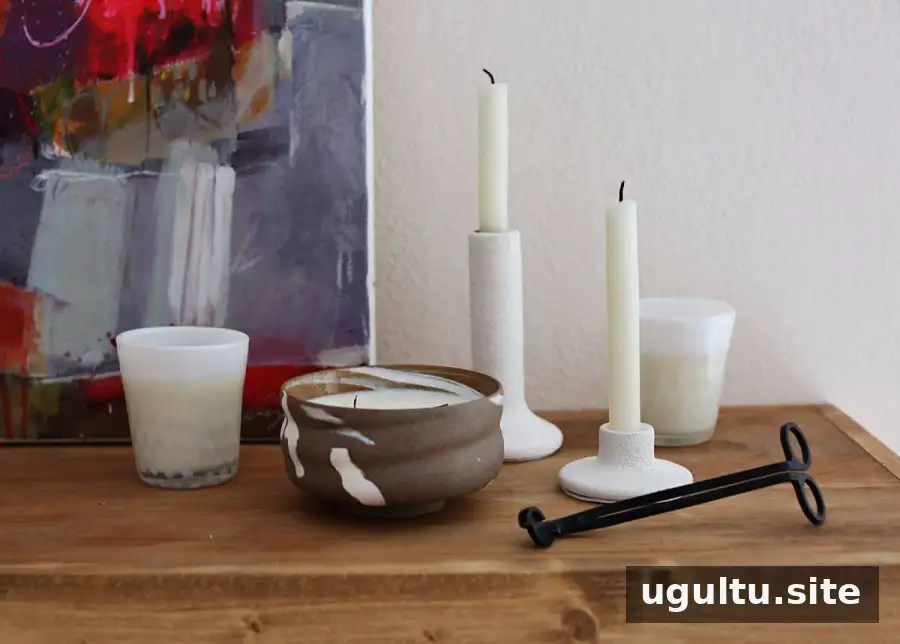
Once set, these soy candles can be placed around the home or prepared as thoughtful gifts. If you are making several at once, label each container with its scent so you can tell them apart. Allow each candle to cool completely before wrapping or storing it.
Preparation takes about 5 minutes, and the listed cooking time is 5 minutes, for a stated total of 10 minutes. Actual melting and setting times can vary, so use the wax becoming fully solid—not the clock—as your cue to trim the wick.
DIY wood wick candles are a simple way to make a cozy, personalized candle with soy wax and essential oils. Choose a suitable container, secure the wick carefully, and let the wax set completely before lighting. — Emma