
 admin
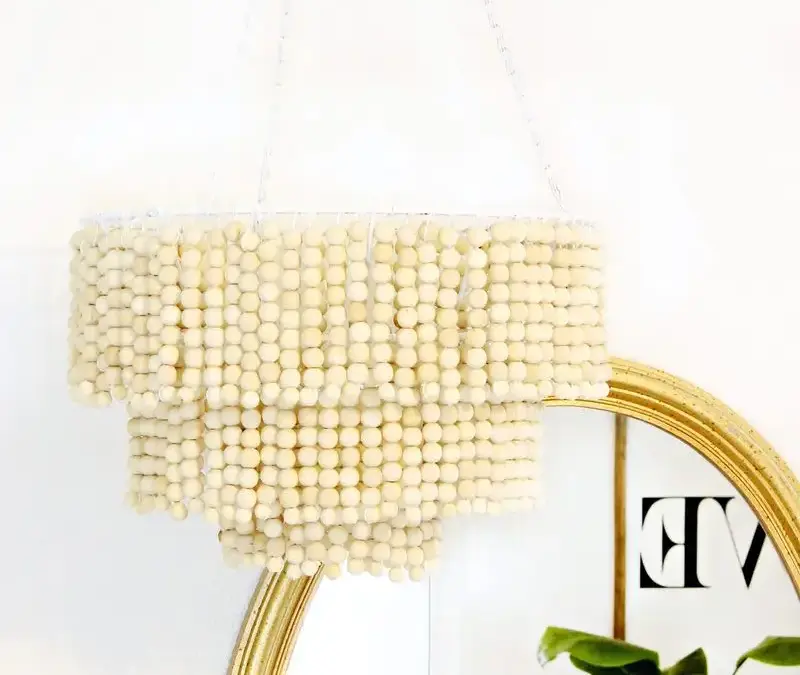
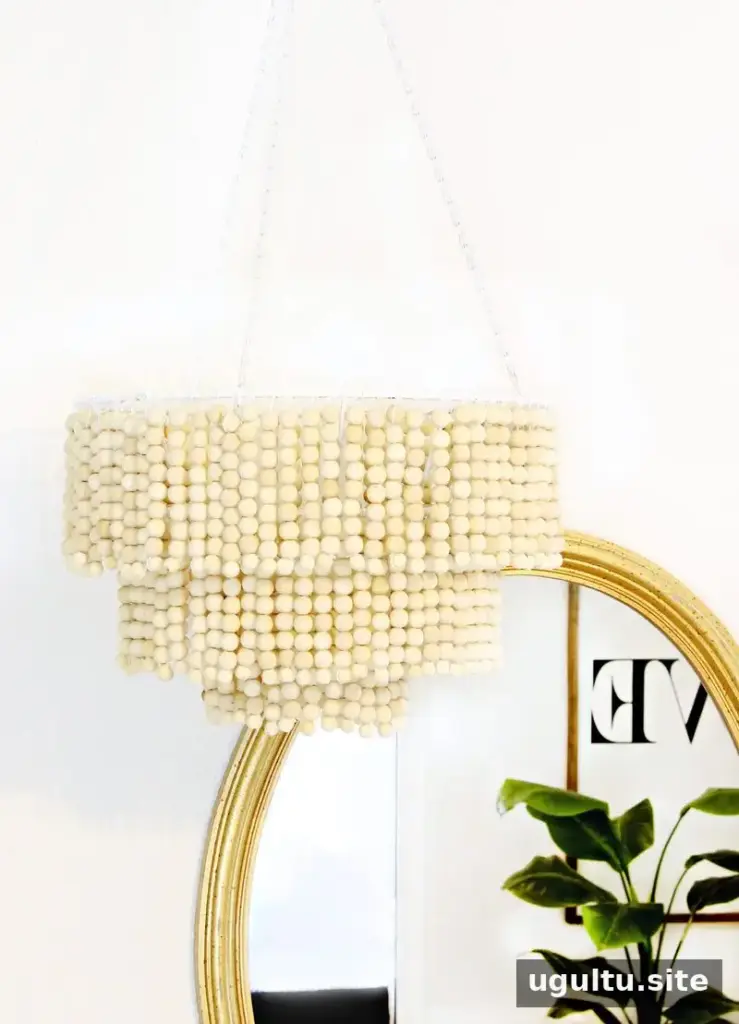
A DIY wooden bead chandelier can add natural texture and a distinctive focal point to a room. This project uses a hanging basket as its frame, with strings of unfinished wooden beads creating a layered, decorative shade. The beads bring an organic look, while painting the basket lets you coordinate the finished piece with your space.
Supplies for a DIY Wooden Bead Chandelier
Gather the materials before starting. Making the bead strands takes time, so having everything ready makes the process easier.
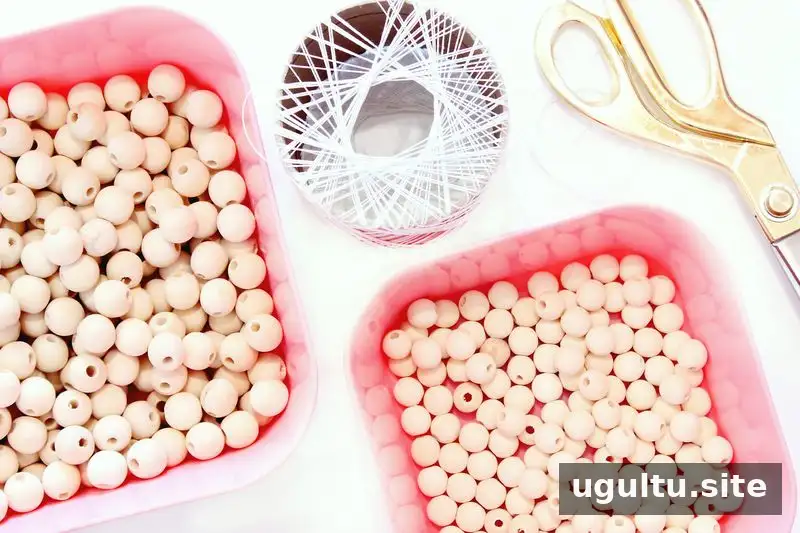
Supplies:
- 1 hanging basket
- White spray paint, or another color of your choice
- Scissors
- Approximately 700 wood beads measuring 5/8 inch
- Approximately 130 wood beads measuring 1/2 inch
- White cotton string
- A hacksaw or Dremel tool, if you decide to shorten the basket
Check that the basket is stable and suitable for hanging before you begin. Work with spray paint in a well-ventilated area and follow the paint manufacturer’s directions.
How to Make the Bead Strands
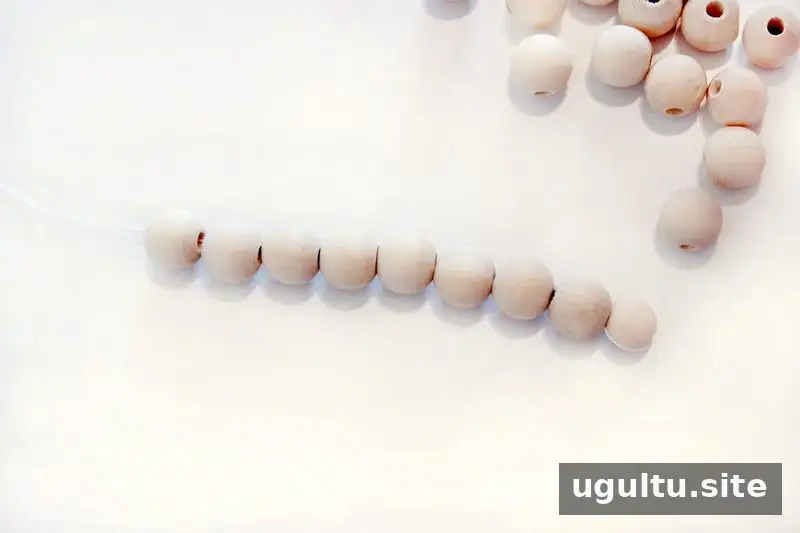
Cut a length of cotton string about 12–18 inches long for each strand. Tie one small, 1/2-inch bead near one end so it acts as a stopper. Add eight of the larger, 5/8-inch beads to the string. Set the finished strand aside, then repeat the process to make more.
Making the strands in batches can help you keep track of your progress. Keep the string lengths consistent so the finished rows hang evenly. The original project used about 85 strands, so allow plenty of time for this repetitive step.
Paint the Basket and Attach the Beads
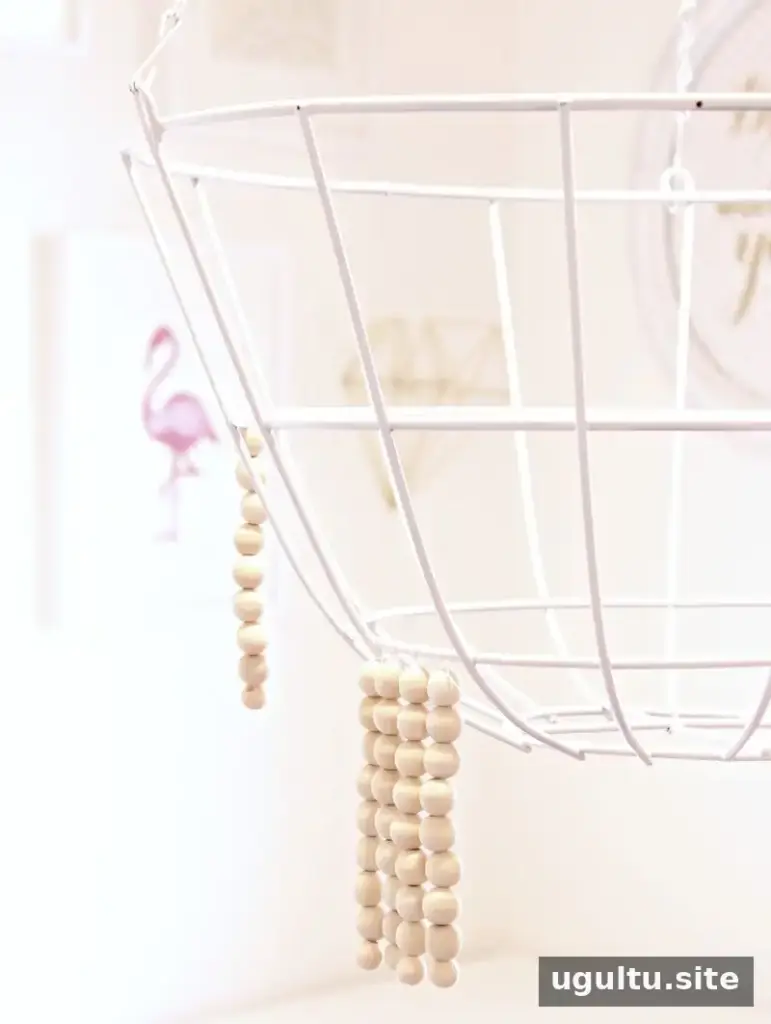
Spray paint the basket in your chosen color and let it dry completely. Once the paint is dry and you have several dozen bead strands ready, tie each strand securely to the basket with a double knot. A triple knot can be used if you want an extra-secure tie. Trim any excess string with scissors, taking care not to cut too close to the knot.
Work around the basket in an even pattern, checking the spacing as you go. This makes it easier to spot gaps and maintain a balanced look. Continue adding strands until the basket has the fullness you want.
Adjusting the Chandelier’s Size
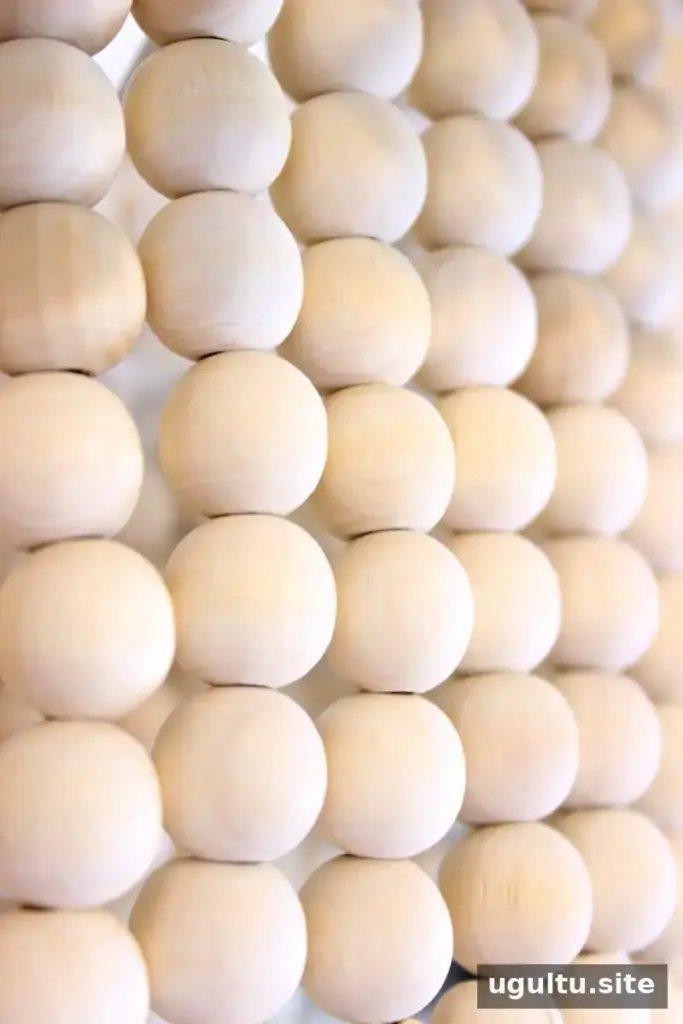
The completed design used approximately 85 strands. During the project, the makers chose to reduce the basket from four tiers to a smaller size: they removed the top chains, cut off the top tier with a hacksaw, and reattached the chains. This is optional. Keeping the top tier will create a larger chandelier and requires additional wooden beads and strands.
If you alter the basket, use appropriate eye and hand protection, and make sure the remaining frame is secure before hanging it. If you are unsure whether the basket can be safely modified, keep its original shape.
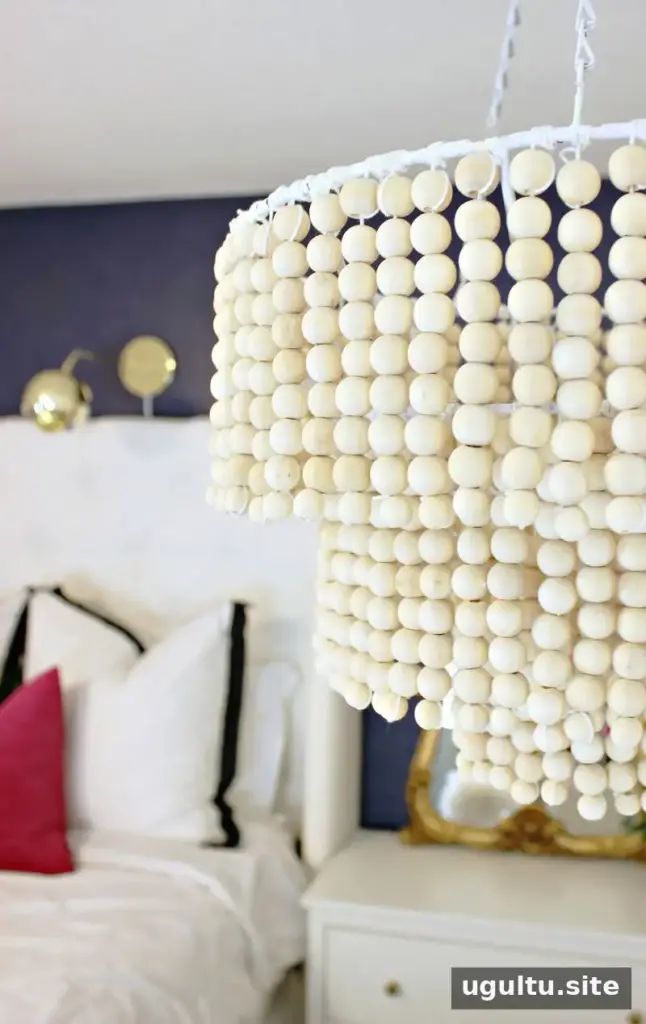
Finishing and Display Tips
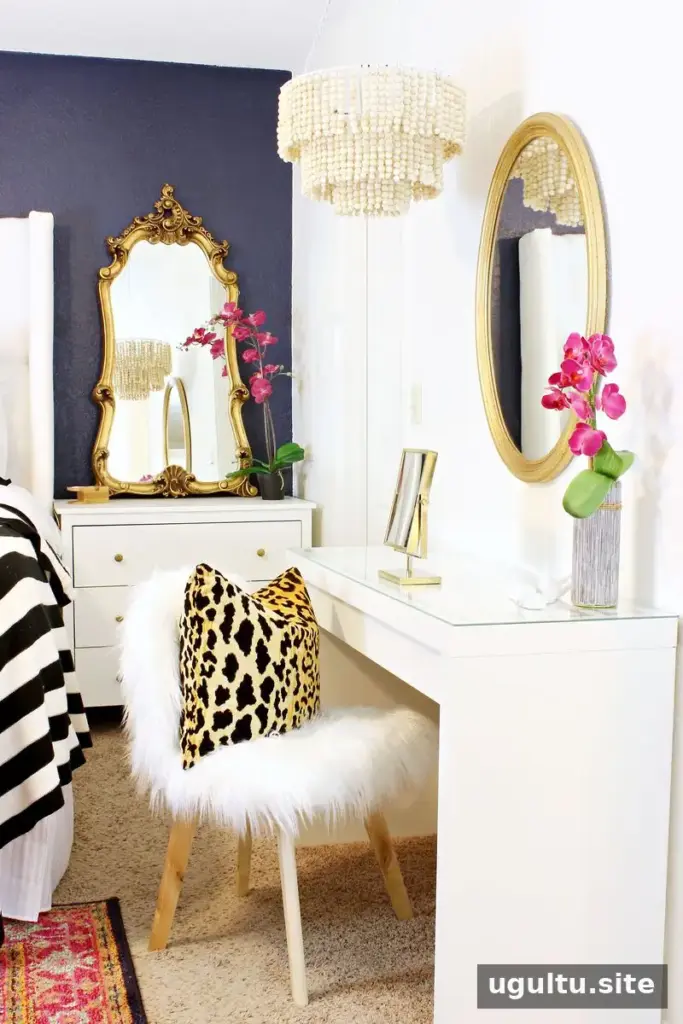
This is a straightforward craft, but preparing dozens of strands can take several hours; the project took two full evenings to complete. It works well as a decorative accent. A plug-in light may also be added, but choose a suitable light and follow its instructions. Keep fabric, paper, and other flammable materials away from bulbs, and consult a qualified electrician if the setup requires electrical work.
A DIY wooden bead chandelier is a customizable way to bring warm, natural detail into a room. Decide on the basket size before cutting or stringing the beads, and make a few strands first to check their length and appearance. — Mallory & Savannah


