
 admin
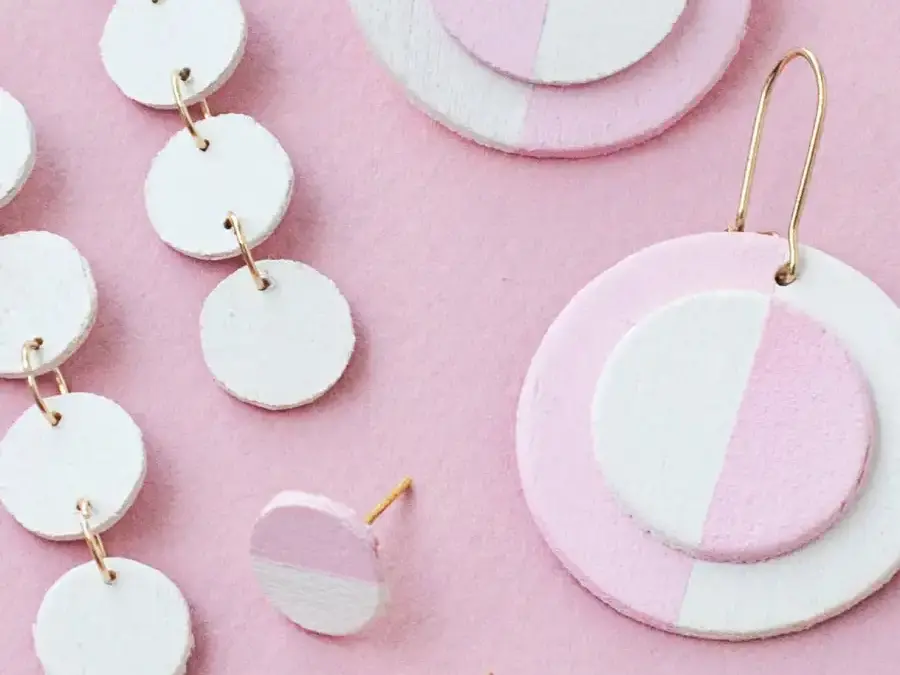
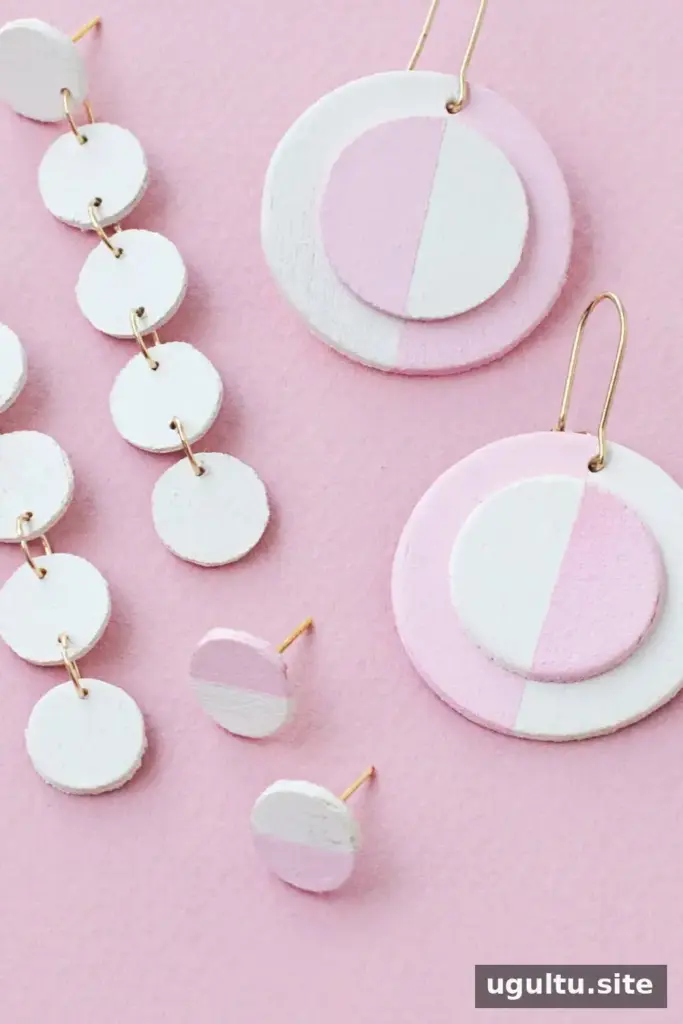
DIY wooden circle earrings are an easy way to turn lightweight craft materials into bold, graphic accessories. With wooden circles, paint, and basic earring findings, you can make three different styles: mod dangles, linked circle earrings, and simple studs. Choose colors that suit your wardrobe, and let every painted layer dry completely before assembling the pieces.
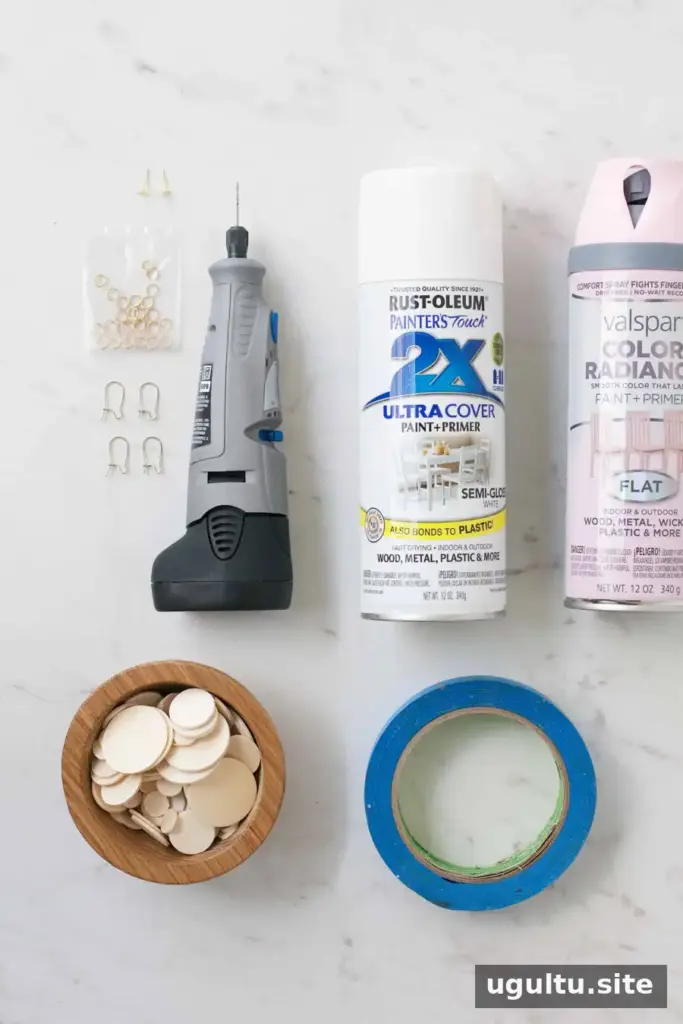
Supplies for DIY Wooden Circle Earrings
- Lightweight wooden circles in several sizes
- Primer or paint-and-primer, plus paint in your chosen colors
- Painter’s tape
- Earring posts and/or ear wires
- 7 mm jump rings for the linked dangle design
- Super glue for designs that use earring posts
- A Dremel with drill bits or an inexpensive twist drill for designs that need holes
A drill is not needed for the small graphic studs, and jump rings are only needed for the linked circle dangles. Before starting, sort the circles by size and check that the earring findings fit the scale of your pieces.
Mod Circle Earrings

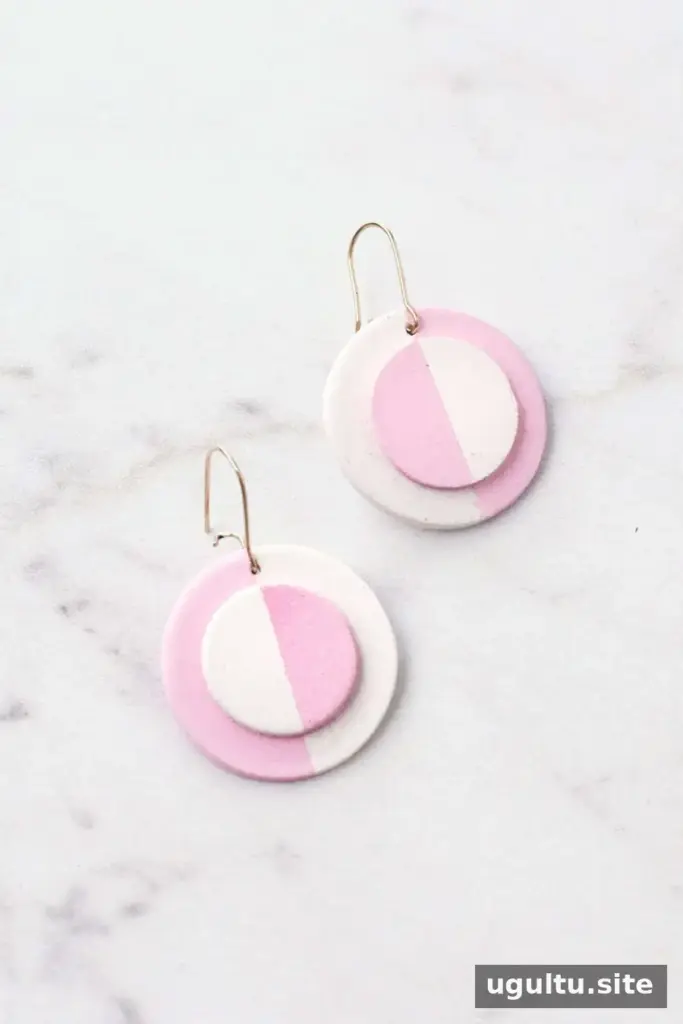
This graphic design combines one larger circle with a smaller circle layered on top. Its clean shapes work with both casual outfits and more polished looks.
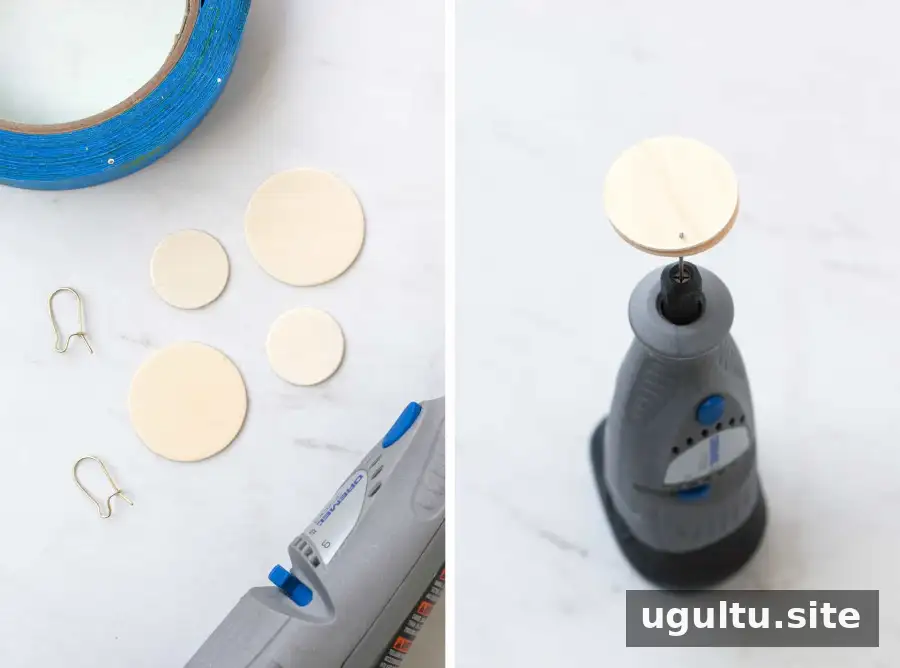
What you’ll need
- Two larger and two medium wooden circles
- One pair of ear wires
- Super glue
- A Dremel with drill bits or a twist drill
- Painter’s tape
- Drill the holes. Stack the two larger circles and drill a hole near the edge of each so the holes line up.
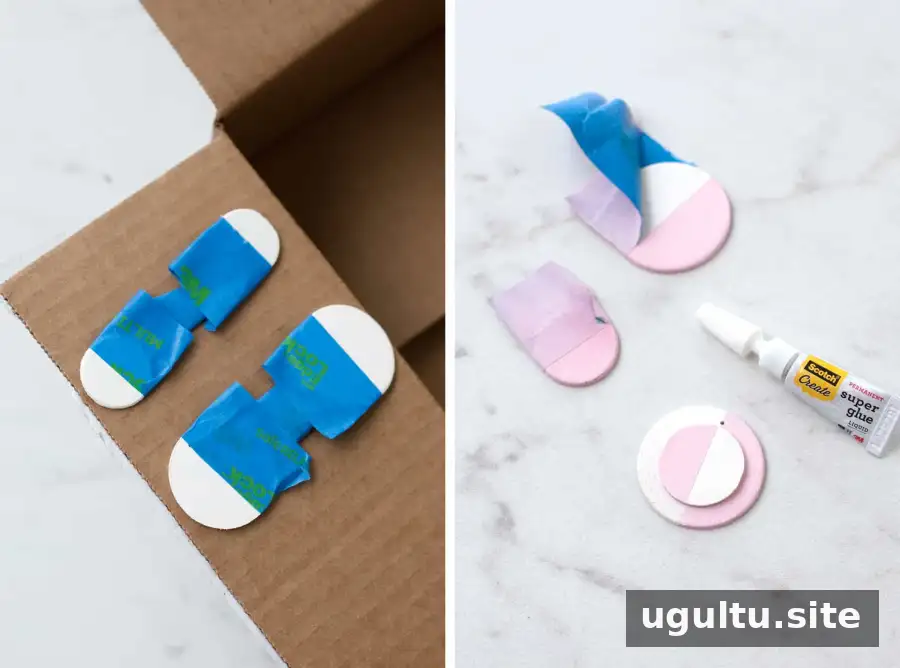
- Paint the circles. Apply primer or paint-and-primer. Once it is fully dry, use painter’s tape to cover half of each large circle and paint the exposed sections in a darker color.
- Assemble the earrings. Remove the tape after the paint has dried, then glue one medium circle onto each larger circle. Attach the ear wires through the drilled holes.
Circle Dangle Earrings

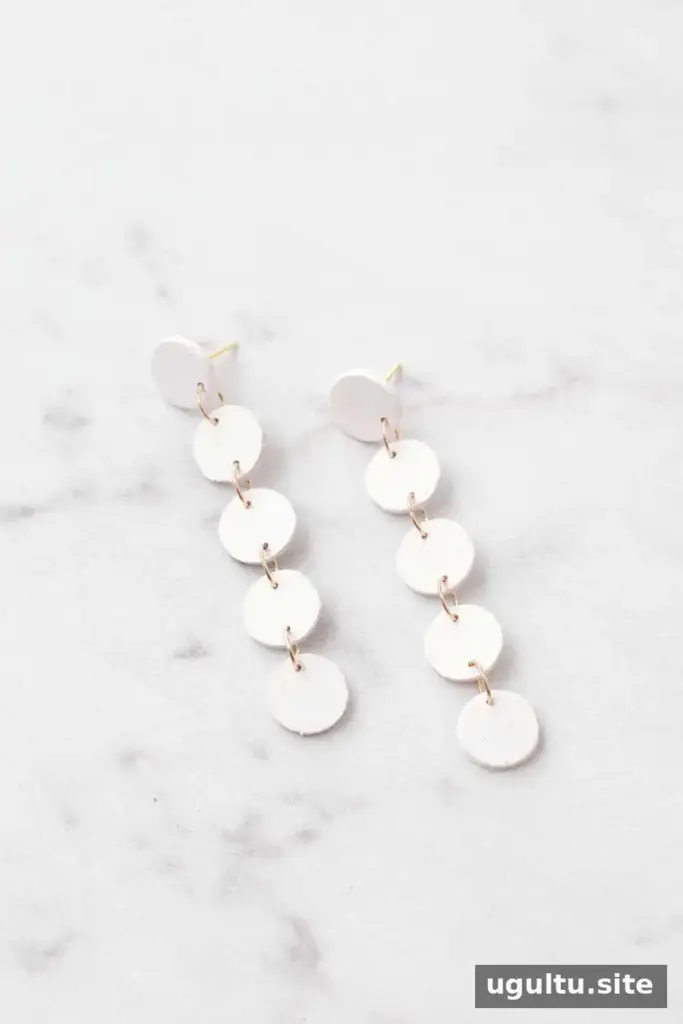
For a longer silhouette, connect small wooden circles with jump rings. The number and arrangement of circles create a bold look while keeping the design simple.
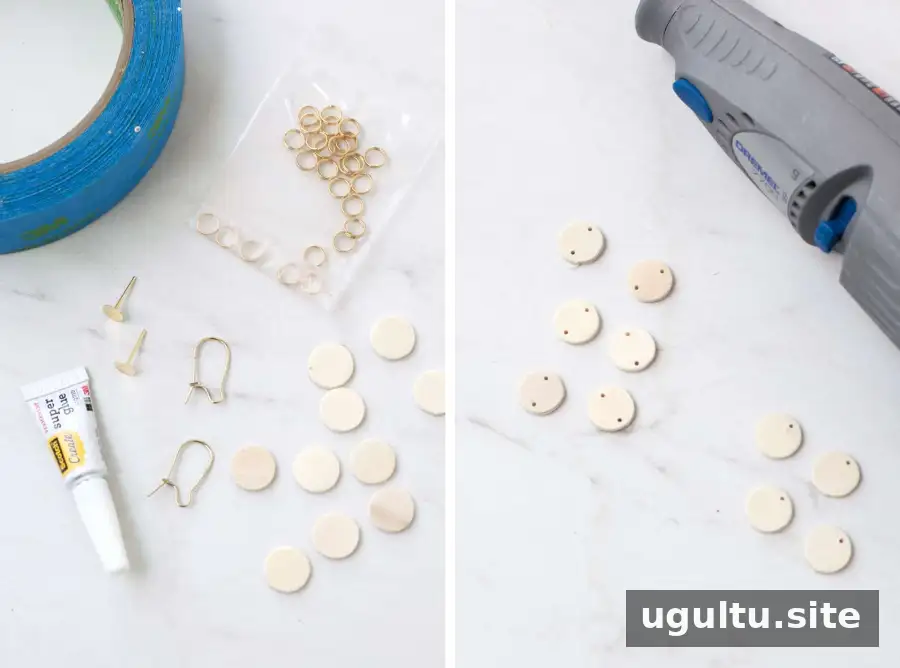
What you’ll need
- Ten small wooden circles
- One pair of earring posts or ear wires
- Super glue if using posts
- 7 mm jump rings
- A Dremel with drill bits or a twist drill
- Painter’s tape, if helpful for holding the circles in place while painting
- Make the holes. For the post version, drill holes near opposite edges of six circles and one hole near the edge of each of the other four. If using ear wires instead of posts, drill double holes in eight circles and single holes in two.
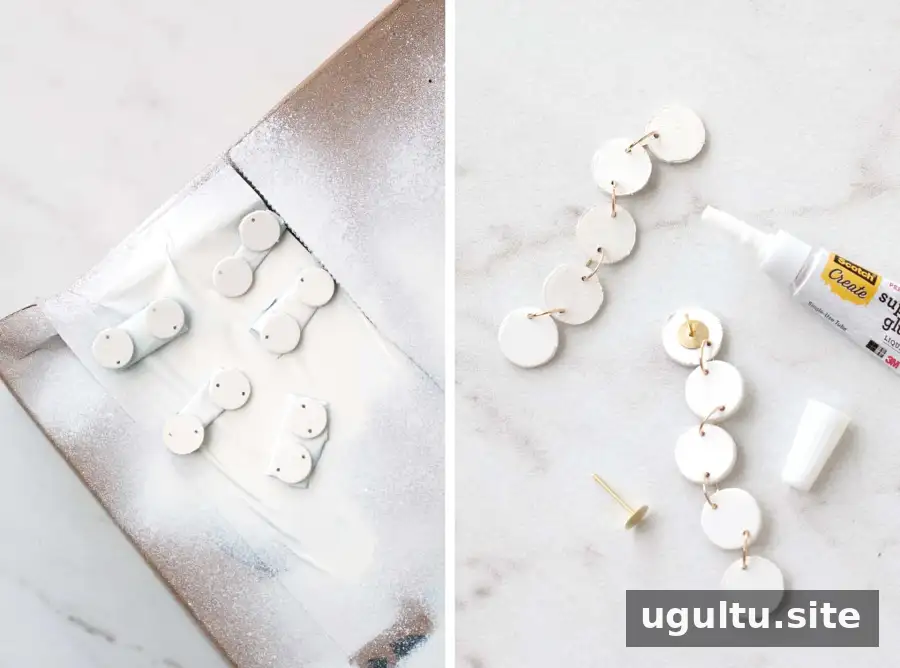
- Prime and paint. Coat all ten circles with primer or paint-and-primer. To keep them from shifting during spray painting, hold them down with rolled masking tape. Follow the paint’s drying instructions before handling.
- Connect and finish. Join the circles with jump rings. Pliers may be useful depending on the gauge of the rings. If using posts, glue them to the back of the top circle and allow the adhesive to set before wearing.
Small Graphic Stud Earrings

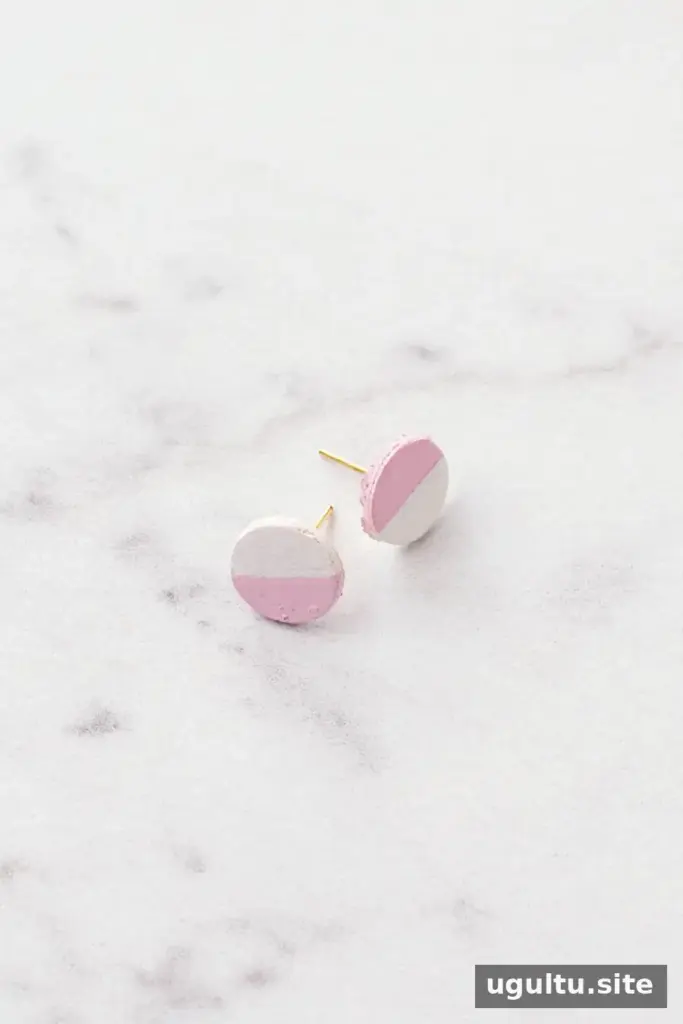
These compact studs are the quickest of the three styles and need no drilling. A two-color finish gives the small circles a crisp, graphic look.
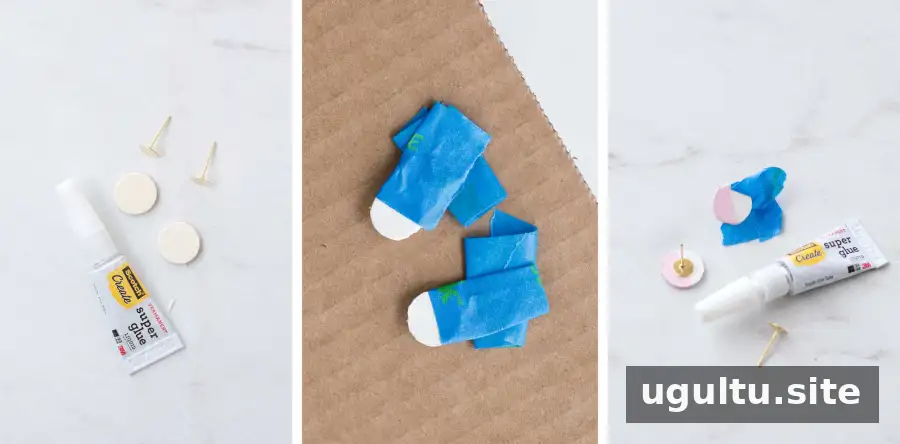
- Paint the circles. Prime and paint two small wooden circles. Once the first color is fully dry, cover half of each circle with painter’s tape and apply a darker color to the uncovered area.
- Attach the posts. After the paint has dried, glue an earring post to the back of each circle. Let the glue cure according to its instructions before wearing.
Finishing Tips
For neat color boundaries, press the painter’s tape firmly against the wood and remove it carefully after painting. When drilling, work on a stable surface and keep fingers clear of the bit. Use paint and adhesive according to their product directions, and make sure the finished pieces are completely dry before wearing them.
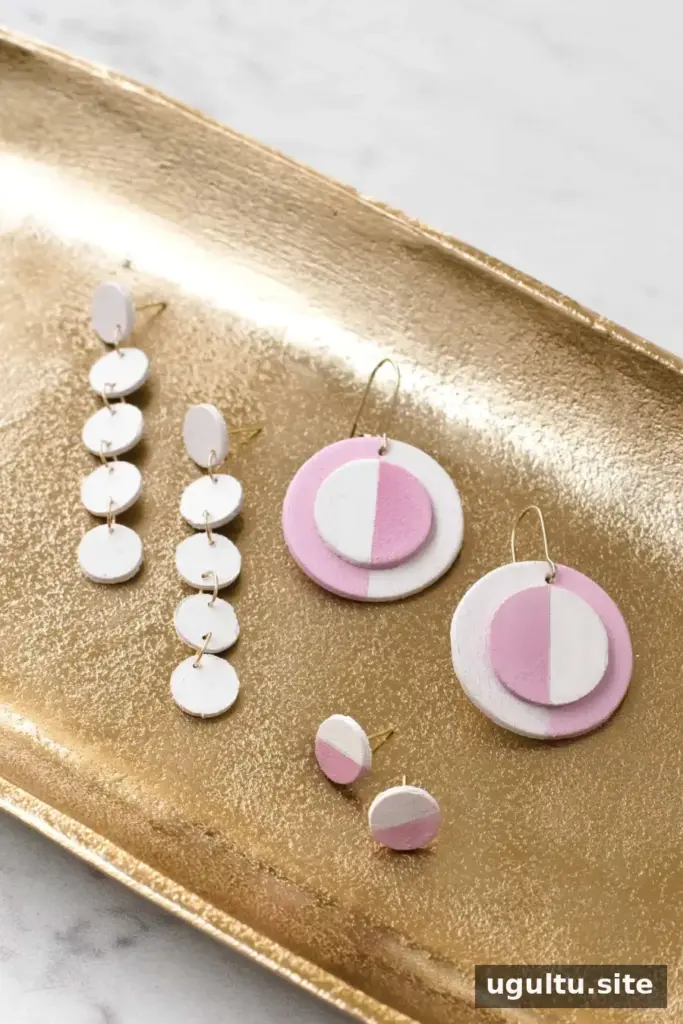
These DIY wooden circle earrings can be customized with different circle sizes and color combinations. For a more natural finish, wood stain can be considered in place of paint; test it on a spare circle first to check the color and finish.
—Mandi


