
 admin
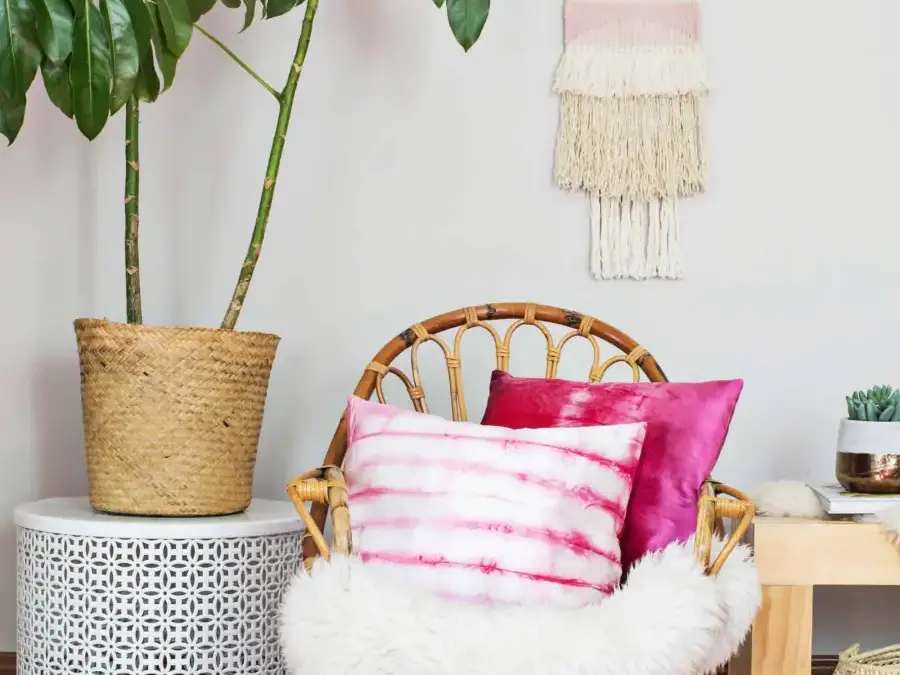
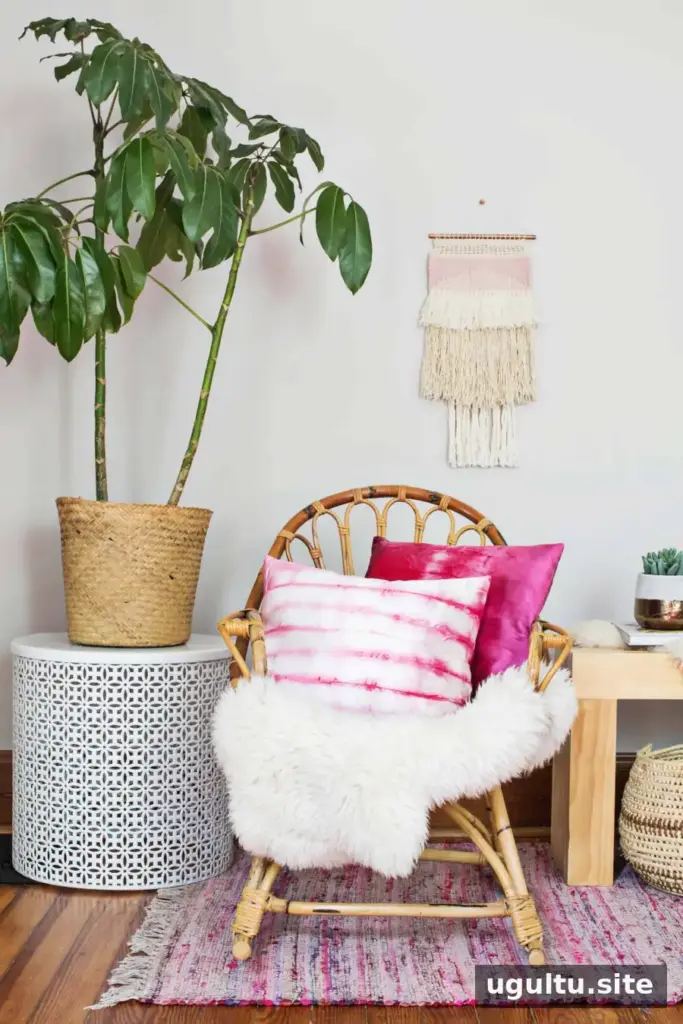
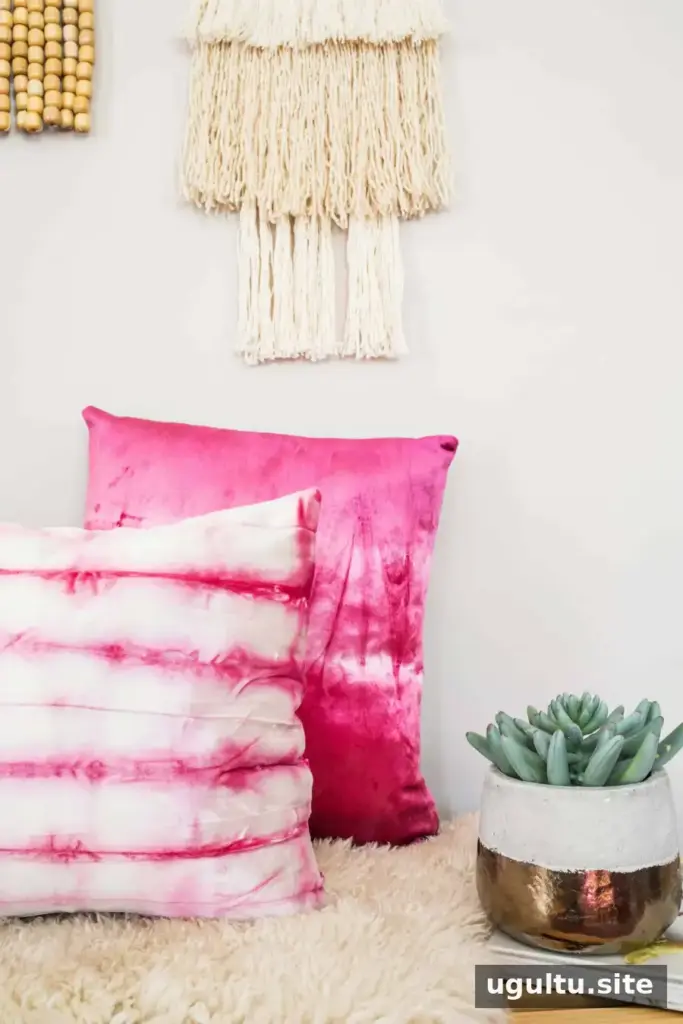
A dyed velvet pillow DIY is a simple way to refresh a room with color and texture. Synthetic-fiber dye can be used on velvet blends containing polyester, and folded Shibori techniques create varied patterns in the finished fabric. The instructions below use a pink base with an optional purple dip-dyed section for an ombre effect.
For a custom shade, test small fabric swatches before dyeing the full piece. You can also add a second color to the dye bath: the example project used 2 tablespoons of purple dye over a pink base. Follow the dye package directions for your specific fabric, and use a stainless steel pot reserved for dyeing rather than cookware used for food.
Supplies for a Dyed Velvet Pillow DIY
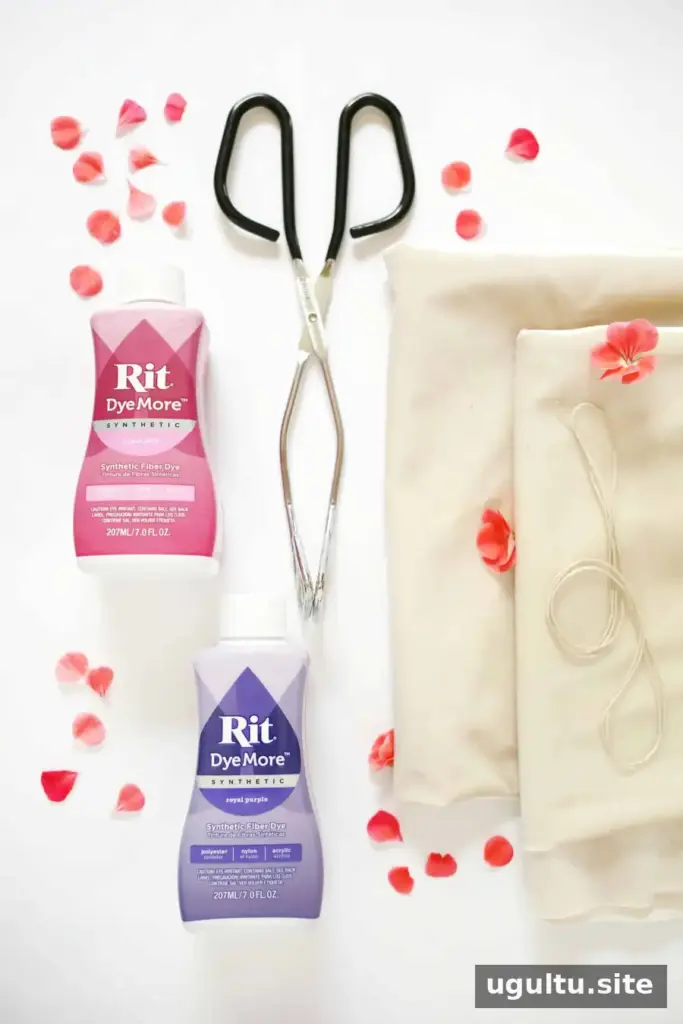
Supplies:
- One 7 oz. bottle of synthetic-fiber dye in your preferred color; use two colors for blending or an ombre effect
- Stainless steel pot
- Tongs or a long stirring spoon
- Plastic bag
- Rubber bands
- Sewing machine
- Straight pins
- Stuffing
- Needle and thread
Cut and Fold the Velvet
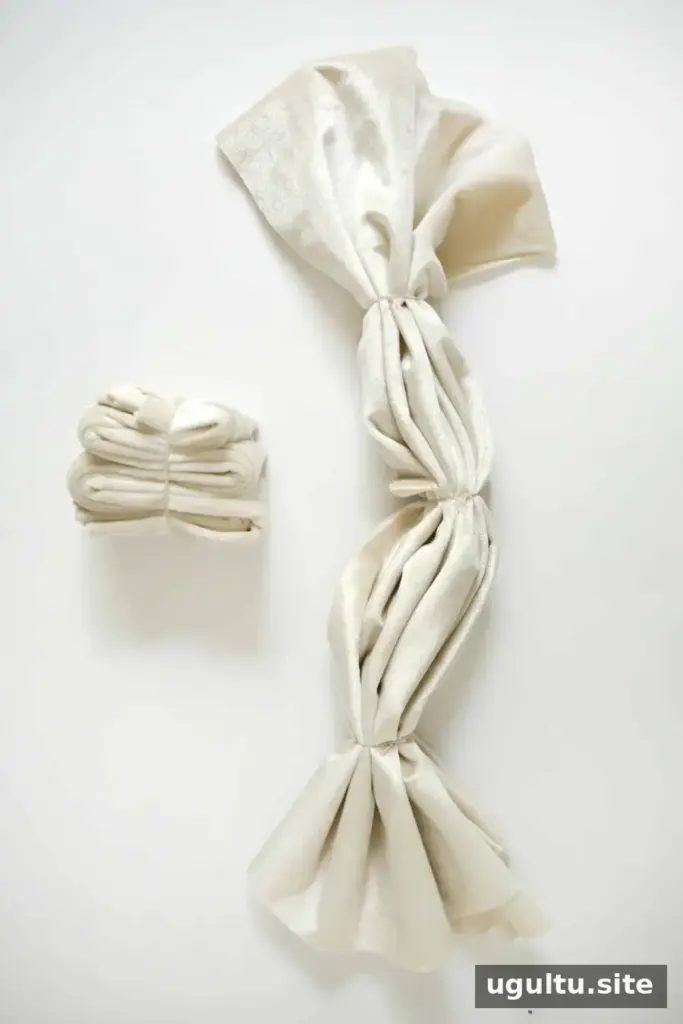
Cut the fabric to twice the desired pillow width, then add 1 inch to the height. For a 14-inch square pillow, cut a piece measuring 28 inches wide by 15 inches high. Dyeing the full pillow piece helps the color remain more consistent between the front and back.
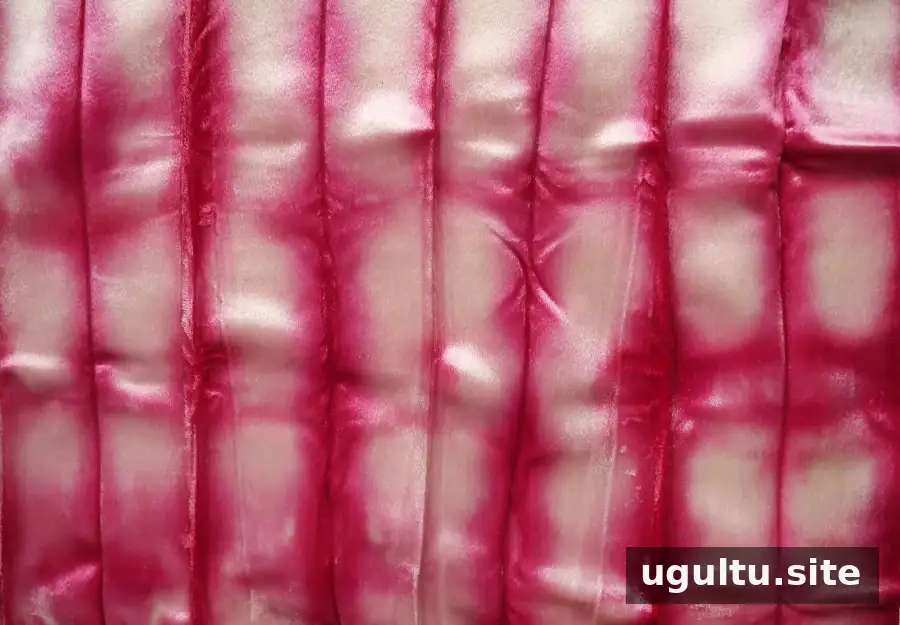
Choose a fold pattern before binding the fabric. For one variation, fold the fabric accordion-style and then into thirds. For another, make a looser accordion fold and secure it with rubber bands to divide the bundle into thirds. Tighter folds and bands affect how much dye reaches different areas, so expect each piece to have its own pattern.
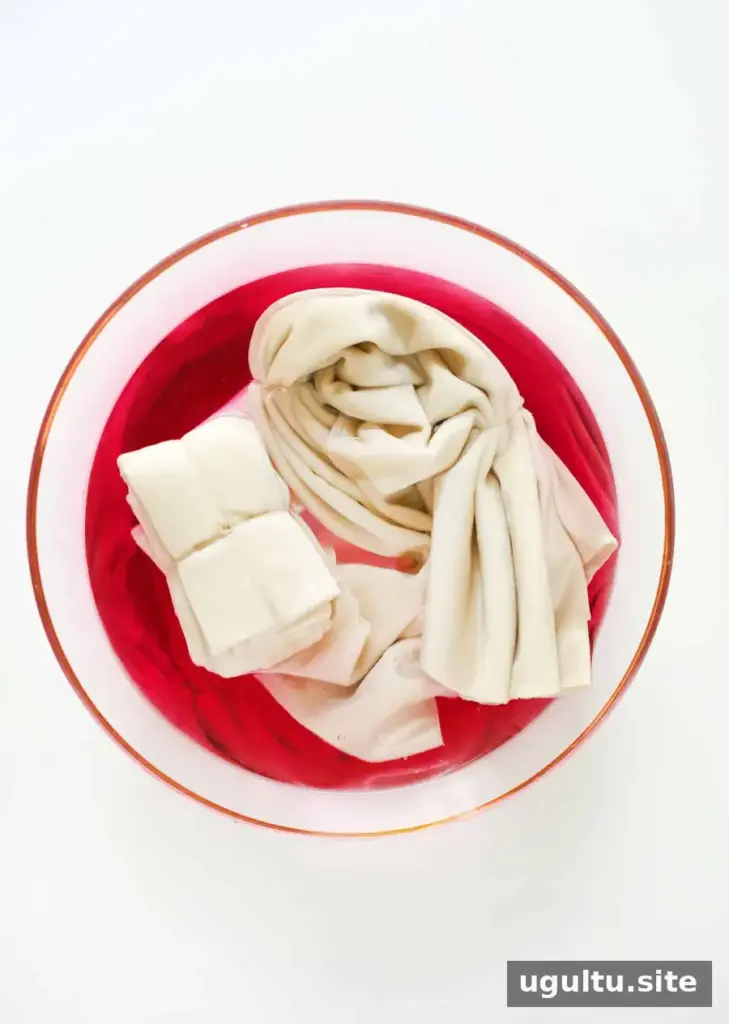
Soak the bound fabric in room-temperature water for 30 minutes. This helps the material absorb the dye. Keep the bundle tied during soaking so the folds stay in place.
Dye the Fabric and Create an Ombre Effect
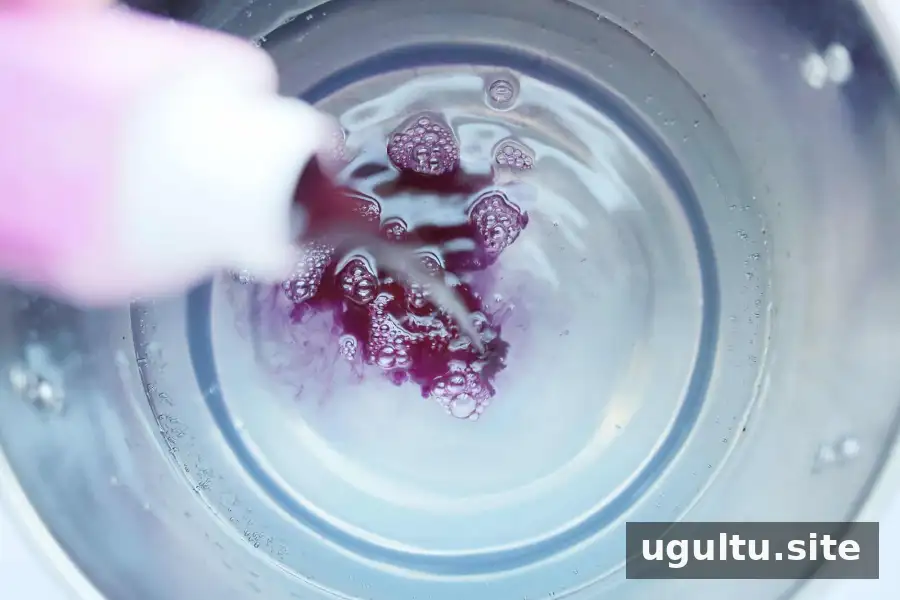
Add enough warm water to a stainless steel pot for the fabric to move freely. Heat it over medium-low with the pot covered. When the water reaches a simmer, with small bubbles forming and steam rising, add the synthetic dye and stir well. Using less dye produces a lighter shade. For more control, test the color on spare fabric first; the example used the full bottle of pink dye.
Add the wet fabric and stir gently so the dye reaches the bundle evenly. Stir for 30 minutes, then continue stirring every 5 minutes for another 30 minutes. Use tongs or a long spoon to move the fabric safely.
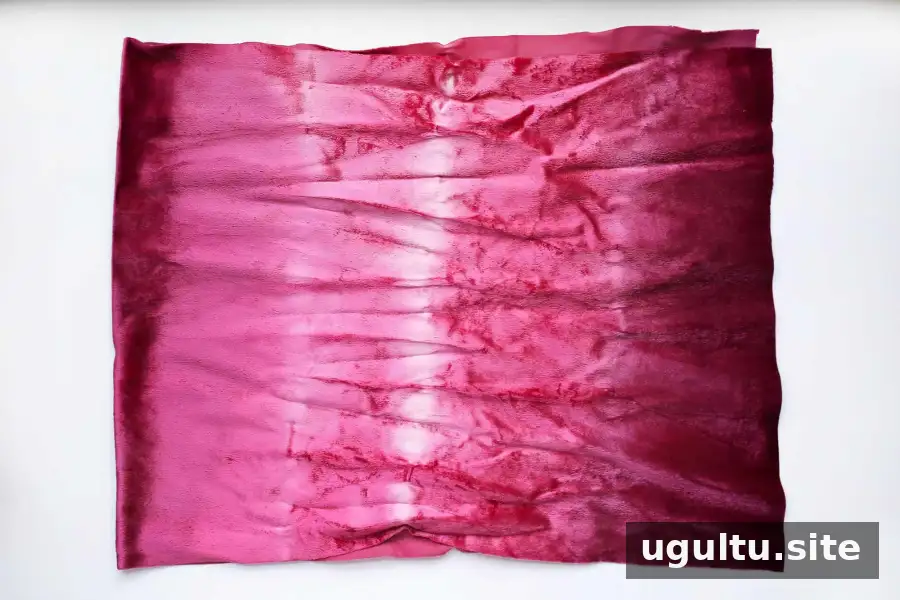
To add a second color, remove the fabric and set it on a plastic bag to cool. Stir the second dye into the pot, then dip the section you want to recolor. Keep the rest of the fabric away from the burner. Stir and leave the selected section in the dye for 15–20 minutes.
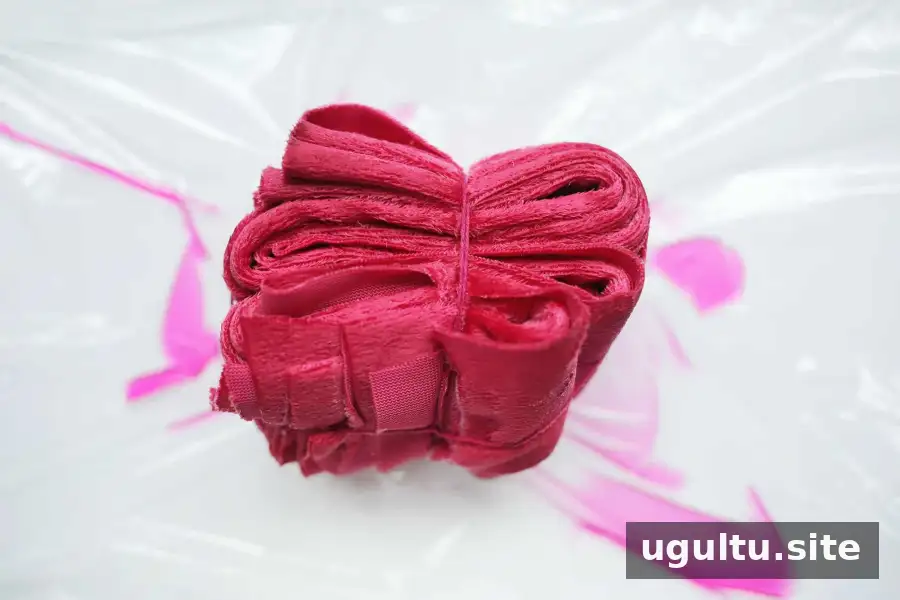
Lift the wet bundle from the pot and place it on the plastic bag to protect your work surface. Let it cool, remove the rubber bands, and rinse under cool water until the water runs clear. Hang the fabric to dry.
Sew and Finish the Pillow
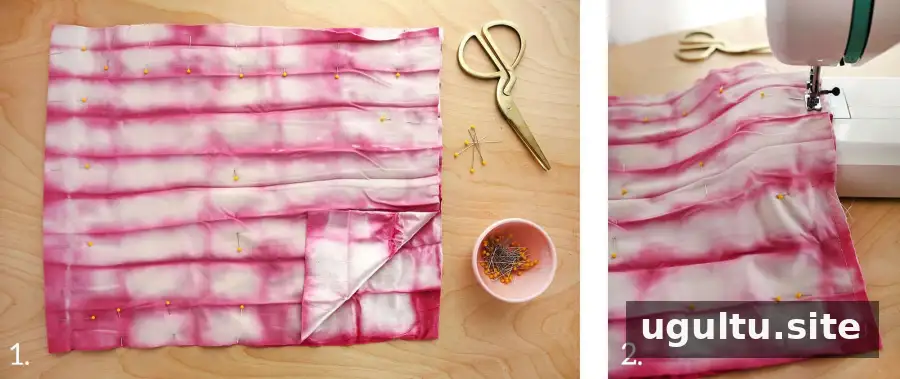
Step One: Fold the dry fabric in half with the two short sides together and the velvet faces turned inward. Pin around the edges, leaving a fist-sized opening in the middle of one short side for turning and stuffing.
Step Two: Sew around the perimeter, starting beside the opening and stopping at its other side. Keep the seam about 1/4 inch from the edge. Remove the pins and trim excess fabric without cutting into the stitches.
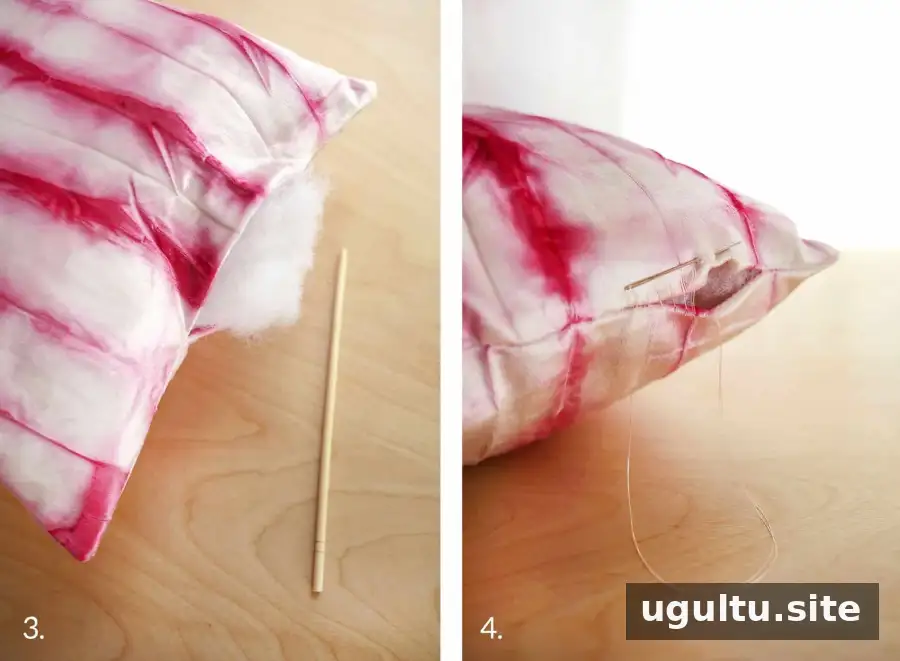
Step Three: Turn the cover right side out. Gently push out the corners with a semi-blunt tool, such as a chopstick, then fill the pillow with stuffing.
Step Four: Close the opening with an invisible ladder stitch. Stitch along the folded edge on one side, then across to the folded edge on the other side, repeating until the gap is closed. Knot the thread, pass it back into the pillow, and pull it through before trimming. Fluff the pillow to finish.
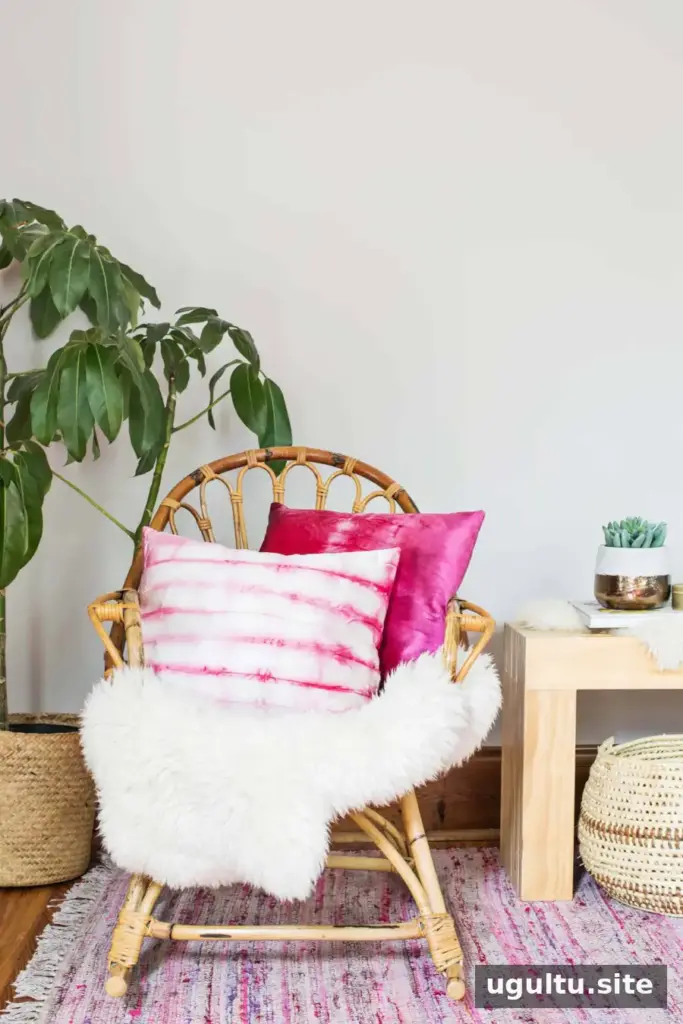
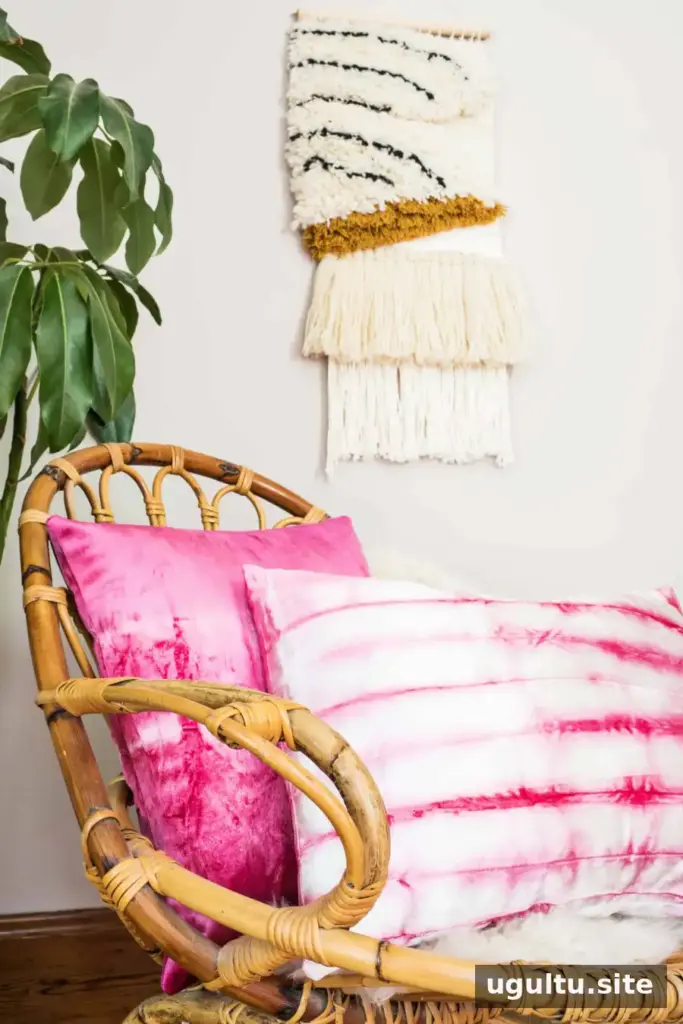
The same dyeing approach may also be suitable for a polyester velvet garment, provided the fabric and dye instructions are compatible. For the best results, test a hidden area or spare swatch first. This dyed velvet pillow DIY offers a way to explore color, folds, and subtle ombre shading while giving a room a seasonal refresh.
— Rachel


