admin
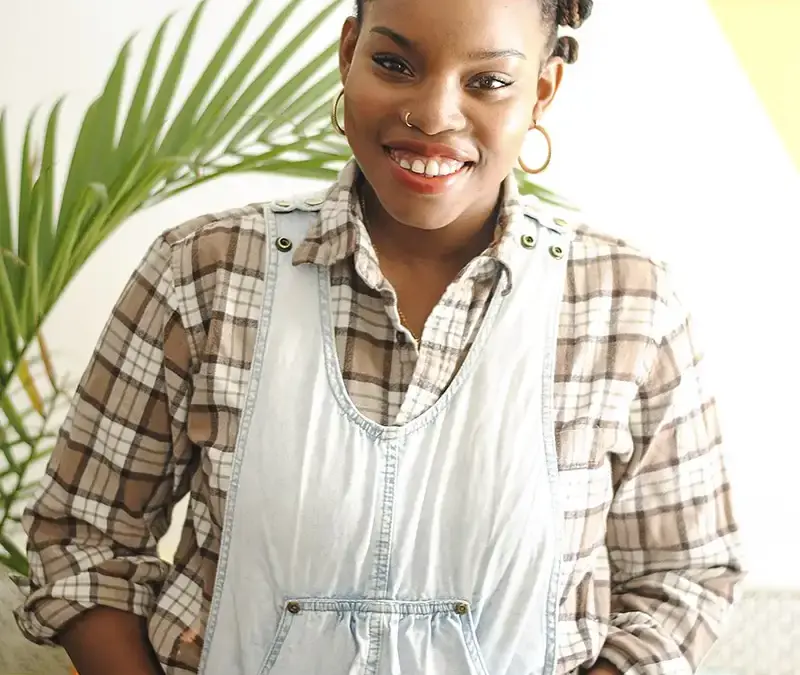
Bantu knots are a versatile hairstyle that can be worn as a striking look on their own or unraveled later to create defined curls. With a few basic supplies and a little sectioning, you can adapt Bantu knots to different hair textures and choose the size and number of knots that suit your preferred result.
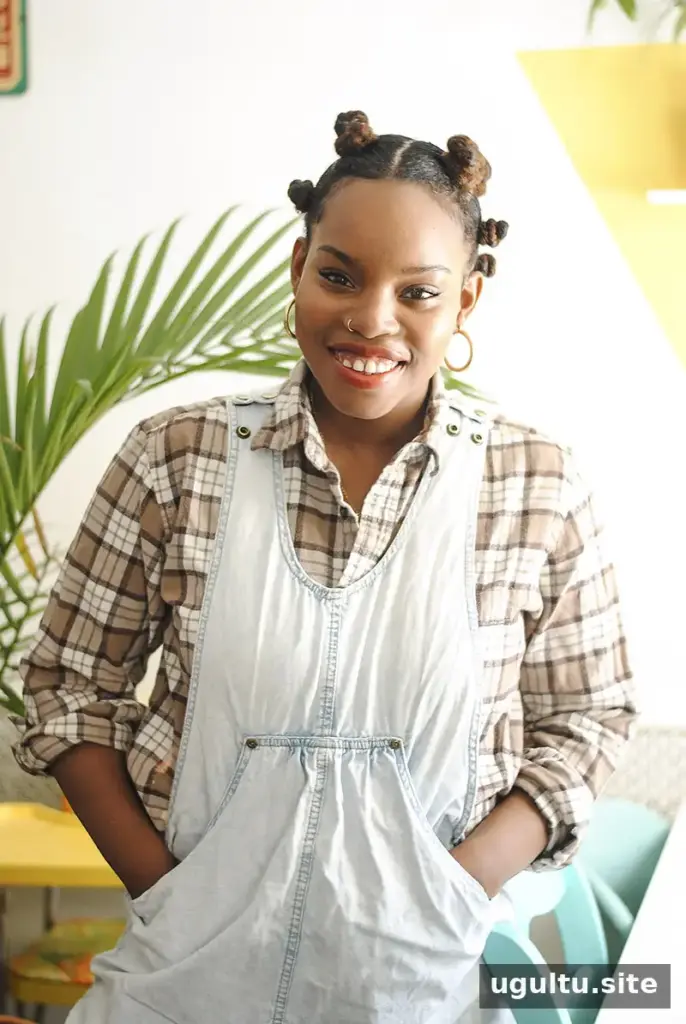
The finished style can look neat, playful, or bold depending on how you part the hair. Knotting sections also keeps the hair gathered while the style is in place. For comfort and a tidy result, work gently and avoid pulling the roots too tightly.
Bantu Knots: Supplies and Preparation
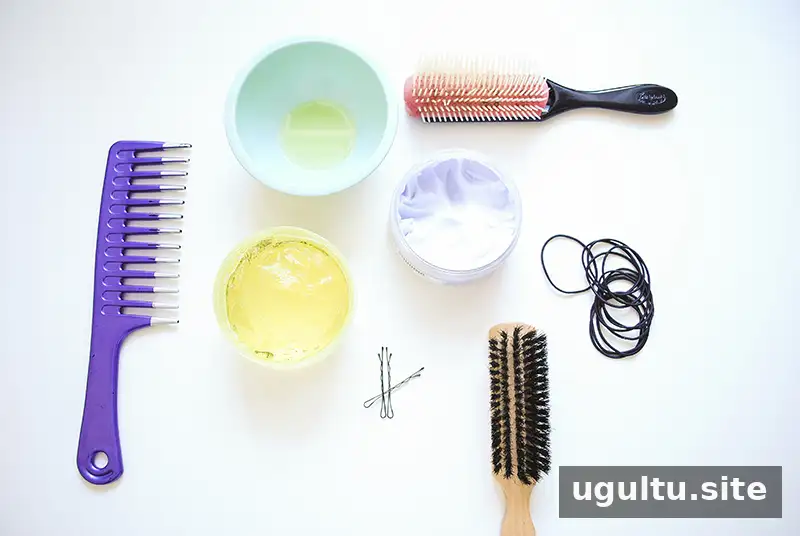
Gather these items before you begin:
- A wide-tooth comb
- A detangling brush
- Hair oil, such as almond and aloe oil
- A curl cream and styling gel
- Hair ties
- Bobby pins, if needed
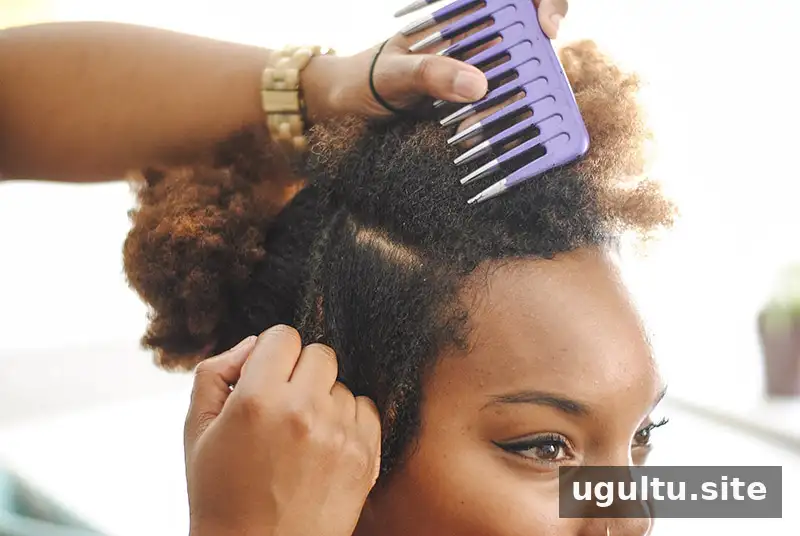
Start with freshly washed or co-washed hair. Gently detangle it and divide it into four main sections using a T-shaped part. Apply a small amount of oil, then comb each section carefully. Keep the other sections secured while you work so the hair stays organized.
How to Create Bantu Knots
1. Divide the hair into smaller sections
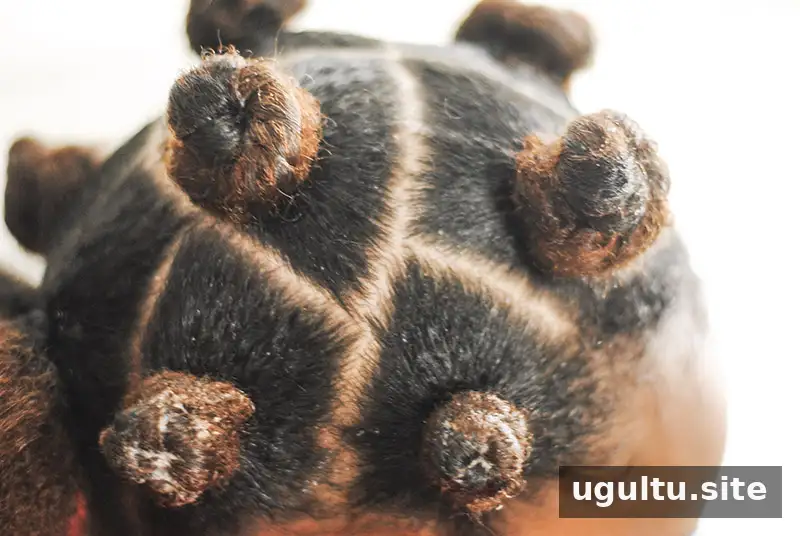
Choose how many knots you want in each of the four larger sections, then make smaller parts accordingly. The example style uses about four knots per section and creates relatively large knots. Adjust the number and size to match your hair density and the look you want: smaller sections generally make more, smaller knots, while larger sections create fewer, larger ones.
For more consistent results, use a comb to make clean parts and keep the sections similar in size. You can use clips or hair ties to keep sections separate as you go.
2. Apply your styling products
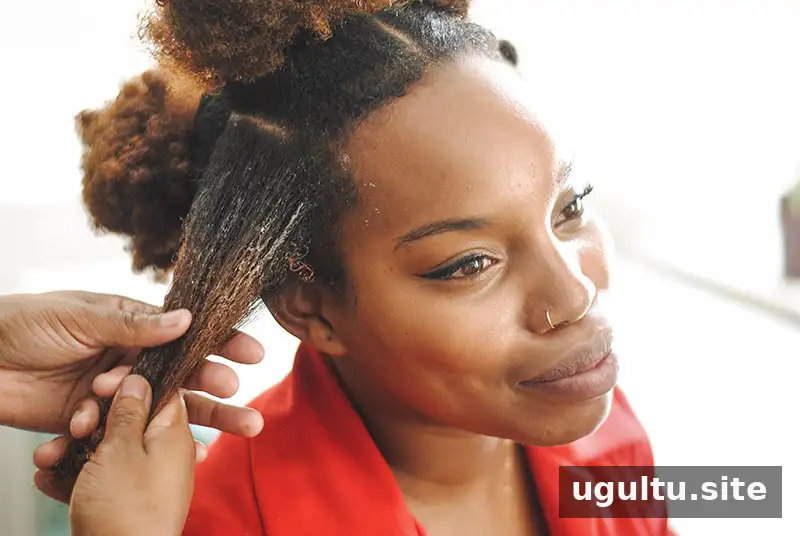
Apply curl cream and gel to each small section using the “praying hands” method: smooth the product between your palms, then glide your hands down the hair. Work through one section at a time and gently comb it through to distribute the product. Use a modest amount so the hair is coated without becoming overly heavy or sticky.
3. Twist each section
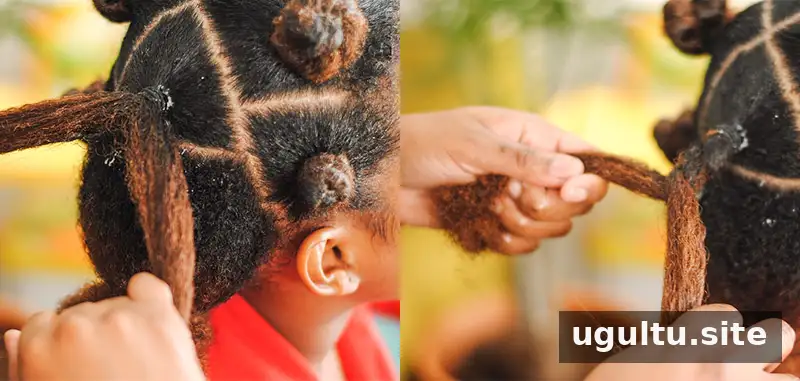
Secure one small section into a ponytail with a hair tie. Divide the ponytail into two strands and twist them around each other. A two-strand twist is used here, but braiding the section first can create a different curl pattern when the knots are taken down. Choose the method that best suits your desired finish.
4. Coil the twist into a knot
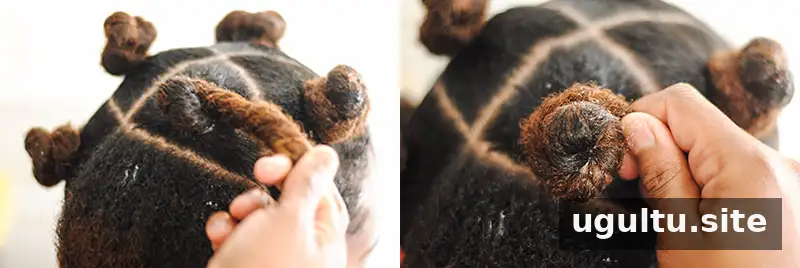
Wind the finished twist clockwise around its base to form a knot. Tuck the end underneath the coil or secure it with a bobby pin. Repeat these steps for the remaining sections, keeping the knots secure but comfortable. If a knot feels too tight at the scalp, loosen it rather than pulling harder.
Wearing and Taking Down the Style
Once all the knots are complete, check that the parts look the way you want and that each knot feels secure. Bantu knots can be worn as a standalone style, and the sections can also be unraveled afterward for a curled look. Hair texture, section size, and the twisting method all affect the final pattern, so results may vary from person to person.
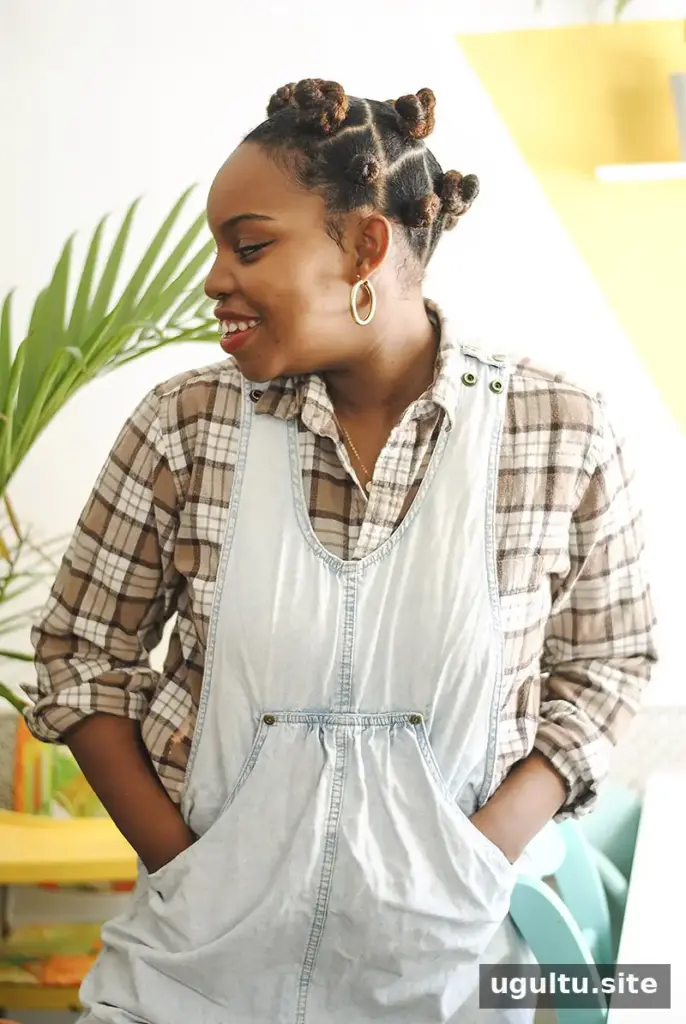
If you plan to take the knots down for curls, allow the hair to dry fully first. Carefully remove pins or ties, then unwind each knot gently to help preserve the shape. Separating the curls with your fingers can add volume; for more definition, handle the hair sparingly.
This look can be adjusted for straight, fine, thick, or textured hair, though the amount of hold and the finished curl pattern will differ. Use sections that are comfortable to manage, and choose products that work well with your own hair. Bantu knots offer a simple way to create a distinctive style while keeping sections of hair twisted and gathered. With careful parting and gentle tension, this Bantu knots tutorial can help you tailor the look to your hair and styling goals.
— LaTonya