
 admin
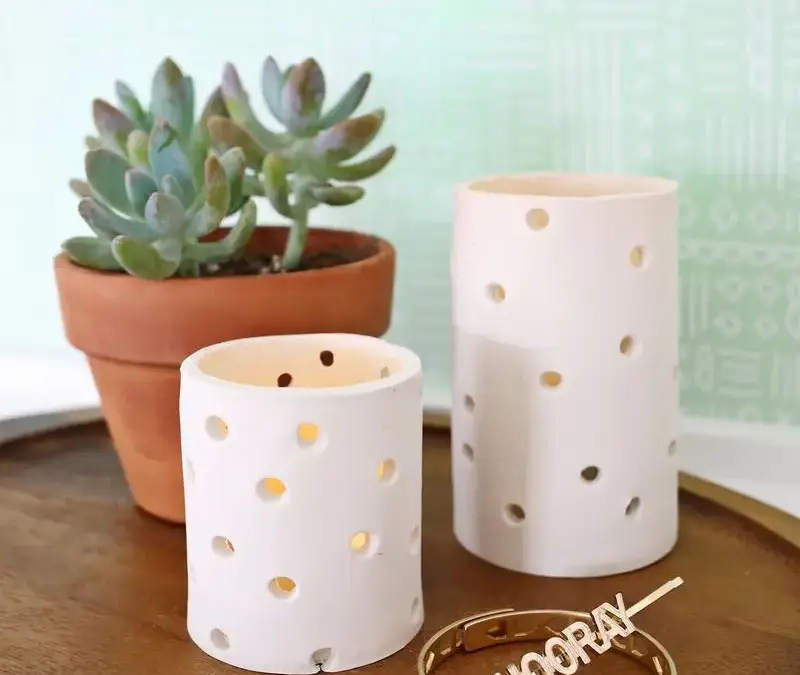
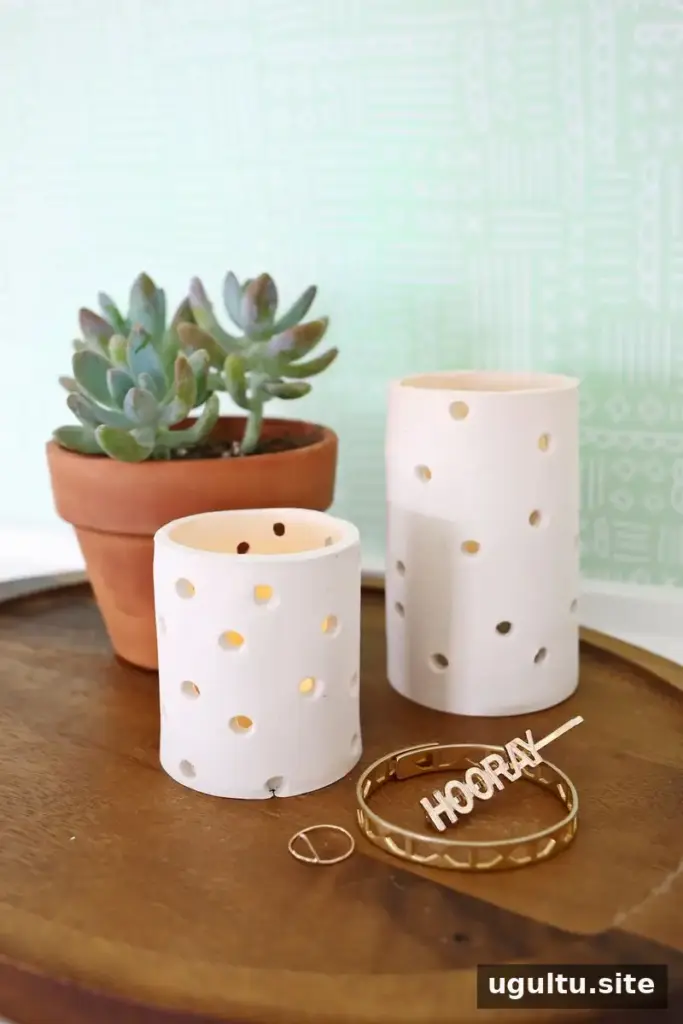
A clay votive holder DIY is a straightforward way to add a soft, patterned glow to a room without using an open flame. This project uses oven-bake clay to form a round base and a perforated cylinder, then pairs the finished holder with an LED tea light. You can make one or several holders, adjust their heights, and choose a clay color that suits your space.
Materials for a Clay Votive Holder DIY
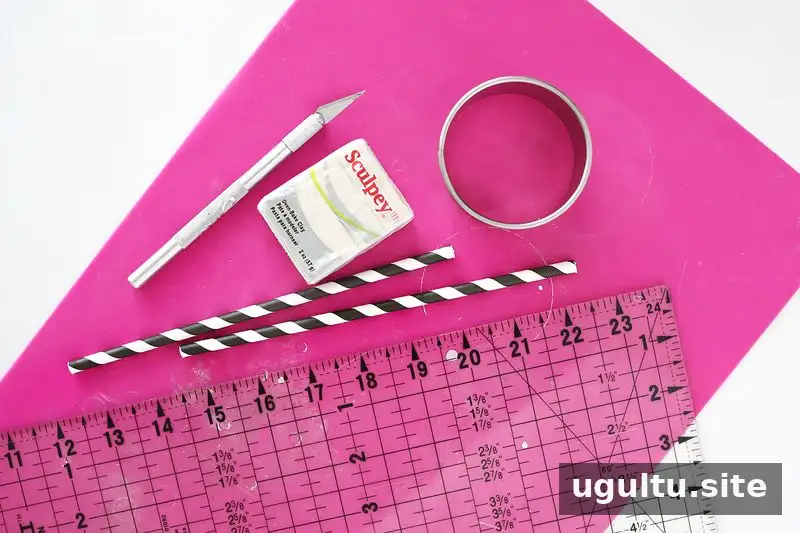
Supplies:
- Oven-bake clay
- A non-stick mat and non-stick rolling pin
- A ruler
- Clay knives or an X-Acto knife
- Straws for making the holes
- A round object or circle cookie cutter
Use a clean, level work surface and check the clay packaging before you begin. The package instructions provide the correct baking temperature and time for your particular clay.
Measure and Shape the Clay
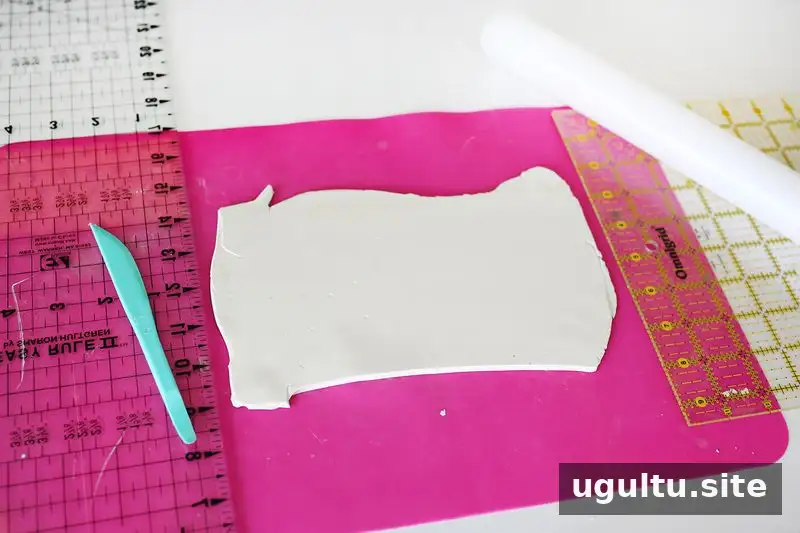
The holder has two parts: a circular bottom and a rectangle that wraps around it to form the sides. Choose a round object or cookie cutter for the base. Measure around its edge to find the circumference; this measurement determines the rectangle’s length. For example, an 8-inch circumference calls for an 8-inch-long rectangle.
Two holders can be made with the same circumference but different heights for a staggered display. In this example, the rectangles measure 8 × 3 inches and 8 × 4.5 inches.
Roll the clay on a non-stick mat until it is about 1/4 inch thick, making the sheet slightly larger than the planned rectangle. For a more even thickness, place two objects of equal height on either side of the clay as guides. Two rulers that are about 1/4 inch thick can work well. Roll gently and check the thickness as you go.
Cut the Pattern and Base
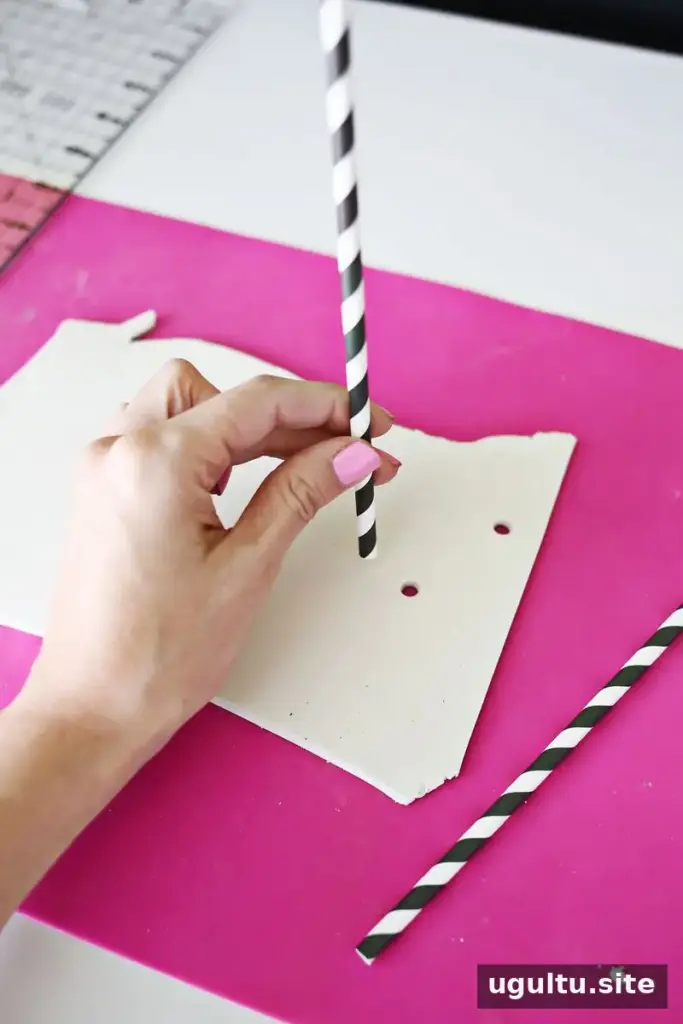
Press straws into the rolled clay to make decorative openings. Space the holes so there is enough clay left to keep the cylinder stable. If the perforations are too close together or cover too much of the sheet, the sides may be harder to stand up and shape.
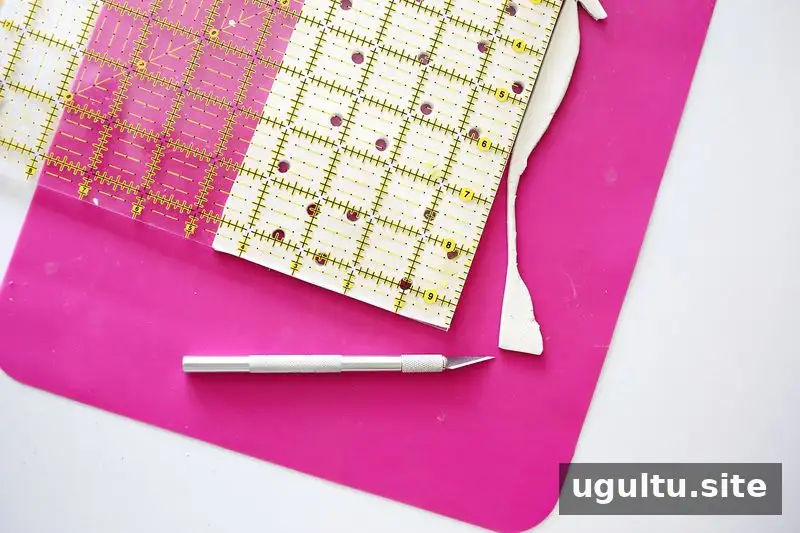
Measure and cut the rectangle to its final dimensions with a clay knife or X-Acto knife. Cutting the rectangle before making the holes can help keep the pattern within the edges. However, pressing in the straws may stretch the clay slightly, so work carefully and avoid pulling the sheet out of shape.
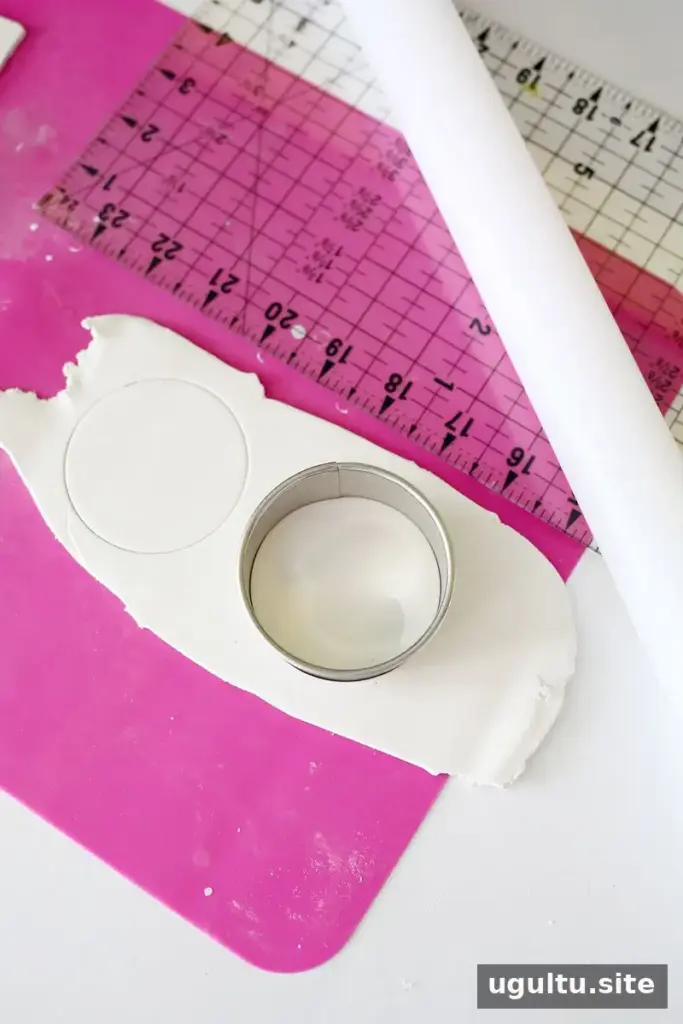
Roll out another piece of clay to the same thickness. Cut a circle for the base with a cookie cutter or trace around your chosen round object, then cut along the outline.
Assemble and Bake the Votive
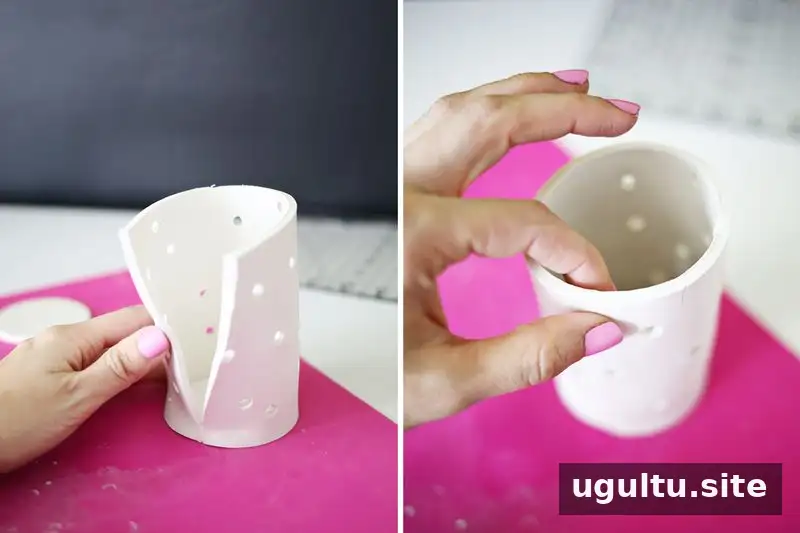
Wrap the rectangle around the circular base until its ends meet. Gently press the edges together along the side, then smooth the clay lightly in one direction across the seam. Use a gentle touch to avoid flattening the shape or distorting the holes. Take time to check that the cylinder sits evenly around the base.
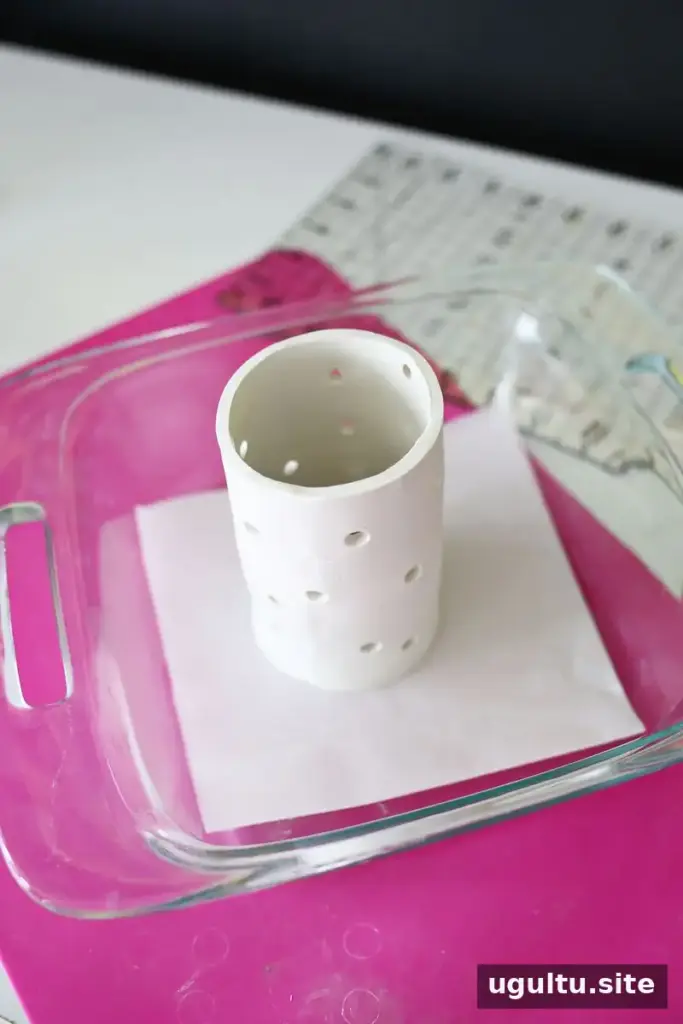
Bake the holder according to the oven-bake clay package instructions and let it cool completely before handling. Place an LED tea light inside once the clay is cool. Use an LED light rather than a real candle, and do not put an open flame in the clay holder.
Customize Your Clay Votive Holder
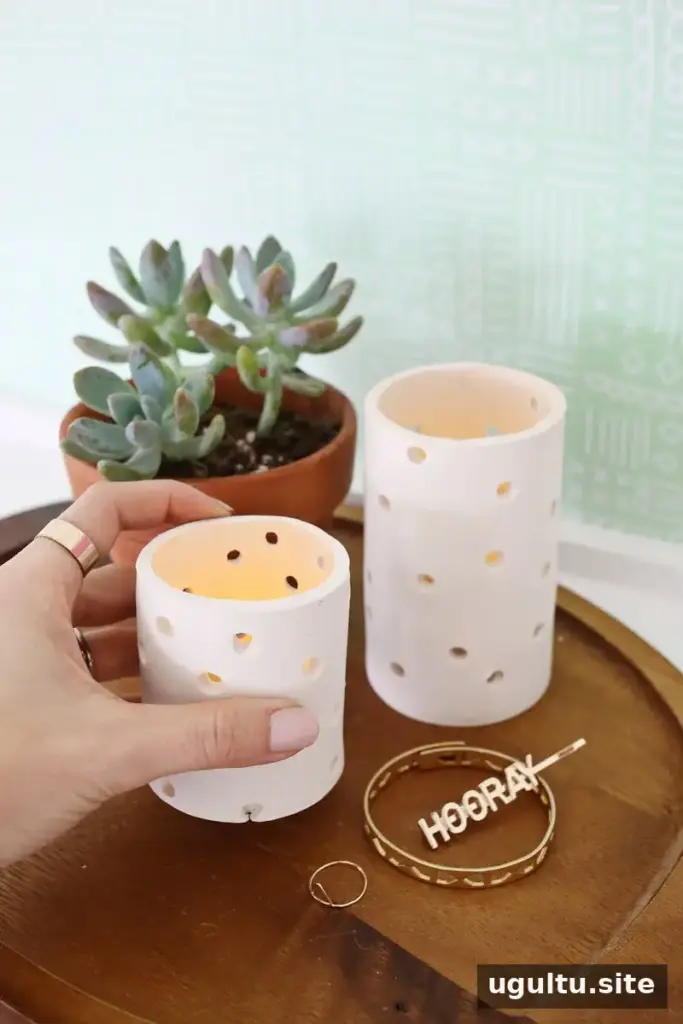
A simple white finish gives the holder a clean look, while colored clay can create a different effect. Try straws in different sizes for varied openings, or arrange the holes to suggest a letter or monogram. If you make several, vary their heights while keeping the base circumference consistent for a coordinated grouping.
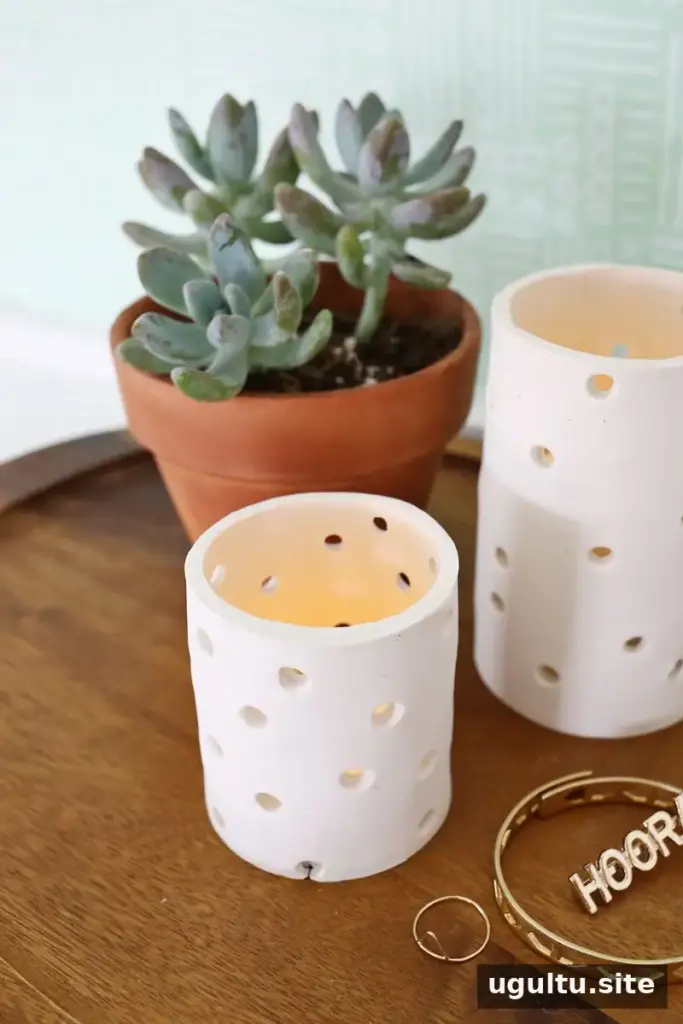
Before baking, check that the seam is secure and the base sits flat. These small checks can help the finished holders keep their shape and stand steadily. With a few basic tools, this clay votive holder DIY can be adapted to different colors, patterns, and display arrangements.
Project by Laura.


