
 admin
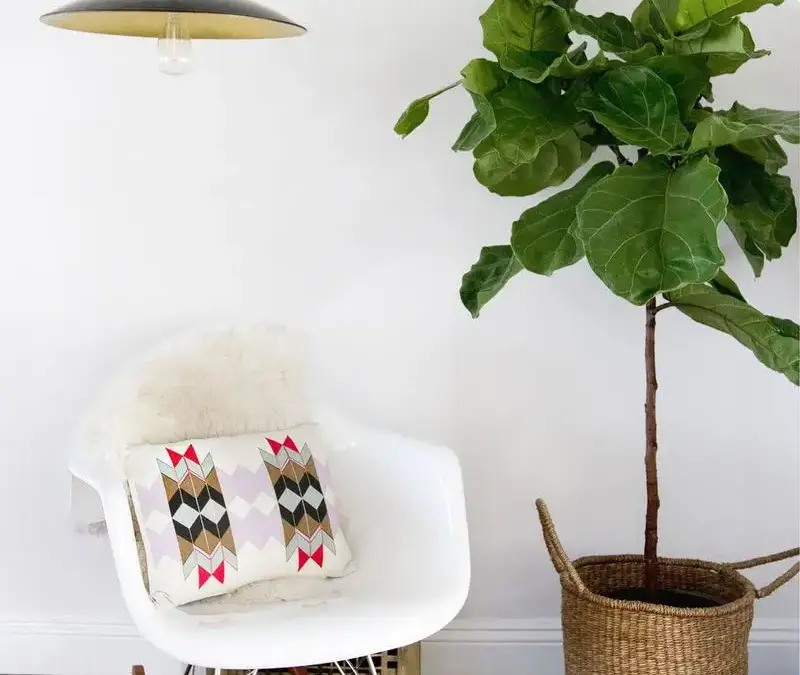
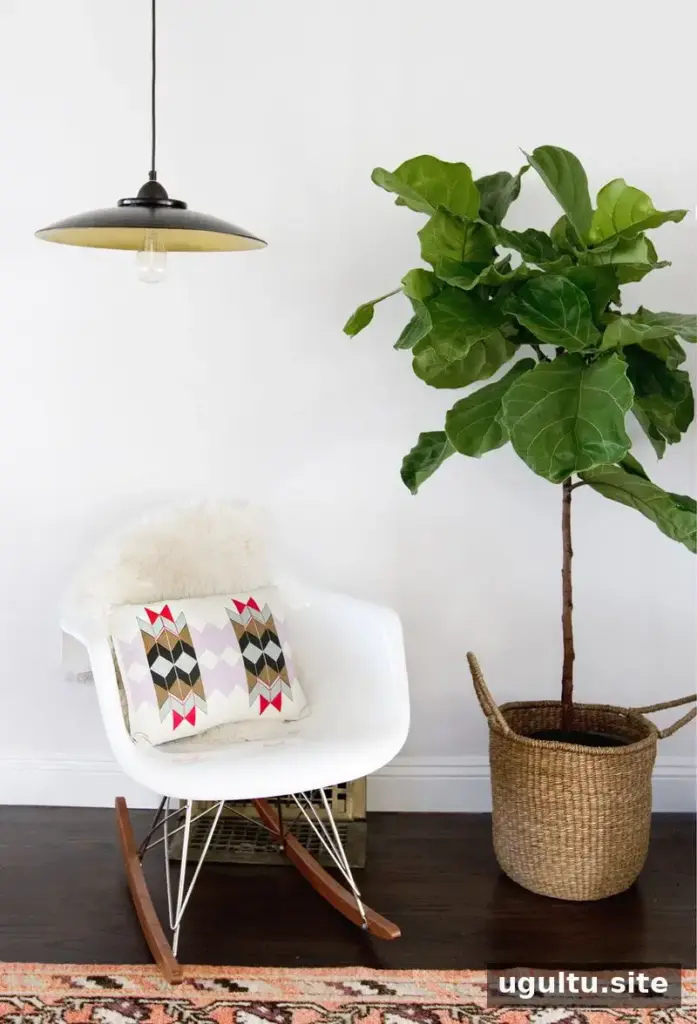
A DIY pendant lamp can add a modern focal point to a room without requiring a complicated shade-making project. This design turns a decorative metal bowl into a pendant shade using a pendant light kit and a few basic tools. The project idea came from maker Lauren Bradshaw, and the instructions are by Sarah Sherman Samuel.
DIY Pendant Lamp: Materials and tools
Gather the items below before starting. Check that the pendant kit is suitable for the shade you plan to use, and follow its instructions for installation.
- A decorative metal bowl or dish
- A pendant light kit with a threaded fitting
- A power drill
- A 1.75-inch hole saw
- An antique-style light bulb that is compatible with the pendant kit
- Safety glasses
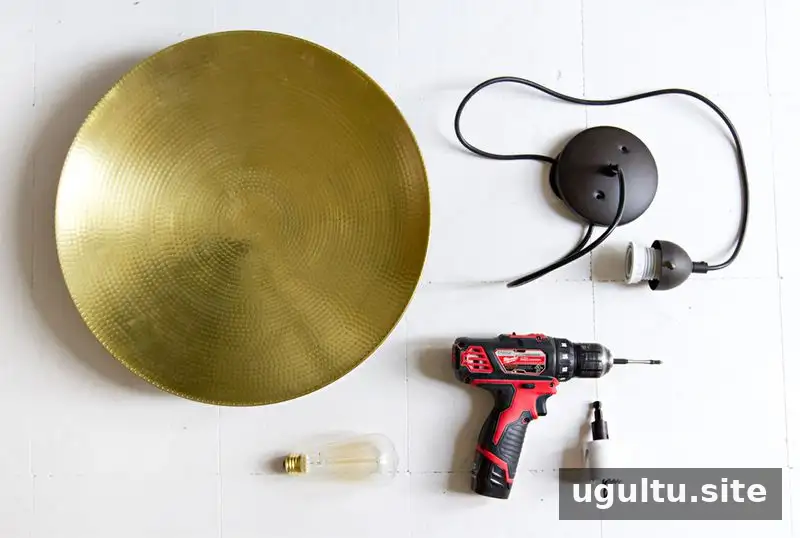
A steady work surface helps keep the bowl from shifting while you measure and drill. Protect the surface underneath it, and make sure the bowl is stable before using the drill.
How to make the bowl pendant shade
1. Mark the center
Turn the bowl over and measure to find the center of its base. Mark the spot clearly. Accurate placement helps the pendant hang evenly once assembled.
2. Drill the opening
Fit the 1.75-inch hole saw to the drill and carefully cut through the marked point. Drilling metal can take steady pressure and patience, so work slowly and keep the bowl secured. Wear safety glasses: drilling may produce small metal fragments and dust. Keep hands clear of the cutting area, and stop if the bowl moves or the tool catches.
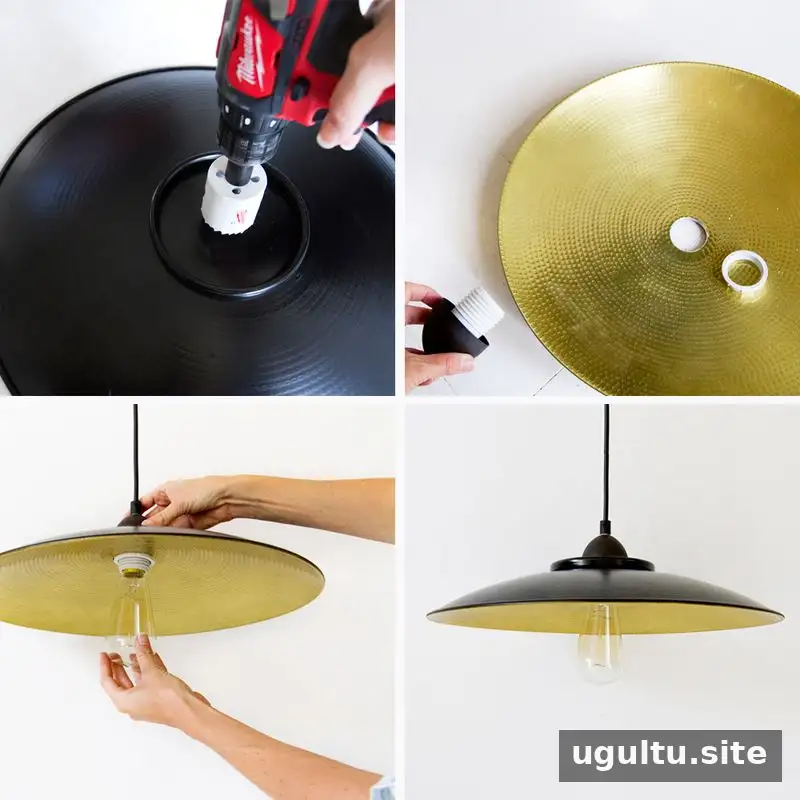
After making the opening, check that the threaded part of the pendant fitting passes through it. If the hole is rough, handle the edge carefully to avoid cuts. Do not force a fitting into an opening that is too small.
3. Fit the pendant kit
Insert the threaded section of the pendant kit through the hole, then secure it with the kit’s retaining ring as directed by its manufacturer. The shade should sit firmly without wobbling. Use only components that are compatible with the metal shade, and do not proceed if any part appears damaged or does not fit securely.
4. Hang and check the light
Have the pendant installed according to the kit instructions. Electrical work should be done by a qualified professional when required by local rules or when you are unsure how to install it safely. Before use, confirm that the shade is secure and that the bulb is the correct type and rating for the fixture.
Where to use a DIY pendant lamp
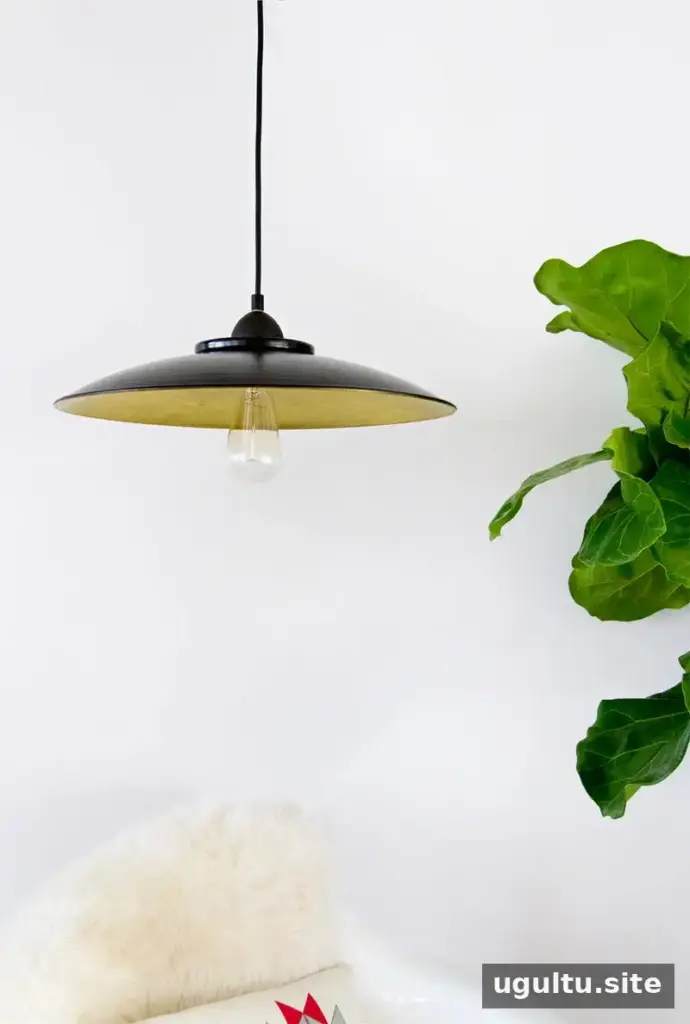
The finished shade can suit a reading nook, a dining area, or a pair of bedside pendants. Before choosing a location, consider ceiling height and how the light will be used. A pendant above a table should hang high enough to avoid obstructing views, while a bedside fixture should be positioned so it does not interfere with movement around the bed.
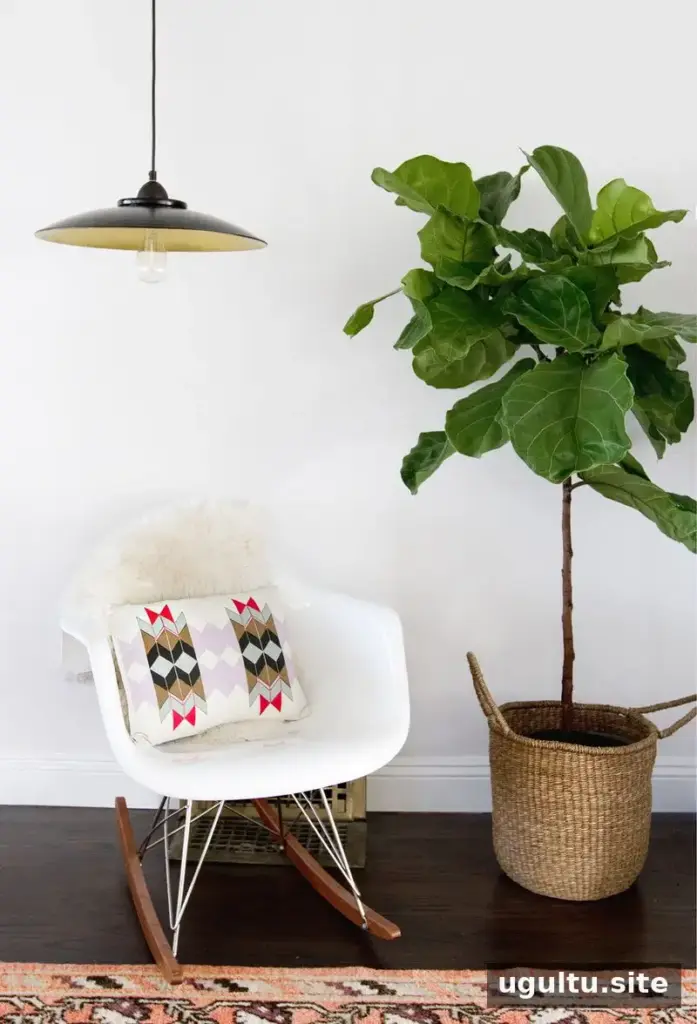
This simple DIY pendant lamp project offers a way to create a distinctive light from a bowl and a standard pendant kit. Measure carefully, drill with eye protection, and verify that every component is compatible and securely installed. Those checks help the finished lamp look polished and make the project safer to complete.


