
 admin
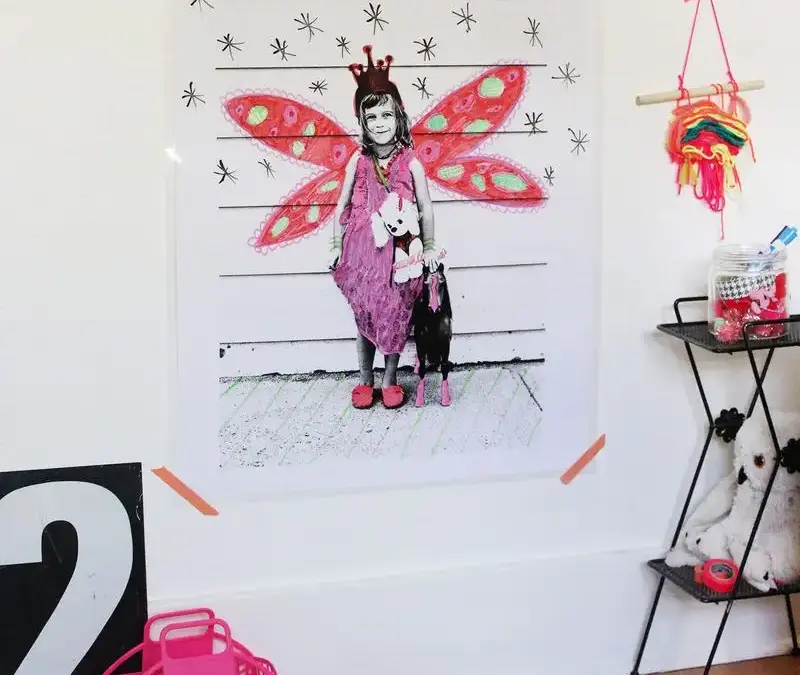
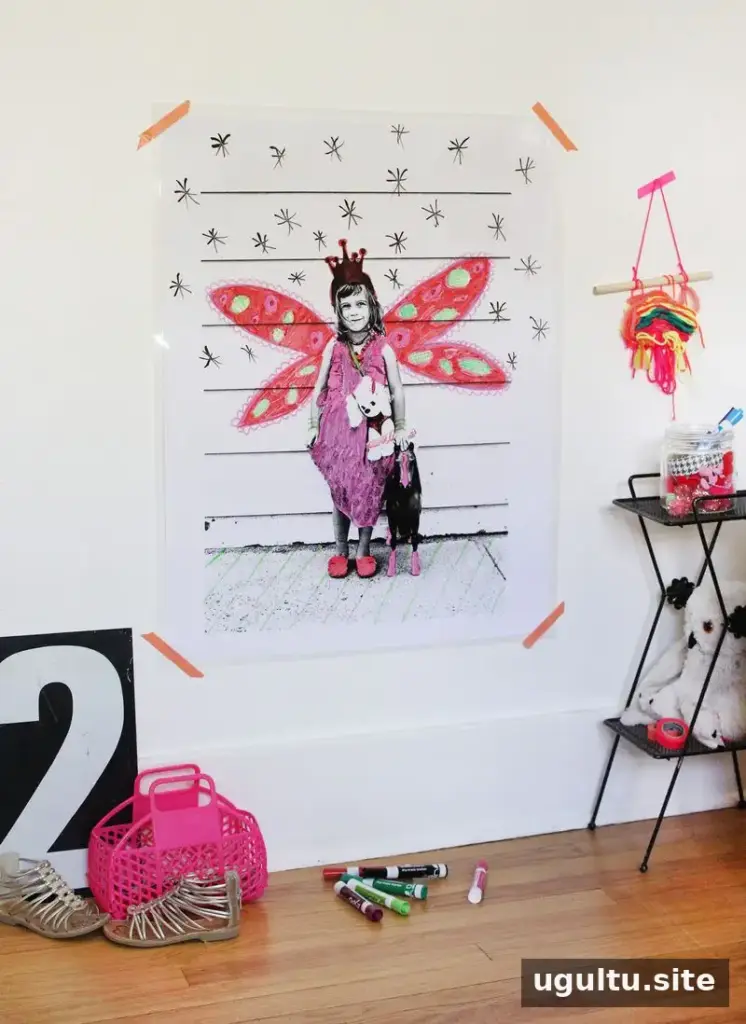
A Dry Erase Wall Art DIY project turns a personal photo into a large, reusable drawing surface. A blueprint-size print, glossy lamination and dry erase markers give children space to add colors, details and imaginative touches—without drawing directly on a rental wall. It can also offer a relaxed way to practise drawing and fine motor skills.
How to Make Dry Erase Wall Art DIY
This project is easiest to prepare before inviting a young artist to decorate. Choose a photo with a clear subject and enough open space for drawing. A portrait can be especially fun because children can color clothing or add details such as wings and accessories.
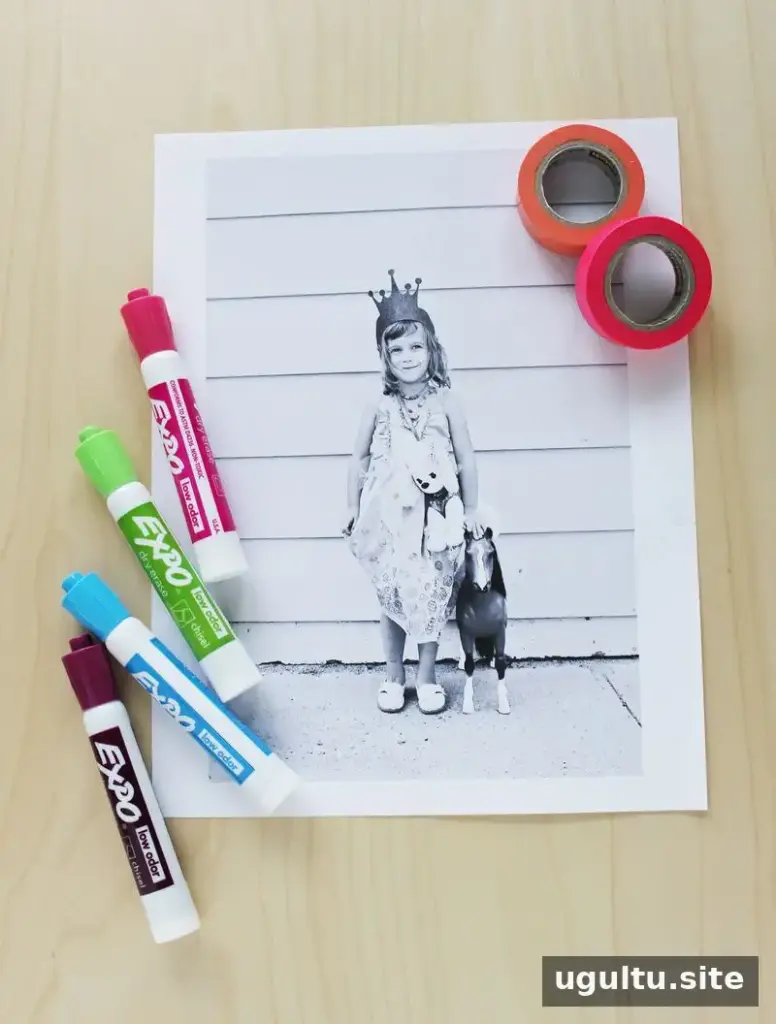
Supplies:
- A printed photo
- Access to a blueprint-size printer at a copy shop
- Dry erase markers
- Washi tape
- Poster putty
- Glossy lamination for the large print
- A soft cloth or tissues for wiping
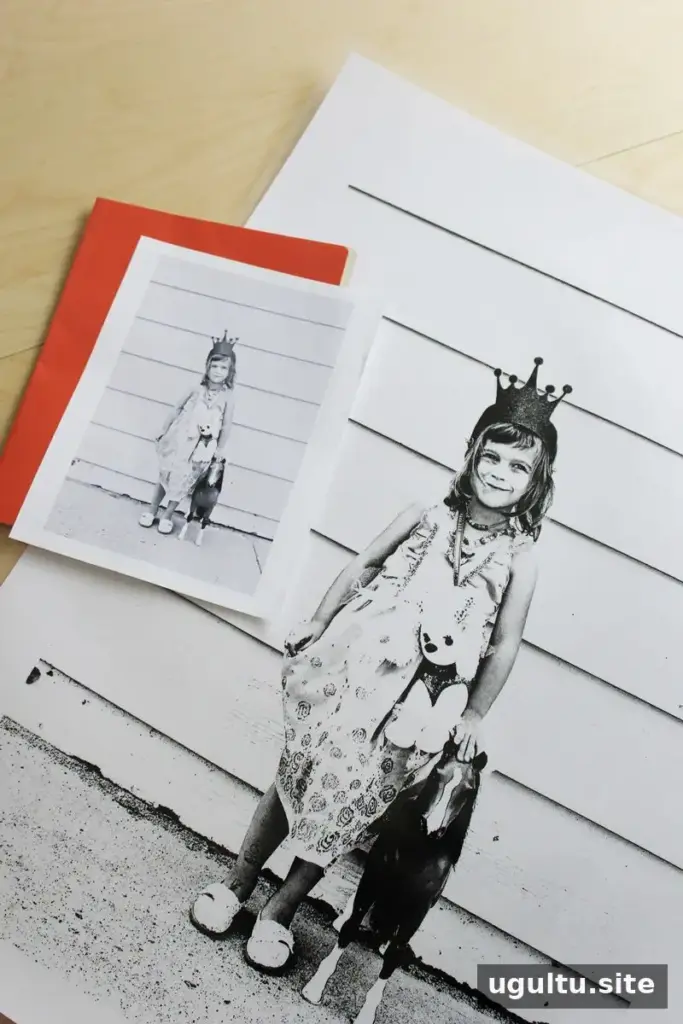
Take a photo, then use photo-editing software or an app to make a black-and-white version if you want a simple outline or coloring-page effect. Print a small copy at home first to check that the image looks clear. Then bring the file or print to a copy shop and ask whether it can be enlarged on a blueprint-size printer and laminated with a glossy finish.
Once the print is ready, attach it to the wall with poster putty. Add washi tape to the corners if you like the finished look. Before mounting, check the putty instructions and test it in an inconspicuous area, especially on delicate paint or wallpaper. Make sure the poster is secure and within easy reach of the child.
Set Clear Drawing and Cleanup Rules
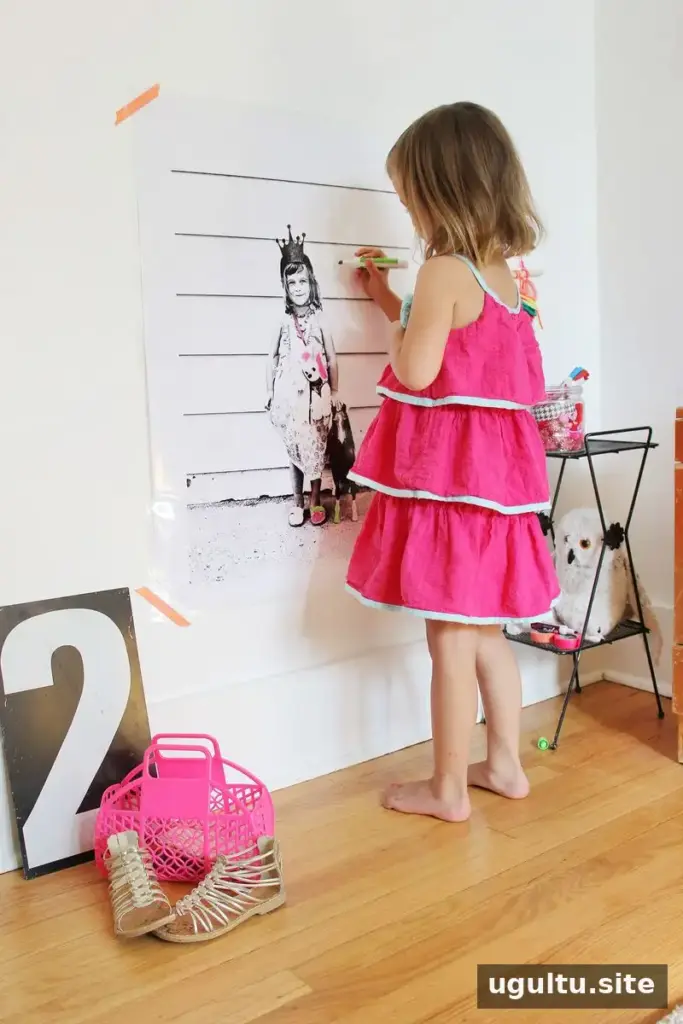
Show children that the markers are for the laminated poster only. Demonstrate how a mark can be wiped away with a tissue or soft cloth, so they know they can change a color or correct a drawing. For younger children, keep the markers and cleaning cloth nearby and supervise their use.
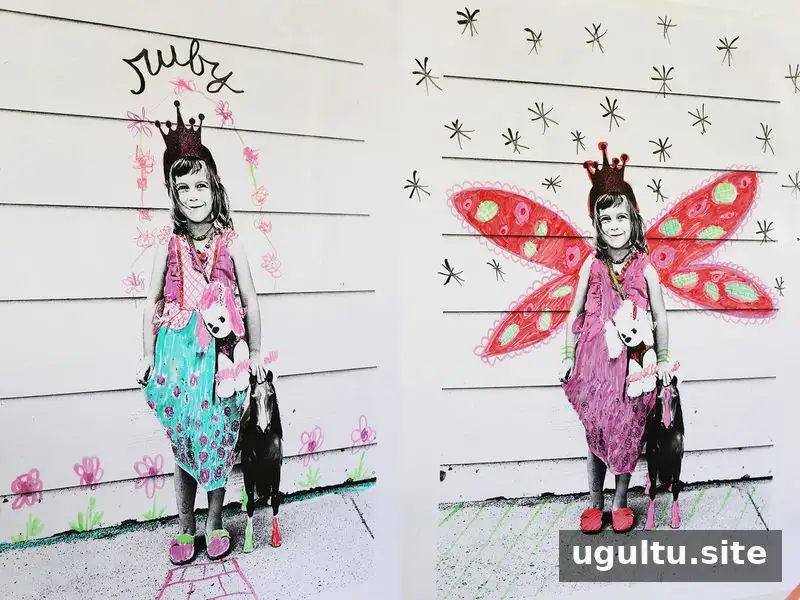
Start by decorating the picture together, then let the child add their own ideas. They might color the clothing, draw patterns or add imaginative features around the subject. Giving children room to make their own choices can keep the activity enjoyable without requiring the artwork to look a particular way.
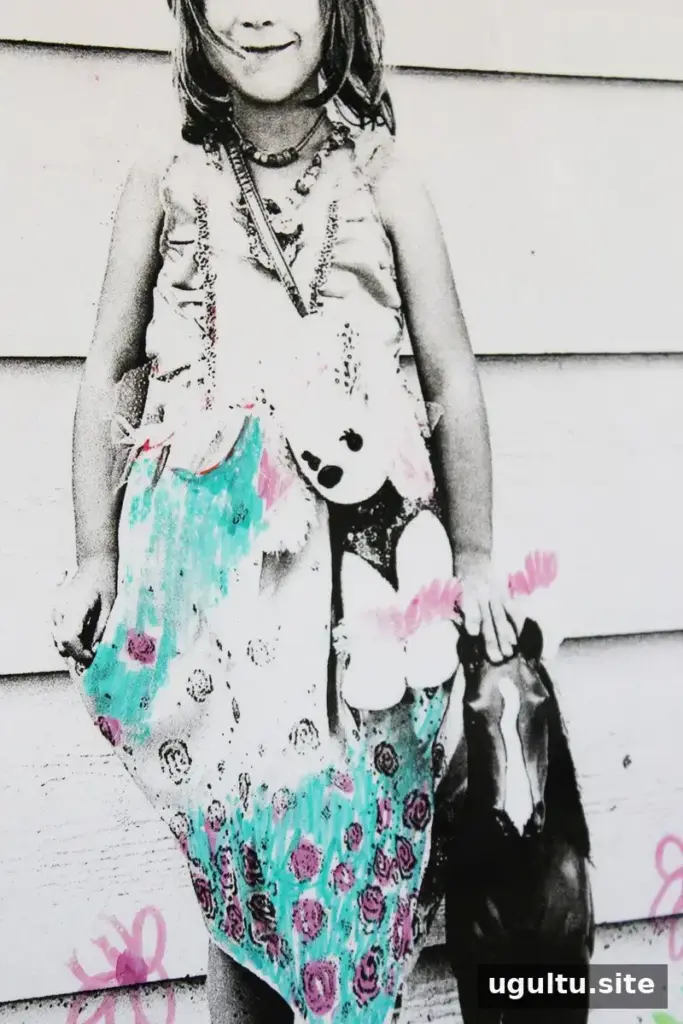
A reusable cloth can be more convenient than tissues and helps keep cleanup materials in one place. Wipe the poster after each drawing session if you want to reduce the chance of marks becoming harder to remove over time.
Check Marker Erasability Before Use
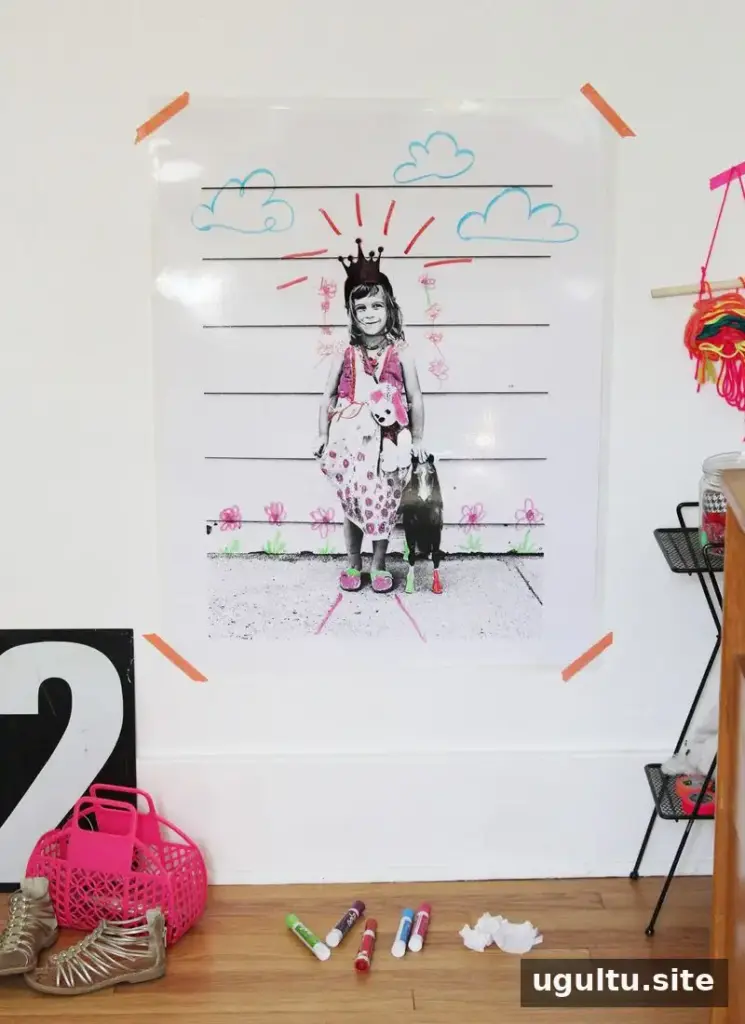
Marker formulas can behave differently on laminated surfaces. In this project, one type of dry erase marker wiped off easily after sitting overnight, while another needed glass cleaner left on the surface briefly before wiping. Test each marker on a small corner of the laminated print first, follow its label, and clean the surface promptly. Avoid using a cleaner until you have checked that it is suitable for the laminate.
This Dry Erase Wall Art DIY is a simple way to turn a favorite photo into an activity that can be refreshed again and again. With a secure mounting method, clear marker rules and a quick erasability test, the poster can provide creative fun while keeping artwork off the walls. —Rachel


