admin
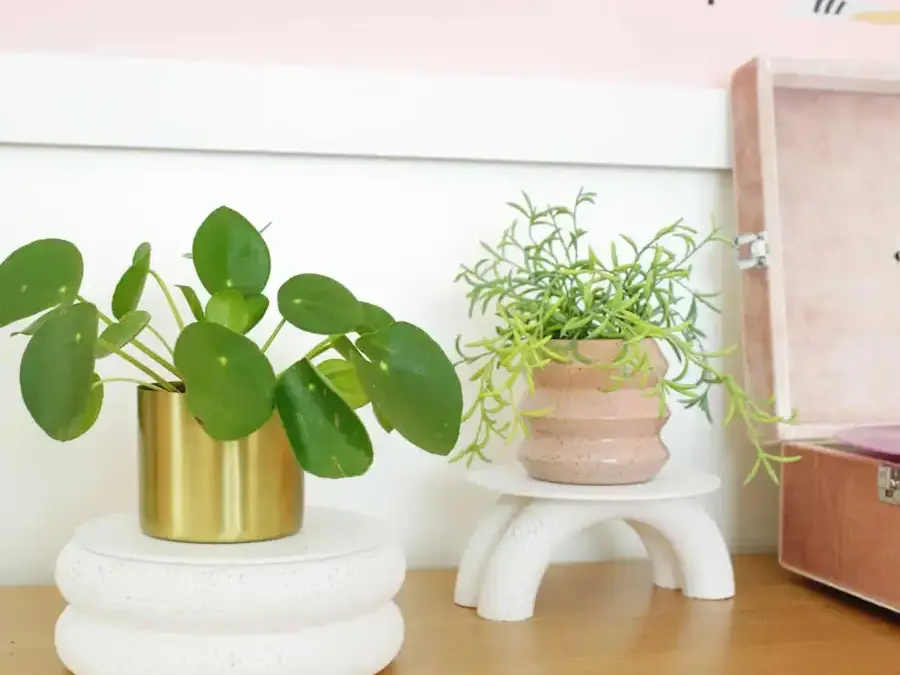
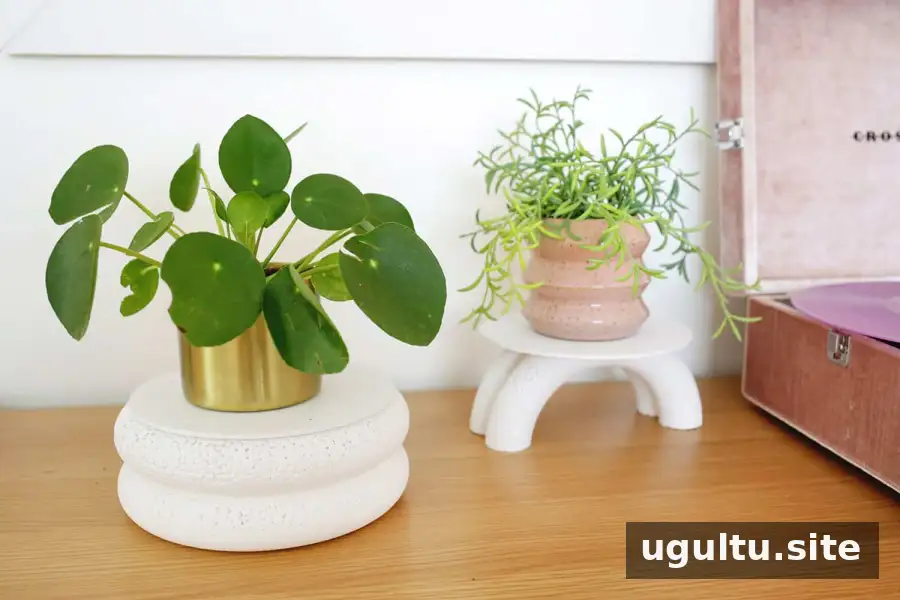
A DIY fluted arch plant stand is an easy way to add height and decorative detail to a houseplant display. This project uses inexpensive foam wreath rings and small wooden circles to create two styles: a quick, horizontally fluted base and a more sculptural arched stand. The listed cost is $10 for two stands, and both versions can be painted to suit your space.
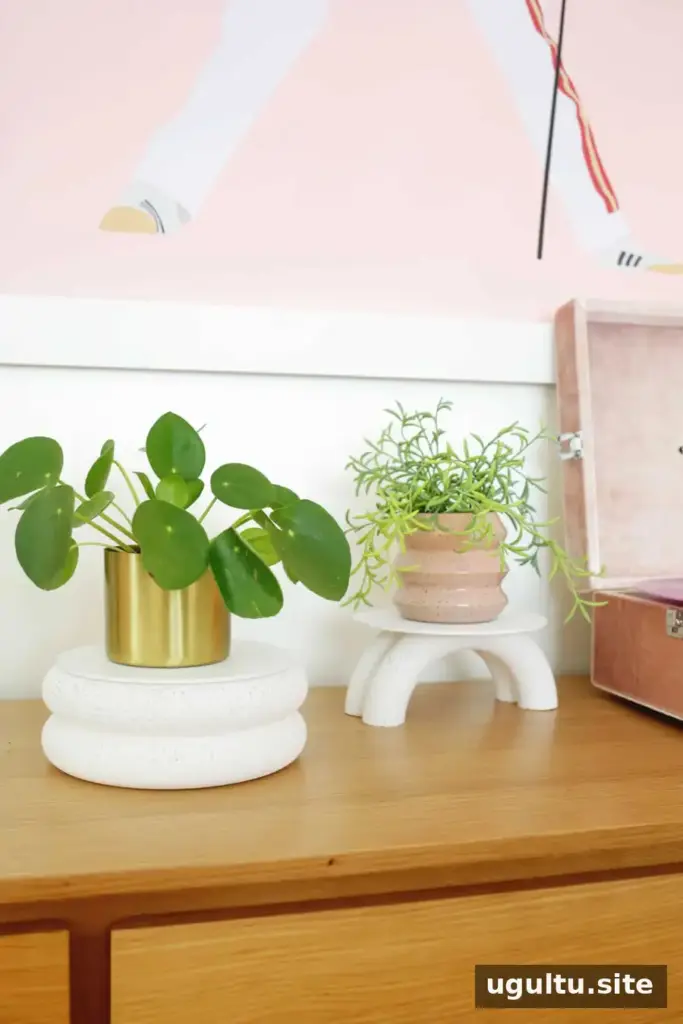
Choose a style for your DIY fluted arch plant stand
The horizontal design is the simplest option: stack and glue the foam rings, then attach a wooden circle on top. For an arched look, cut the glued rings in half and trim a flat area for the top. The arched version takes a little more time, but one ring assembly can provide two bases.
Before starting, decide where the stand will sit and check that the finished top is large enough for your plant pot. These lightweight foam-and-wood stands are best suited to lighter plants; test the stability with the empty pot before placing a plant on it.
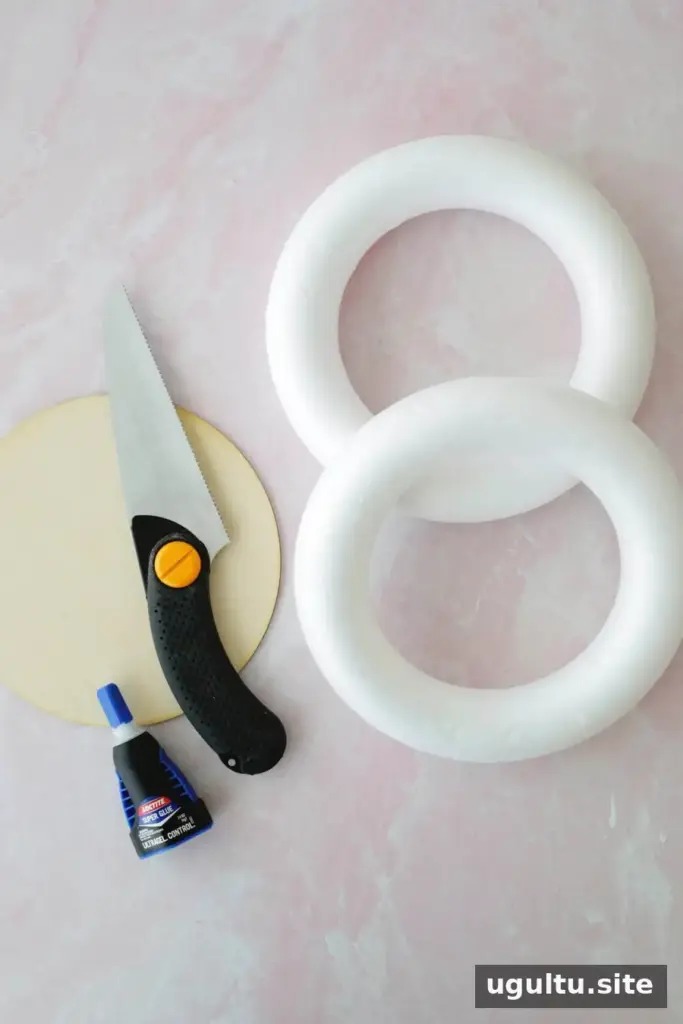
Supplies and tools
- 8-inch foam wreath rings
- 7-inch wooden circles, slightly smaller than the rings
- Super glue or a hot glue gun
- Painter’s tape, optional
- A small craft hand saw or serrated bread knife
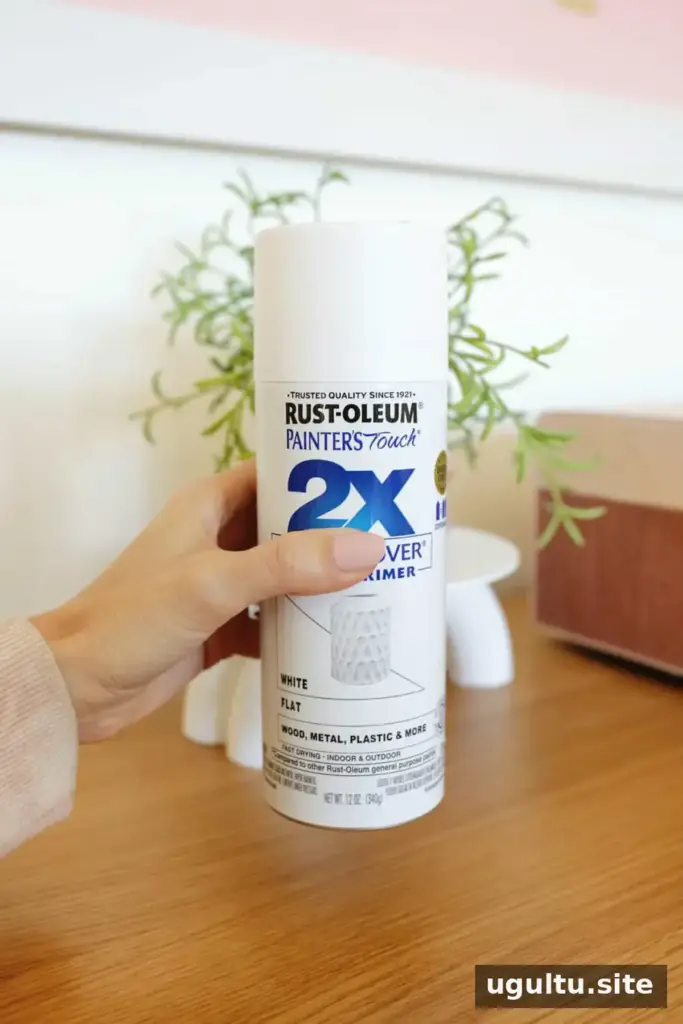
- Spray paint or acrylic paint
The project is listed at $10 and yields two stands. Allow about 10 minutes for preparation, 10 minutes for assembly and cutting, and 20 minutes for paint to dry, for an estimated total of 40 minutes. Actual drying time can vary with the paint and conditions, so follow the paint label before handling the finished piece.
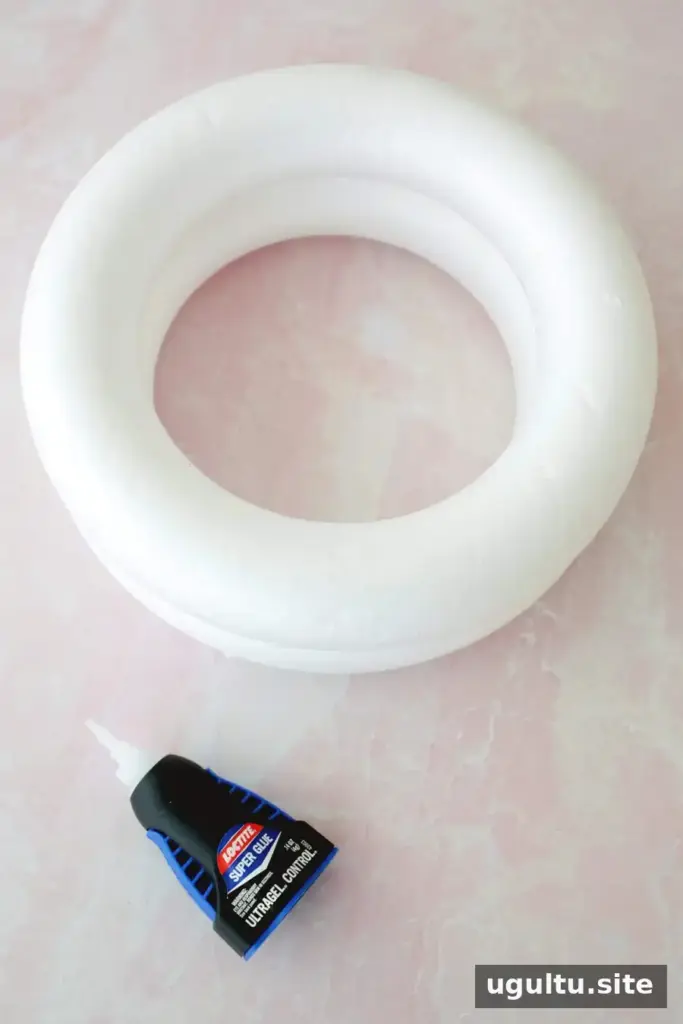
How to make the horizontally fluted stand
- Stack two or more foam wreath rings and glue them together to form the base. Add more rings if you want a taller stand, and let the adhesive set.
- Center a 7-inch wooden circle on top of the rings and glue it in place.
- Once the glue has set, paint the stand and allow it to dry fully.
Keep the wooden circle centered as you attach it so the top is balanced. If you use a hot glue gun, take care around the hot nozzle and adhesive.
How to make the arched plant stand
- Glue the foam wreath rings together as you would for the horizontal version. Let the adhesive set before cutting.
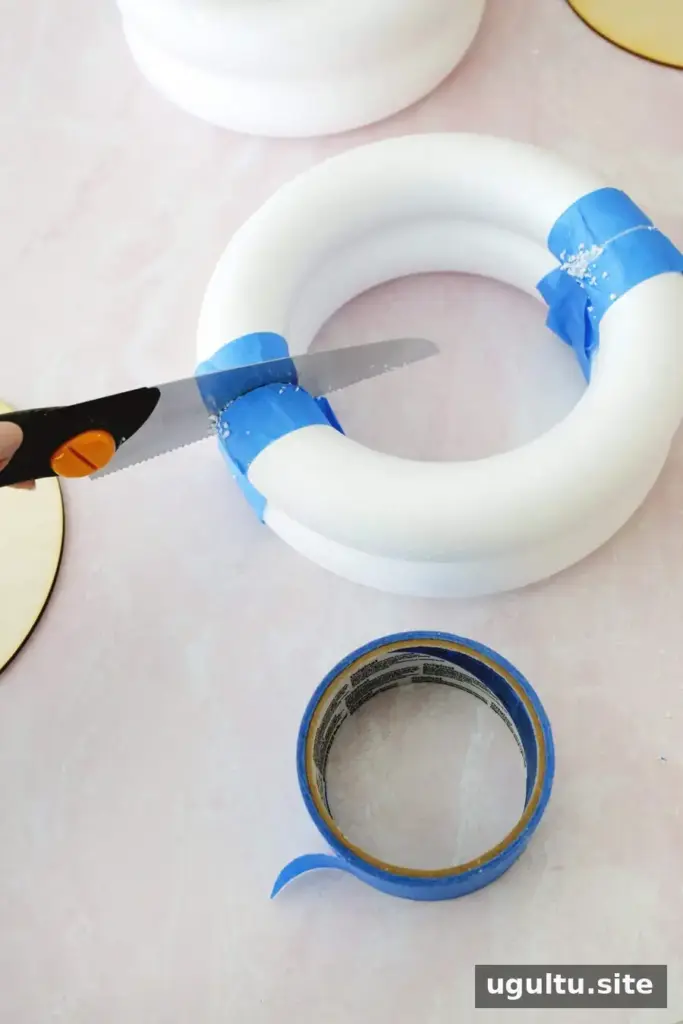
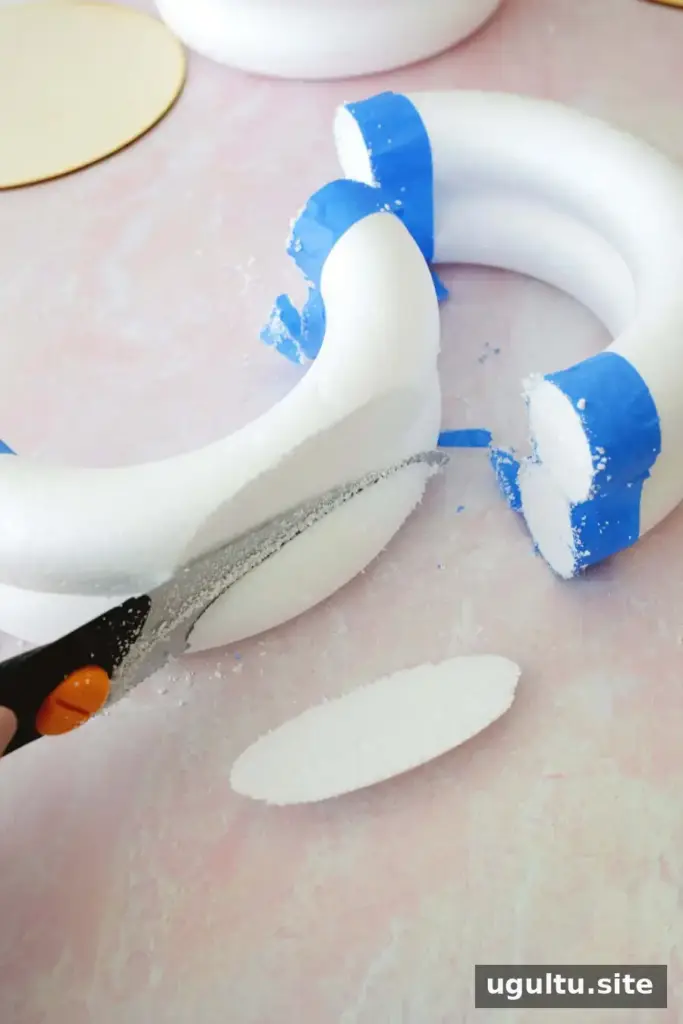
- Wrap painter’s tape around the planned cut line if desired. Carefully cut the ring stack in half with a serrated bread knife or craft saw. Work on a stable surface and keep your hands clear of the blade.
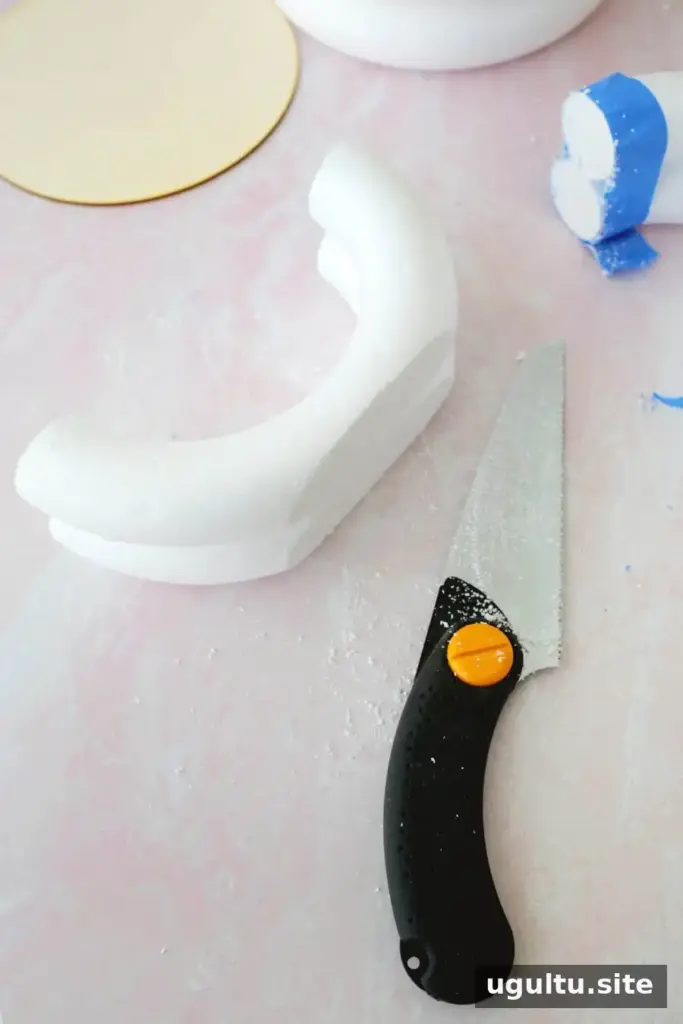
- To create a flat surface for the wooden top, trim about 1 inch from the rounded tip of each half-circle base.
- Center and glue a wooden circle onto the flat top of each base. Allow the glue to dry before painting.
Cutting a joined stack in half creates two bases. If you only need one stand, cut a ring in half and glue the two halves together instead. Painter’s tape may help reduce ragged edges, but use slow, controlled strokes for a neater cut.
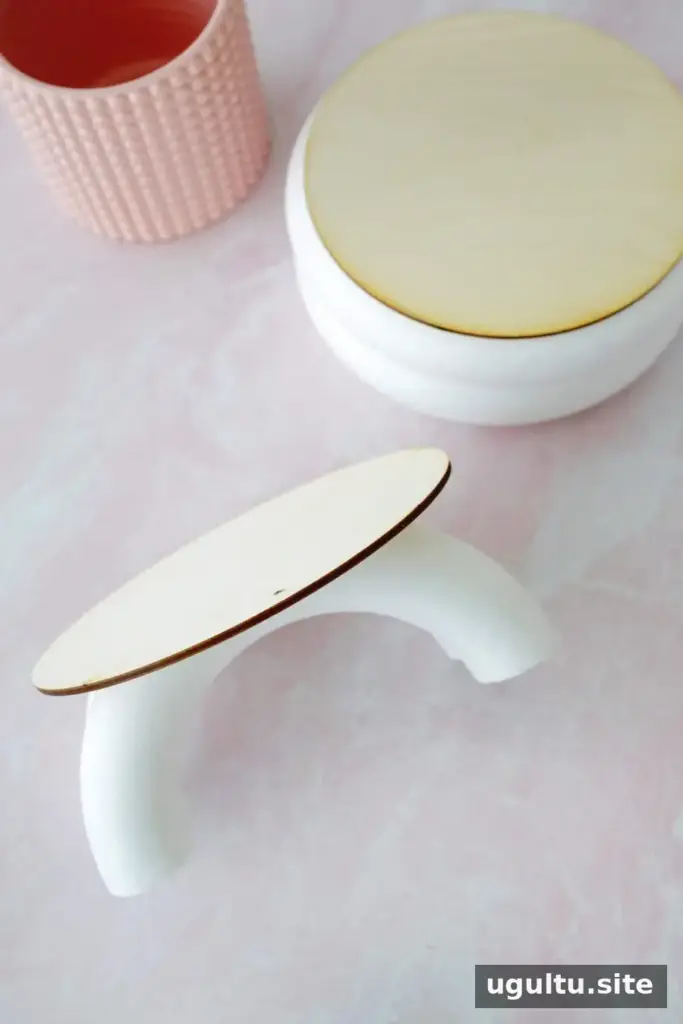
Check that the wooden top sits flat before gluing it down. A level top helps keep the pot steady; let the adhesive fully cure according to its instructions before adding weight.
Painting and finishing
Paint the assembled bases with spray paint or acrylic paint. Spray paint can make the foam’s snakeskin-like surface texture more noticeable, while brushed acrylic paint may give a different finish. Choose the method based on the look you prefer, and apply paint in a well-ventilated area while following the product directions.
Wait until the paint is completely dry before placing a plant on the stand. If the pot may leave water behind, use a saucer or protective layer to help keep moisture away from the wooden top.
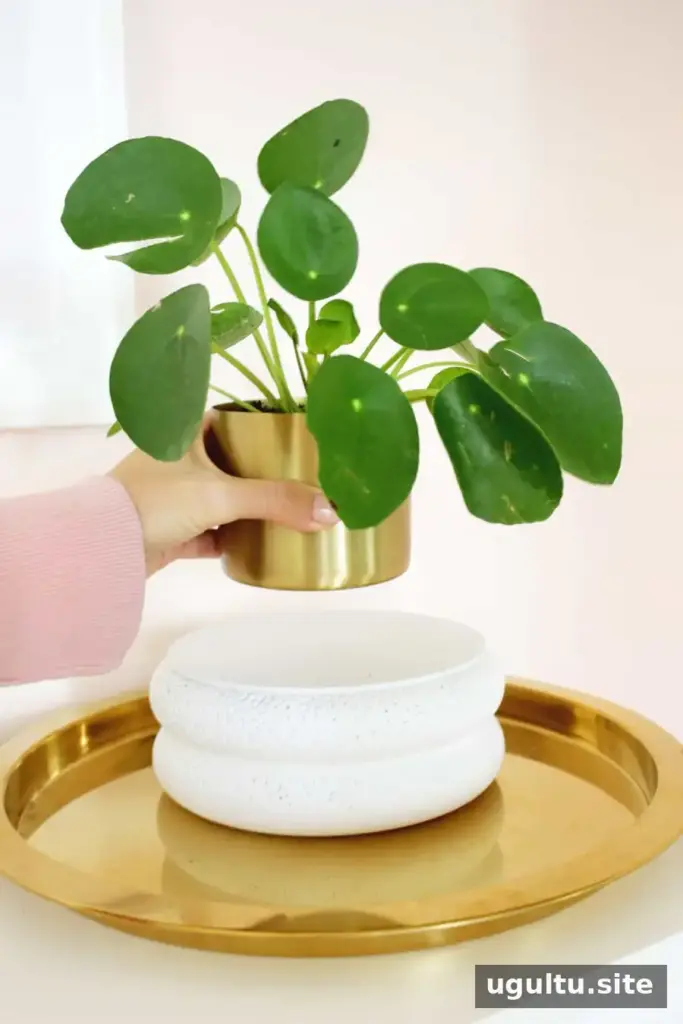
When the finish is dry, place a lightweight potted plant on the stand and check that it sits securely. Spider plants, jade plants, and Pilea (Chinese Money Plants) are suggested options for this style. Match the pot’s weight and size to the stability of your finished stand.
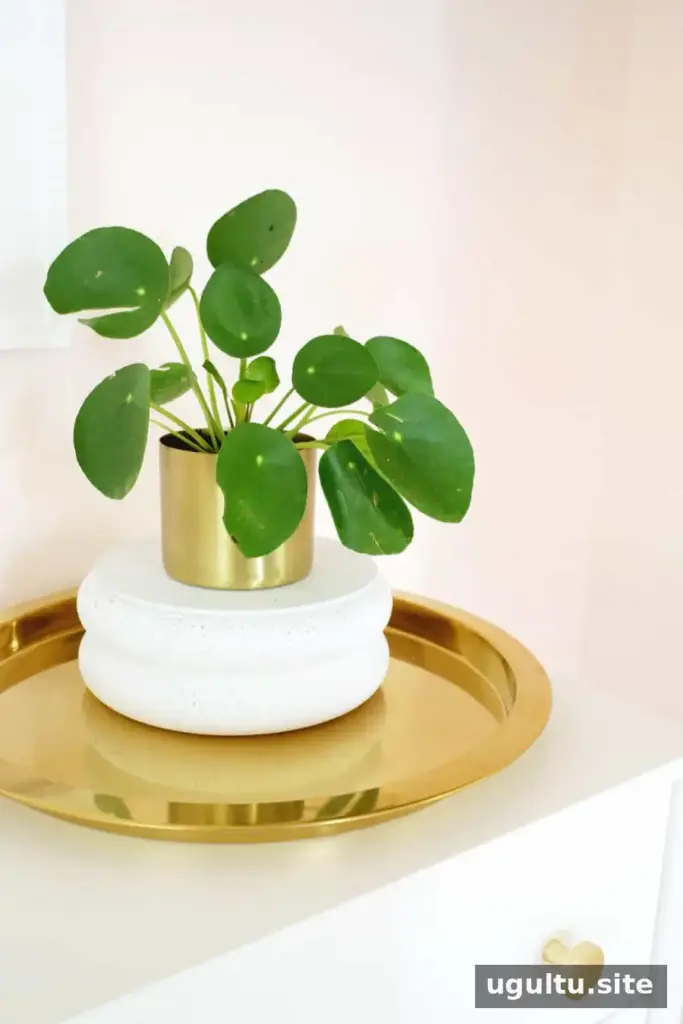
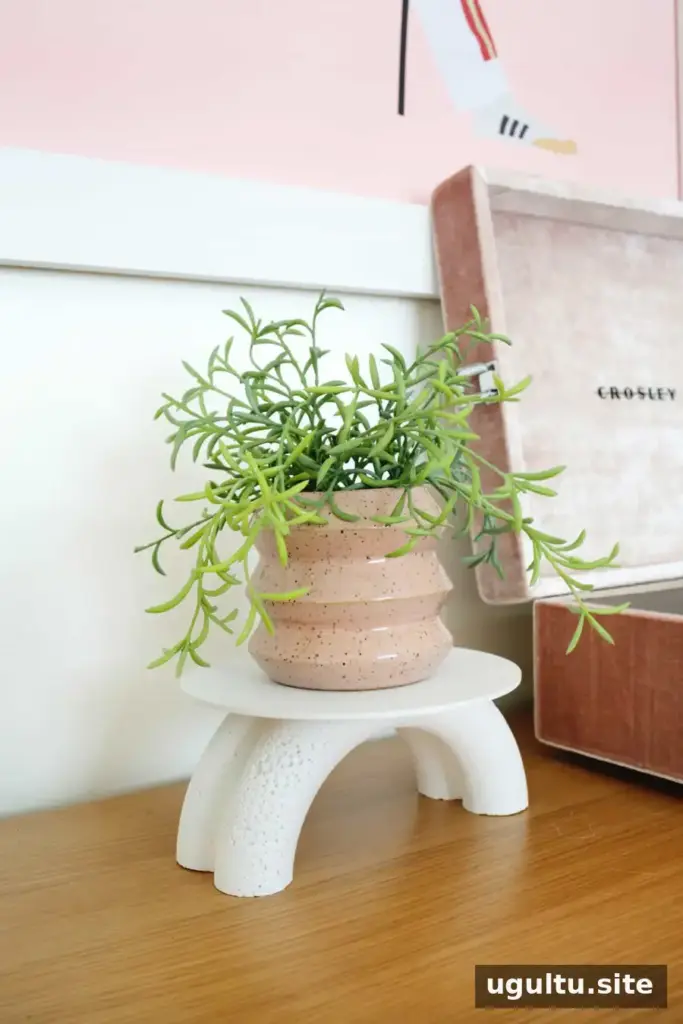
Final thoughts on the DIY fluted arch plant stand
This DIY fluted arch plant stand offers two ways to add a raised plant display: a fast stacked-ring design and a curved arch made by cutting the foam. The basic supplies are simple, and making two bases from one cut ring stack can help you create a coordinated pair. Project author: Laura.