
 admin
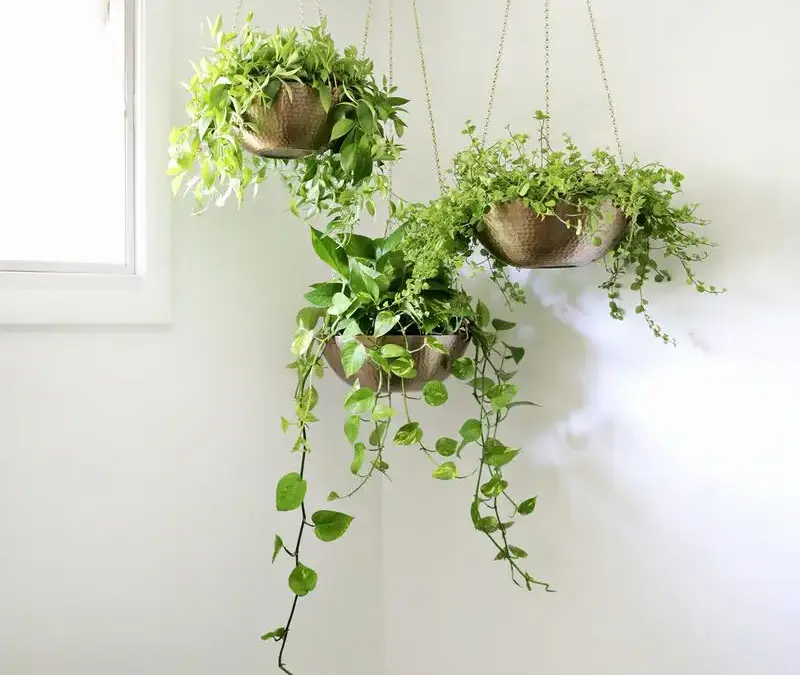
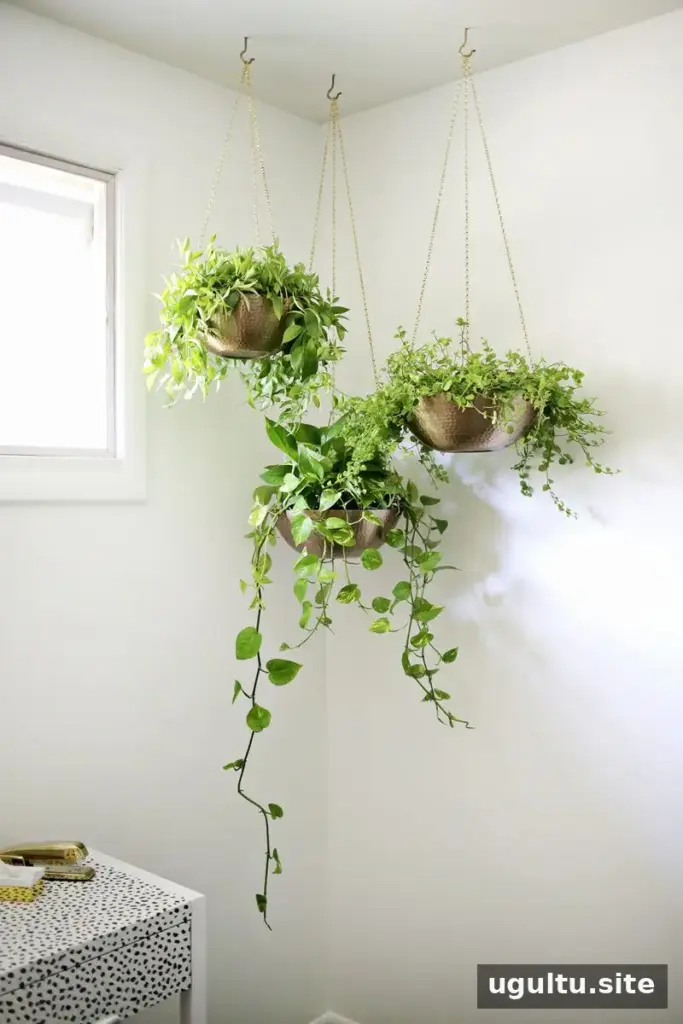
A hanging planter DIY can add greenery to a room when floor space is limited. This project turns three metal bowls into a suspended display using chain, quick links, and screw hooks. The bowls can hang at different lengths, and trailing plants can spill over their edges. Before you begin, check that the bowls and hanging hardware are suitable for the plants you plan to use, and make sure the ceiling can support the finished planter.
Supplies for This Hanging Planter DIY
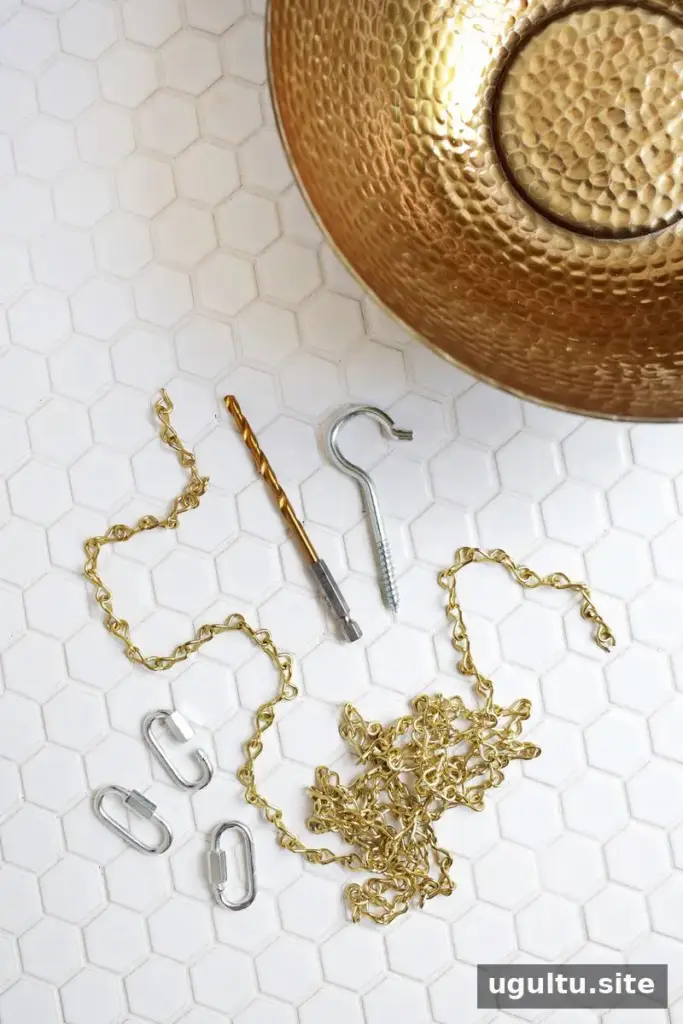
Gather the materials before drilling and assembling the planter:
- 3 metal bowls
- Metal drill bits, including a 1/4-inch bit for the holes
- 9 quick links, 1/8-inch
- Brass-plated chain
- 3 screw hooks
- Gold spray paint
- Needle-nose pliers
- Plants
Choose bowls with enough depth for your plants, and check that their rims are wide and sturdy enough to hold the attachment points.
Drill the Bowl Attachment Holes
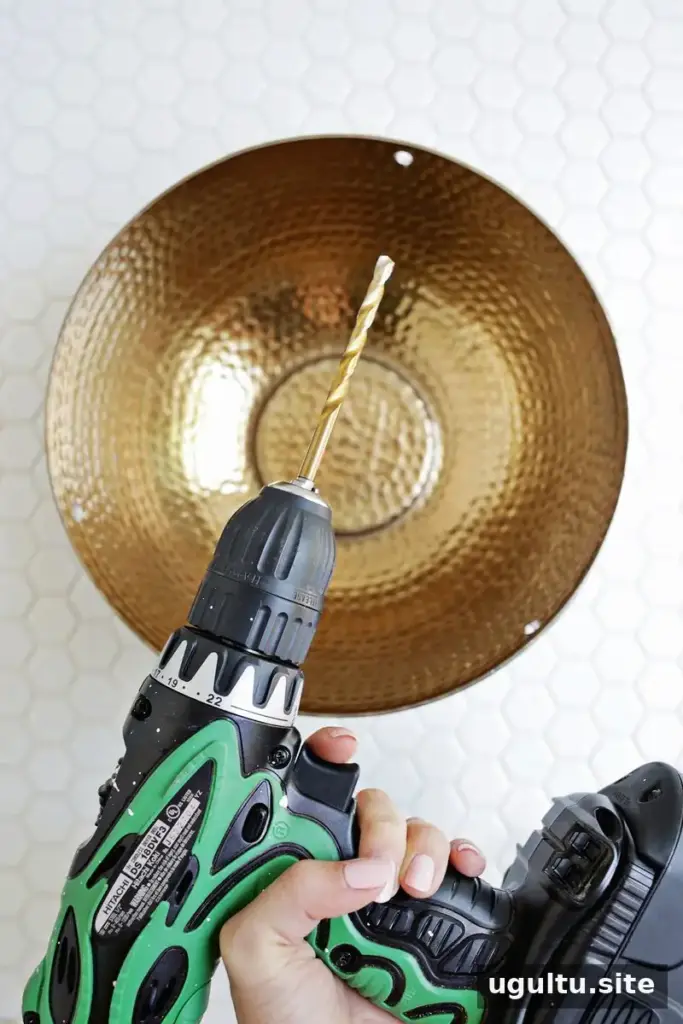
On each bowl, mark three evenly spaced points around the rim, about 1/2 inch below the top edge. Place a piece of scrap wood beneath the bowl, then drill from inside the bowl down into the wood. A 1/4-inch hole allows the 1/8-inch quick links to pass through.
Work on a stable surface and use appropriate eye protection when drilling metal. Keep your hands clear of the drill bit, and remove any sharp burrs around the holes before handling the bowls.
Paint and Attach the Hardware
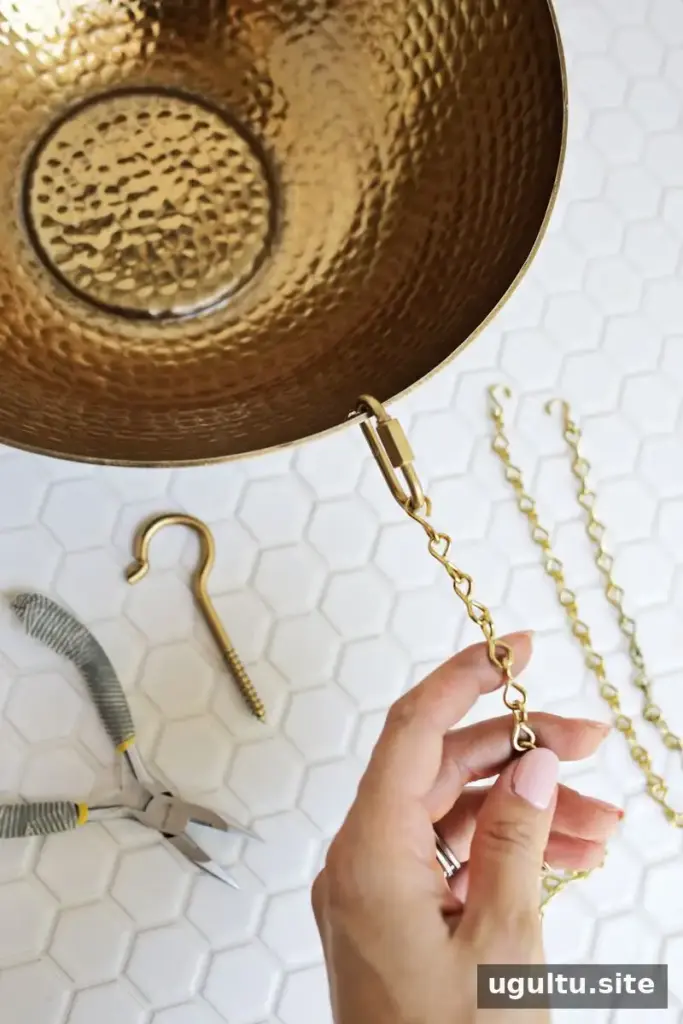
Apply a light coat of gold spray paint to the 9 quick links and 3 screw hooks so they coordinate with the bowls and chain. Follow the paint directions and let the pieces dry fully before assembly. Open the quick links, place them through the drilled holes, and close them securely.
Cut the Chain and Assemble the Planters
Use needle-nose pliers to open chain links and separate the chain at the desired points; chain cutters are not required for this method. The three chain lengths used for this design are 38 inches, 28 inches, and 20 inches. Keep the end links open so they can be attached to the planter hardware.
Connect the chain sections to the quick links with the pliers. Before joining the chain ends at the top, place a plant in each bowl. Depending on the plant and container, you may want to add rocks at the bottom for drainage. Check the plant’s watering needs as well, since metal bowls may not have drainage holes.
Hang the Finished Planter Safely
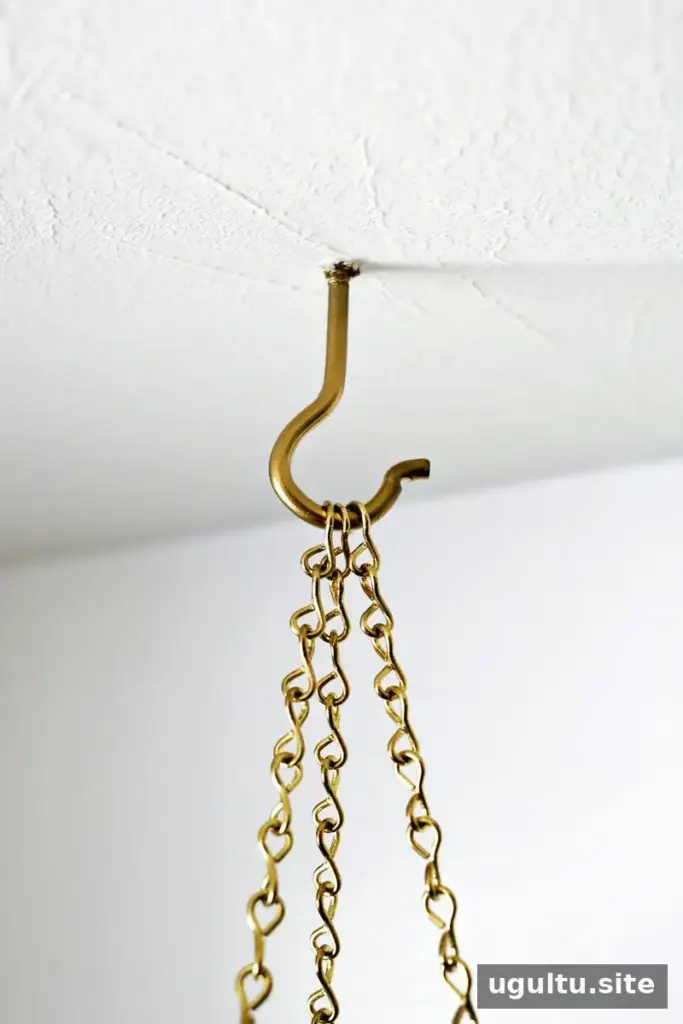
Once the plants are in place, connect the three chain tops to a single screw hook. Choose a ceiling attachment point that can support the combined weight of the bowls, soil, plants, and water. A small pilot hole may make installation easier, and a suitable ceiling anchor may be needed depending on the ceiling and load. If you are unsure about the mounting point, get advice before hanging the planter.
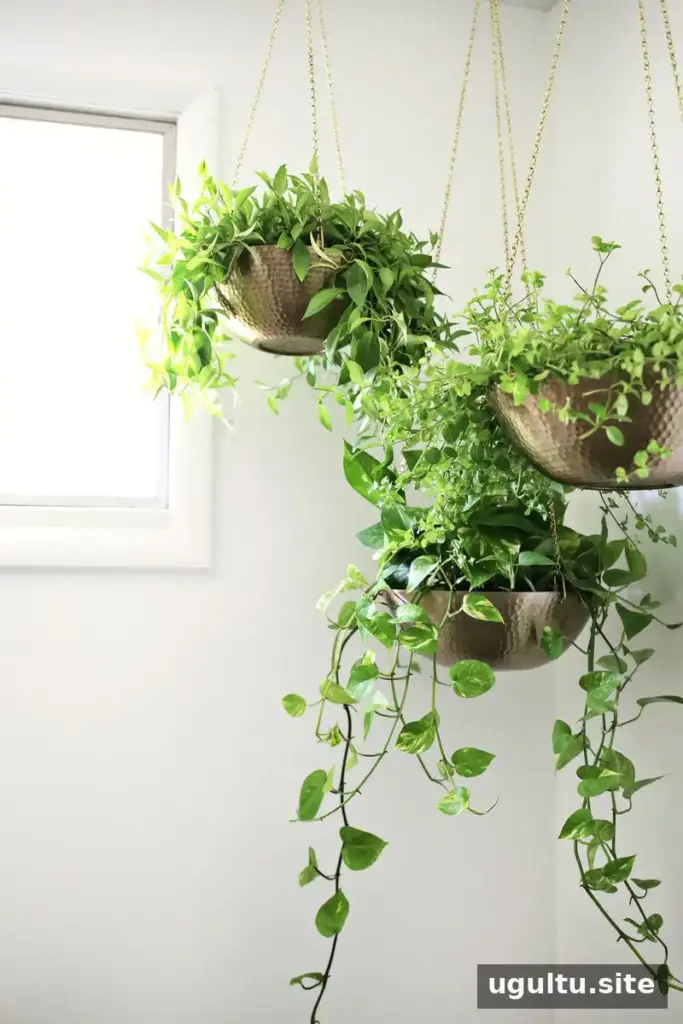
Choose Plants and Arrange the Display
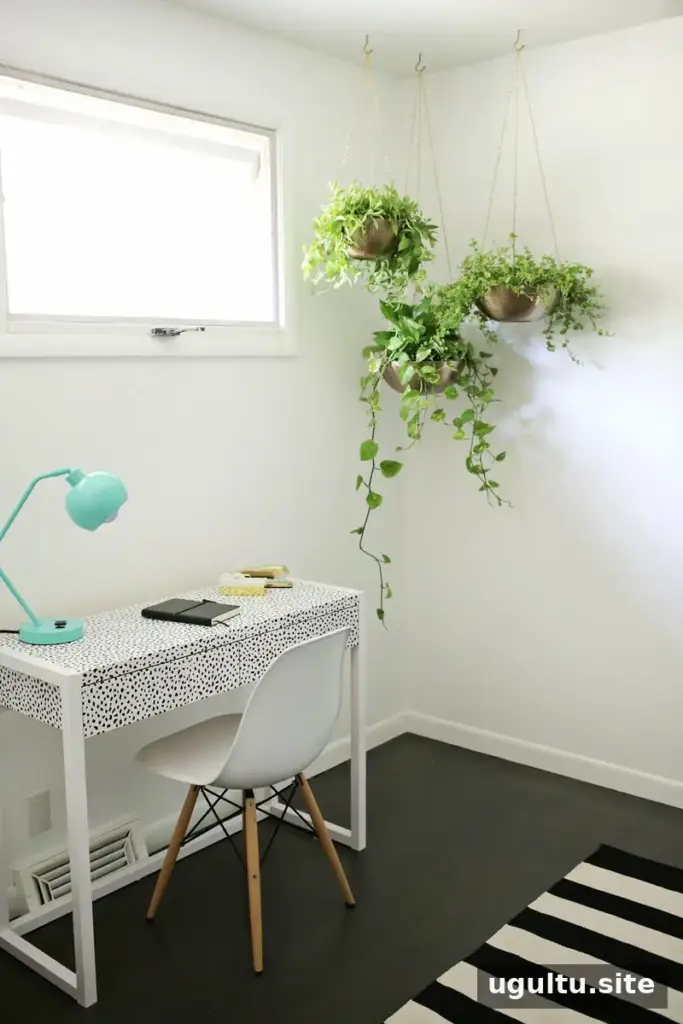
Three bowls create a balanced grouping, but the idea can be adapted to one larger planter or another number of containers. Trailing plants are a natural choice because their foliage can hang over the rims, though other plants can work if the bowls provide enough room. Keep the planter where its light conditions suit the plants, and make sure it is easy to reach for watering and care.
This hanging planter DIY is a practical way to add vertical greenery to a small corner. Adjust the chain lengths to suit your space, and always check that the hardware is secure before letting the planter hang. — Laura


