
 admin

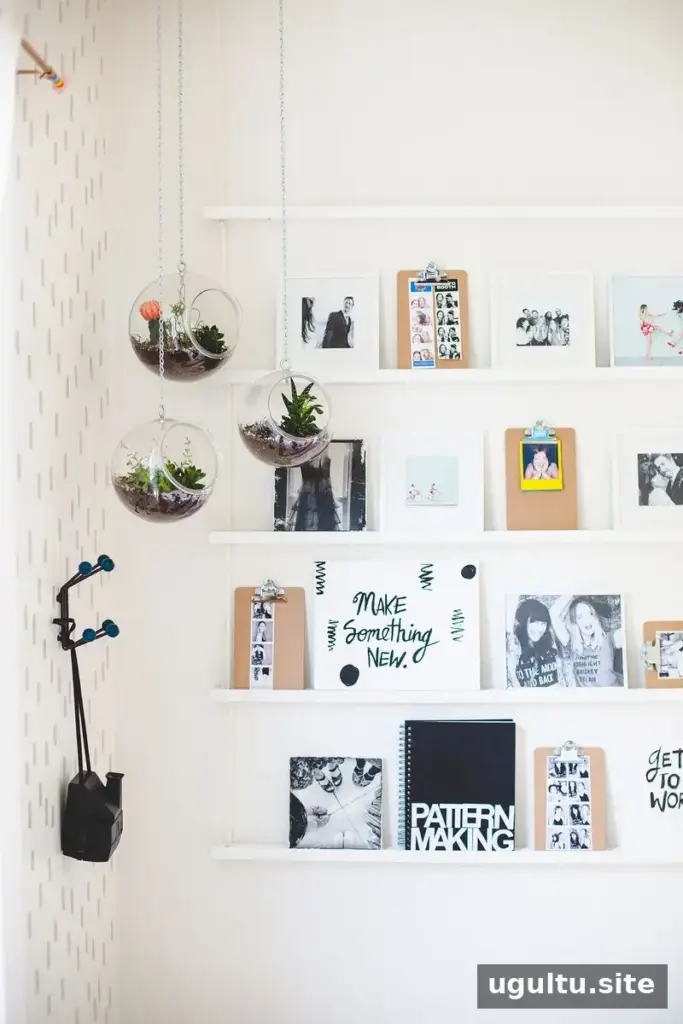
A hanging rope shelf is a practical way to display prints and photographs without framing each piece or installing a separate shelf on the wall. This design uses two wall hooks and rope to support five shallow shelves, making it useful when you want a simple display with fewer wall attachment points. Plan the shelf length and hanging location before cutting, and check that the wall and fixings are suitable for the items you intend to display.
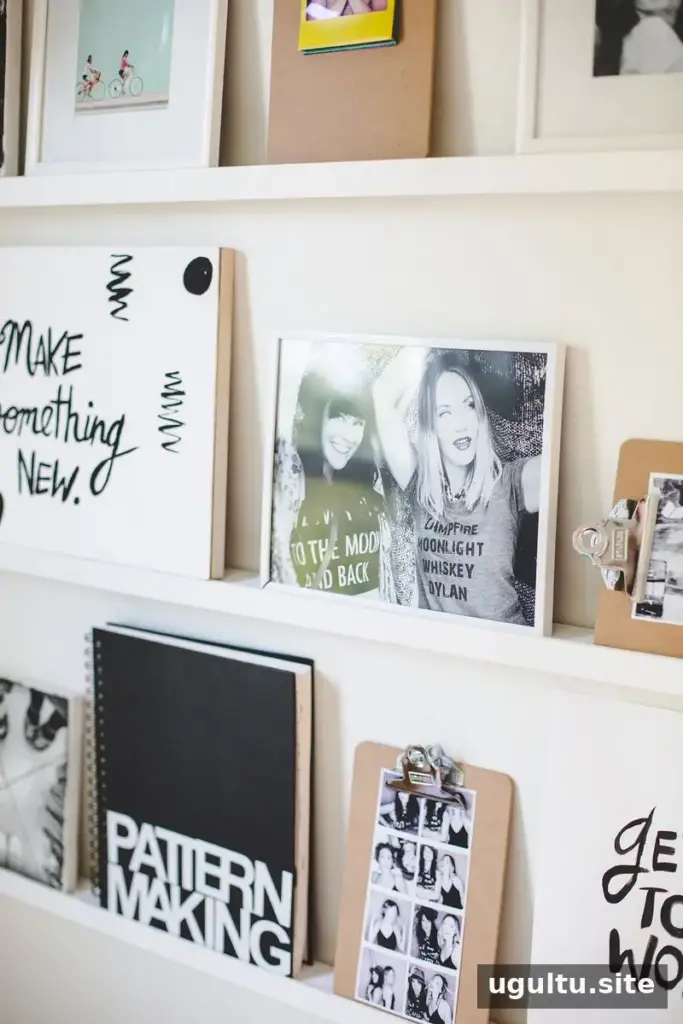
Materials and tools for a hanging rope shelf
Gather the following materials before starting. The original project used a five-foot shelf with five levels.
- 1.5-inch x 5/8-inch pine furring strips for the shelves
- 1-inch x 1/8-inch wood strips for the front lips; these can be cut from 1/8-inch hardwood plywood or sourced in a similar size
- 3/8-inch woven rope
- Wall hooks
- Wood glue
- Wood filler, if needed
Useful tools include a drill, miter saw or hand saw, level, knife, tape measure, and sandpaper. A table saw and nailer are optional. Measure the space first so you can confirm the shelf length and the amount of rope and lumber required.
How to make the hanging rope shelf
1. Cut the shelf pieces
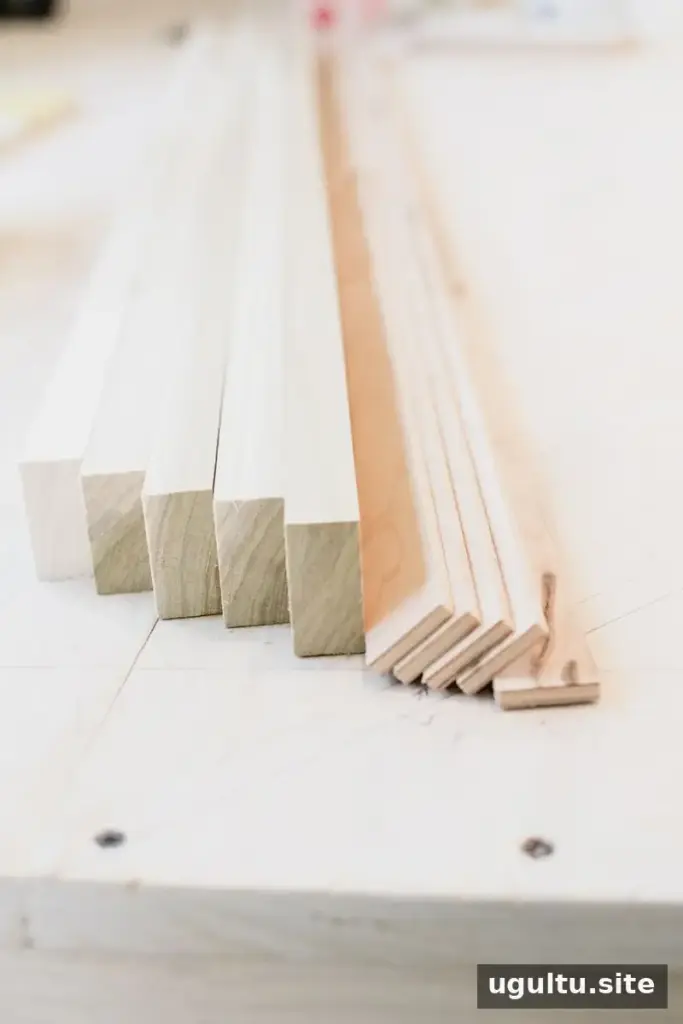
Decide where the shelves will hang, take the necessary measurements, and cut the shelf pieces to length. The example used five feet of shelving and five shelves. Sand the cut edges so they are smooth before assembling. If using a hand saw, take your time to keep the cuts as straight as possible.
2. Add a lip and finish the wood
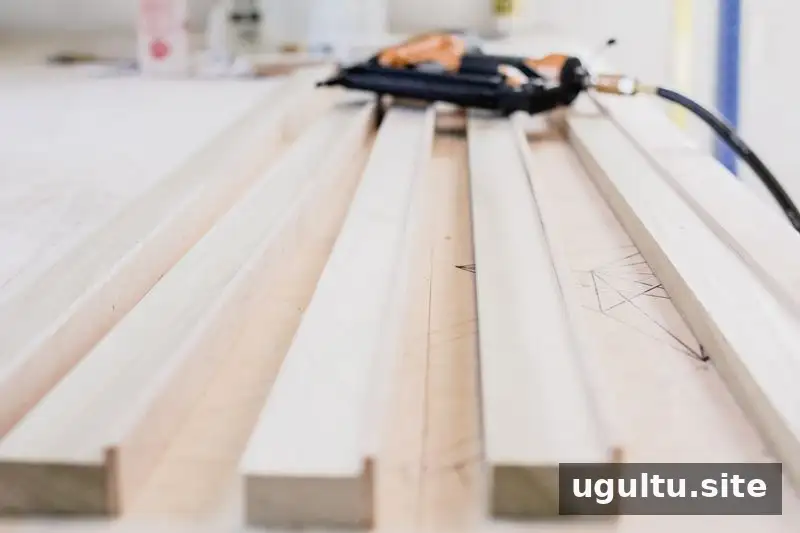
Attach a narrow wood strip along the front edge of each shelf. This small lip helps keep prints and other display items from sliding forward. Apply wood glue, and use nails if desired; fill any nail holes with wood filler. Once the glue has set, sand the shelves again and apply a couple of coats of glossy white paint, or another suitable finish. Follow the finish’s drying instructions before drilling or handling the pieces.
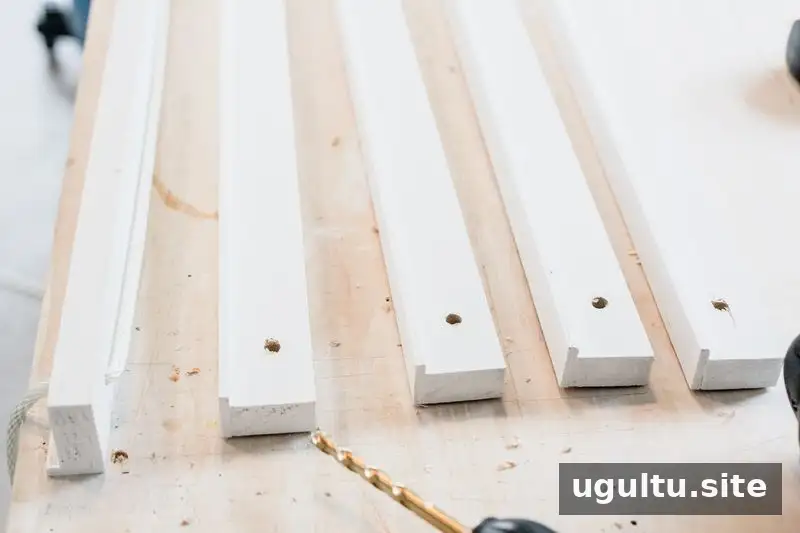
3. Drill holes for the rope
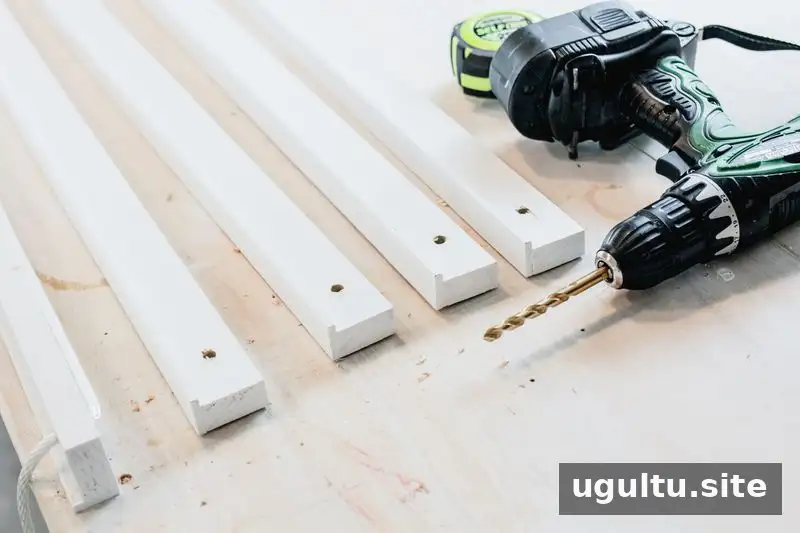
After the paint is dry, measure one inch in from each end of every shelf and mark the hole positions. Drill through each mark using a 3/8-inch bit to match the 3/8-inch rope. Keep the holes aligned from shelf to shelf so the finished unit hangs evenly. Clear away loose sawdust before threading the rope.
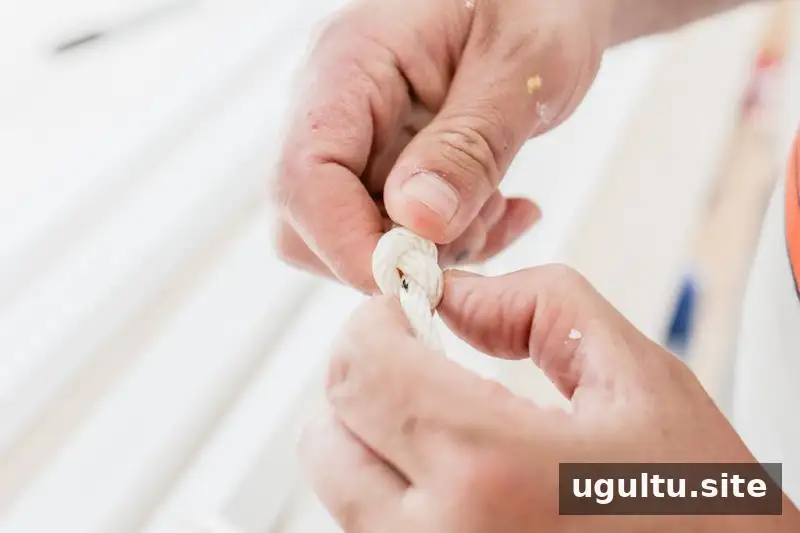
4. Thread and knot the rope
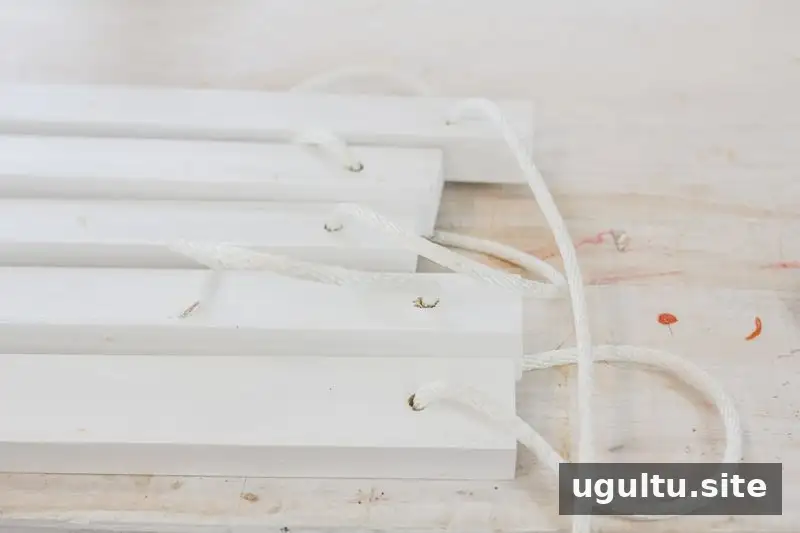
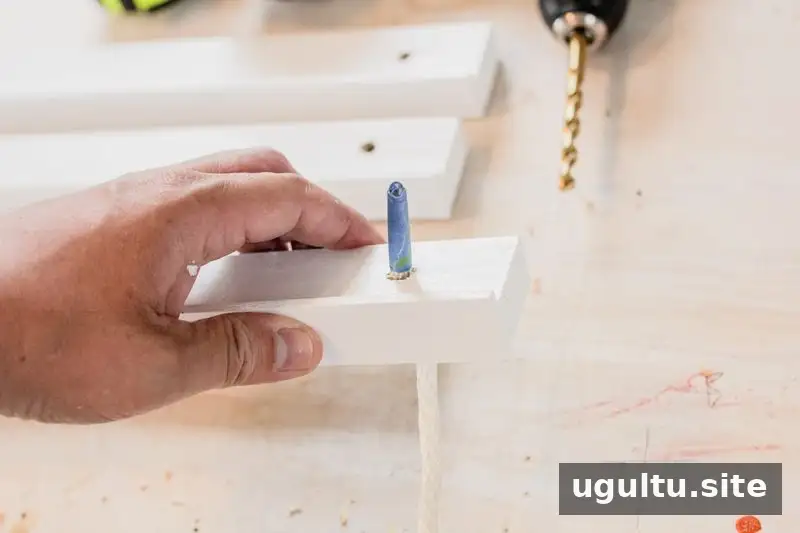
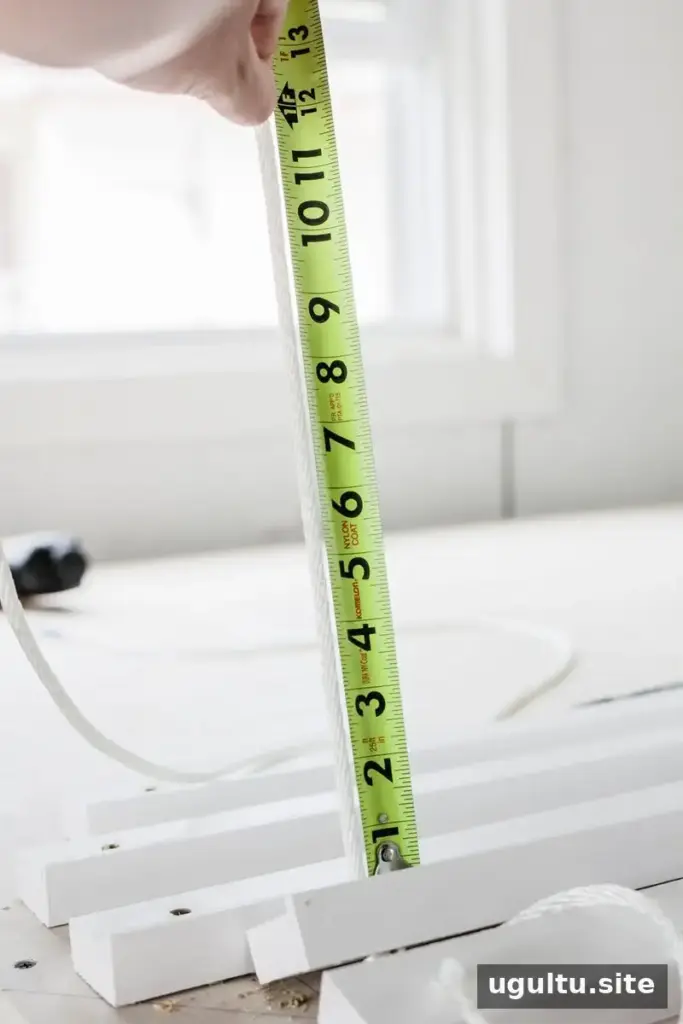
Wrap painter’s tape around the cut rope ends to make them easier to guide through the holes. Start at the bottom shelf: thread the rope through both holes, with the rope running beneath the shelf, and adjust it so both sides are even. Measure one foot up each side, mark the rope, and tie a knot beneath the next shelf. Slide the rope through that shelf, then repeat the measuring, marking, and knotting process until all five shelves are in place.
A second person can help hold the rope and check measurements, but the shelves can also be assembled carefully on your own. Before hanging, confirm the knots are secure and the shelves sit level. Attach two hooks to the wall, locating studs where possible or using appropriate anchors for the wall type. Tie the rope ends to the hooks, or make loops in the rope and place them over the hooks. Hang the shelf close to the wall and test it gently before adding display items. Do not assume it can support heavy objects; the safe load depends on the materials, knots, hooks, and wall fixings.
Finishing and using your hanging rope shelf
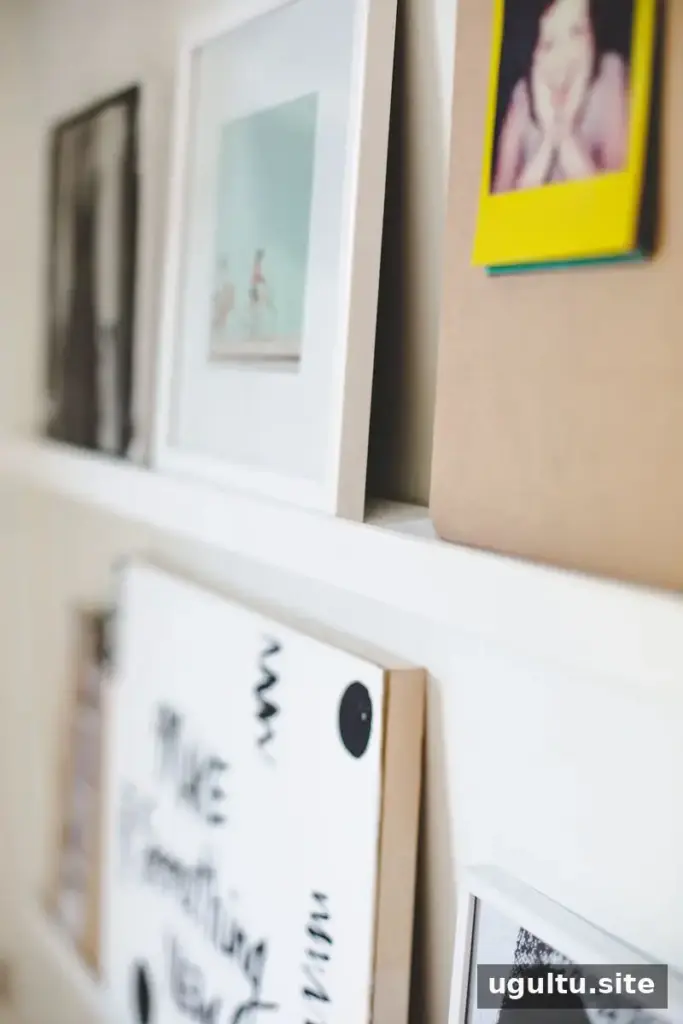
This four-step project creates a straightforward display for prints and photographs. Arrange lightweight items evenly across the shelves, and check the knots and wall attachments periodically. — Josh


