
 admin
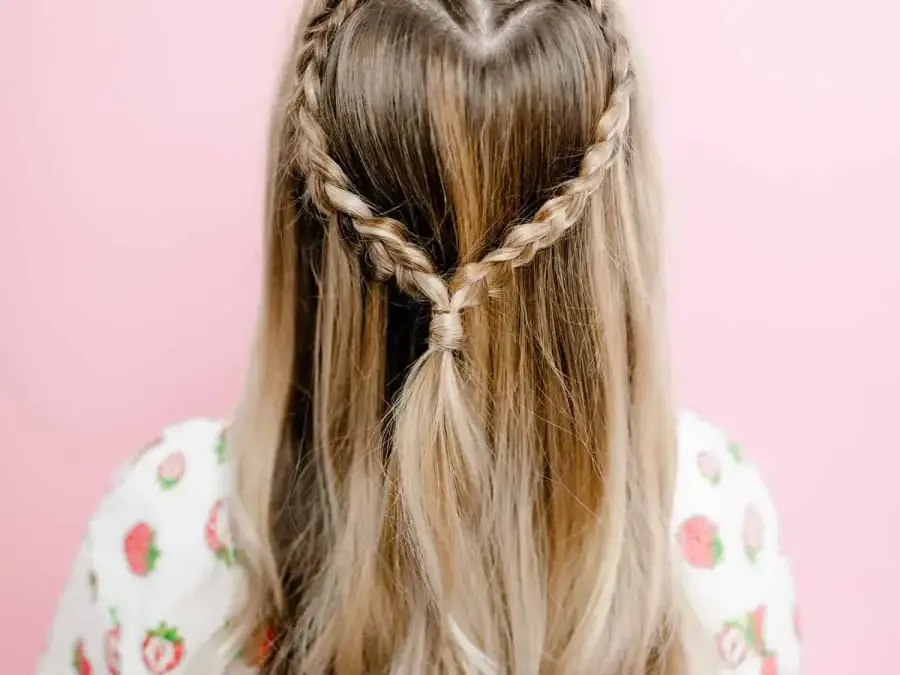
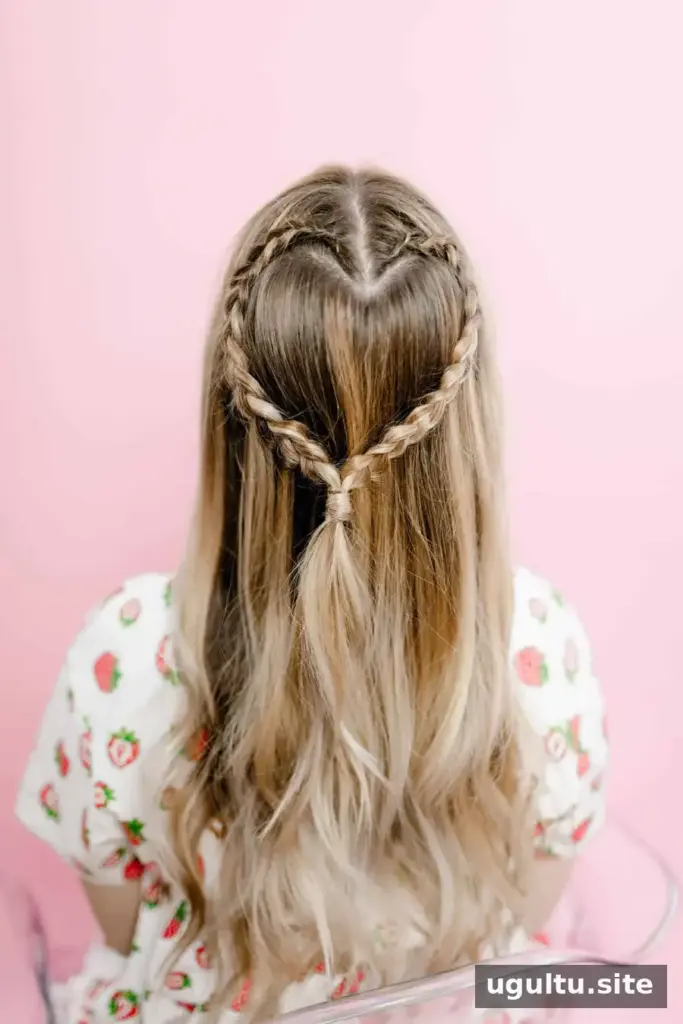
A heart-shaped braid is a playful way to update a half-up hairstyle without creating a complicated updo. This tutorial, shared by hairstylist Erin Wheaton, uses two curved Dutch braids joined at the back to form the heart. The look works for everyday wear as well as occasions when you want a little extra detail in your hair.
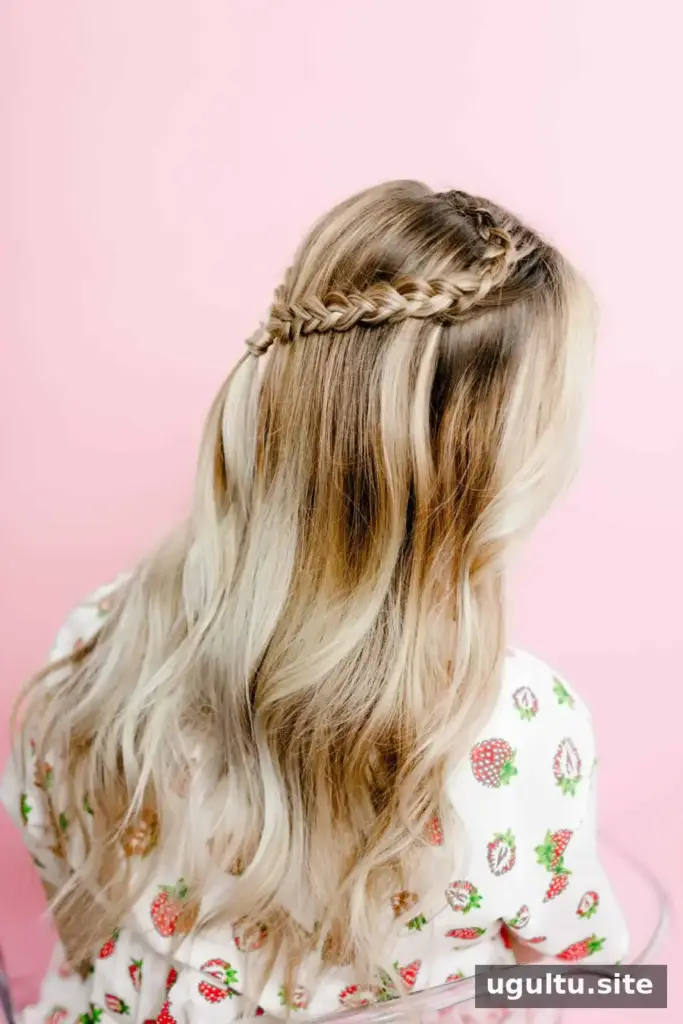
How to Make a Heart-Shaped Braid
Before you start, gather a comb, a curling wand or smoothing iron if you want to add texture, small hair elastics, and hairspray. Work with hair that is detangled so the sections are easier to control. If using a heated styling tool, follow its safety guidance and use heat protection as directed by the product.
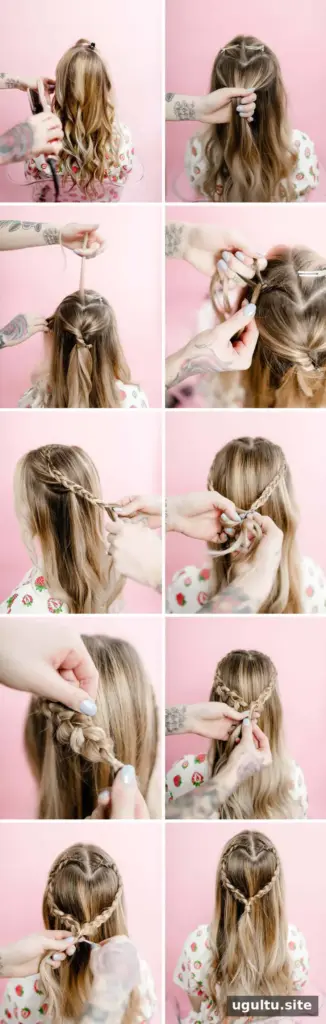
Step-by-step instructions
- Create a center part. Add loose texture through the hair with a wand or smoothing iron if desired. This step is optional; the braid can also be made with your natural texture.
- Section the top arches. Make a heart shape at the high point of the head, or choose another position for the finished style. Section the two curved arches at the top of the heart; you do not need to section the point.
- Start the first braid. Take a small section of hair above where the arches meet on one side and divide it into three strands.
- Braid along the curve. Begin a Dutch braid, adding hair only from the side closest to the face as you follow the curved parting across the head.
- Form the first half of the heart. Near the end of the arch, or where you want the heart’s edge to turn toward its point, continue with a regular three-strand braid without adding hair. Once it is long enough to create one half of the shape, secure it with an elastic.
- Repeat on the other side. Follow the same process on the opposite side so the two braids form matching curves.
- Add fullness. Hold each braid by its end and gently pull the loops outward one at a time. Use small adjustments to widen the braid without loosening it too much.
- Join the braids. Bring the ends together and fasten them with an elastic. You can remove the elastics used to secure the individual braids if you prefer.
- Conceal the joining elastic. Take a small strand from the ponytail, wrap it around the elastic, and secure it with another elastic. Pull the ponytail apart to move the second elastic upward and help hide it.
- Set the style. Finish with hairspray if desired. Apply it lightly at first, then add more only where the braid needs extra hold.
Tips for a Neater Heart-Shaped Braid
Use a mirror to check the partings as you work, especially if you are braiding your own hair. Keeping the two arches at a similar height helps the finished heart look balanced. If one side appears wider, gently adjust the braid loops before joining the ends.
Try to add similar amounts of hair as you Dutch braid around each curve. Avoid pulling the braid too tightly while shaping it; a little room makes it easier to adjust the curves and create a softer finish. If the elastic is visible, wrap a narrow strand around it and secure the strand discreetly.
Ways to Wear the Finished Style
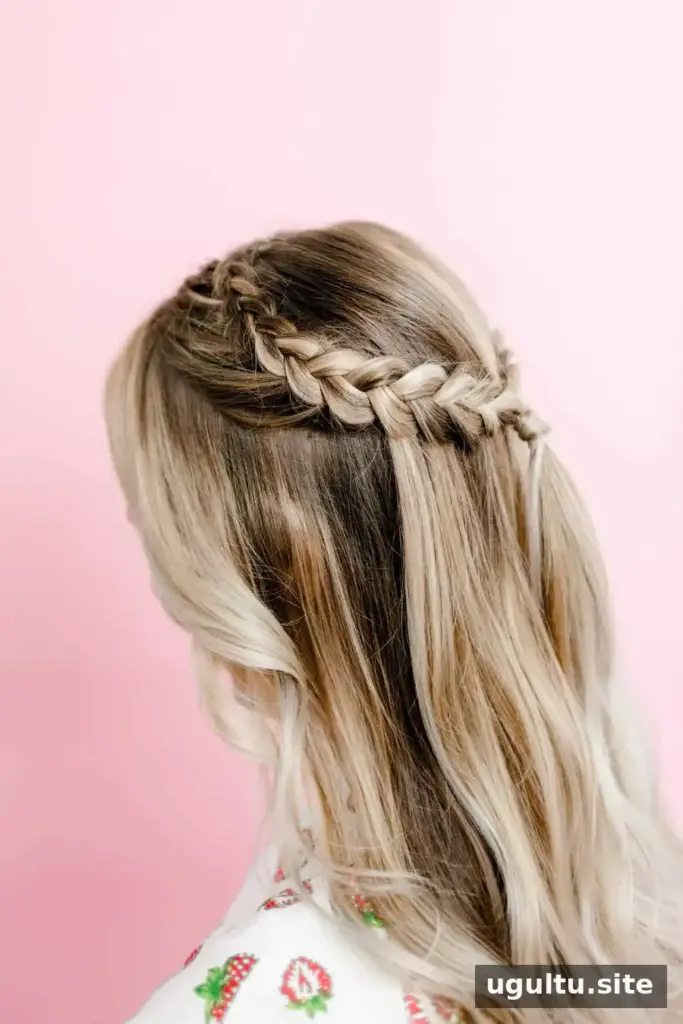
The half-up braid can be worn with the rest of the hair down for a relaxed look. For a more casual variation, gather the remaining hair into a ponytail after securing the braids. The heart-shaped braid is a simple option for brunch, a date night, or an everyday hairstyle refresh.
With a center part, two curved Dutch braids, and a few small elastics, this heart-shaped braid creates a distinctive style using familiar braiding techniques. Take your time shaping both sides, and use a mirror to check the finished outline before setting it in place.
Tutorial by Erin Wheaton.


