
 admin
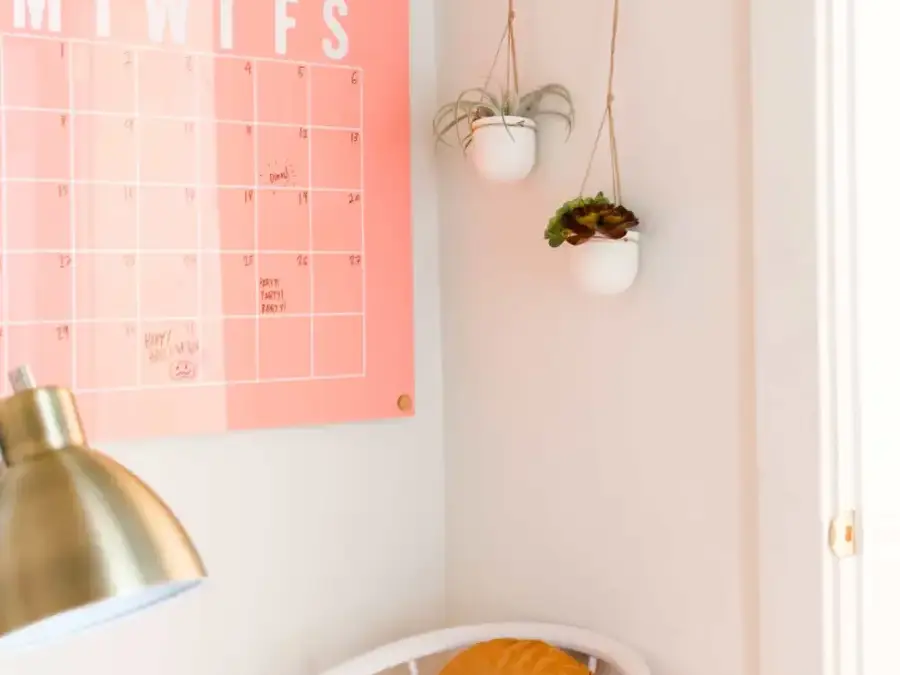
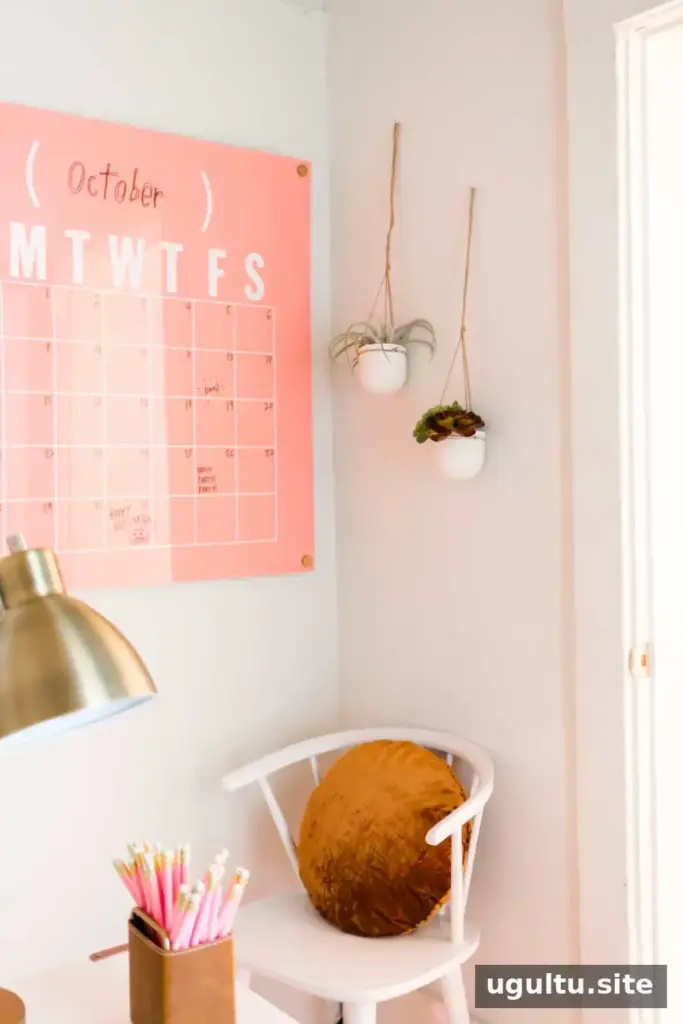
An oversized acrylic calendar can make a practical planning tool feel like part of your office décor. This DIY version uses a coral-pink acrylic sheet, white vinyl tape, and letter stickers to create a clean monthly layout with space to write in the current month. The measurements below are designed for a 36-by-36-inch sheet.
Materials for an Oversized Acrylic Calendar
Gather the materials and tools before you start so you can plan the grid and lettering in one session:
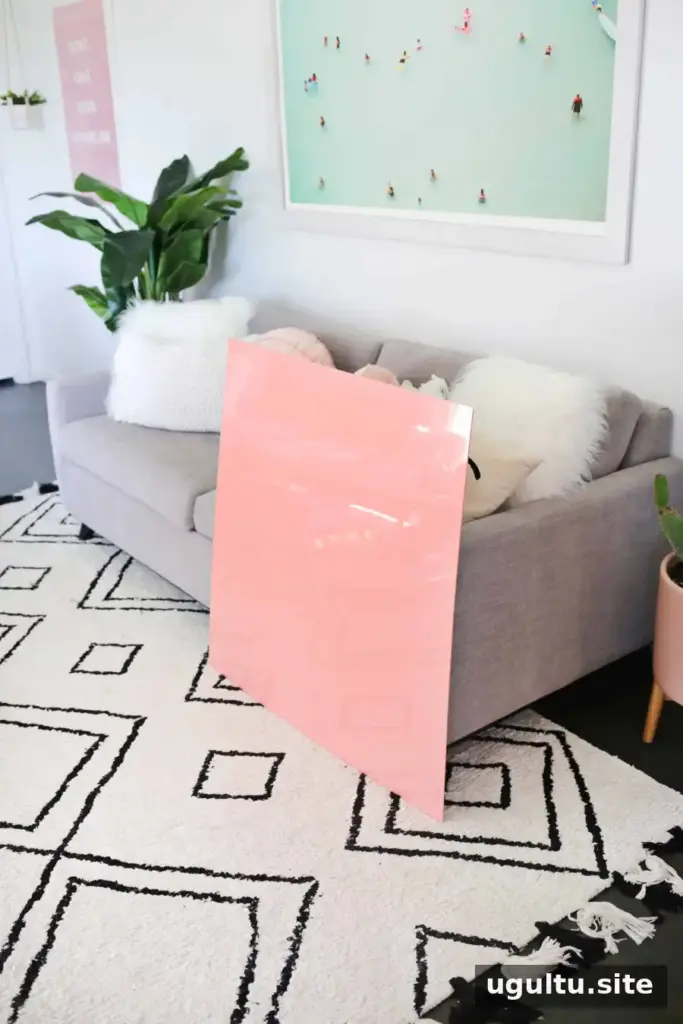
- One large acrylic sheet, 1/8 inch thick and 36 by 36 inches; the project uses a pink sheet.
- White letter stickers, 4 inches tall.
- White vinyl chart tape, 1/8 inch wide.
- Wall-mounting hardware and a drill.
- A ruler, an X-Acto knife, and painter’s tape for temporary guides. A clear acrylic ruler can make alignment easier.
Mark the Calendar Grid
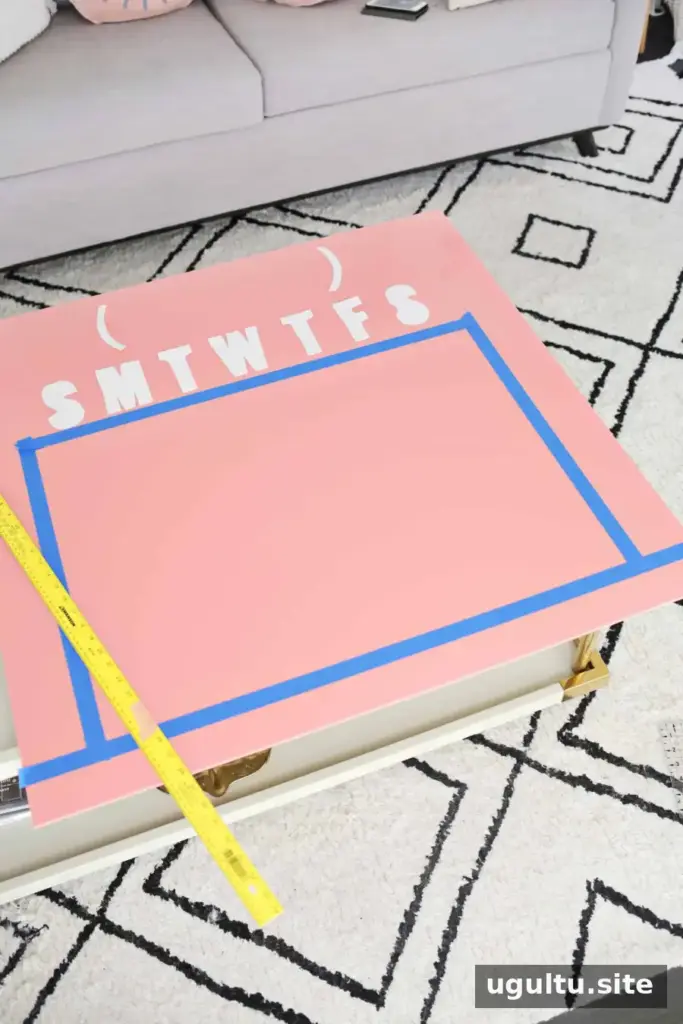
Start by cutting out the weekday letters from the sticker sheet, leaving a little of the backing paper around each one. Arrange the letters temporarily above the grid area to estimate their spacing. Cut out two parentheses as well; these will frame the space for the month near the top of the calendar.
Use painter’s tape and a ruler to outline a rectangle measuring 28 inches wide by 20 inches tall. Measure the inside edge of the tape: the rectangle should begin 4 inches in from each side of the acrylic and 3 inches above its bottom edge. Check that the outline is level before adding the grid.
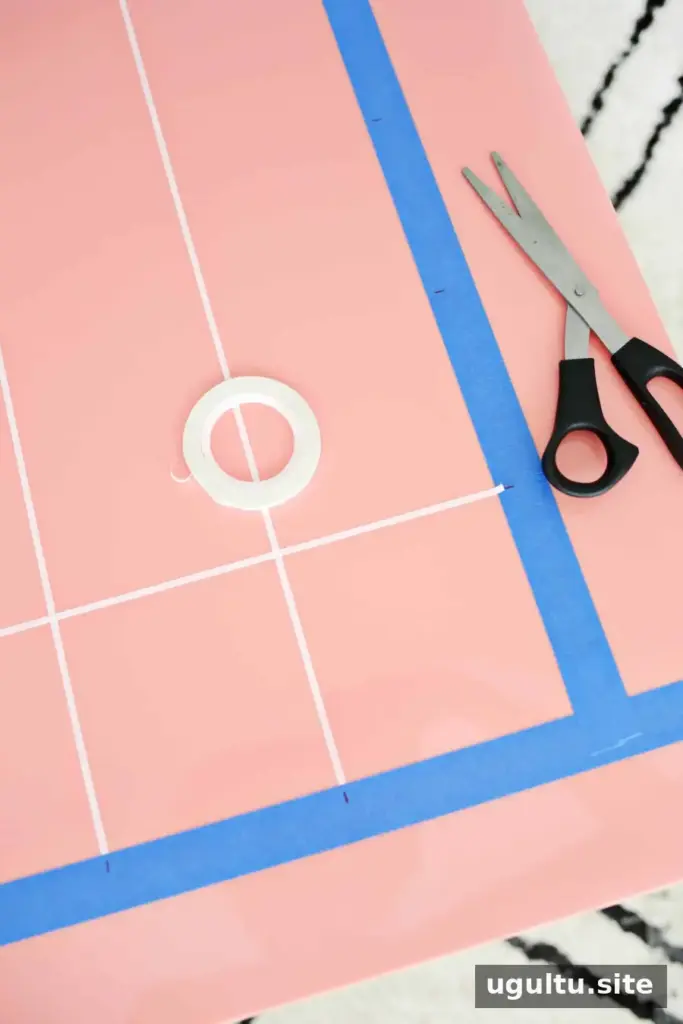
Mark the top, bottom, and side guide tape at 4-inch intervals. The 28-by-20-inch rectangle forms seven columns and five rows, for a total of 35 boxes. Use the marks to position the 1/8-inch white vinyl tape. You can trim the tape with scissors close to the painter’s tape, or carefully use an X-Acto knife where the strips meet.
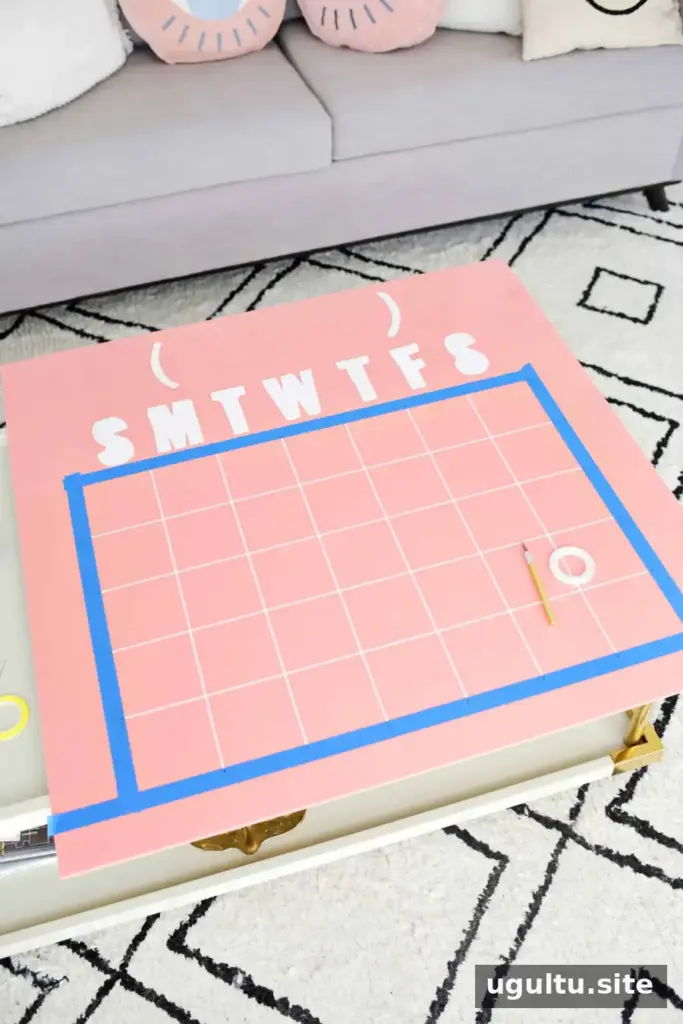
To finish the grid edges, mark where the side lines meet the top and bottom guides. Remove the side pieces of painter’s tape and place vinyl tape between the corresponding marks. Repeat for the opposite side. Then remove the top and bottom guides and add the remaining horizontal tape lines. Remove temporary tape only after checking that the grid looks even.
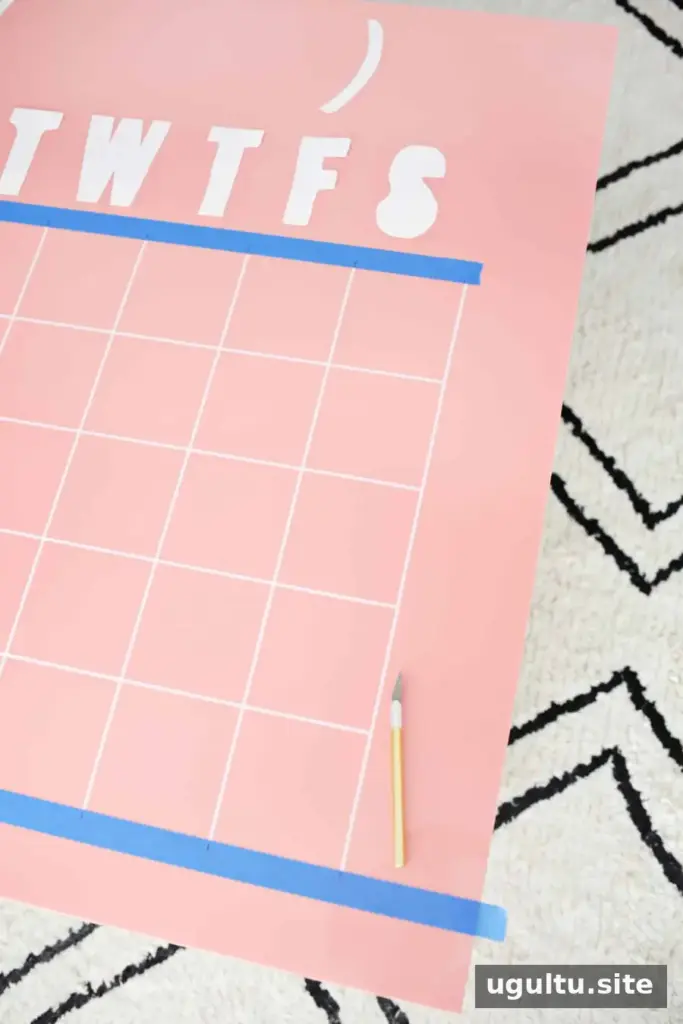
Add the Weekday Labels and Month Space
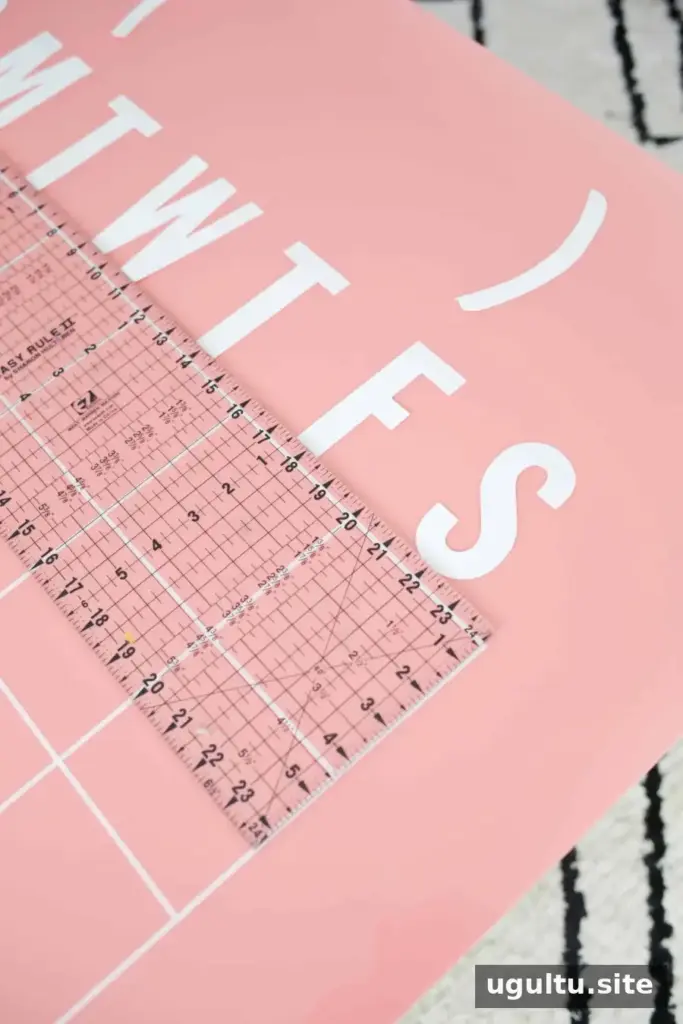
Use a clear ruler to center each weekday letter above its column. In this layout, the bottom edge of each letter sits 1/2 inch above the grid line. Measuring from the same reference point helps keep the labels aligned.
Placement tip: Peel the backing from only a small section of a sticker first. Position and adjust the letter, then press down the exposed area to hold it in place. Remove the remaining backing and smooth the rest of the sticker onto the acrylic. This gradual method makes repositioning easier than exposing the entire adhesive surface at once.
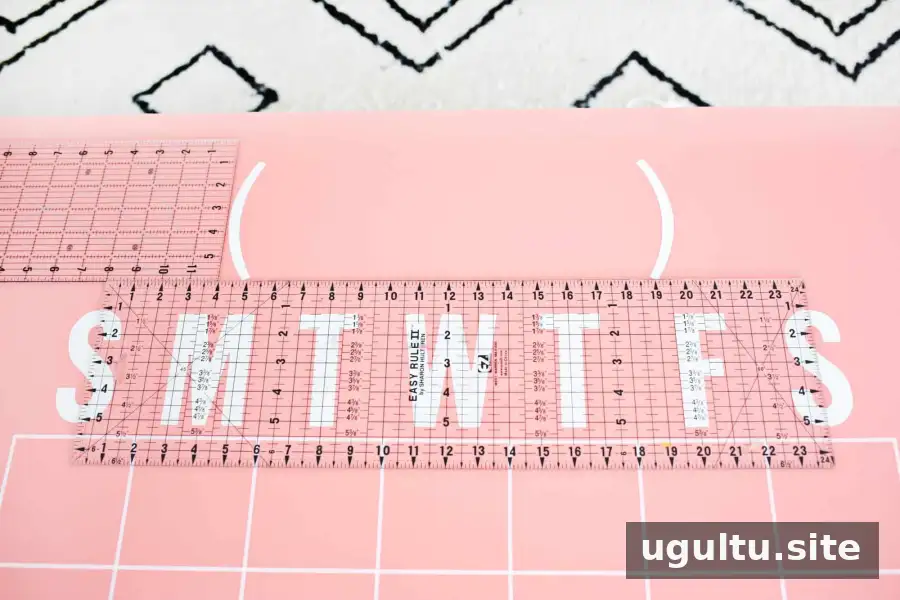
Center the parentheses about 1 1/4 inches above the weekday letters and space them about 14 inches apart to create the month heading area. As with the letters, attach a small section first, check the placement, and then smooth down the rest.
Mount the Acrylic Calendar Safely
Once the labels and grid are in place, prepare the calendar for hanging. This project uses four drilled holes and wall hardware painted gold. Before drilling, confirm the hardware position and make sure the acrylic is supported on a stable surface. Wear eye protection and follow the acrylic sheet manufacturer’s drilling guidance. Work carefully to reduce the risk of cracking, and make sure the mounting hardware is appropriate for both the wall and the panel.
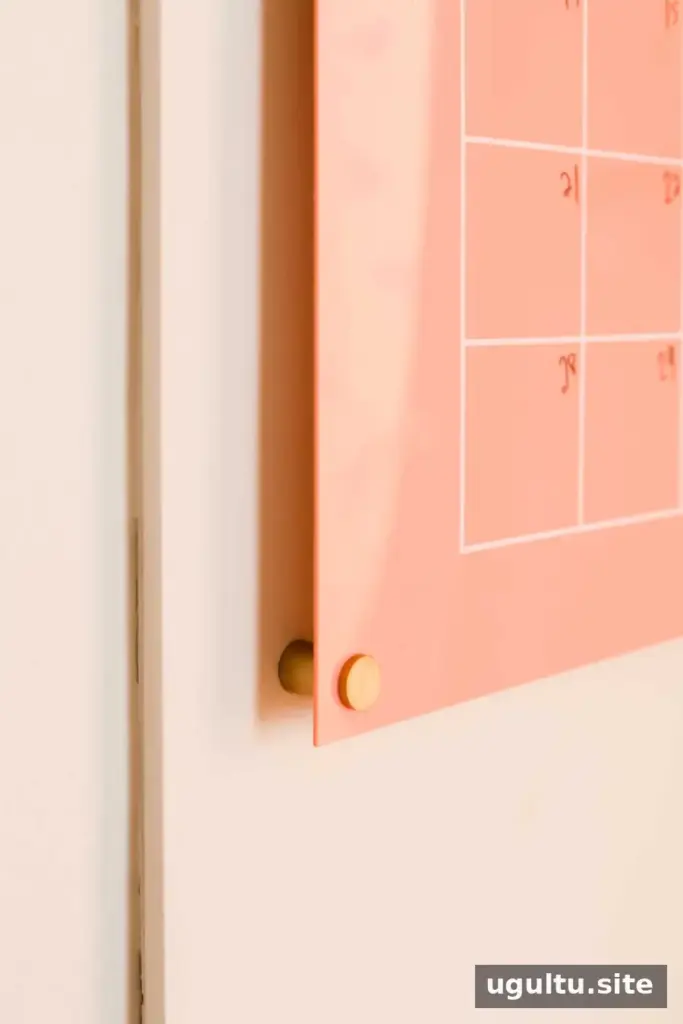
Some makers suggest drilling backward at a slow pace when working with acrylic. The original project notes that both forward and backward drilling methods were tried without a noticeable difference, so follow the guidance for your material and drill rather than relying on one technique alone.
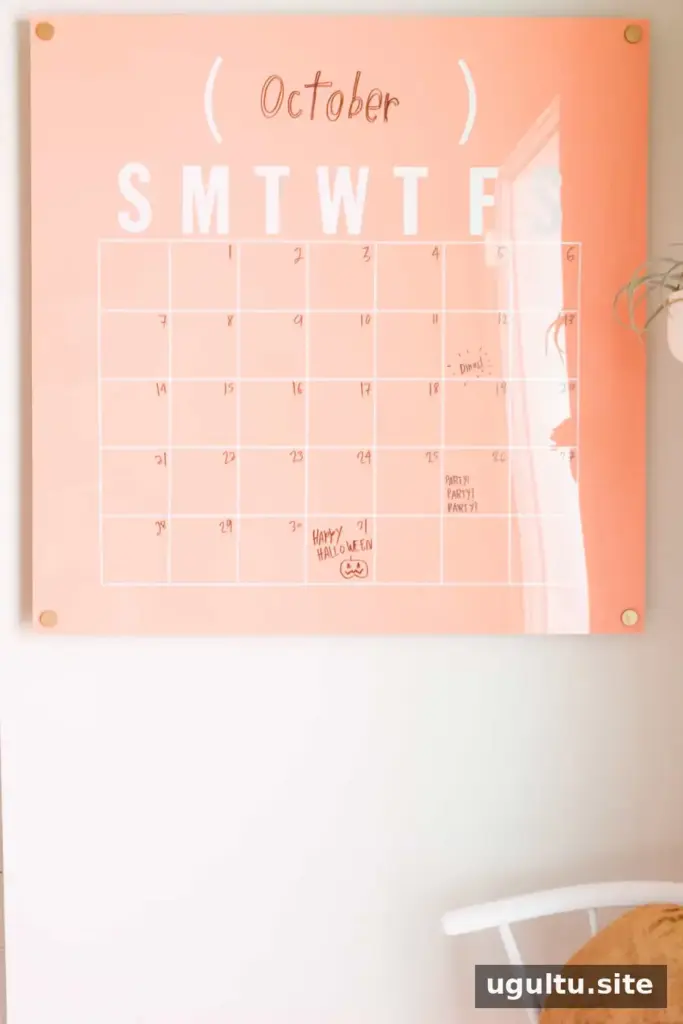
Final Result
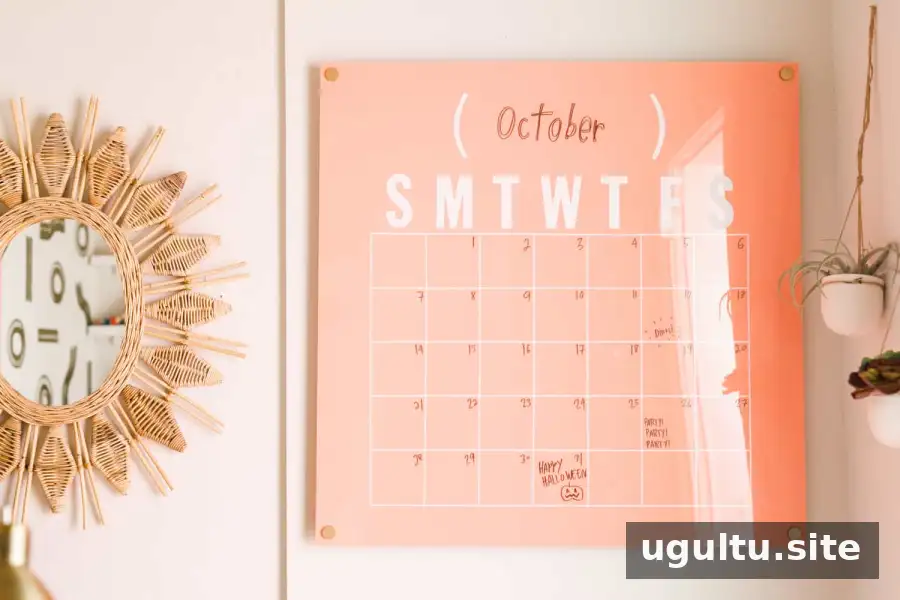
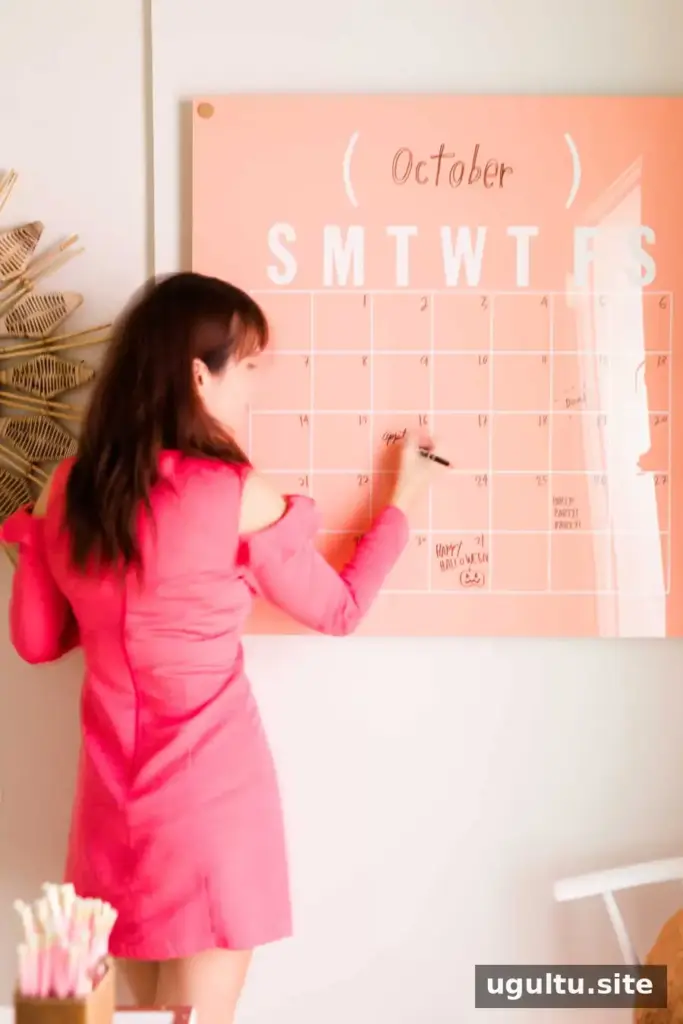
The finished oversized acrylic calendar combines a simple white grid and lettering with a bright coral-pink background. Before hanging it, check that the wall hardware is secure and that the calendar is easy to reach for writing. Use a suitable removable writing tool for your acrylic surface, and test it in an inconspicuous spot first. This project was created by Laura.


