
 admin

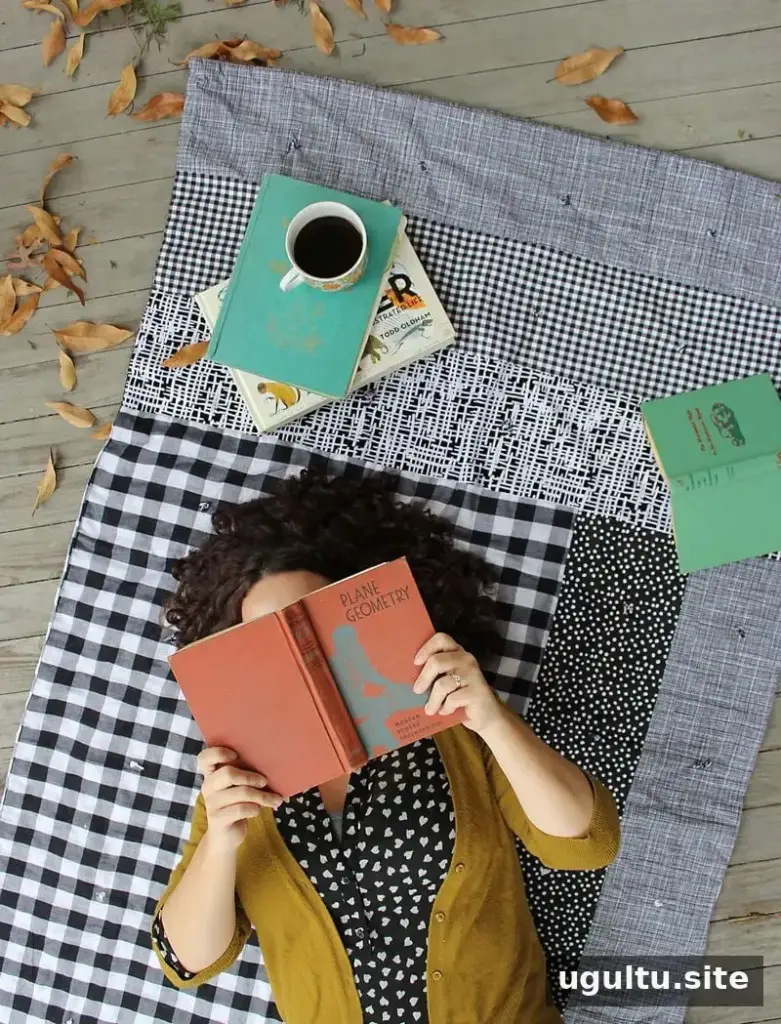
An easy patchwork quilt is a rewarding first sewing project and a practical throw for the couch or a chilly morning. This design combines a large fabric panel with five patterned strips, then joins the quilt top to batting and backing. The finished quilt is tied by hand rather than machine-quilted, making the construction approachable for beginners.
Supplies and fabric preparation
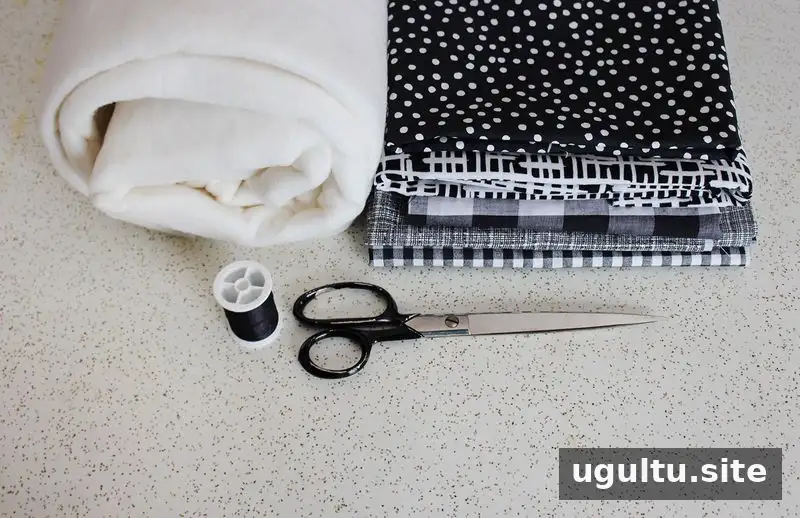
Gather the following materials before you start:
- One piece of fabric measuring 31″ x 43″ for the quilt front
- Five pieces of fabric in assorted prints, each measuring 8″ x 43″; two pieces may use the same print
- One piece of backing fabric measuring 43″ x 66″
- Cotton batting measuring 43″ x 66″, cut from the bolt
- Embroidery thread and an embroidery needle
- Straight pins and scissors
- A ruler
- An iron and ironing board
- A sewing machine and thread
- A rotary cutter and cutting mat, if desired
Prewash the fabrics in warm water and tumble dry them on a medium setting to help preshrink them. Iron each piece before cutting so the fabric lies flat and the edges are easier to measure accurately.
How to make an easy patchwork quilt
1. Cut and arrange the quilt-top pieces
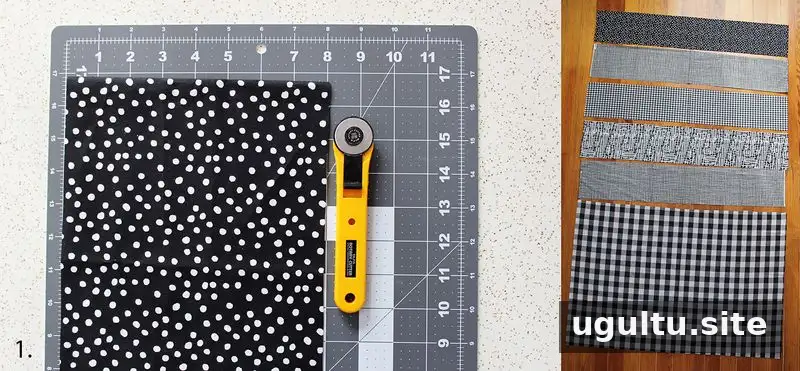
Cut five strips measuring 8″ x 43″ if they are not already prepared. The strips can come from four different fabrics, with one print used twice. Cut one larger panel measuring 31″ x 43″. Together, these pieces form the quilt top.
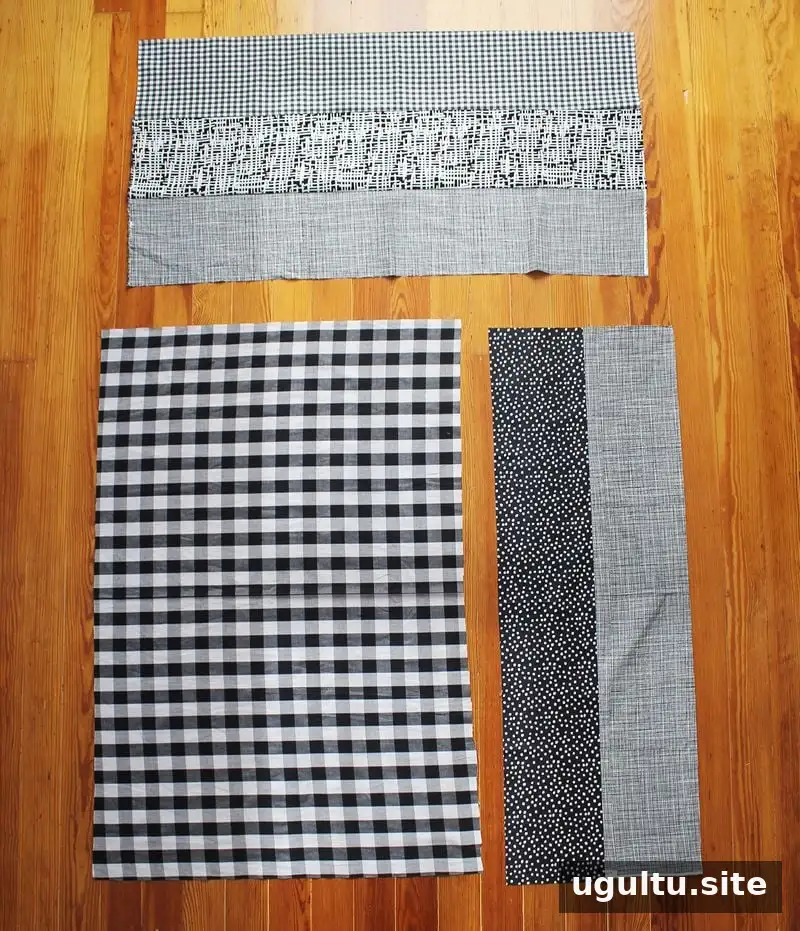
Arrange the fabrics before sewing. Choose five or six prints and colors that coordinate, and avoid placing matching prints directly beside one another if you want each fabric to stand out. Set the large panel in one corner with its long side running vertically. Place two strips to its right and arrange the other three strips above the large panel. Adjust the order until you like the pattern. Taking a quick photo of the layout can help you remember it while sewing.
2. Sew the fabric sections together
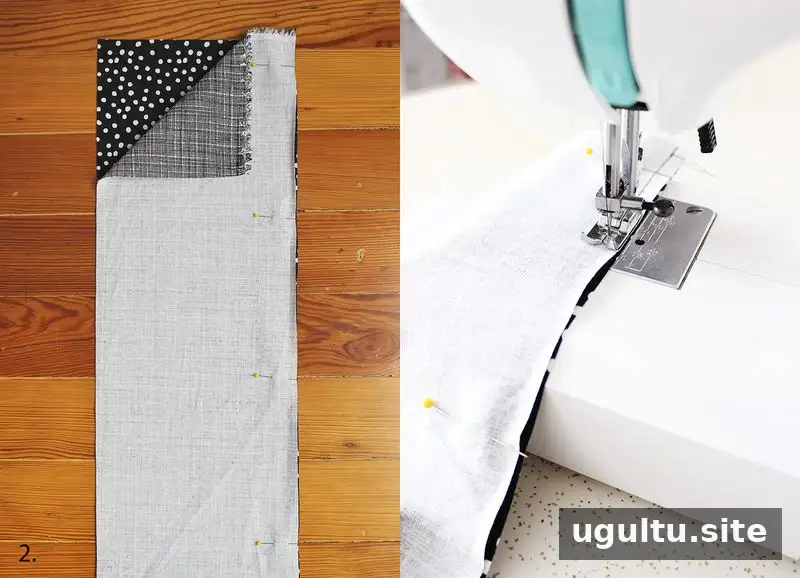
Begin with the two vertical strips. Place them right sides together, align the edges, and pin along the edge to be sewn. Pins spaced about 6″–8″ apart help keep the fabric aligned. Stitch with a 1/4″ seam allowance, then remove the pins.
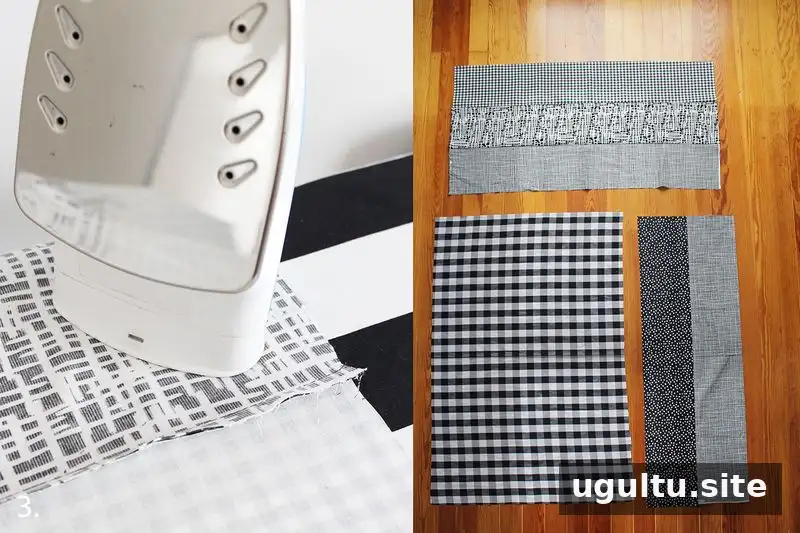
Open the joined strips and place them face down on the ironing board. Press the seam allowance to one side to flatten the seam. Sew the three upper strips together in the same way, keeping the planned print arrangement in mind.
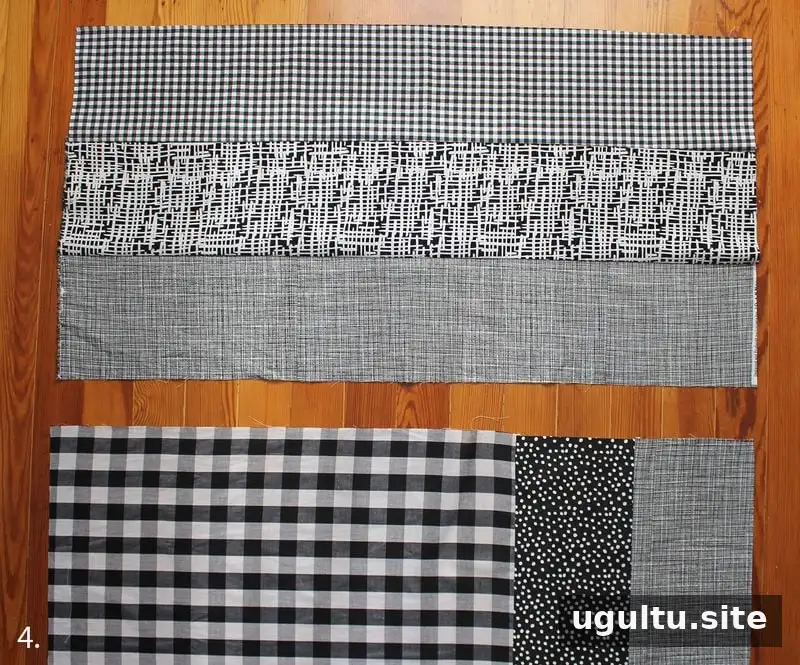
Sew the two joined vertical strips to the long edge of the large fabric panel and press the seam flat. The three pieces along the lower section should now match the length of the strips above. Sew those sections together and press again. Check the quilt top from the front before moving on; if matching prints ended up together, you can unpick the seam and rearrange them now.
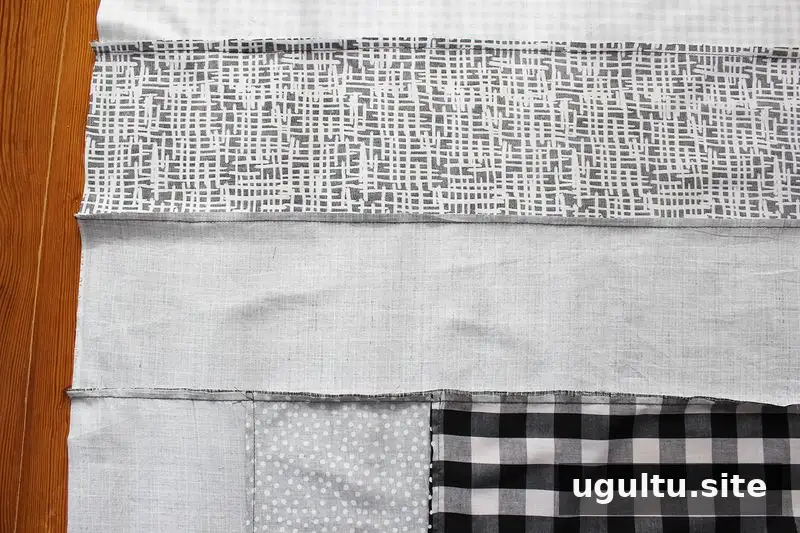
The underside of the quilt top will show the pressed seam allowances. Smooth it out and check that the seams are secure.
3. Layer and pin the quilt
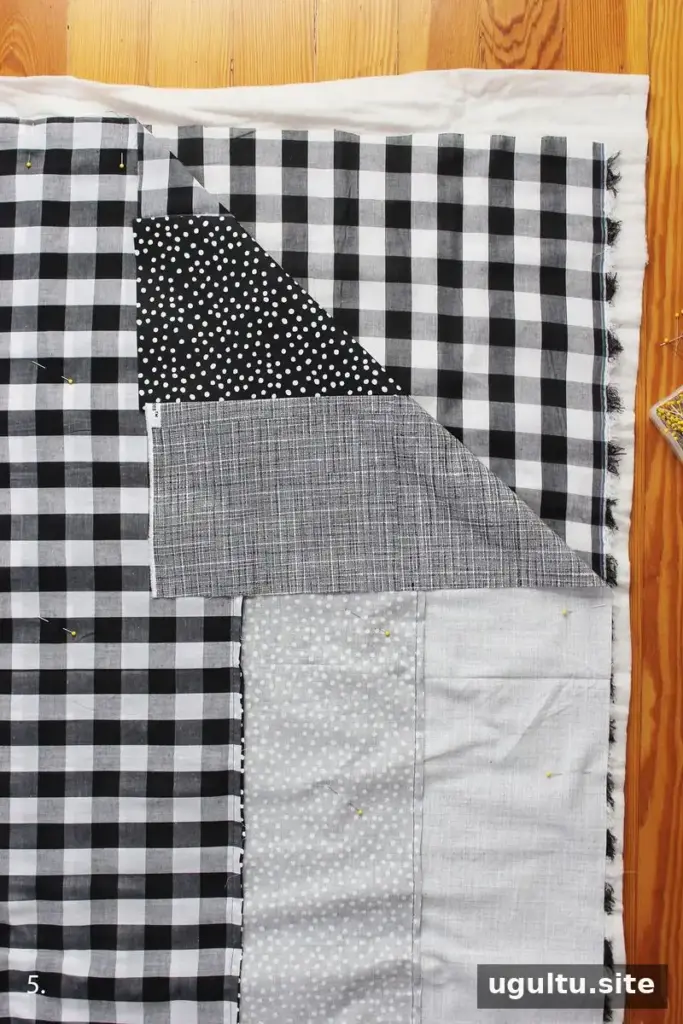
Lay the 43″ x 66″ cotton batting on a flat floor and smooth out any wrinkles. Tape the edges down temporarily if needed. Place the backing fabric on the batting with its right side facing up, matching the edges. Then place the quilt top on the stack with its right side facing down. Align the edges and pin the three layers together like a sandwich. For this hand-tied method, space pins about 8″ apart around the perimeter and about 10″ apart through the middle.
4. Stitch, turn, and close the opening
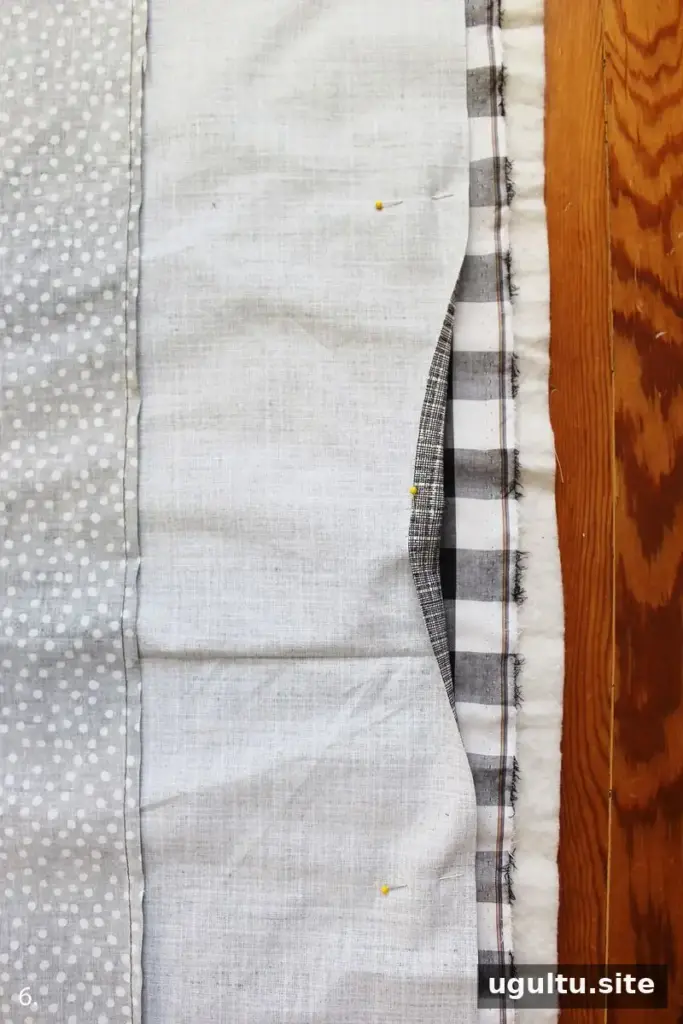
Before sewing, fold back a section of the quilt top about 12″ long and pin it to mark an opening. Stitch around the perimeter about 1/4″ from the edge, leaving that section open. Sew through all three layers. If the batting or backing extends beyond the quilt top, keep the layers aligned as you stitch.
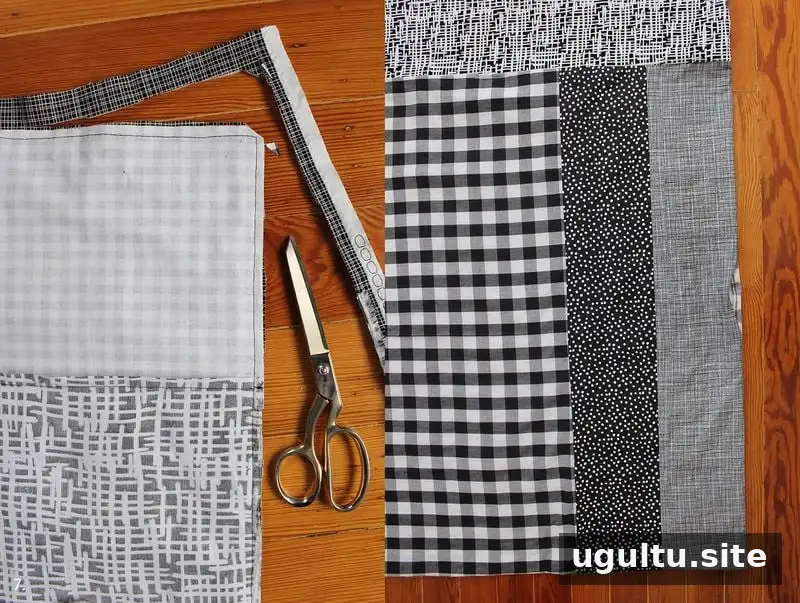
Trim excess fabric and batting for a neater fold, and clip the corners without cutting into the stitching. Turn the quilt right side out through the opening and smooth it flat. Hand-stitch the opening closed. Take care not to catch folds of the quilt into the seam.
5. Hand-tie the layers
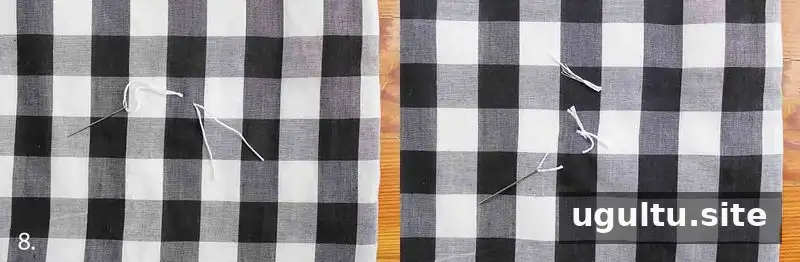
Rather than machine-quilting the layers, secure them with embroidery thread. Make the first tie 4″ in from a bottom corner, then add another tie every 8″ across and every 8″ up. Stitch through all three layers and tie a double knot at each point. Trim the thread ends to about 2/3″. Keep the spacing consistent so the layers remain held together across the quilt.
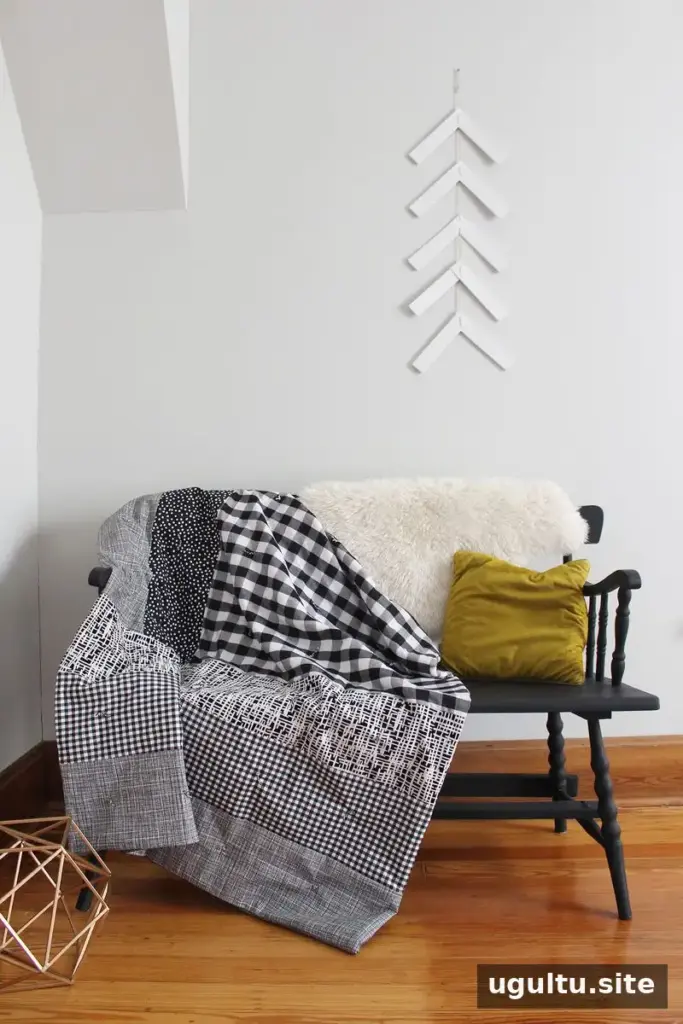
Finished quilt
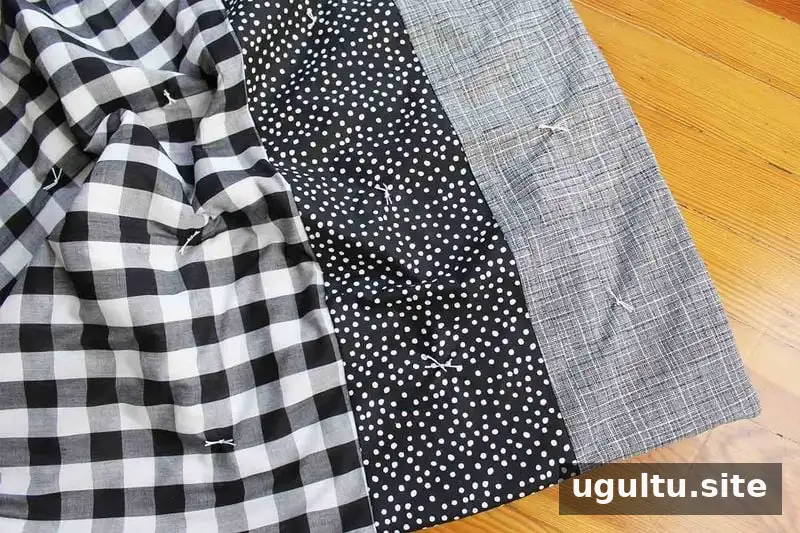
Your patchwork throw is ready to use. Before washing it, check that the opening is fully closed and that the hand-tied knots are secure.
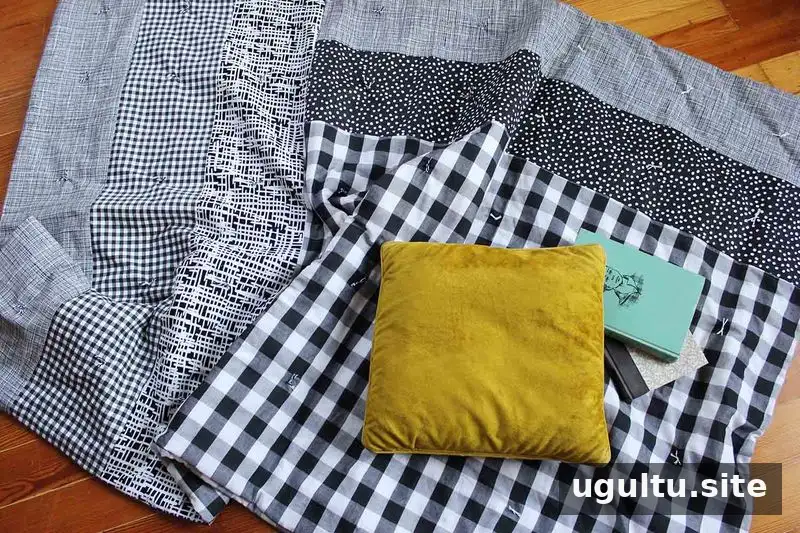
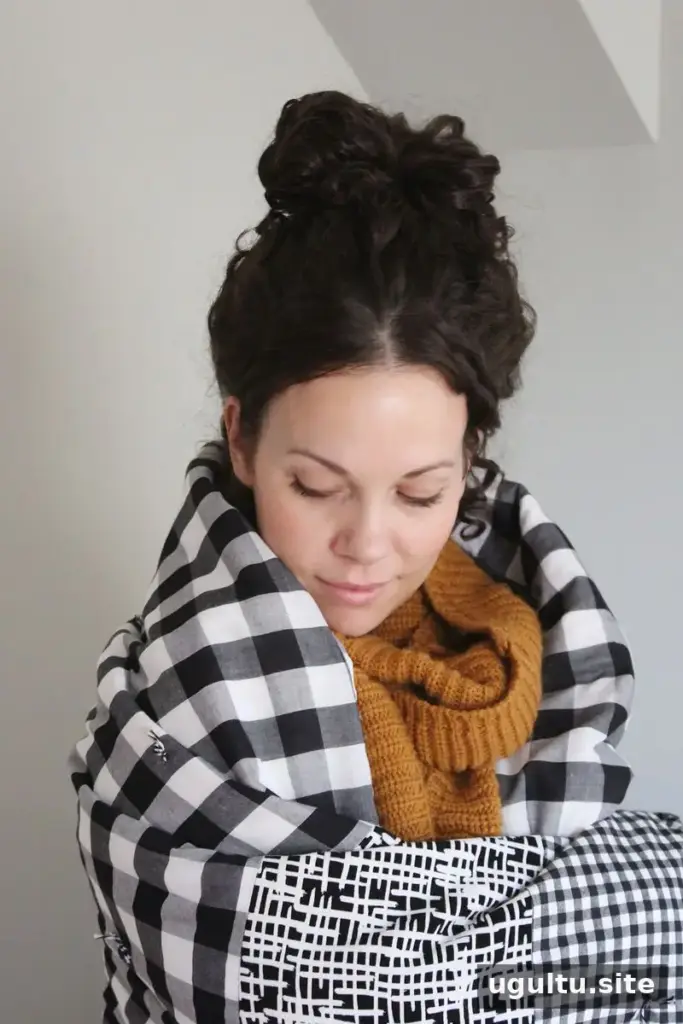
A handmade quilt can make a comfortable companion for reading or relaxing. Enjoy your new sewing skill, and consider making another quilt for someone special.
–Rachel


