
 admin
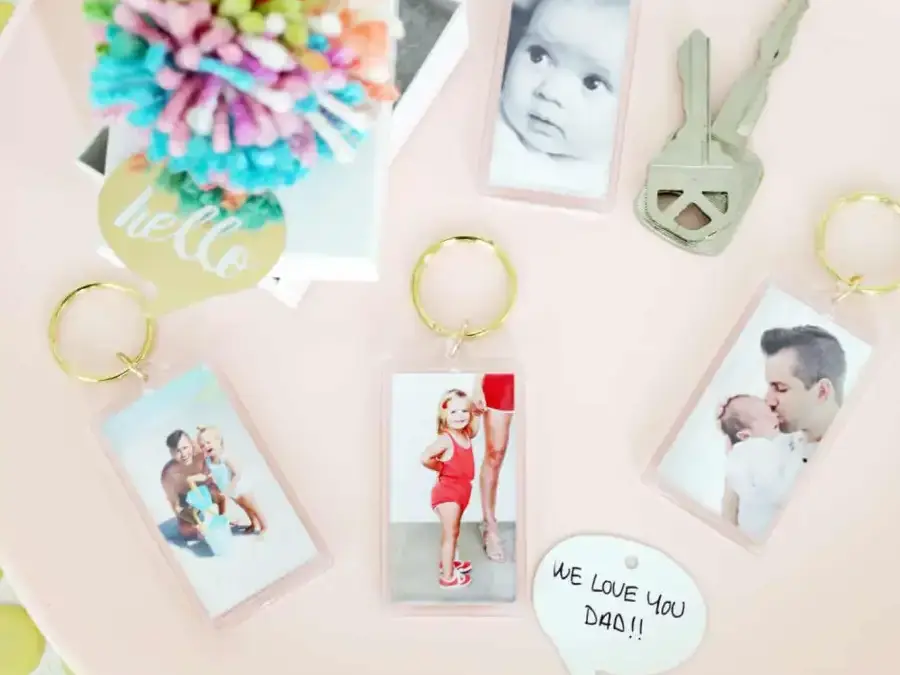
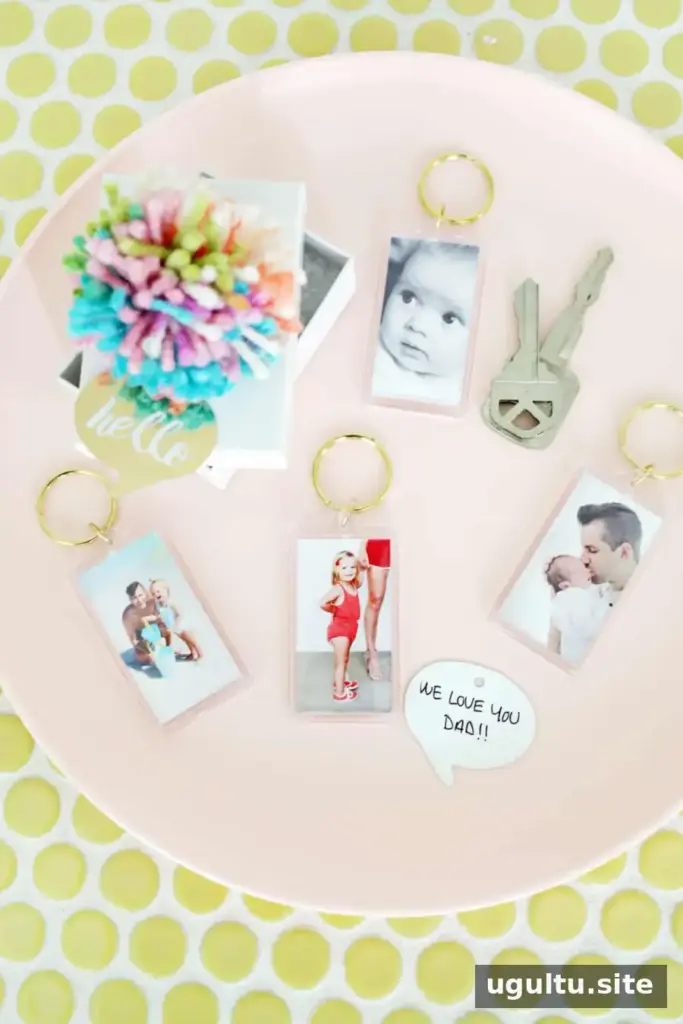
A photo keychain DIY project turns favorite pictures into a small, personal gift for Father’s Day, birthdays, or other special occasions. It takes only a few basic supplies, and the finished keychain can keep a meaningful photo close at hand. Choose a picture that will remain clear when printed at a small size, such as a close-up portrait or a simple family snapshot.
Supplies for a Photo Keychain DIY
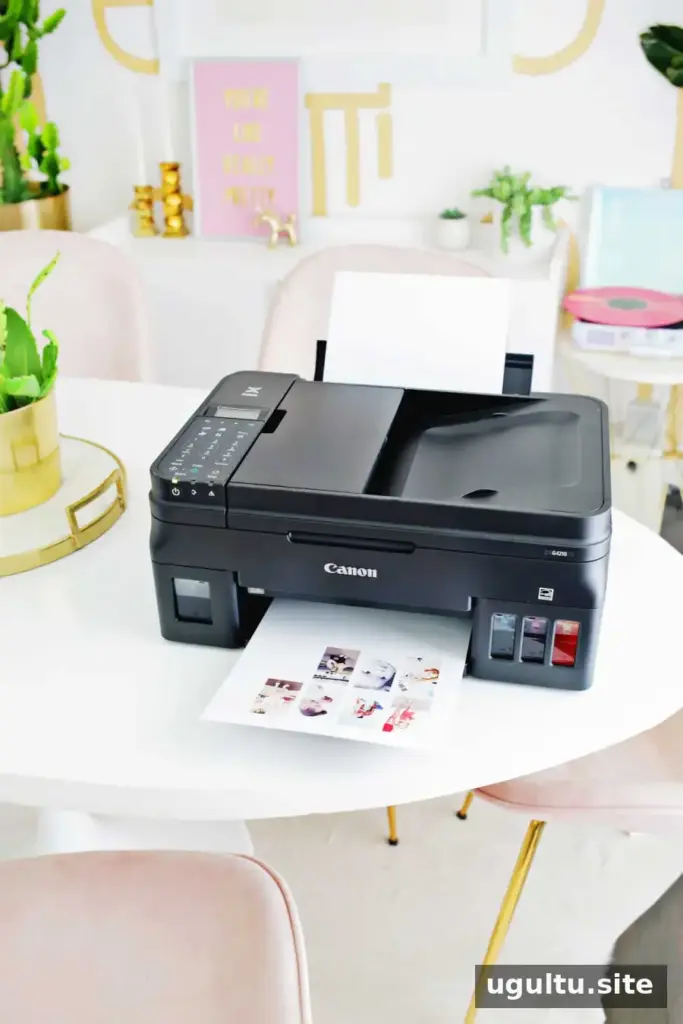
Gather these materials before you begin:
- A printer that can print photos
- Photo paper
- A blank plastic keychain with a removable photo insert
- Large jump rings and replacement key rings, if you want to change the hardware
- Scissors, a ruler, or a craft knife and cutting mat
- Pliers, if changing the keychain hardware
Check the size and shape of the keychain’s photo opening before printing. A quick measurement helps prevent wasted paper and makes it easier to trim the picture neatly.
Prepare and Print the Photos
Resize each image to fit the insert. Measure the plastic piece or opening, then adjust the photo dimensions to match. If you do not have image-editing software, check your printer’s print settings for a scale option. Printing at a reduced percentage can make a smaller image, which you can trim to size afterward.
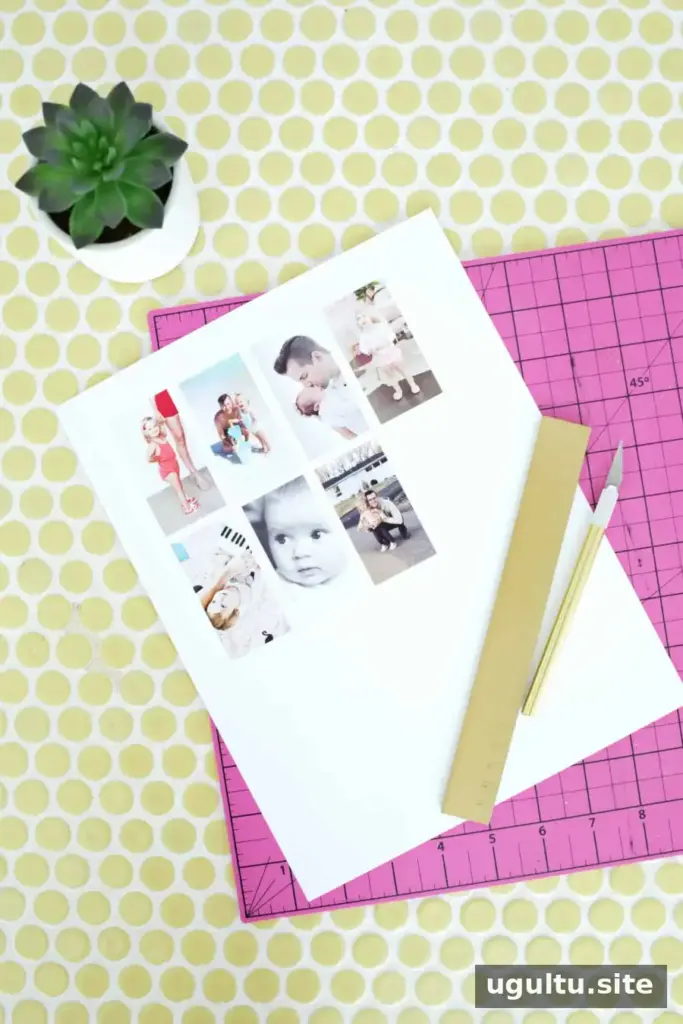
To save paper, arrange several resized pictures on one sheet before printing. You can also prepare two different images for a double-sided keychain. Use a test print on regular paper first if you are unsure about the scale, and compare it with the insert before printing on photo paper.
Cut and Assemble the Keychain
After printing, cut out the photos carefully with scissors, a ruler and craft knife, or another suitable cutting tool. Keep your fingers clear of the blade and work on a protected surface. Test each piece in the opening before assembling it; trim small amounts at a time so the image is not cut too small.
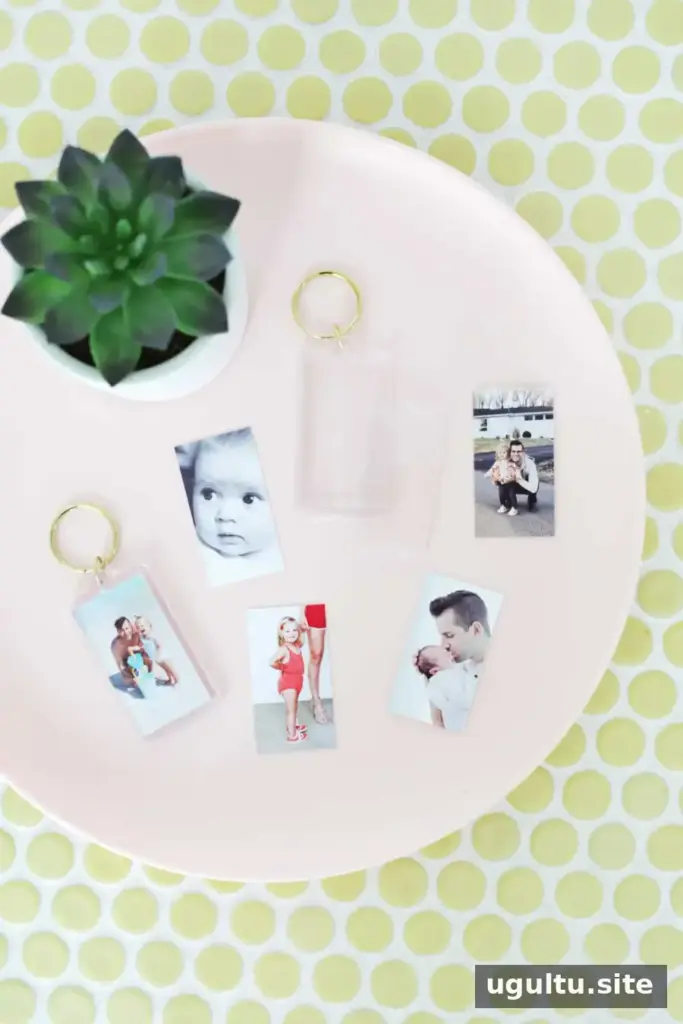
For a double-sided design, place two photos back-to-back inside the keychain. Align their edges, then snap the plastic cover or insert into place according to the keychain’s design. Check that the photos are flat and secure before attaching keys.
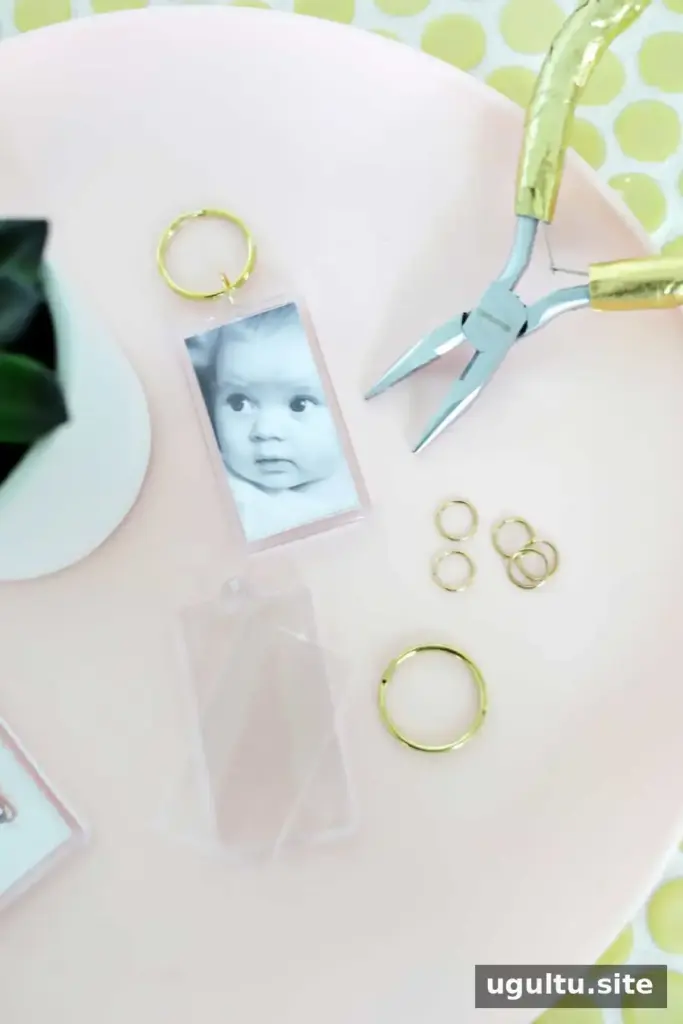
Optional Hardware Change
If you prefer different-colored hardware, you can replace the existing key ring. Use pliers to open or remove the original connector, then attach a replacement ring with a jump ring. Work carefully to avoid scratching the plastic or pinching your fingers, and make sure every connection is fully closed before using the keychain.
Personalize the Gift
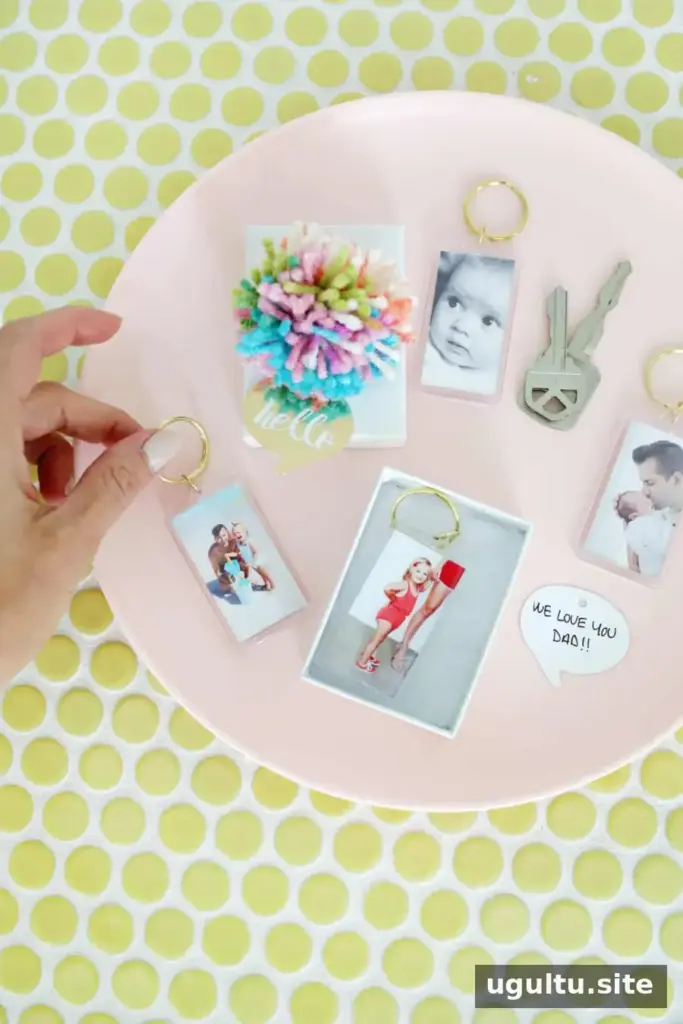
Photos are just one option. Add a small handwritten note, children’s names, or a piece of a child’s drawing if it fits the insert. For younger children, an adult can handle cutting and assembly while they choose the pictures or create the artwork.
This photo keychain DIY works for Father’s Day, Mother’s Day, birthdays, and Christmas. Before gifting it, check that the image is facing the right way, the insert is closed securely, and the key ring is firmly attached. With a carefully chosen picture and a little preparation, this simple project becomes a useful keepsake. — Laura


