
 admin
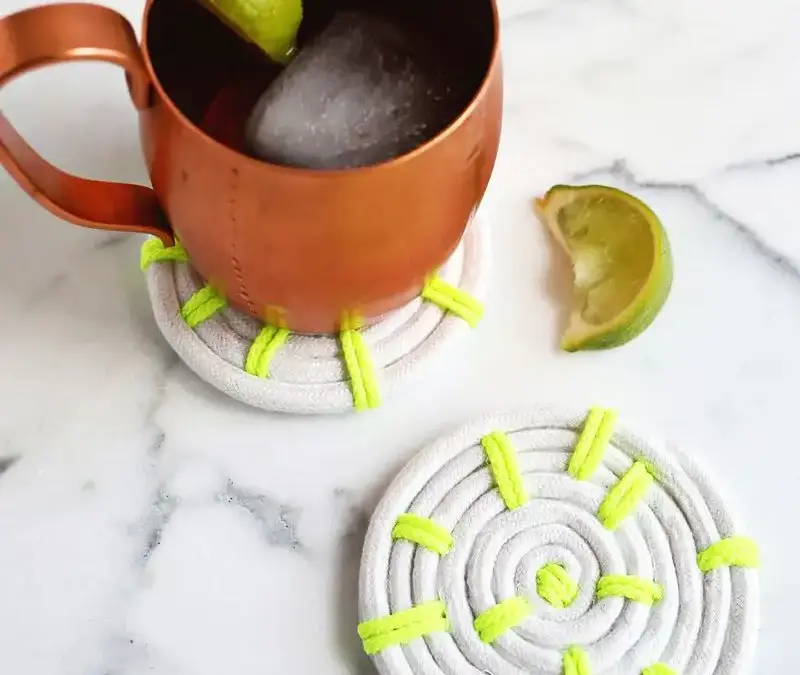
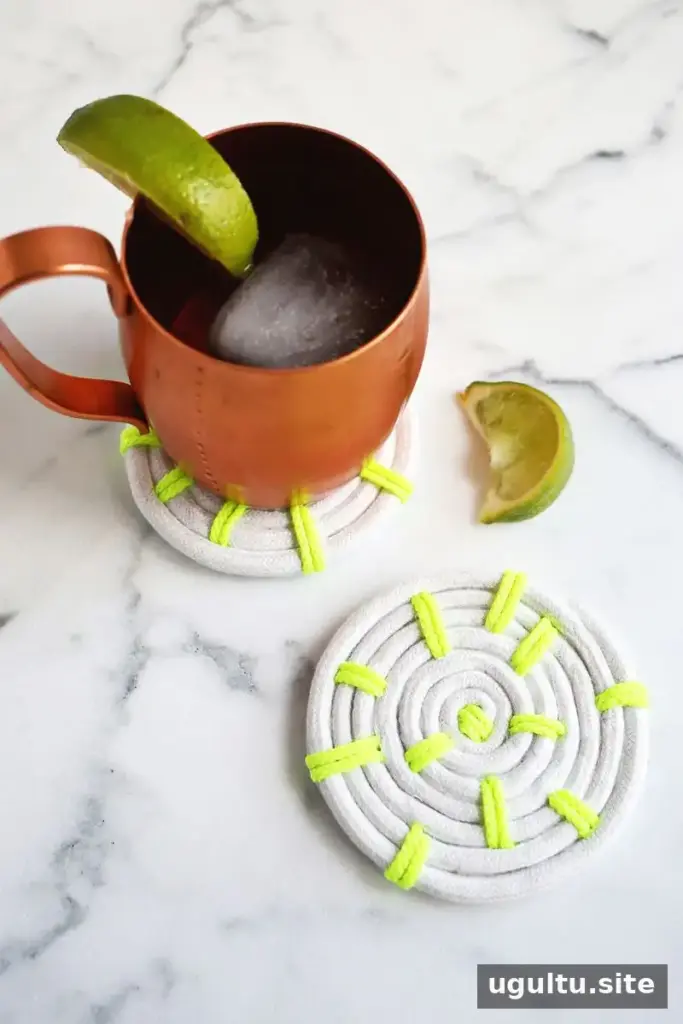
A rope coaster DIY is a simple way to make practical, personalized protection for a coffee table or countertop. This project combines coiled drawstring cord with small decorative stitches in a bright contrasting color. The finished coasters have a clean, handmade look, and making a set in different colors can help each person keep track of their own drink.
The instructions below use a hot glue gun to secure the rope and felt backing to cover the underside. Work on a protected surface, and take care when handling hot glue. Before starting, gather all the supplies so the cord can be coiled and glued without interruption.
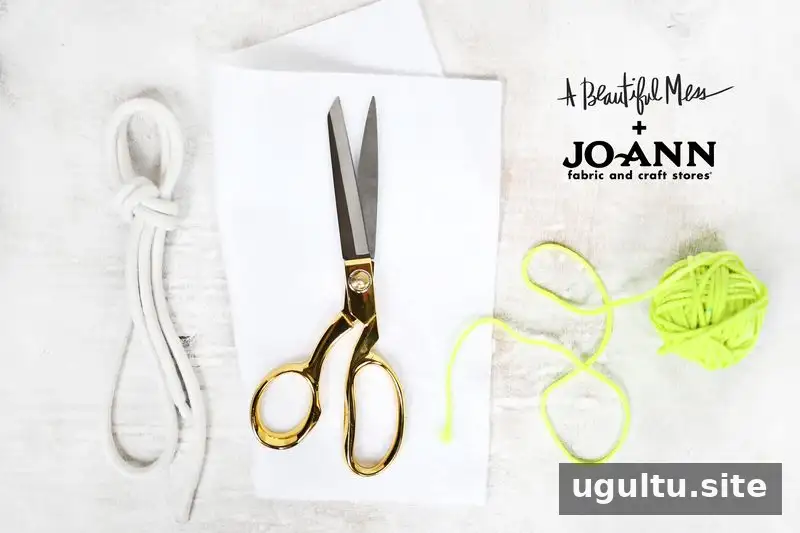
Supplies for a Rope Coaster DIY
- White felt
- 1/4-inch drawstring cord, about 48 inches per coaster
- Parachute cord for the decorative stitches
- A large yarn needle that the neon cord can pass through
- Glue gun
- Fabric scissors
- White electrical tape
Check that the needle’s eye is wide enough for the decorative cord before you begin. Keep the felt, scissors, and adhesive within reach; this makes it easier to finish the backing neatly after the rope has been decorated.
How to Make the Coiled Rope Base
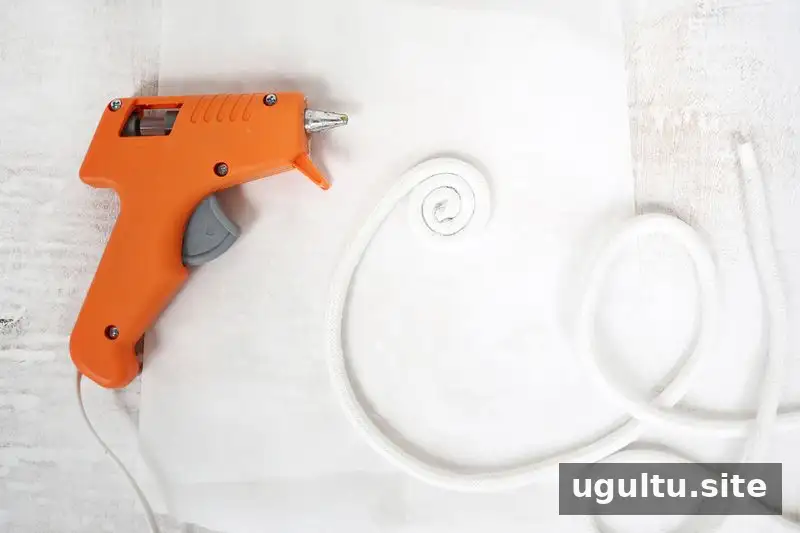
Cut a piece of drawstring cord approximately 48 inches long. Wrap electrical tape around both ends to reduce fraying, then trim each end so about 1/4 inch of taped cord remains.
Start at one end and wind the cord into a flat, circular coil. Apply hot glue as you go, pressing each new section against the previous one so the coil stays together. Continue until the full length of cord is attached. Tuck the final end beneath the outer edge, then glue it in place on the underside.
For a more even coaster, keep the coil flat as you work and add glue in small amounts. This helps prevent bumps and makes it easier to attach the felt later.
Add the Decorative Cord Stitches
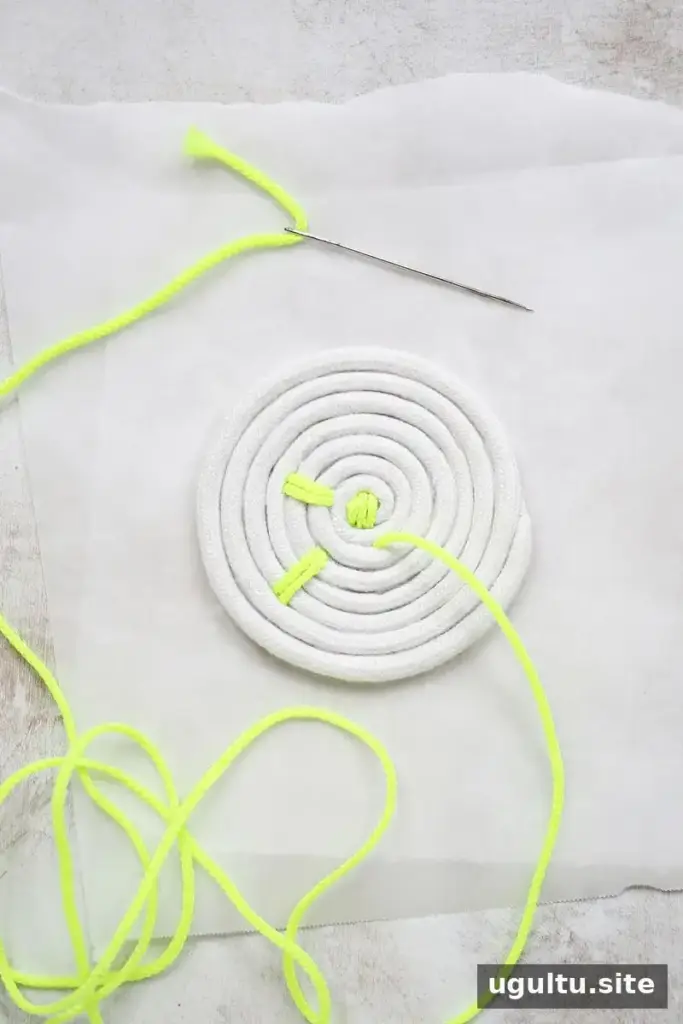
Thread the yarn needle with the neon parachute cord. Starting from the underside, sew pairs of side-by-side stitches through the rope coil, spacing them around the coaster. The stitches can all be the same length, or you can vary them. In this project, each stitch spans either two or three rows of rope.
Secure the cord ends on the underside with knots or a small amount of hot glue. The back may look untidy at this stage; the felt layer will cover the stitches and glued ends.
Attach the Felt Backing
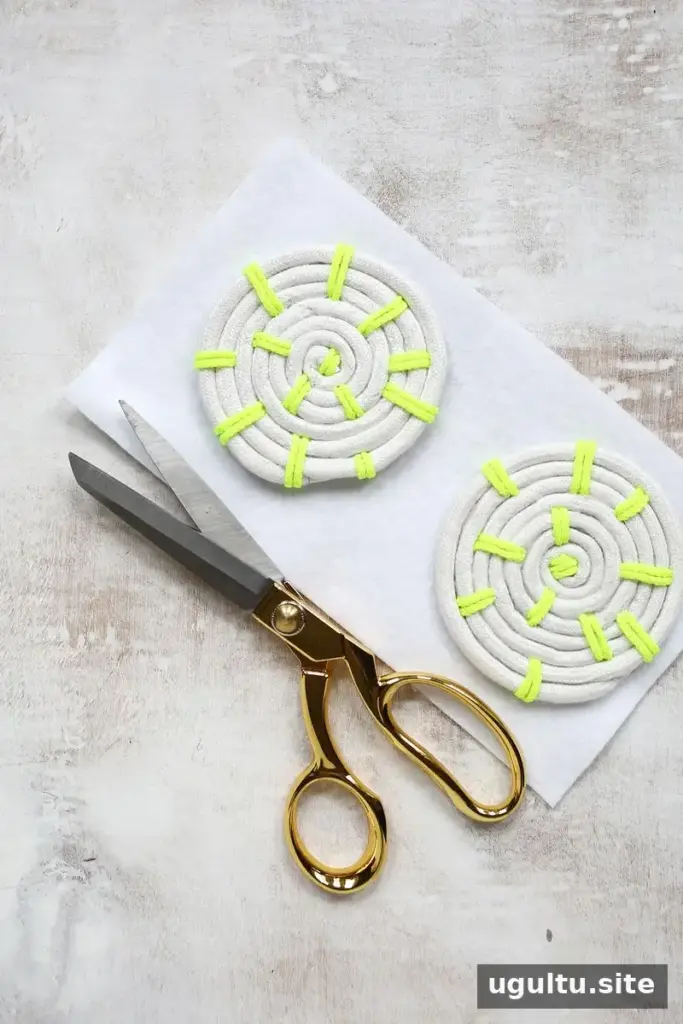
Use hot glue or fabric glue to attach the underside of the coaster to a piece of white felt. Set a heavy book or another flat weight on top for a few minutes while the adhesive cools or sets. Then carefully trim the extra felt around the outer edge with fabric scissors.
Customize Your Rope Coasters
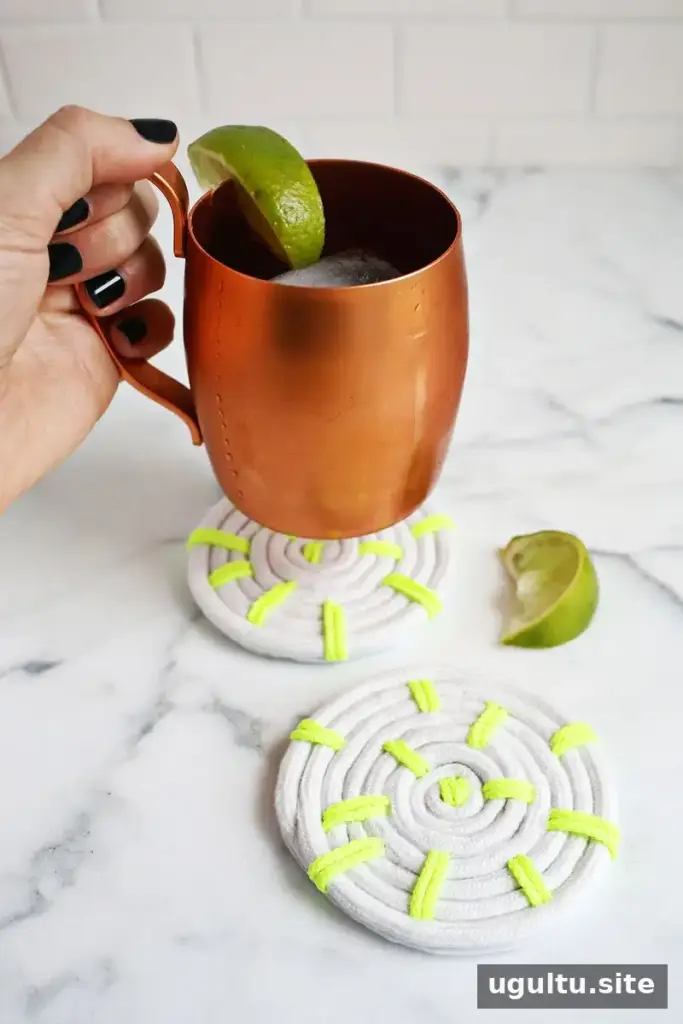
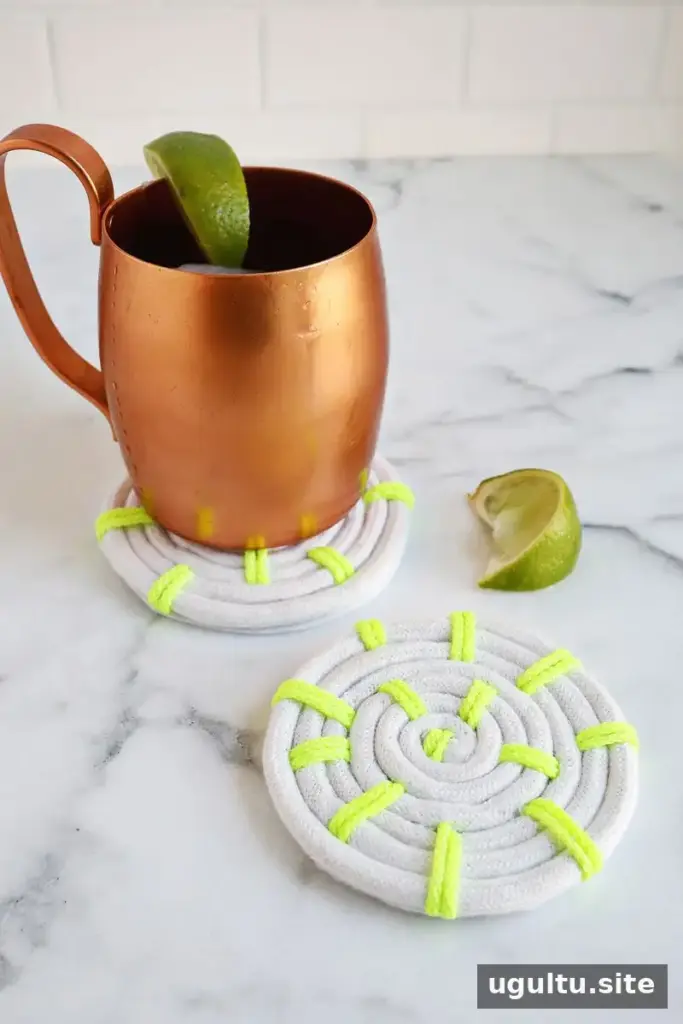
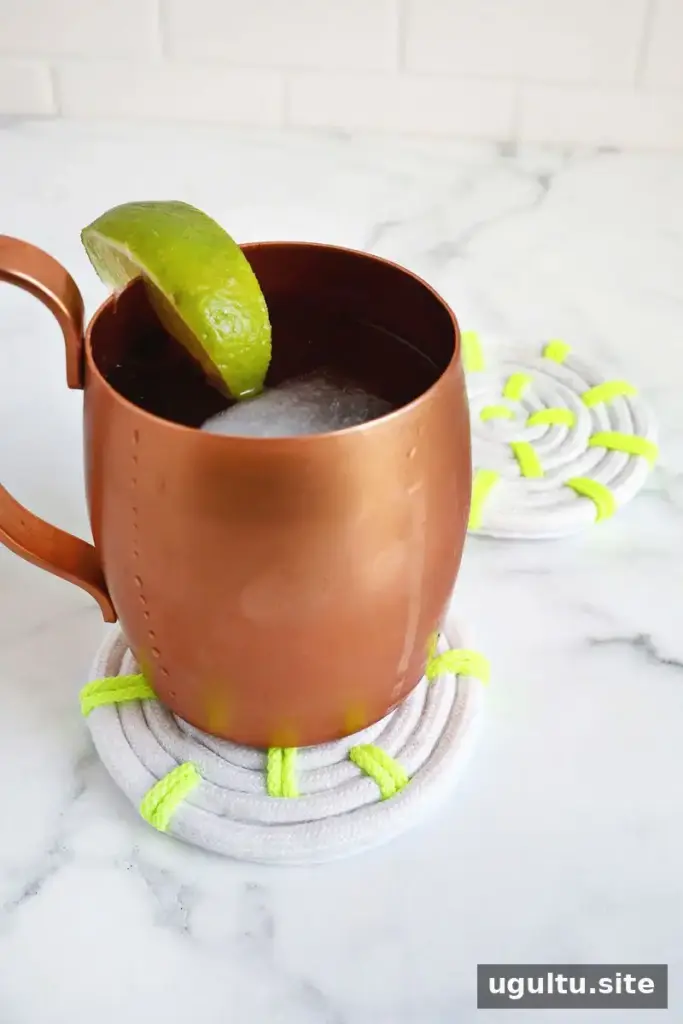
For a different finish, try thinner embroidery thread or use several cord colors. The simple combination of white rope and neon yellow stitches creates a bright accent, while using a separate color for each coaster can make a set easier to identify. Make two or four to coordinate with a coffee table or counter.
Before placing a finished coaster on a valued surface, check that the felt fully covers the underside and that no glue or rough cord ends are exposed. This small detail helps keep the coaster flat and reduces the chance of scratching the surface.
Conclusion
This rope coaster DIY turns a short length of cord, decorative thread, and felt into a useful handmade accessory. With a coiled base, a few colorful stitches, and a trimmed backing, you can create a matching set and adjust the colors to suit your space. Project instructions by Laura.


