admin
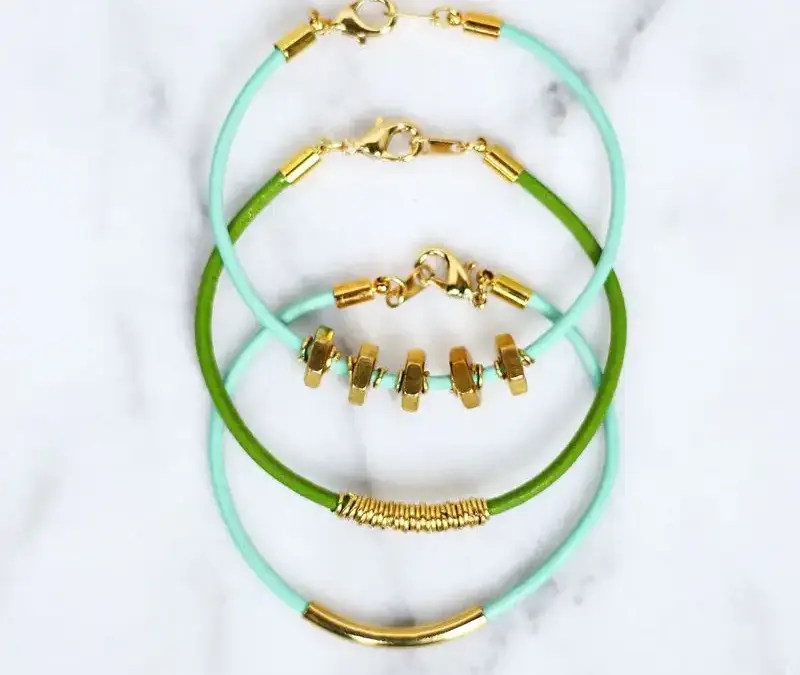
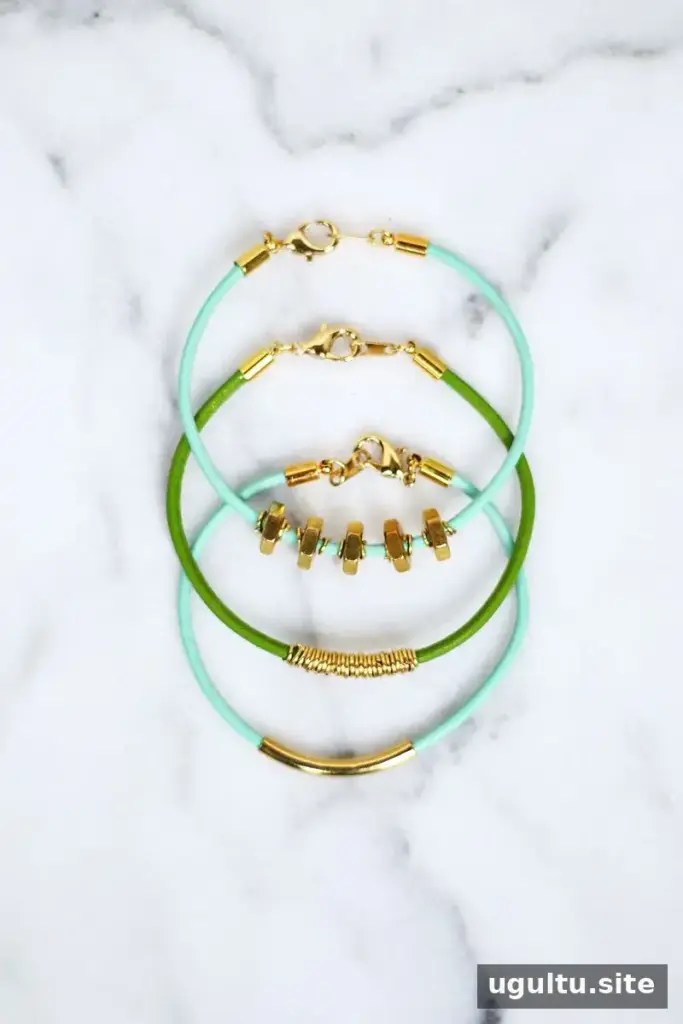
A skinny leather bracelet DIY is a simple way to make lightweight jewelry that suits everyday outfits or a stacked bracelet look. These three designs use round leather cord and a small selection of jewelry findings: add jump rings, a long tube bead, or gold hex nuts for different finishes. Each style is straightforward to assemble, and you can make several bracelets at once for a coordinated set or a handmade gift.
Supplies for a Skinny Leather Bracelet DIY
Gather the materials before cutting the cord so you can check that every finding fits. Leather cord comes in different thicknesses; 2 mm cord was used for these examples. Match the end caps, beads, and hex nuts to the cord size so the pieces can slide on or fit securely.
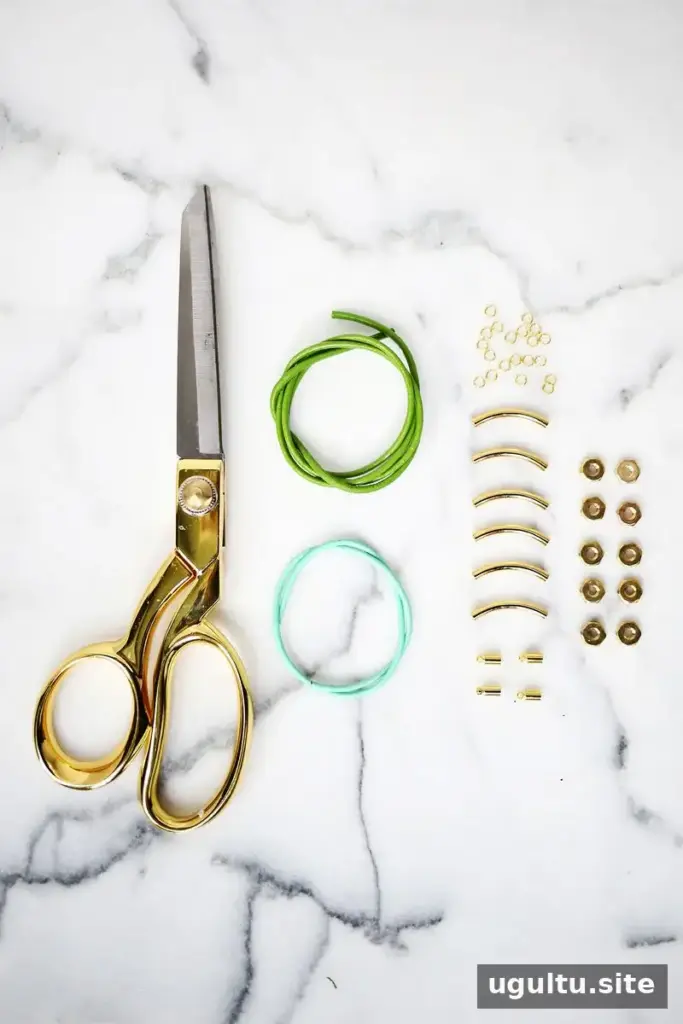
- Round leather cord
- End caps with loops
- Lobster claw clasp and eyelet
- Jump rings
- Gold hex nuts
- Long gold tube beads
- Small needle-nose pliers
- Jewelry glue
Measure the cord around your wrist and allow extra length for the end caps and clasp. Before cutting, check the fit of the cord with the findings. A test fit helps prevent discovering that a bead or end cap is too small after the cord has been cut.
Three Ways to Decorate Leather Cord
1. Add evenly spaced jump rings
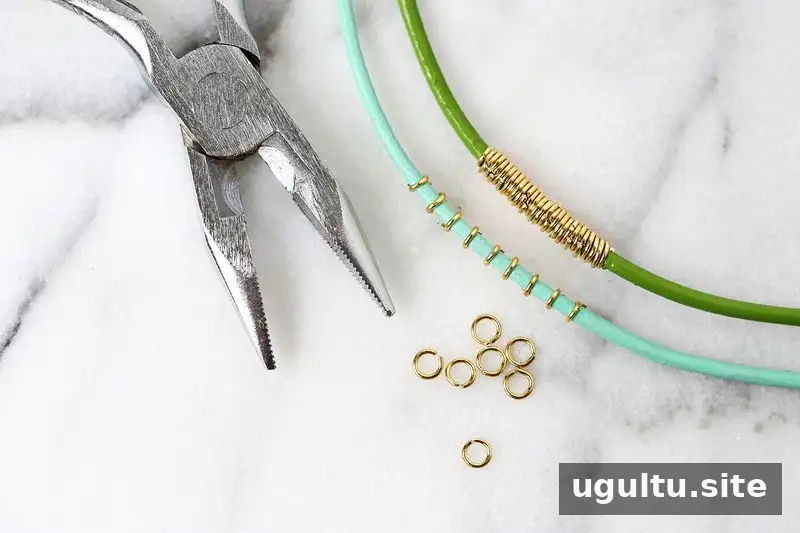
Cut a length of cord, leaving room for the end caps and closure. Slide jump rings onto the cord and use needle-nose pliers to tighten them so they grip the leather. Arrange the rings at even intervals for a spaced design, or place several together in a row and secure the group at both ends. Keep the pliers controlled to avoid damaging the cord.
2. Secure a long tube bead
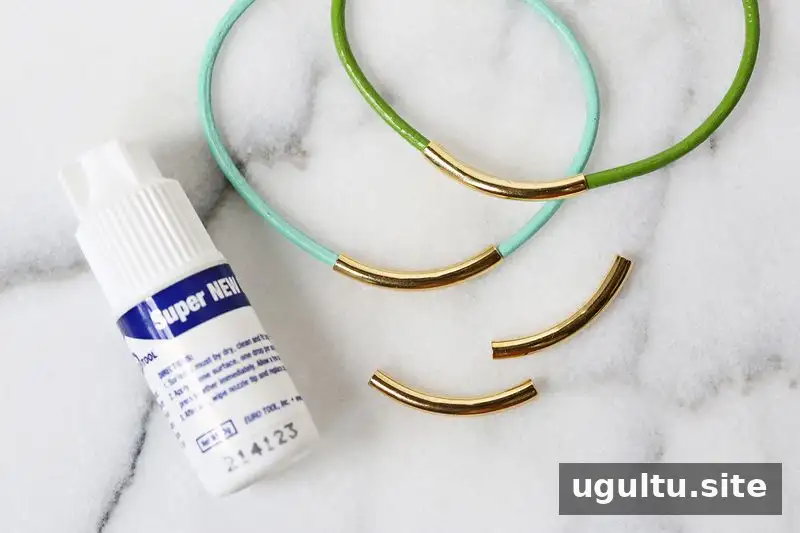
Cut the cord and slide a tube bead onto its center. Move the bead away from the middle, add a small dot of jewelry glue to the cord, then slide the bead back into position. Let the adhesive dry before wearing the bracelet. This keeps the bead from shifting along the cord.
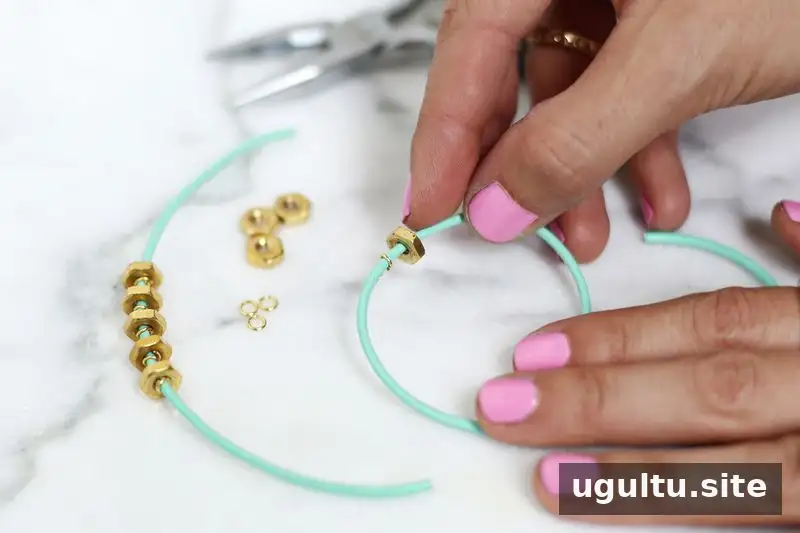
3. Frame hex nuts with jump rings
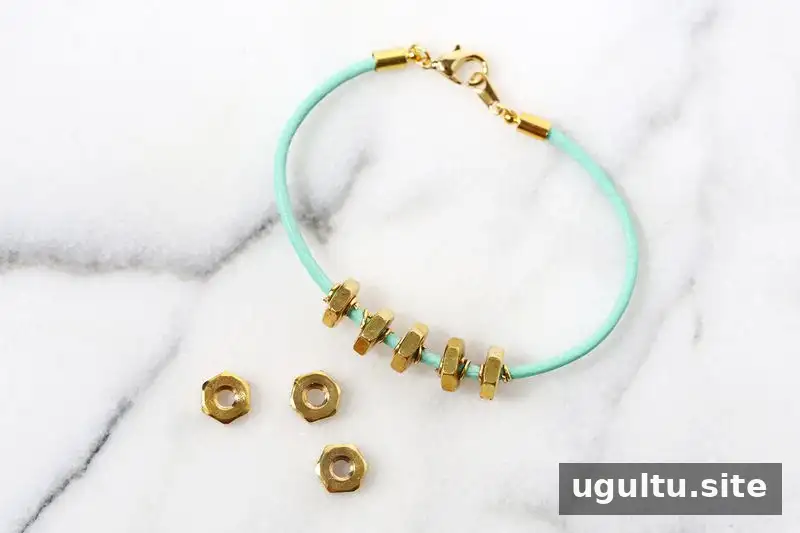
Cut the cord and position a jump ring just to one side of the center. Tighten it with the pliers, place a hex nut beside it, then add and tighten another jump ring on the opposite side to hold the nut in place. Repeat with two or three more sets on each side, adjusting the spacing to keep the design balanced.
Attach the Bracelet Clasp
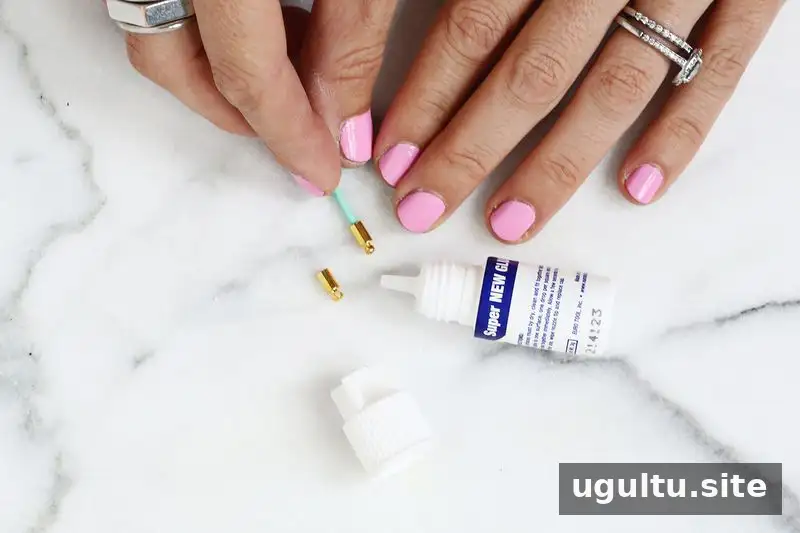
Put a small amount of jewelry glue inside an end cap and press one end of the cord into it. Repeat on the other end, then allow the glue to dry. Follow the adhesive’s instructions before handling or wearing the bracelet.
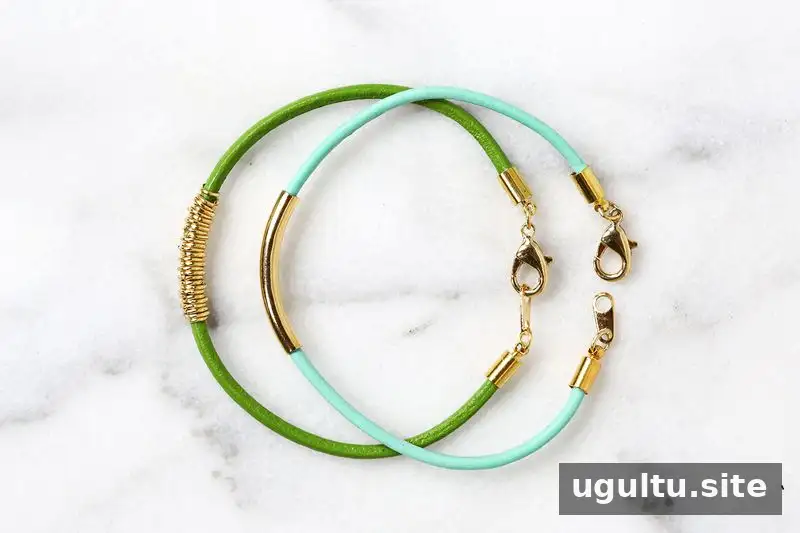
Use pliers and jump rings to connect one end cap to the lobster claw clasp and the other to the eyelet. Check that each connection is closed securely and that the clasp opens and fastens properly.
Wear and Gift Your Finished Bracelets
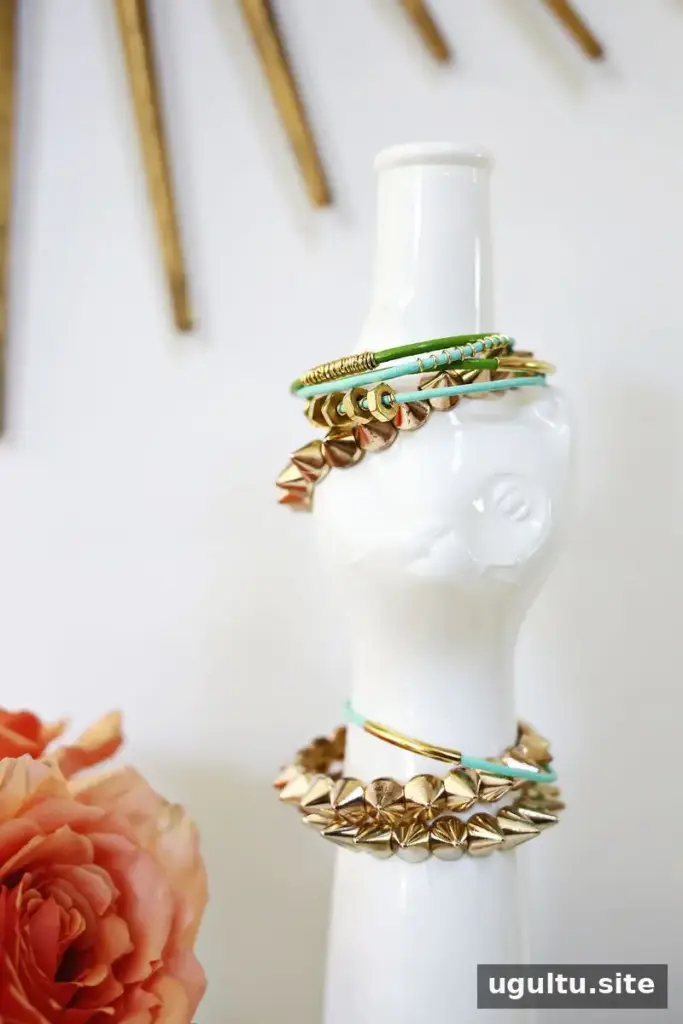
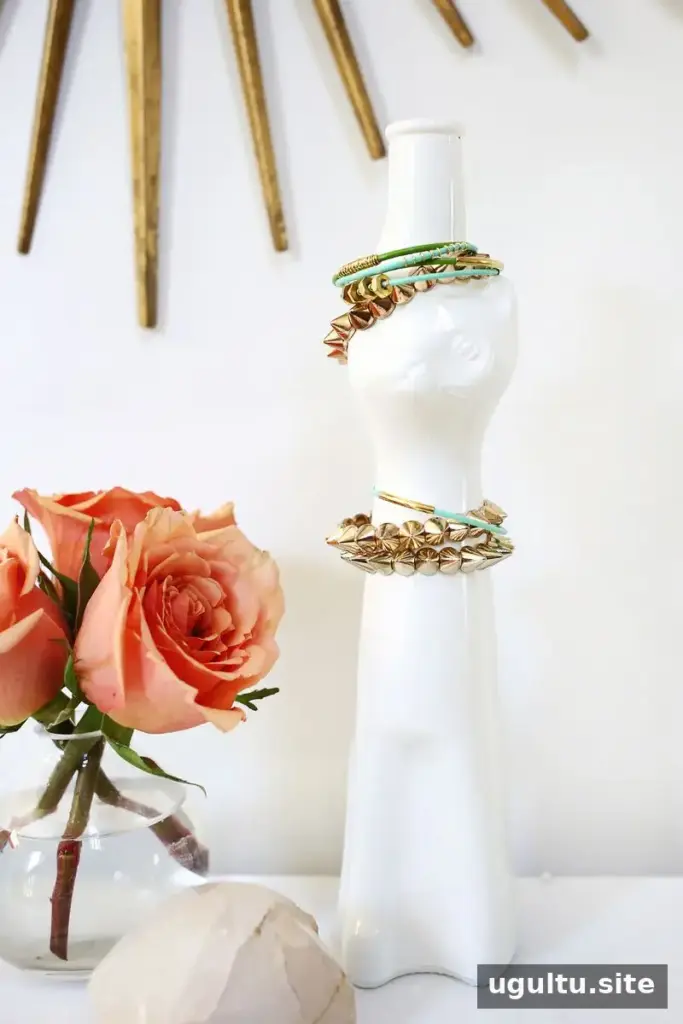
Because the designs are quick to assemble, you can make a small collection and wear the bracelets together as a stack. For a gift, choose one style or combine several designs and tie them together with a bow. The skinny leather bracelet DIY options are easy to personalize by changing the placement or number of decorative pieces. — Laura