
 admin
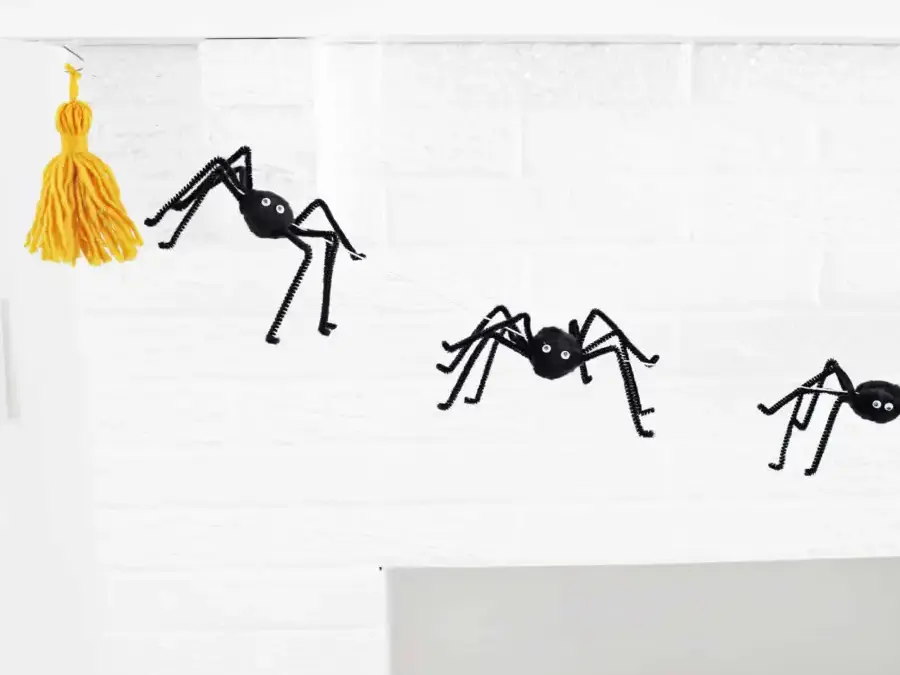
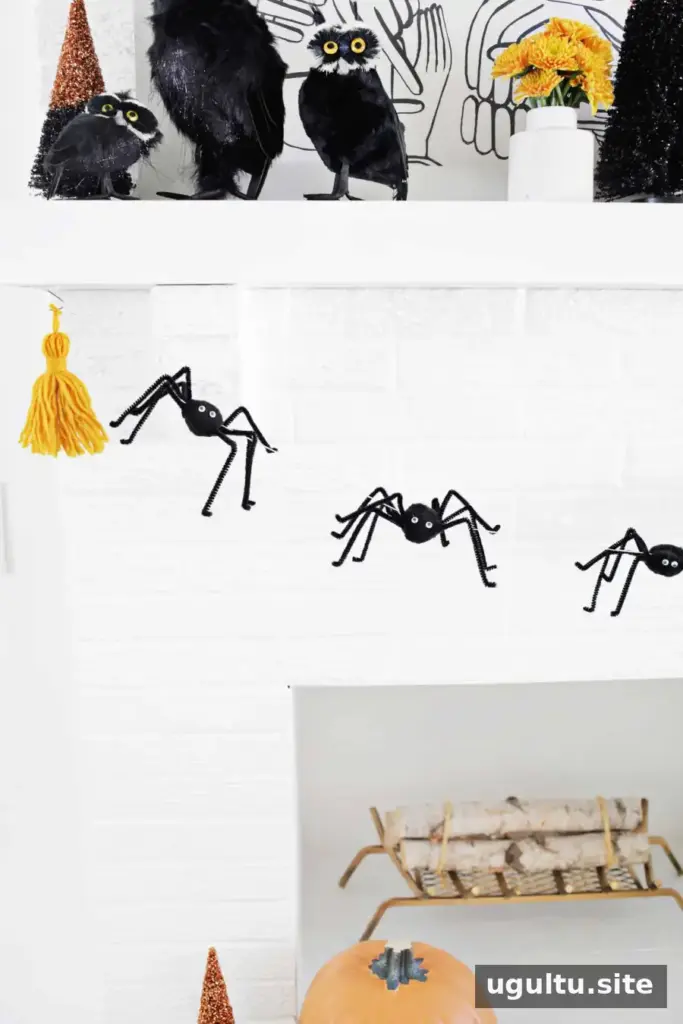
A DIY spider garland is a simple way to add a playful touch to your Halloween decorations. Made with pom-poms and pipe cleaners, these little spiders can be strung across a fireplace mantel, doorway, or another spot that needs a festive detail. The project uses a few basic craft supplies and can be adjusted with different pom-pom sizes.
Arrange the finished garland somewhere it can be enjoyed without getting in the way. If young children are in the home, keep the small parts, needle, and hot glue gun out of reach during crafting and display the garland where it cannot be pulled down.
DIY Spider Garland Supplies
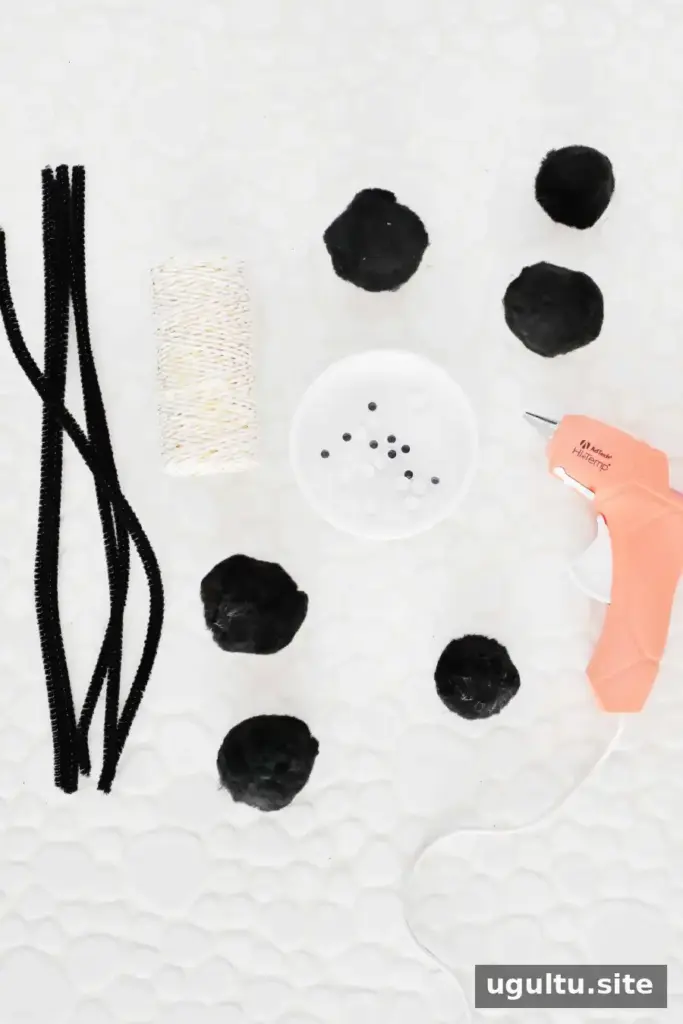
Gather these materials before you start:
- Black pom-poms (2-inch pom-poms were used, but you can use varying sizes)
- Black pipe cleaners (4 for each spider)
- Hot glue gun
- Small googly eyes
- Baker’s twine and a large-eye needle
- Yarn for tassels
Set up your materials on a clear work surface. A larger pom-pom makes it easier to position the legs, while smaller pom-poms can create variety along the garland.
How to Make the Pom-Pom Spiders
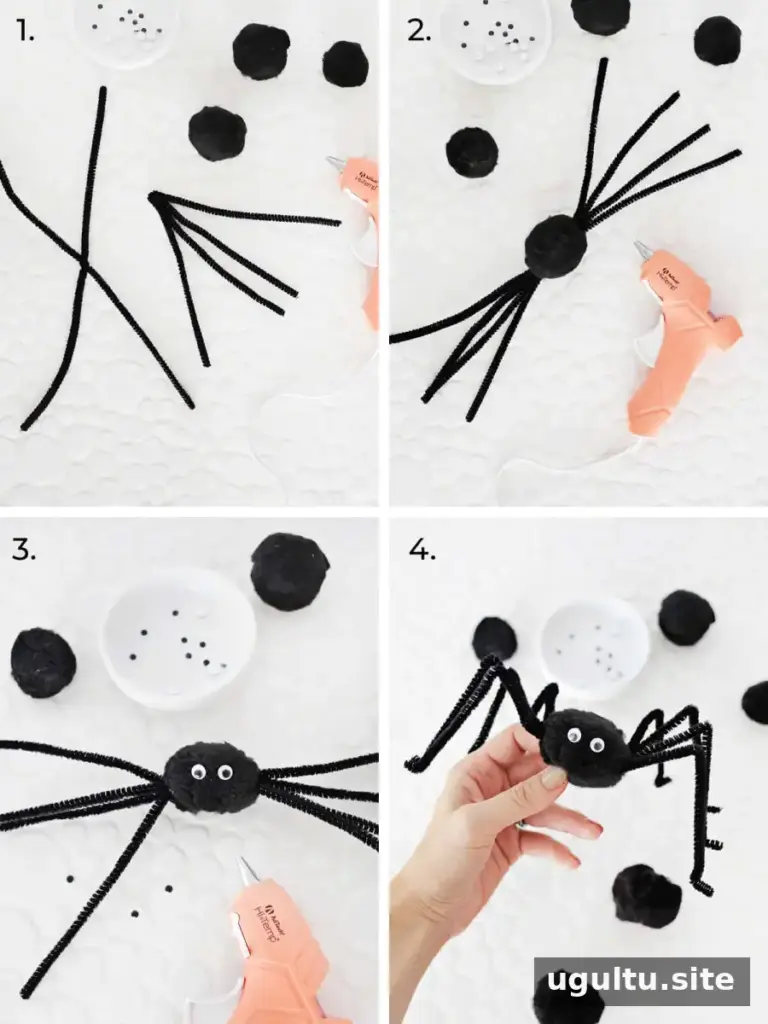
To form the legs, twist two pipe cleaners together at their centers to make an X. Fold the X in half so that you have four legs of equal length. Repeat with the remaining two pipe cleaners to make a second set of legs. Each spider uses both sets, for a total of four pipe cleaners.
Part the fibers on one side of a pom-pom and place a generous drop of hot glue near its center. Press the twisted middle of one leg set into the glue and let it set. Attach the second set on the opposite side in the same way. Take care when using hot glue, and allow it to cool before handling the spider further.
Add a small drop of glue to the back of each googly eye and attach the eyes to the front of the pom-pom. For a neat finish, check that the eyes are secure and the leg sets are positioned evenly before shaping the legs.
To shape each leg, bend it upward close to the pom-pom, then bend it downward about one-third of the way along. Turn the final 1/2 inch of each pipe cleaner upward to form a small foot. Repeat for all eight legs, adjusting the bends so the spider sits evenly.
Thread and Hang the Garland
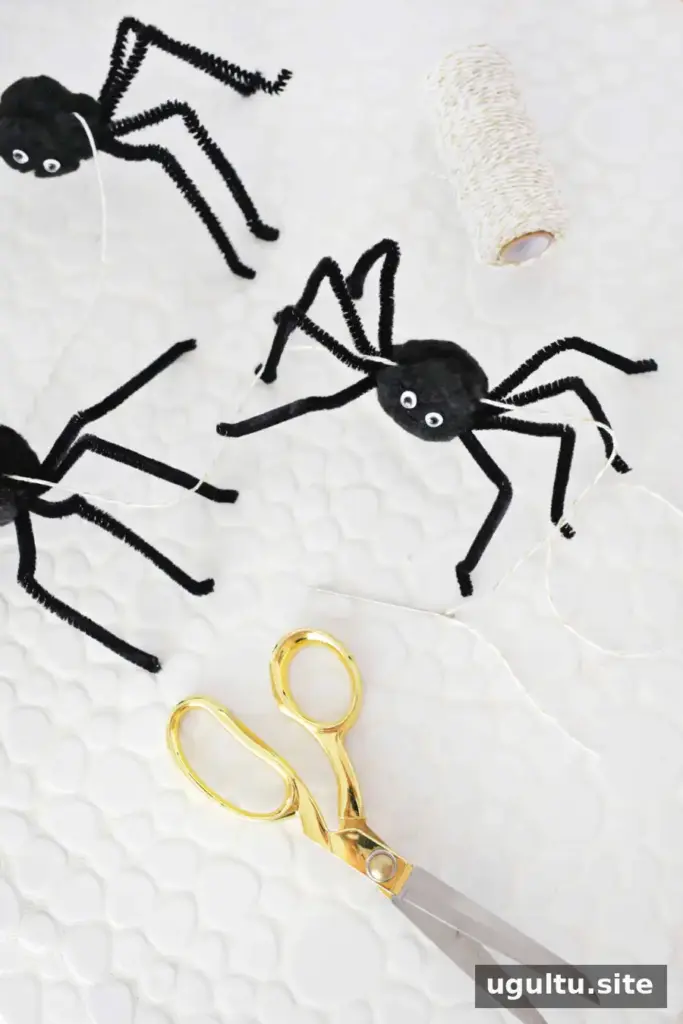
Thread baker’s twine through a large-eye needle. Carefully pass the needle through the center of each spider so it hangs from the string. Aim to thread through the upper part of each pom-pom’s core; this helps the spiders stay upright instead of turning upside down.
Once all the spiders are on the twine, hang the garland from suitable hooks in your chosen location. Add yarn tassels to both ends for a finished look. Before displaying it, check that the hooks hold securely and that the garland is out of reach of children and pets.
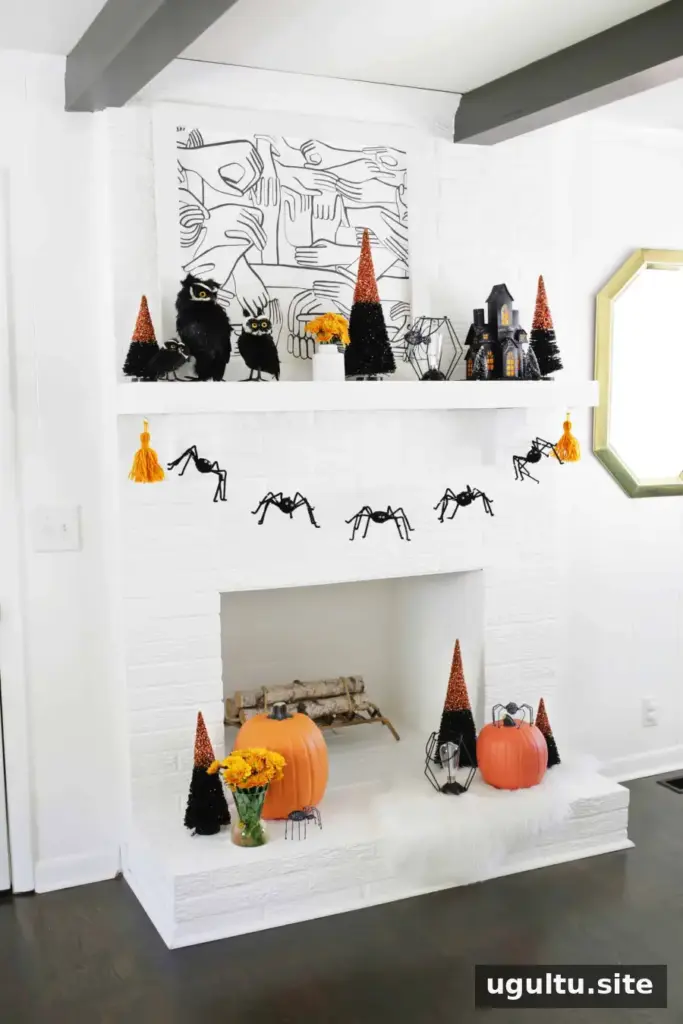
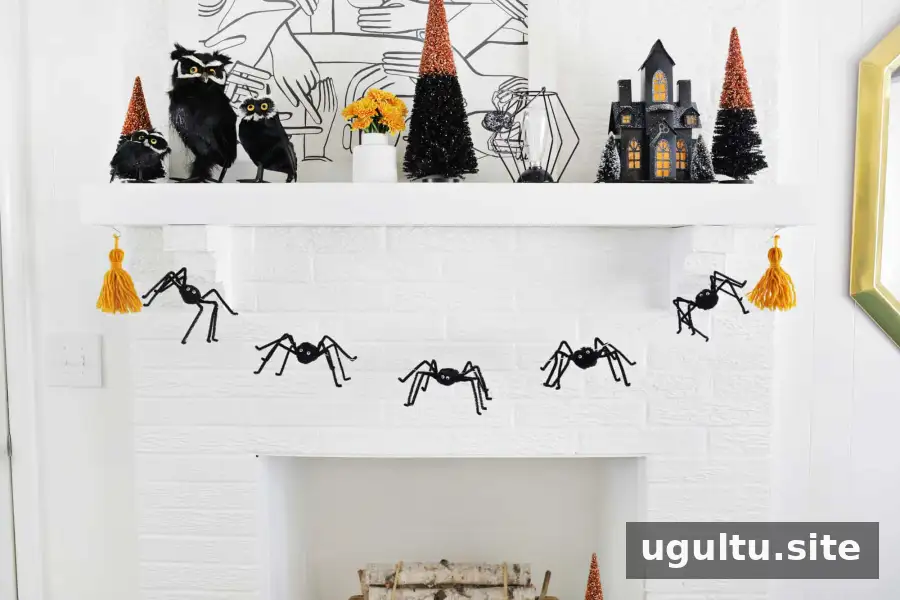
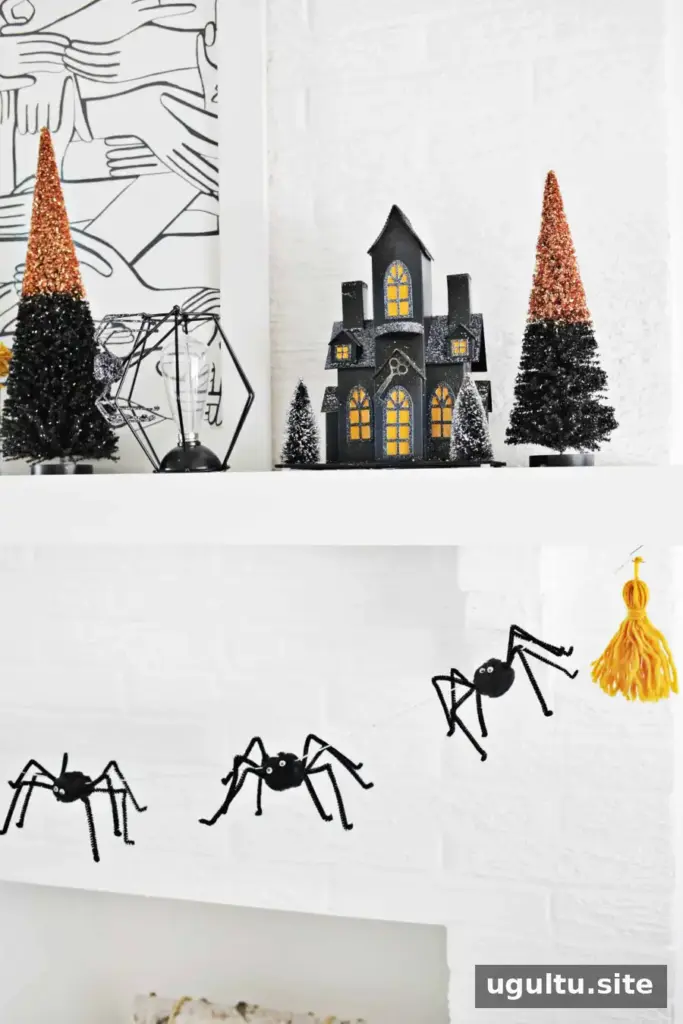
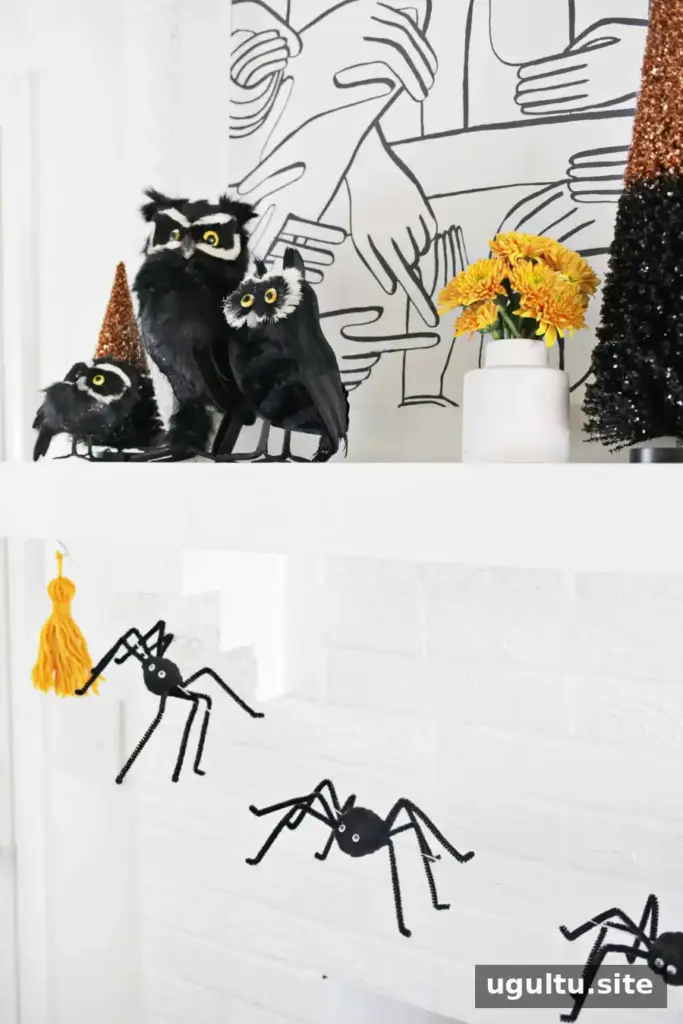
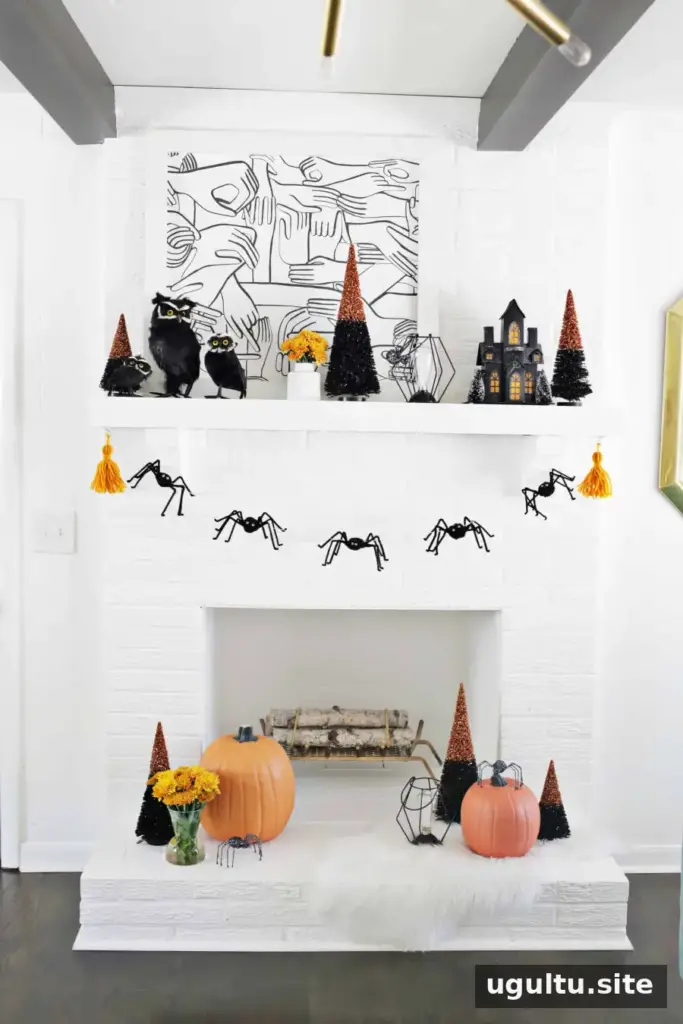
This project combines a fun Halloween motif with a simple, decorative display. Pair the garland with other seasonal accents, or let it stand on its own across a mantel. If you want the spiders to look varied, try mixing pom-pom sizes while keeping the same leg-making and hanging steps.
Enjoy Your DIY Spider Garland
This DIY spider garland is an approachable Halloween craft that turns a handful of supplies into a playful seasonal decoration. Make as many spiders as you need for your space, then hang the finished strand where it can be admired safely.
Project by Laura.


