
 admin
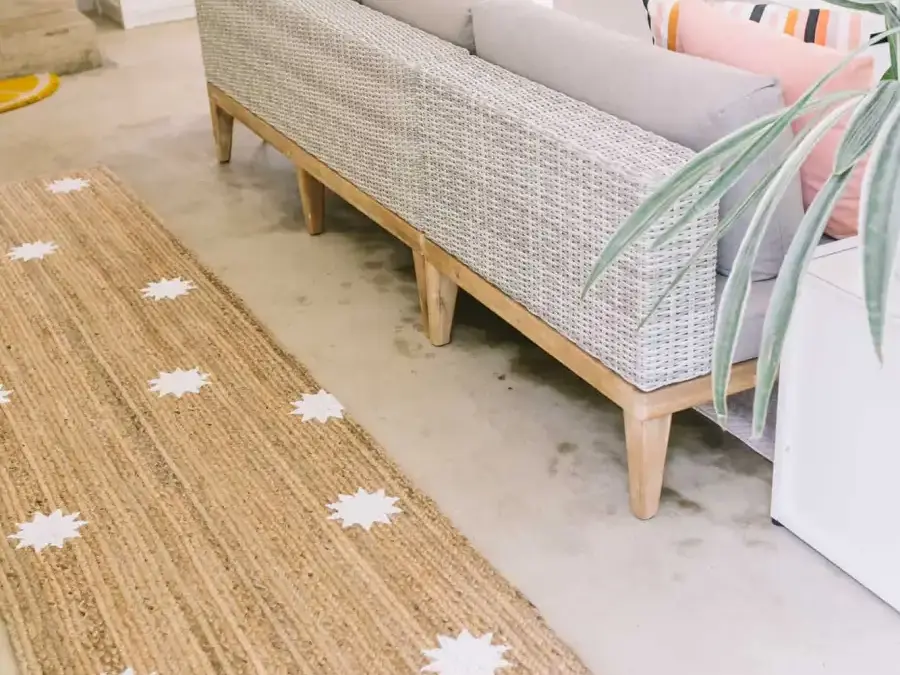
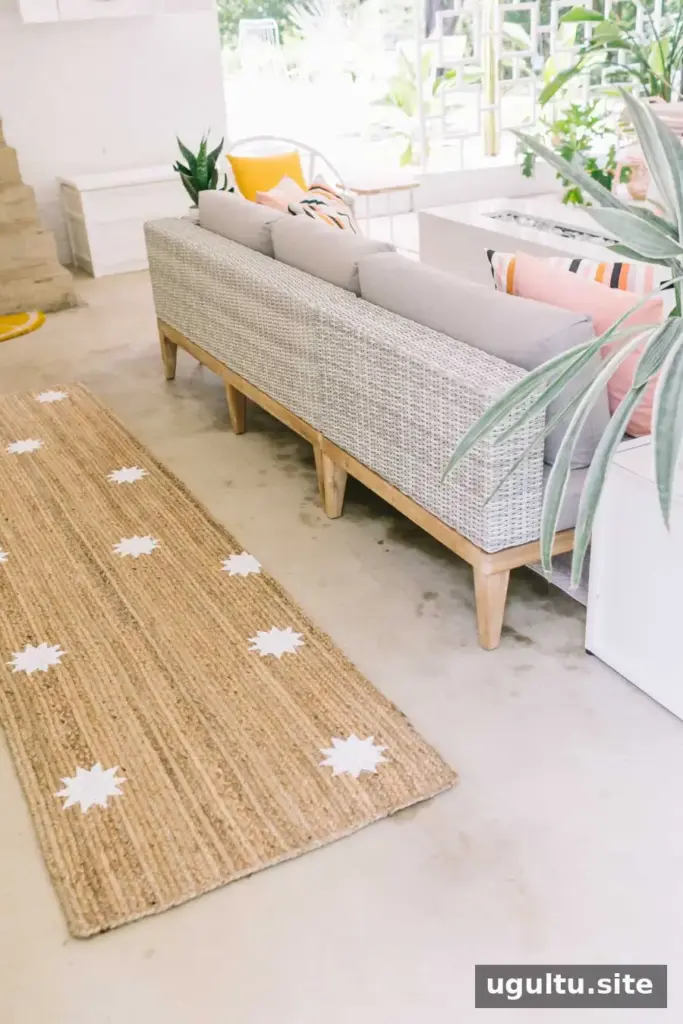
A stenciled outdoor rug is a simple way to add pattern and color to a porch or patio. If you have struggled to find a runner that fits your space and style, customize a flat-weave or woven jute rug with a design of your choice. This project uses a star pattern, but the same approach works with other simple stencil shapes.
Planning the pattern before painting helps keep the design balanced, while careful dabbing helps limit paint spreading beyond the stencil. Here’s what you’ll need and how to make your own rug.
Supplies for a Stenciled Outdoor Rug
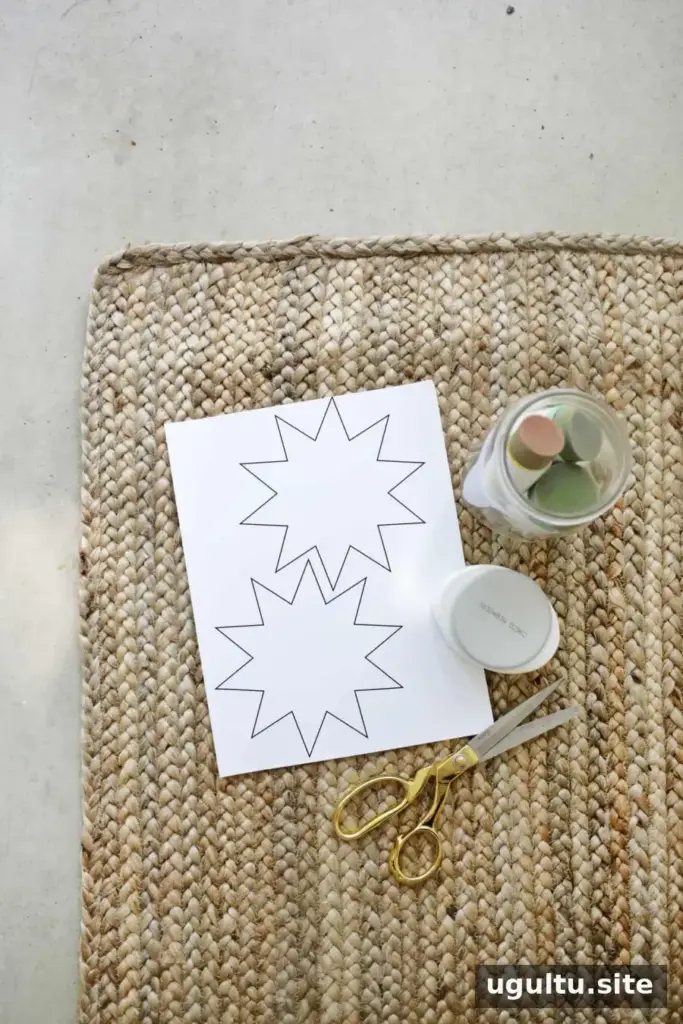
Gather these materials before you begin:
- A flat-weave outdoor rug or woven jute rug
- Stencil paper or overhead projector sheets
- Acrylic paint
- Pounce sponge brushes
- A star template
- An X-Acto knife or scissors
- Paper or cardboard to protect the work surface
- A paper towel or rag for cleaning the stencil
For the best result, test the paint on an inconspicuous area or a similar piece of material first. Check the paint instructions for guidance on drying and whether it is suitable for your rug and intended use.
Plan and Cut the Stencil
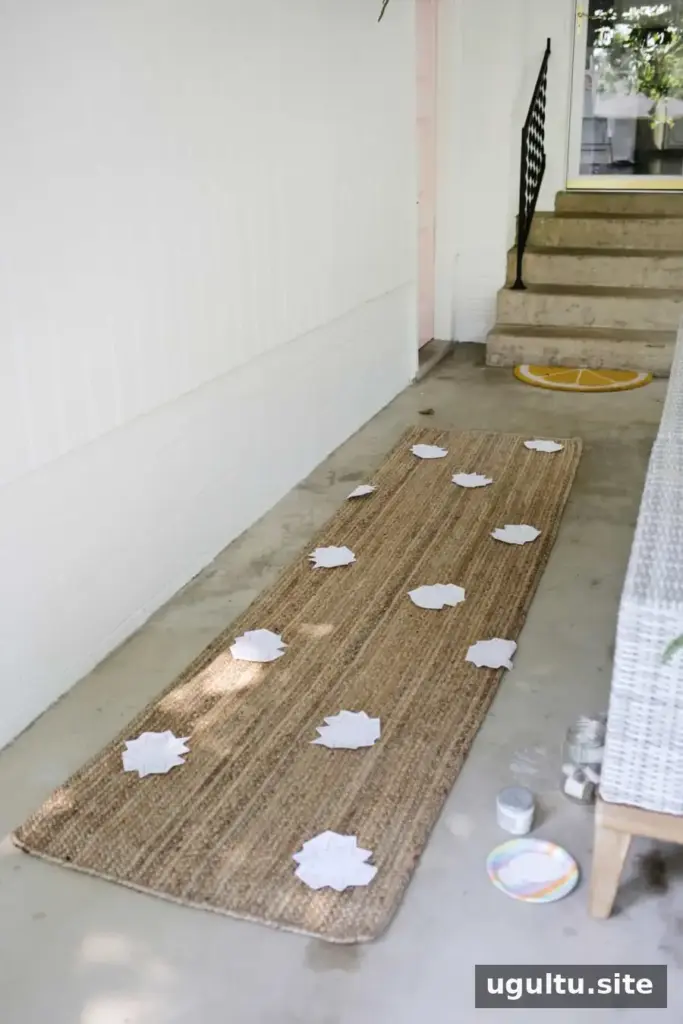
Print several copies of the star template and cut them out roughly. Use about 10 paper stars to test the layout; use more for a large rug or fewer for a smaller one. Arrange the paper shapes on the rug and adjust the spacing until the pattern looks right.
Place paper or cardboard beneath the rug to catch any paint that may pass through the weave. Once you’re happy with the layout, trace a star onto the stencil paper or projector sheet. Cut out the shape with an X-Acto knife or scissors, taking care to keep the stencil edges neat.
Paint the Rug
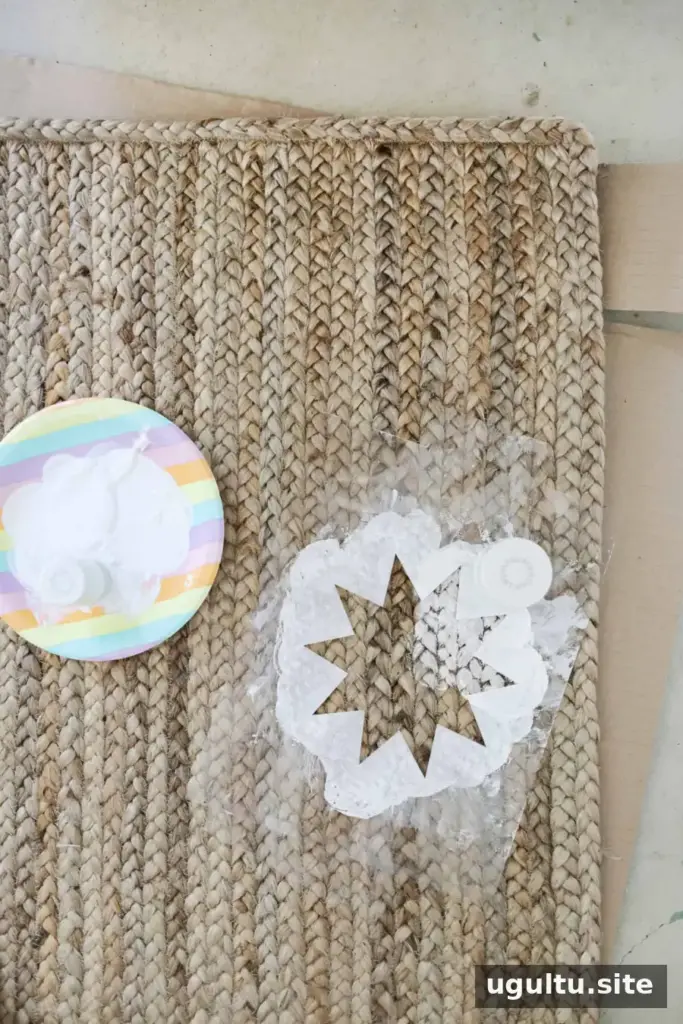
Set the stencil over one of the paper markers, then remove the paper marker from underneath. Load a pounce brush with paint and dab straight down into the stencil opening. Avoid brushing at an angle, since that can push paint beneath the stencil edge. A larger pounce brush can cover the main area, while a smaller one can help reach any missed spots.
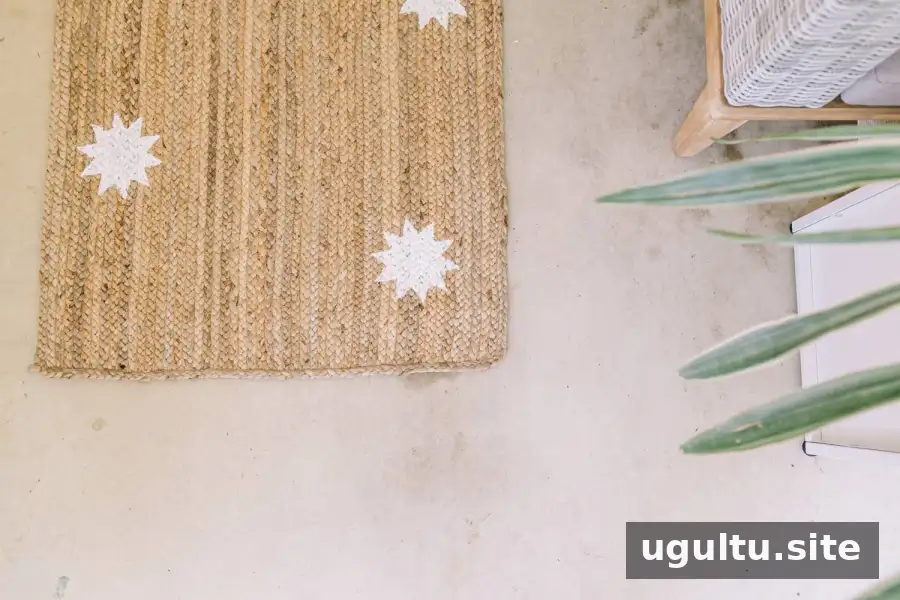
When the shape is covered, lift the stencil. Turn it over onto scrap paper or cardboard and wipe paint from its underside with a paper towel or rag before using it again. Wiping toward the center helps avoid bending the points of the star. Move the stencil to the next marked position and repeat the process.
Choose One Coat or Two
Let the paint dry enough to assess its coverage, following the paint label’s directions. One coat may create a lighter, slightly translucent look. If you prefer a stronger, more opaque pattern, place the stencil carefully over the painted stars and apply a second coat. Take your time aligning the stencil so the shapes stay in place.
Let the Rug Dry Before Use
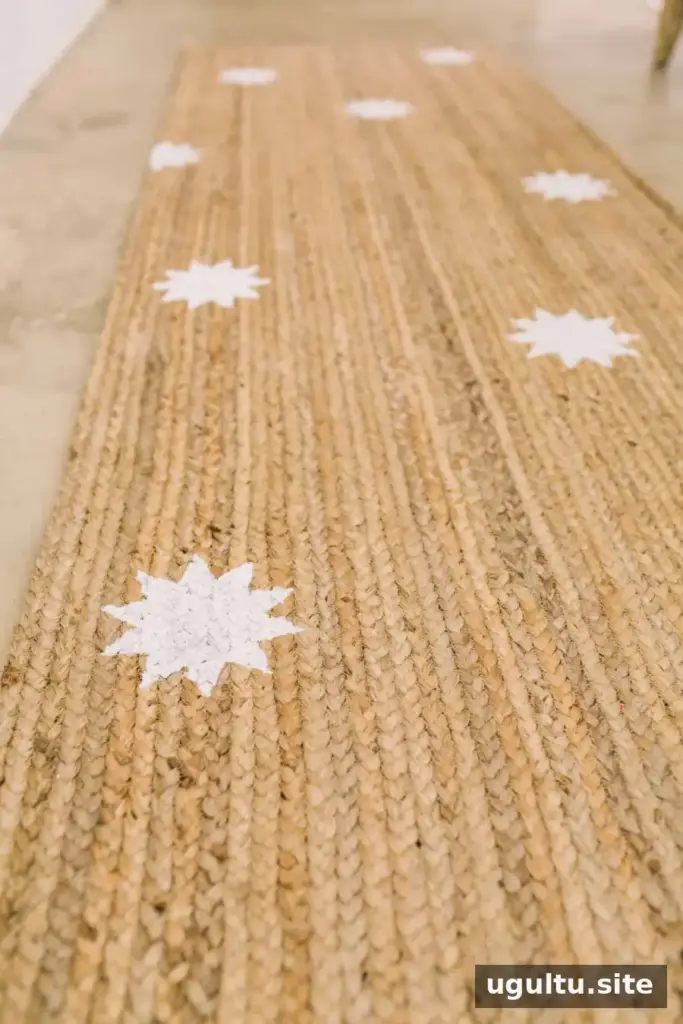
After the final coat, allow the rug to dry fully according to the paint instructions before putting it back in use. Keeping the rug flat while it dries can help prevent the painted areas from contacting other surfaces.
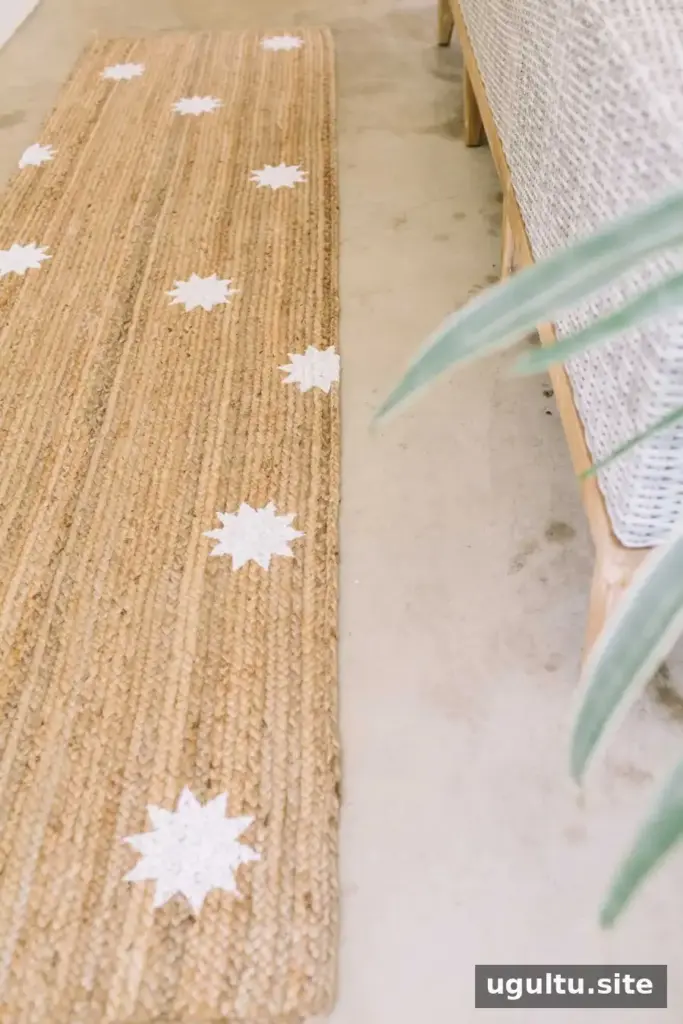
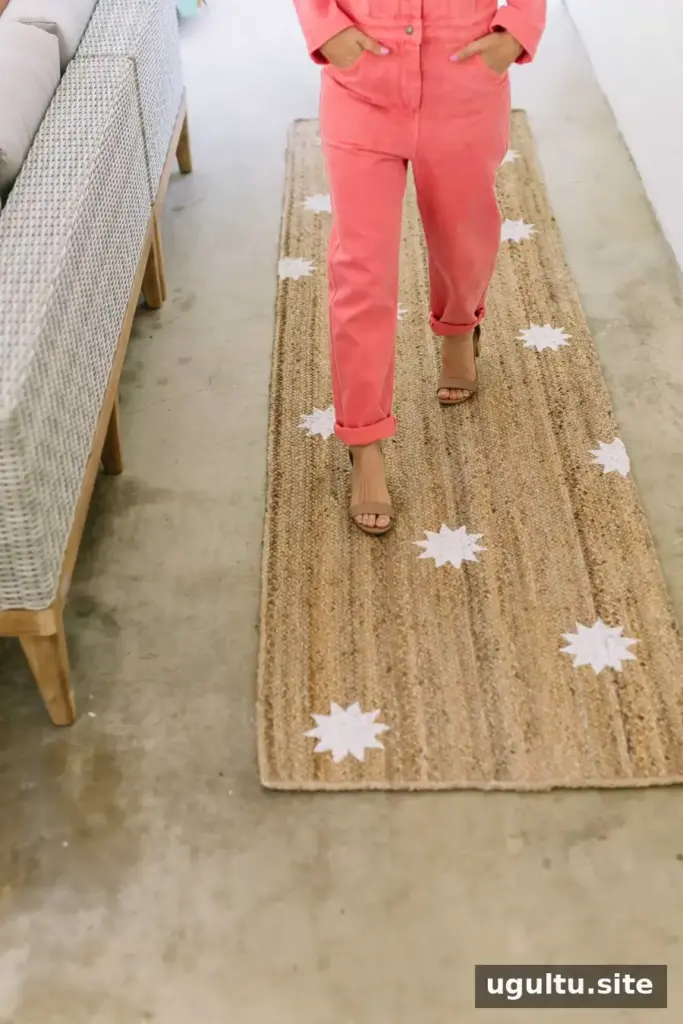

The finished runner adds a small pop of white and a bit of pattern to a porch or patio walkway. This DIY isn’t limited to outdoor spaces: a cotton flat-weave rug can also be stenciled for indoor use. Whatever rug you choose, test the paint first and work with a simple stencil to make placement and touch-ups easier.
Have fun creating a design that suits your space!
Laura


