admin
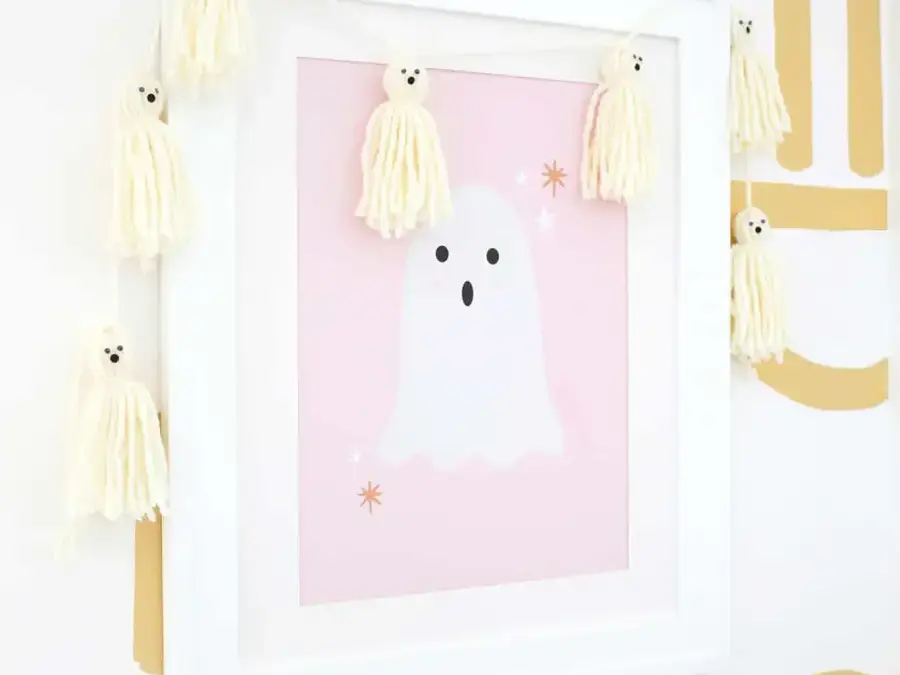
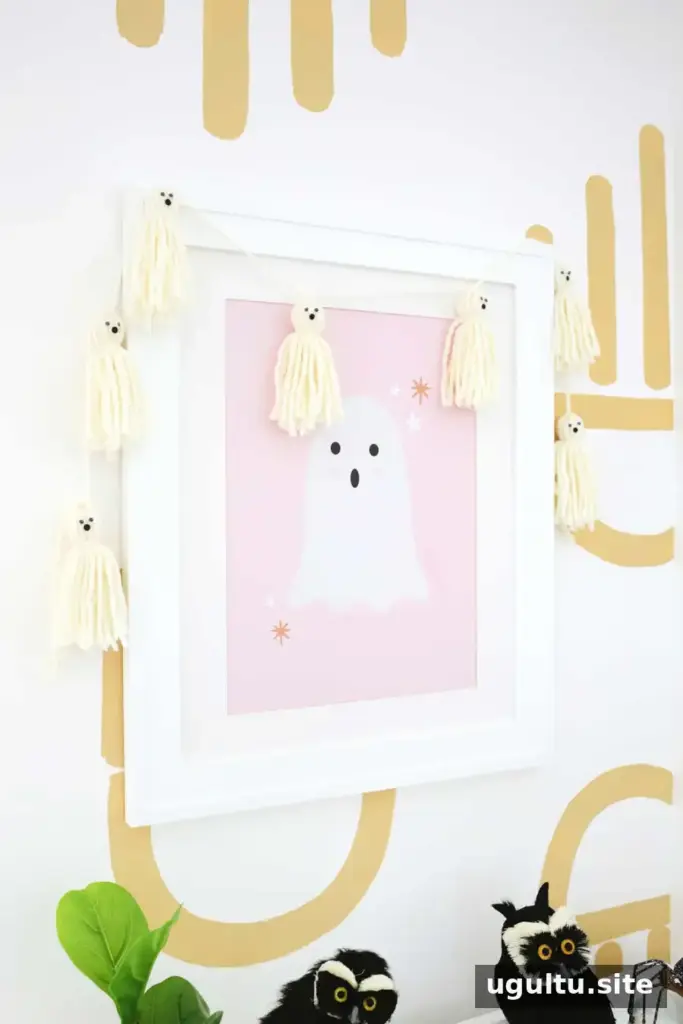
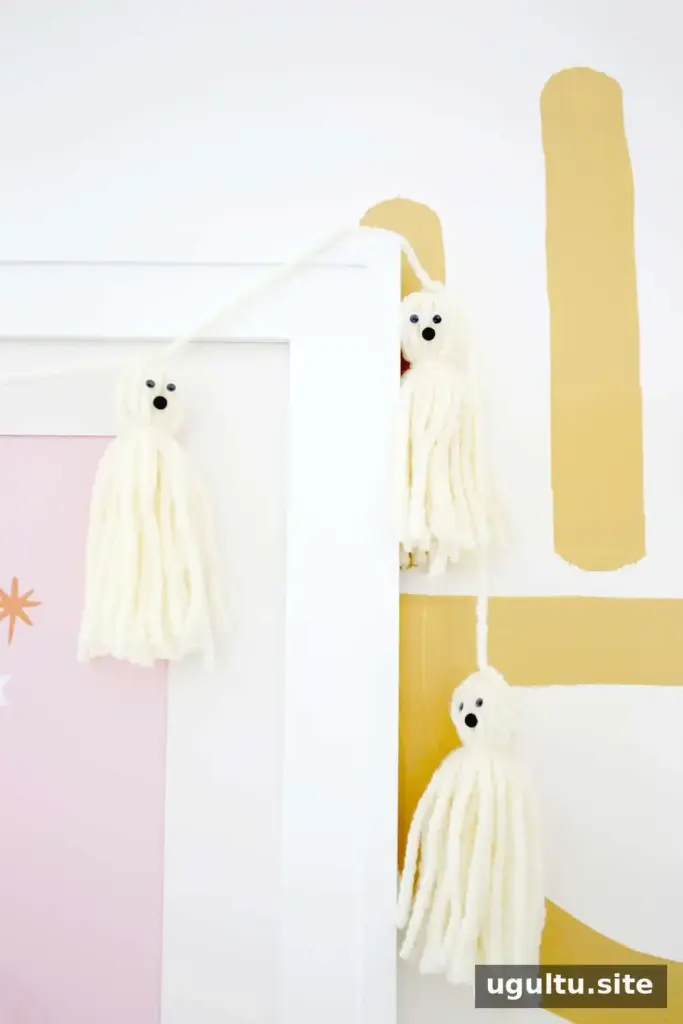
A yarn tassel ghost garland is a simple way to add a playful, not-too-spooky touch to Halloween decor. Each ghost is made from white yarn, with a knotted tassel shape and an easy-to-create face. The project uses basic craft supplies and can be made while relaxing at home. Children can help with suitable steps, such as choosing facial features, with an adult handling scissors and small pieces.
Supplies for a Yarn Tassel Ghost Garland
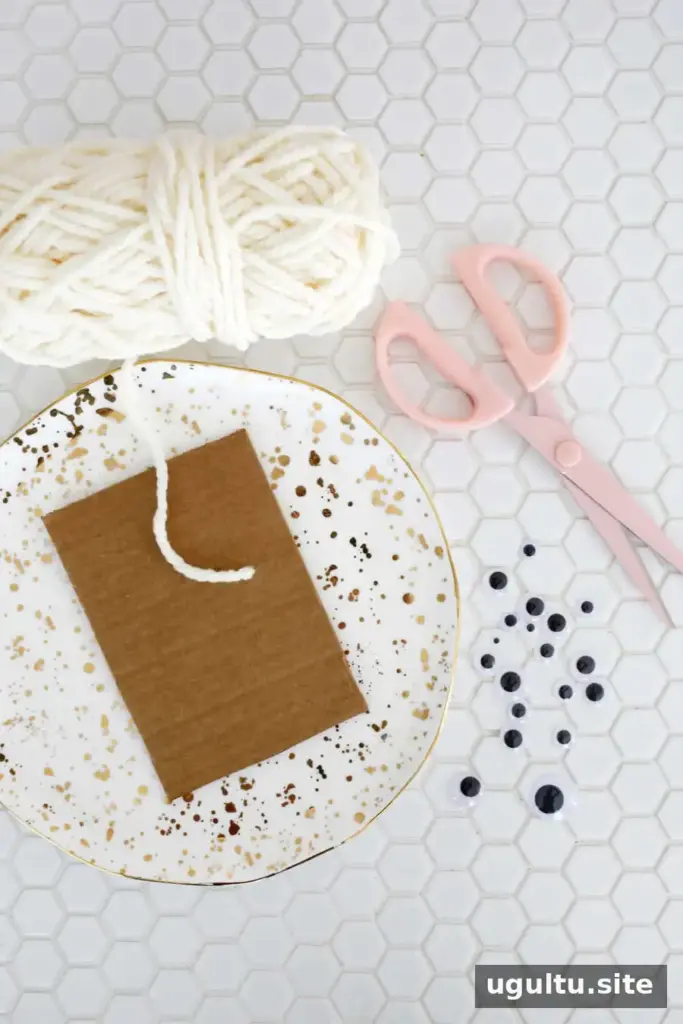
Gather these materials before you begin. Having the yarn and decorations ready makes it easier to assemble several ghosts in a row.
- White yarn
- A small piece of cardboard
- Hole punch
- Black paper
- Glue
- Small googly eyes
- Fabric scissors
Use sturdy cardboard with a flat edge to help keep the yarn loops even. Keep small googly eyes and other tiny pieces out of reach of very young children.
How to Make Yarn Tassel Ghosts
1. Wrap the yarn
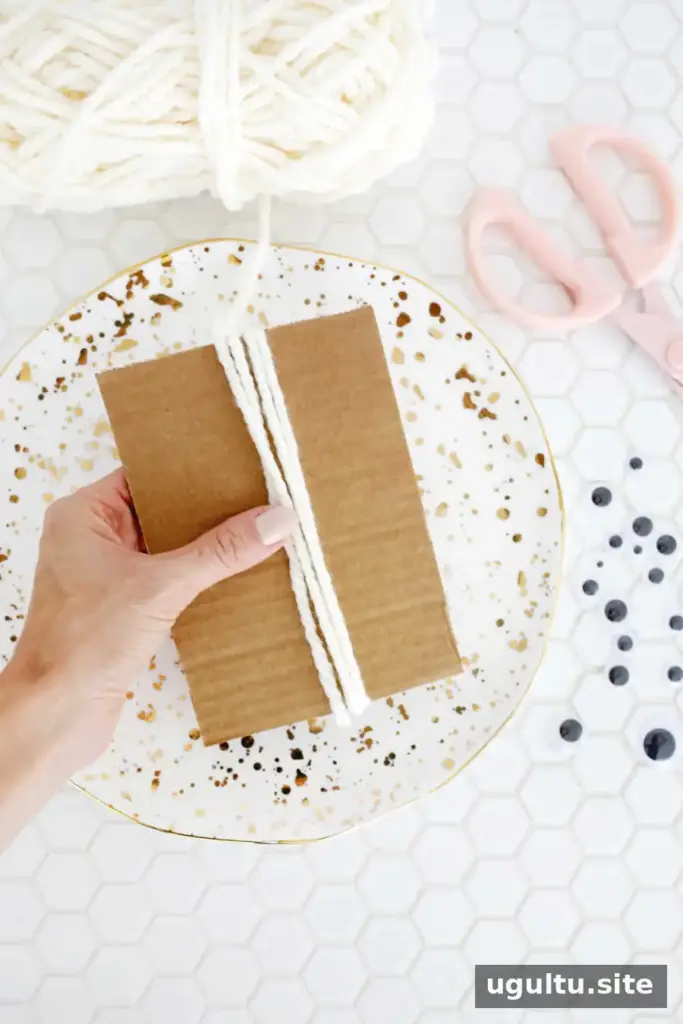
Cut a piece of scrap cardboard measuring 4″ x 6″. Wrap the white yarn around it 15–20 times. Cut the yarn so the loose ends extend past the bottom edge of the cardboard. For a fuller ghost, keep the wraps close together; for a lighter tassel, avoid pulling them too tightly.
2. Tie the top of the tassel
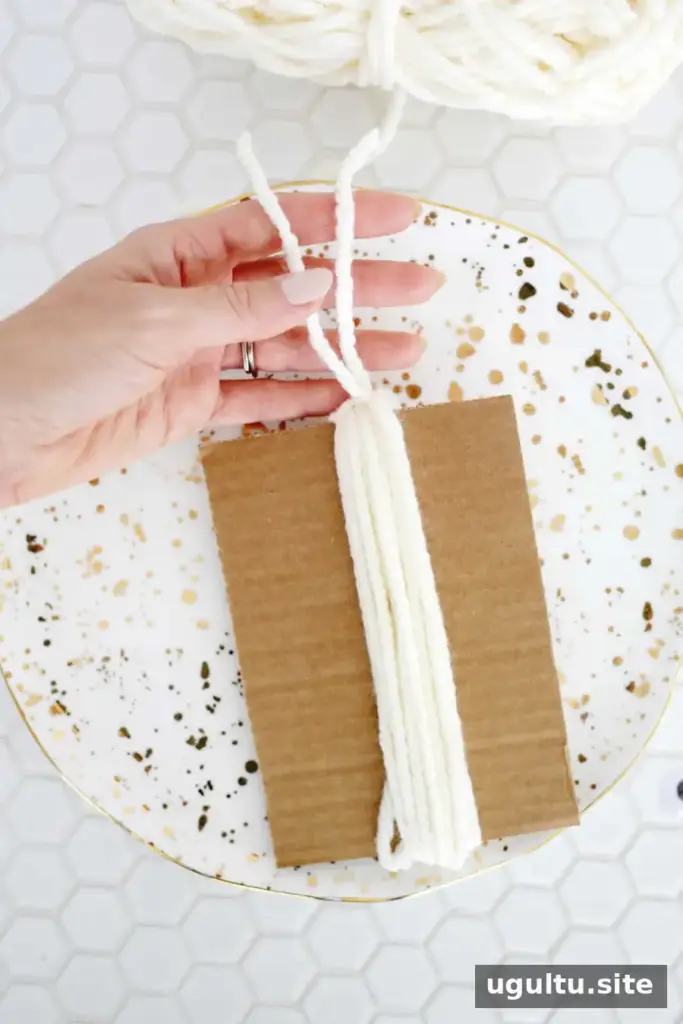
Cut an approximately 8″ piece of yarn and slide it beneath the strands at the top of the cardboard. Tie it securely in a knot to hold the strands together. Leave the two ends long enough to use later when attaching the ghost to the garland.
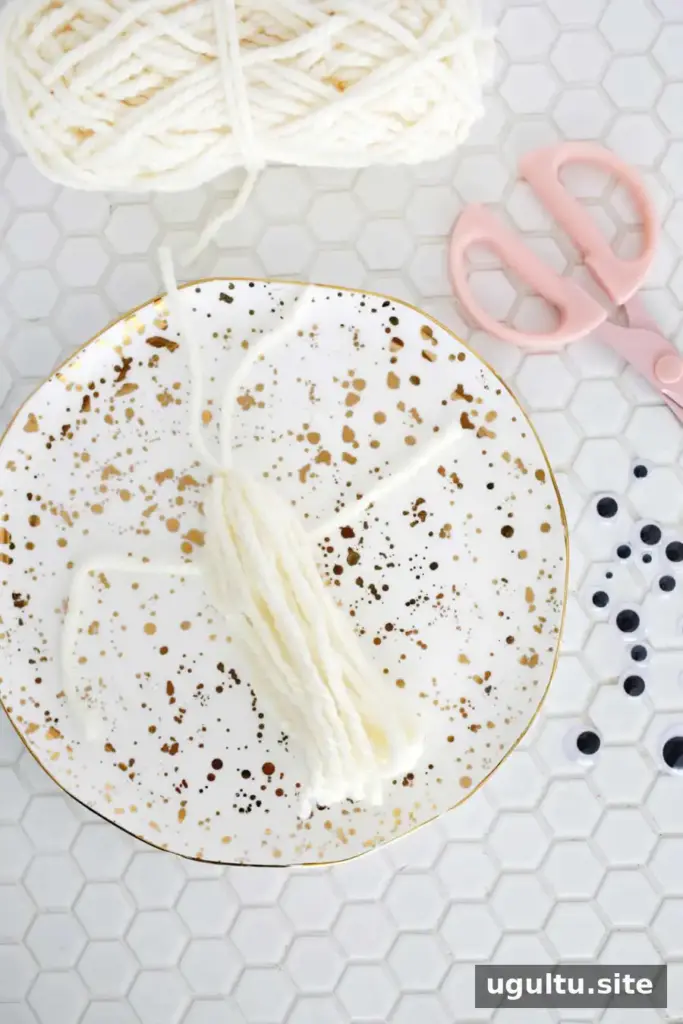
3. Shape the ghost
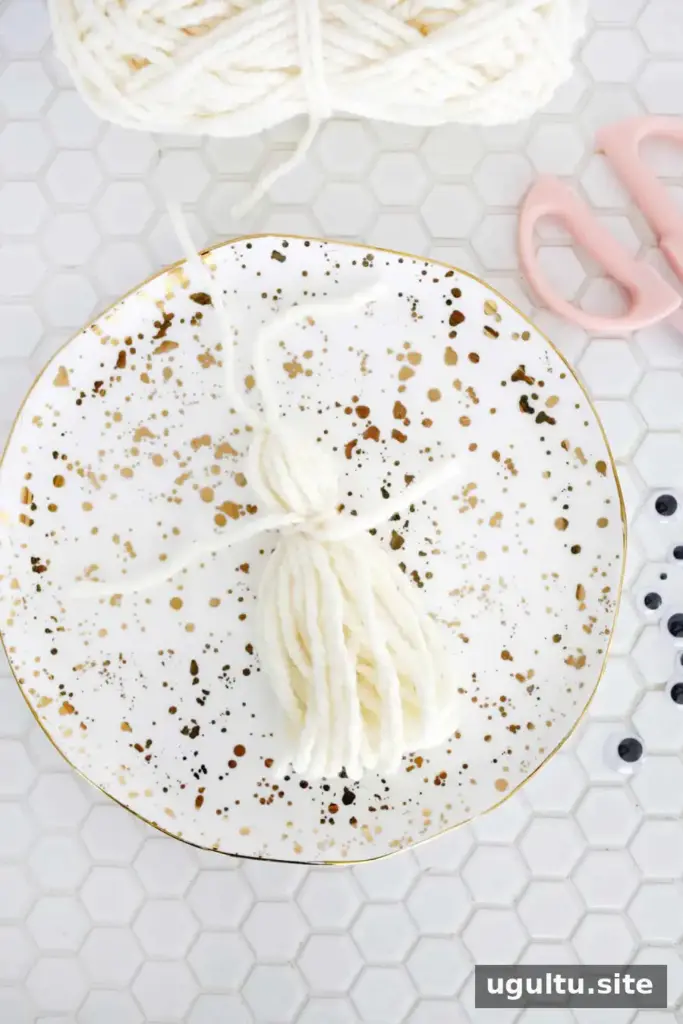
Carefully slide the yarn bundle off the cardboard. Cut another strand of yarn, about 10″ long, and tie it around the bundle approximately 2″ below the top knot. This creates the ghost’s head and neck.
Smooth the ends of this strand down into the body so they blend with the tassel. Cut through the loops at the bottom, then trim uneven yarn ends until the ghost hangs neatly. Make small trims at a time to avoid cutting the tassel shorter than intended.
4. Add a face and assemble the garland
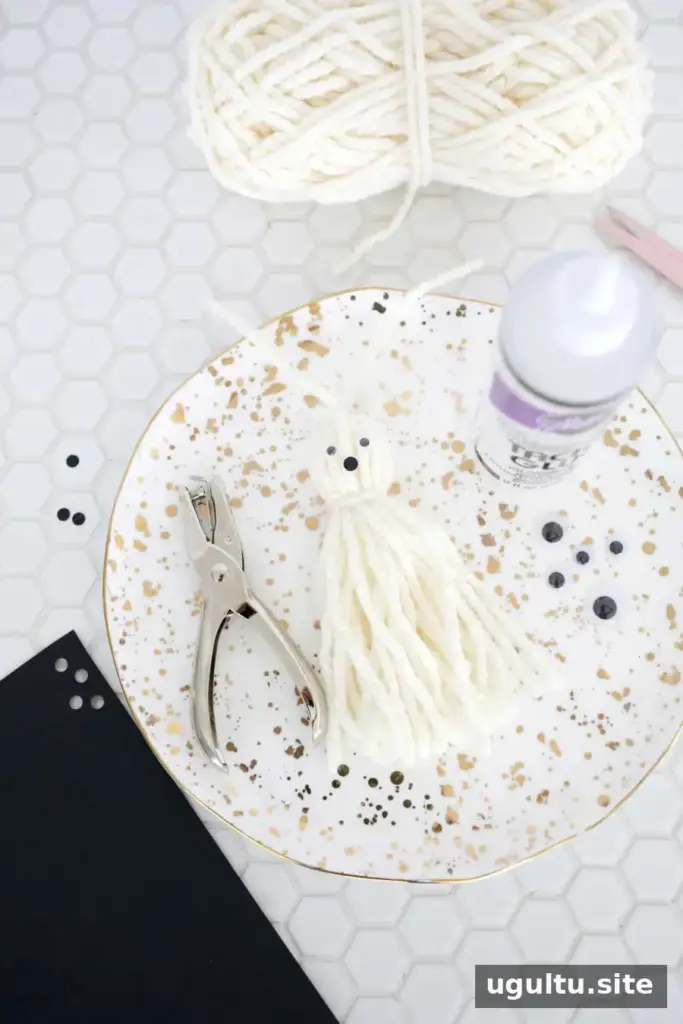
Use a hole punch to make small circles from black paper for the mouth. Glue the paper pieces and googly eyes onto the front of the ghost. Let the glue dry before handling the decoration or hanging it.
Tie each ghost to a longer piece of yarn using the strands left at the top of its head. Space the ghosts along the cord as desired. Tuck the loose ends of each tie down through the neck knot so they become part of the ghost’s body.
Display Your Halloween Garland
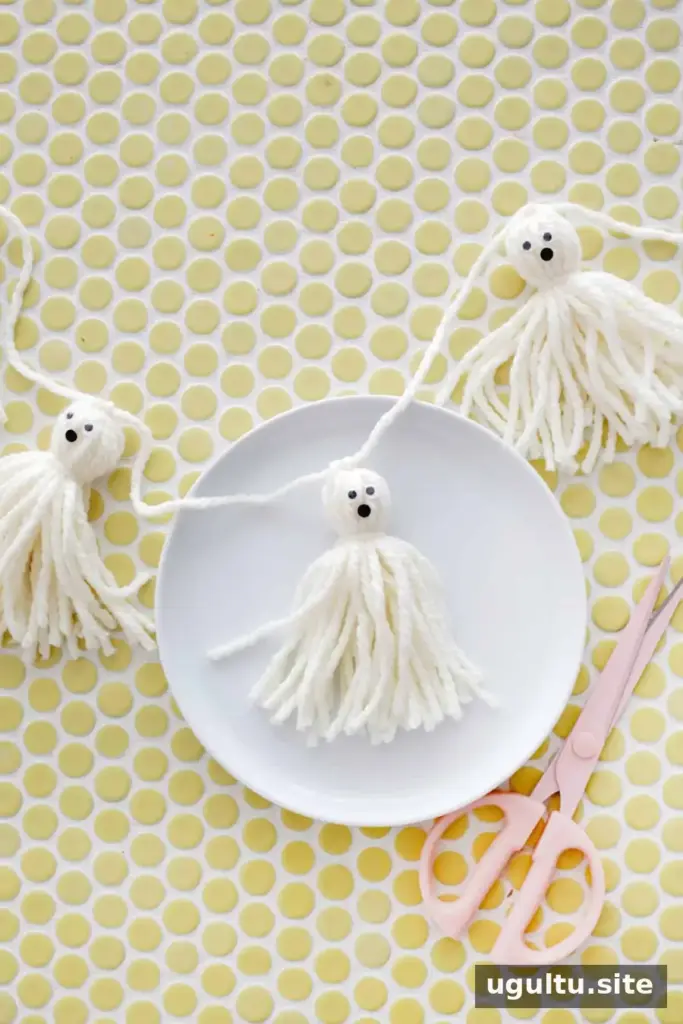
Hang the finished yarn tassel ghost garland along a mantel, doorway, or wall. Choose a spot where the yarn can hang freely and is away from open flames, heaters, or other heat sources. For a tidy display, adjust the spacing between ghosts before securing the ends of the garland.
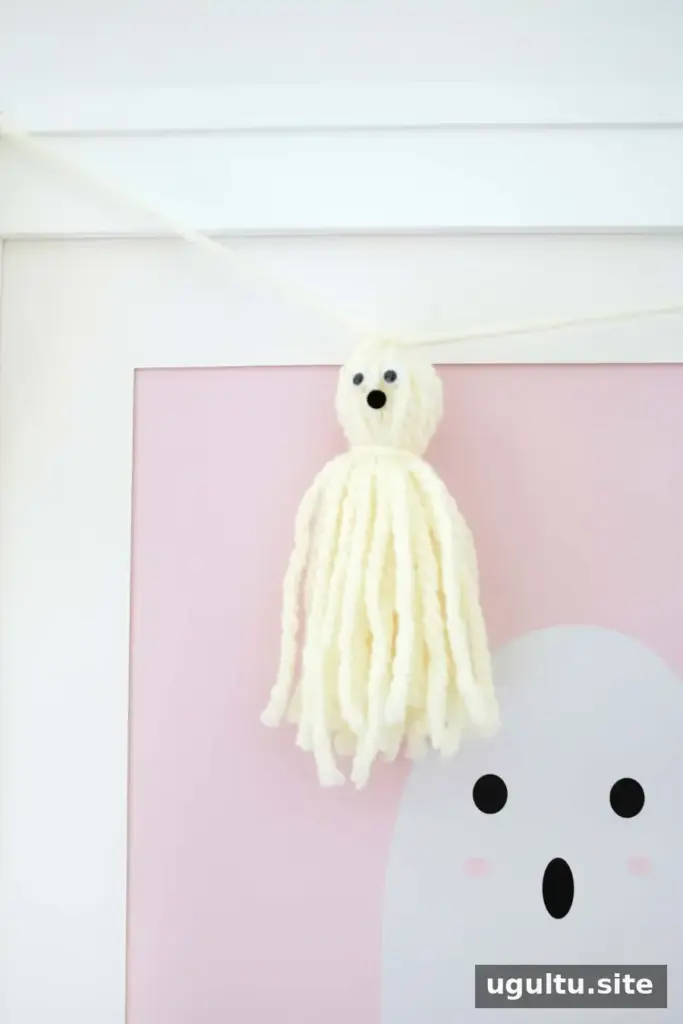
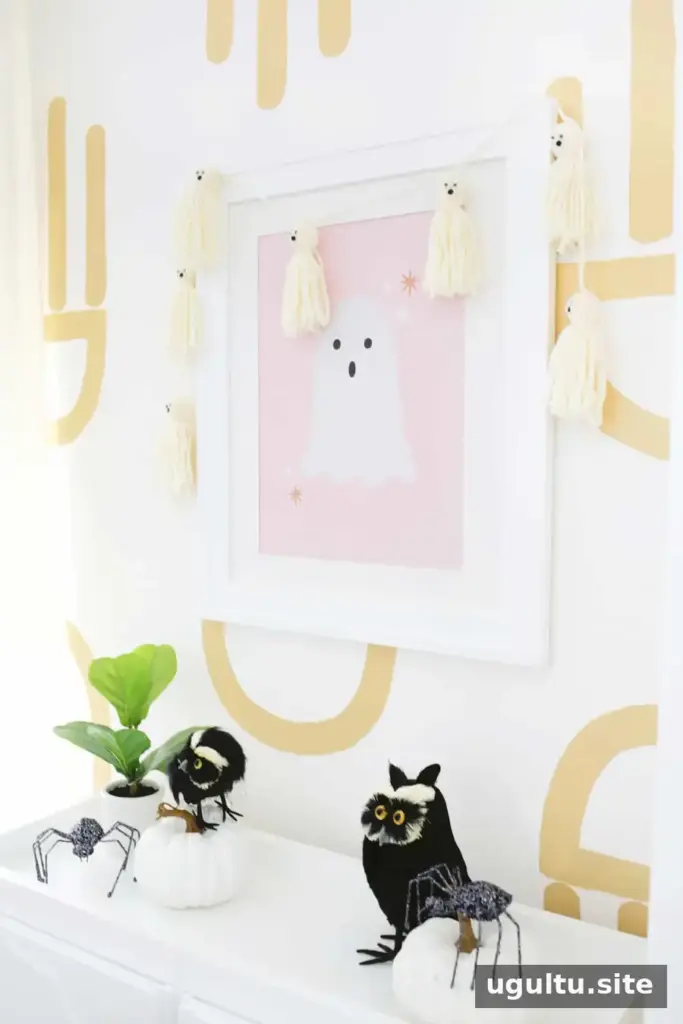
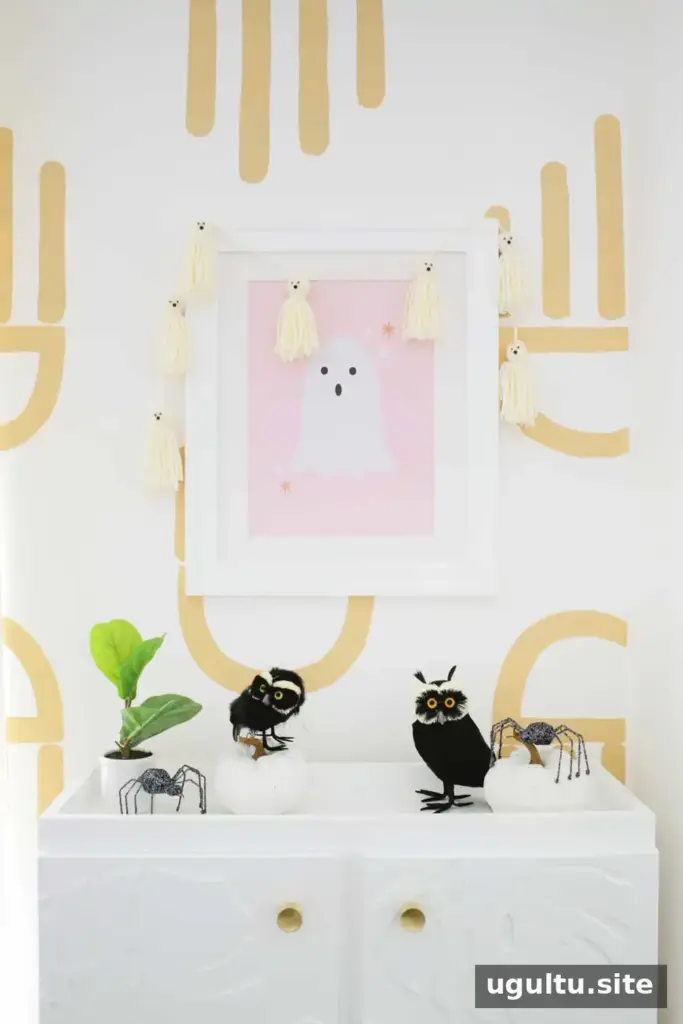
These small yarn ghosts make a cheerful Halloween decoration and can be displayed on their own or alongside other seasonal decor. Laura