
 admin
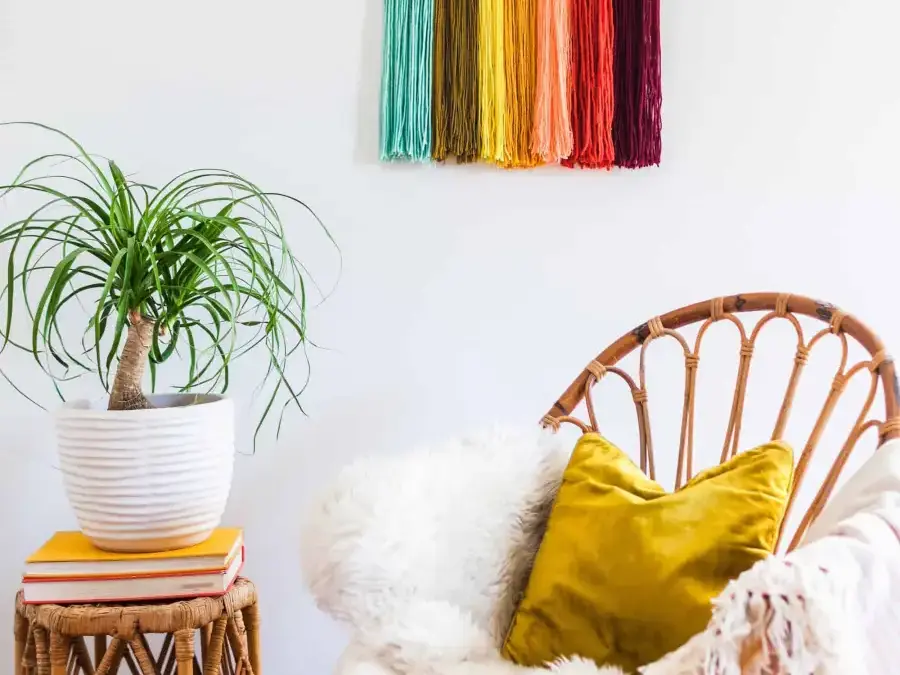
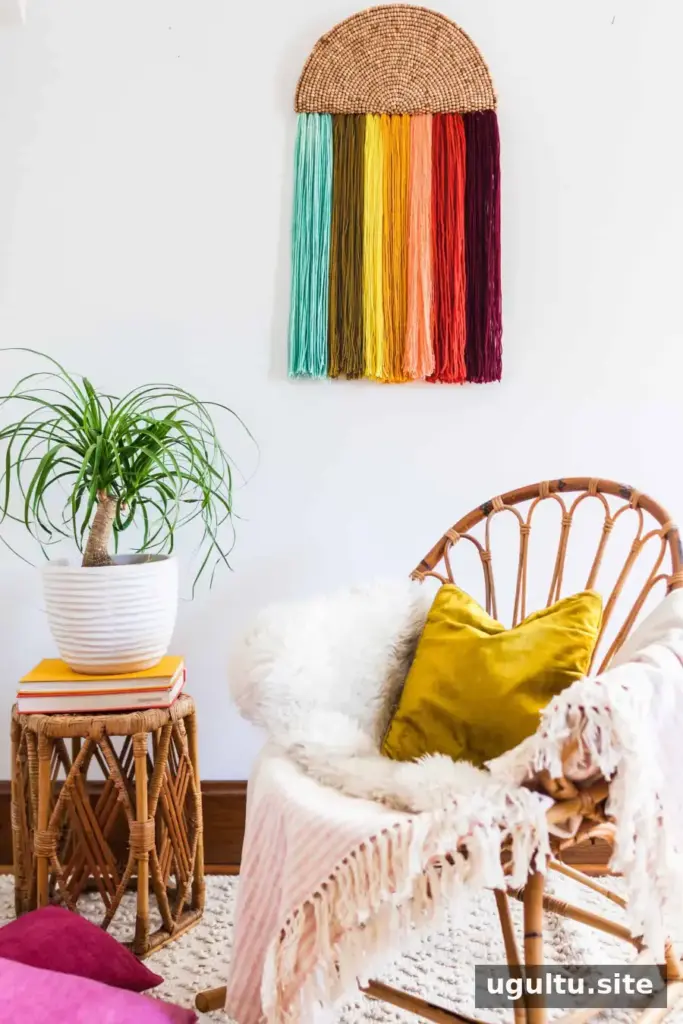
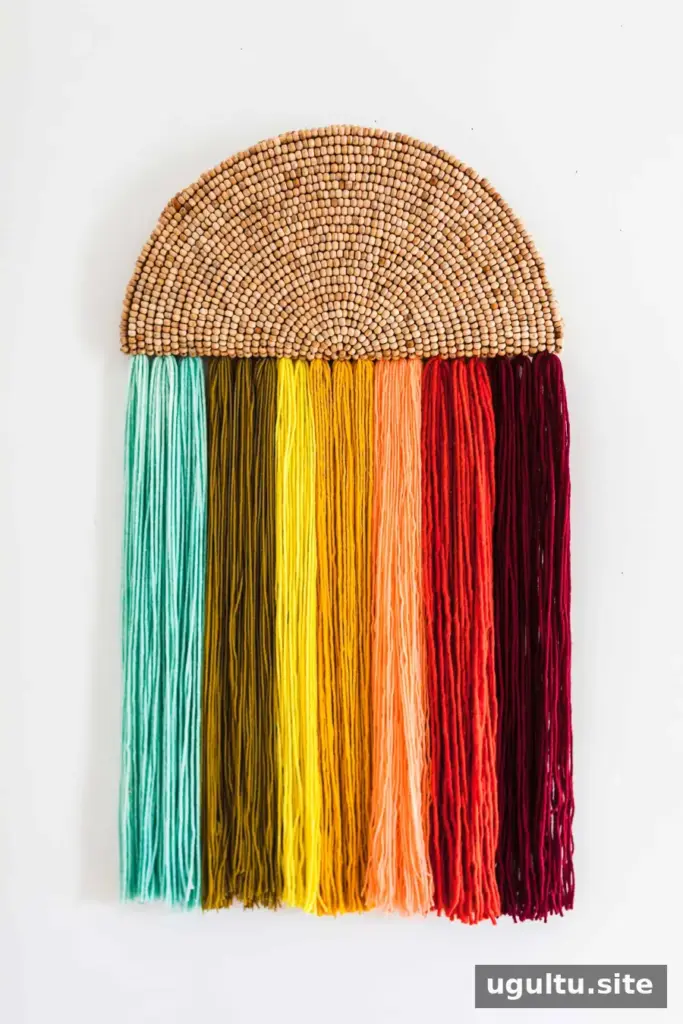
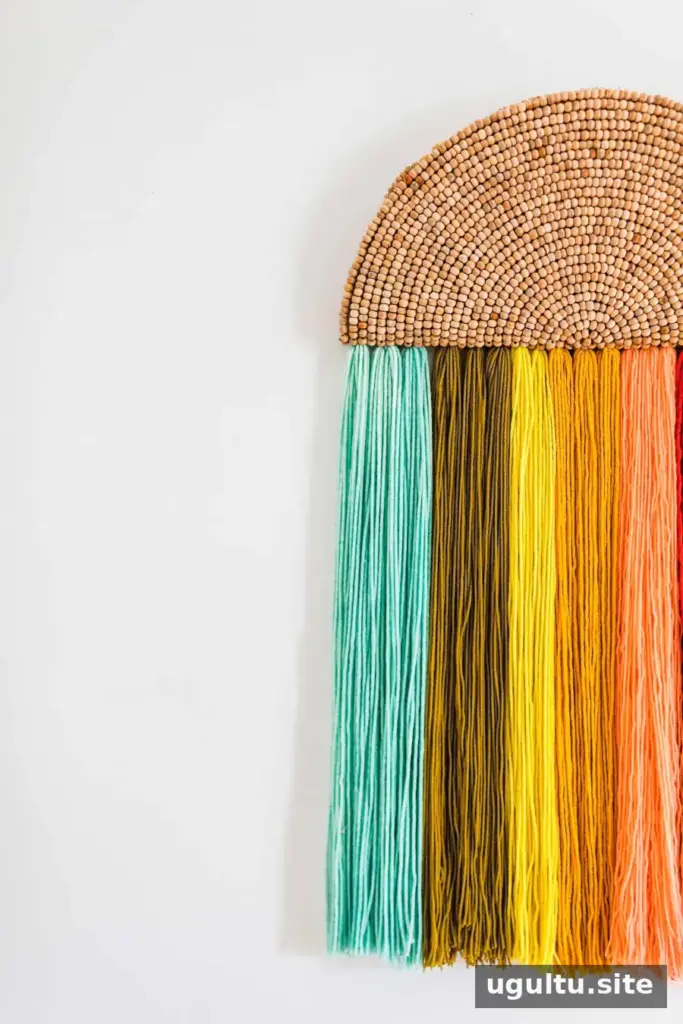
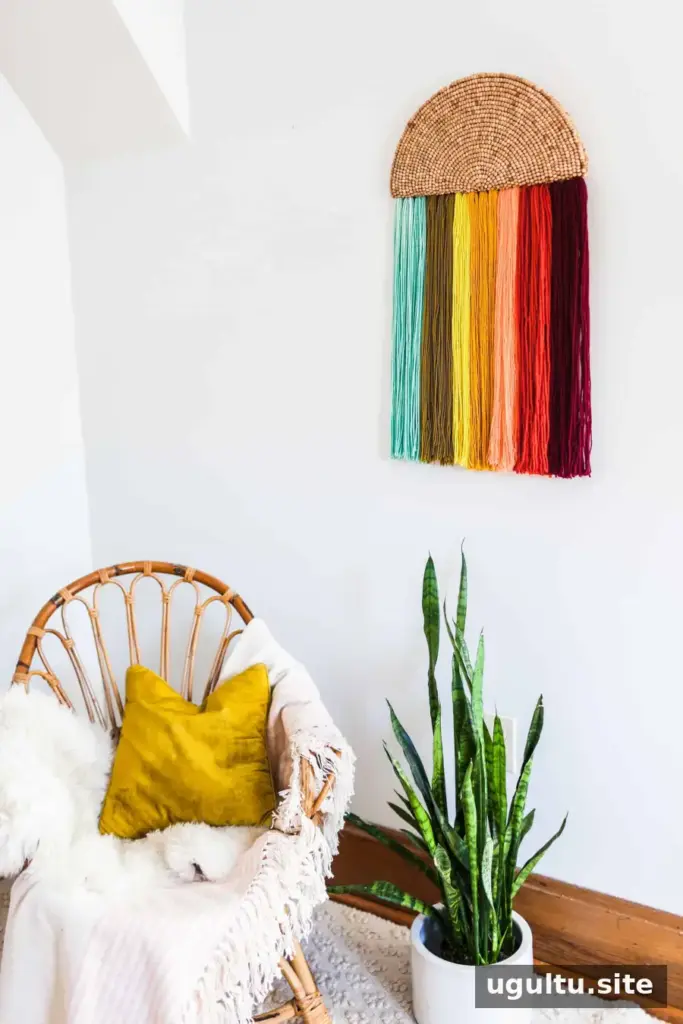
A yarn wall art DIY project can turn a simple wooden beaded placemat into a colorful, curved wall hanging. This beginner-friendly design uses yarn bundles attached to a folded placemat to create a look reminiscent of a reverse rainbow. With a little preparation, you can make it in an afternoon.
The project is also easy to customize: arrange the yarn in bright shades for a summery look, choose neutral colors for a calmer style, or coordinate the palette with a child’s room. The wooden beads add a warm, bohemian feel; a glass bead placemat can give the finished piece a more reflective look.
Supplies for this yarn wall art DIY
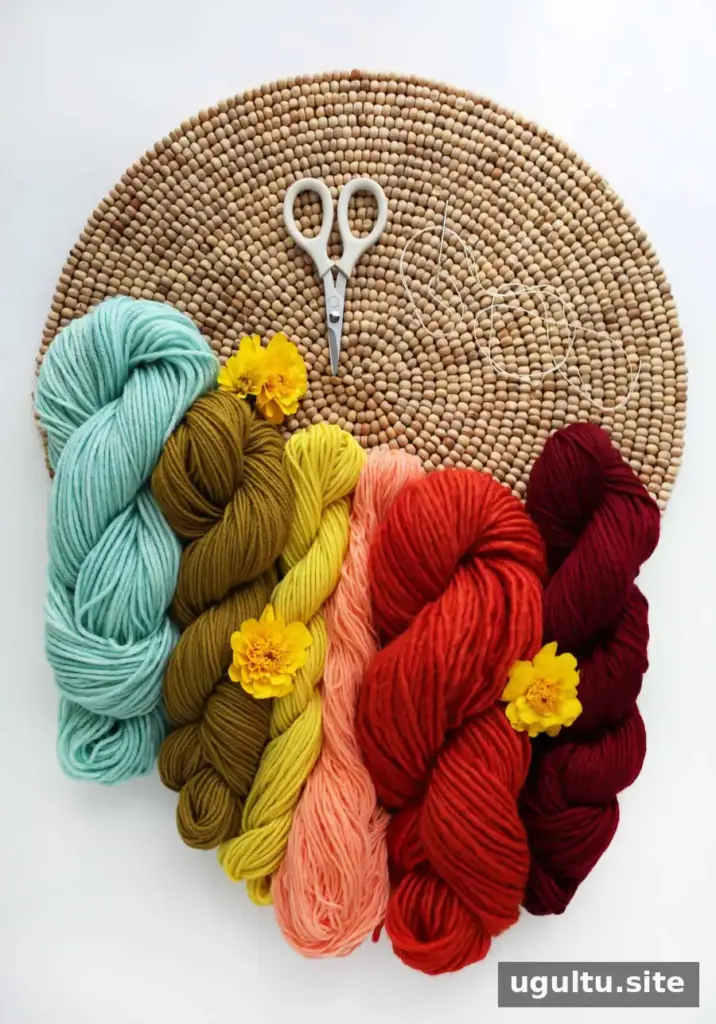
Gather the materials before you begin so you can work through the color changes without interruption:
Supplies:
- One wooden beaded circle placemat
- Seven skeins of yarn, 50 grams each or more, in your preferred colors
- An embroidery needle
- White thread
- Scissors
Before cutting the yarn, decide on the color order and place the skeins nearby. This makes it easier to keep the bands consistent as you work.
How to make the yarn wall hanging
1. Prepare the first yarn bundle
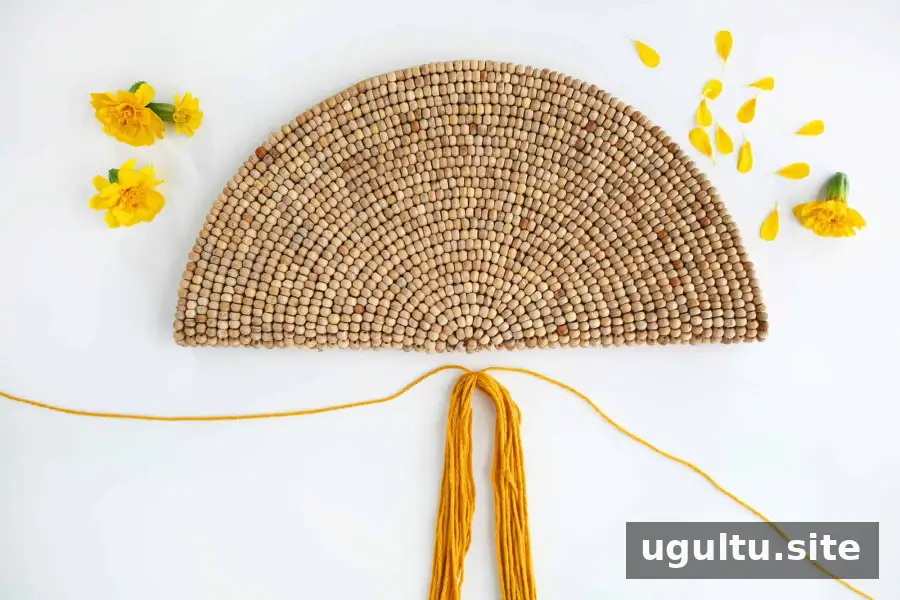
Arrange the colors in the sequence you want, then begin with the center color. Cut 20–25 strands, each about 38 inches long, and gather them into a bundle. Use one strand from the bundle to tie a knot around its center.
Keep the bundle together as you handle it. If the strands shift, straighten them before attaching them so the finished section sits neatly against the placemat.
2. Stitch the bundle to the placemat
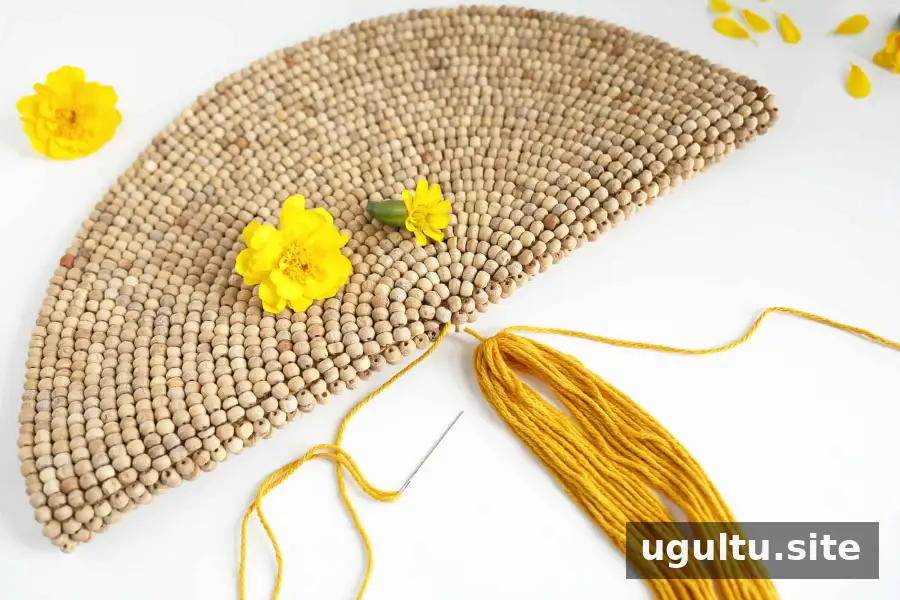
Thread one end of the strand used for the knot through the embroidery needle. Stitch through the placemat’s base, rather than only passing around the strings that connect the beads. This helps anchor the yarn bundle to the placemat.
After the needle passes through, bring it under the arch made by the yarn bundle and tie that end to the other end of the strand. Pull the knot snug so the bundle rests firmly against the placemat. Aim for no visible gap between the yarn and the beaded edge, while keeping the bundle arranged evenly.
3. Add the remaining colors
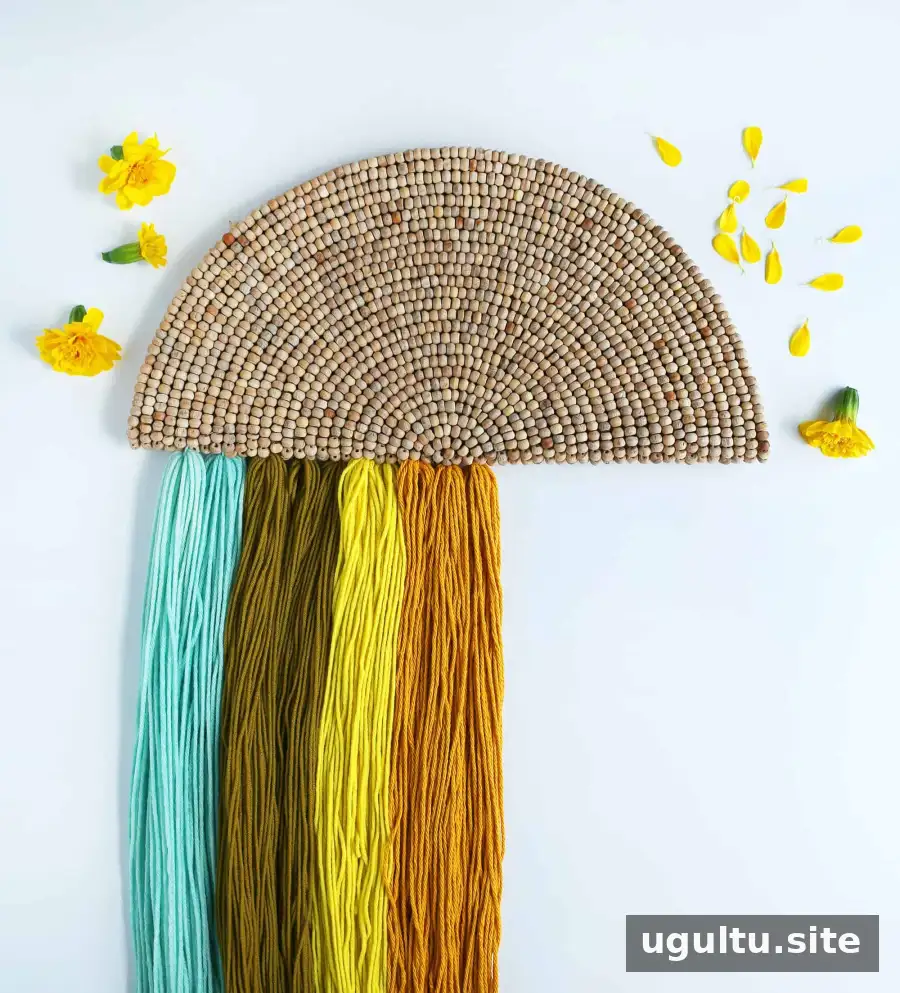
Repeat the same process with two more bundles in the center color. Then attach two or three bundles in the next color. Continue in this way, working through the chosen color sequence until the yarn sections cover the intended area.
Check the spacing as you go. A quick pause to straighten each bundle can help the color bands look balanced once the hanging is folded.
4. Fold and finish the hanging
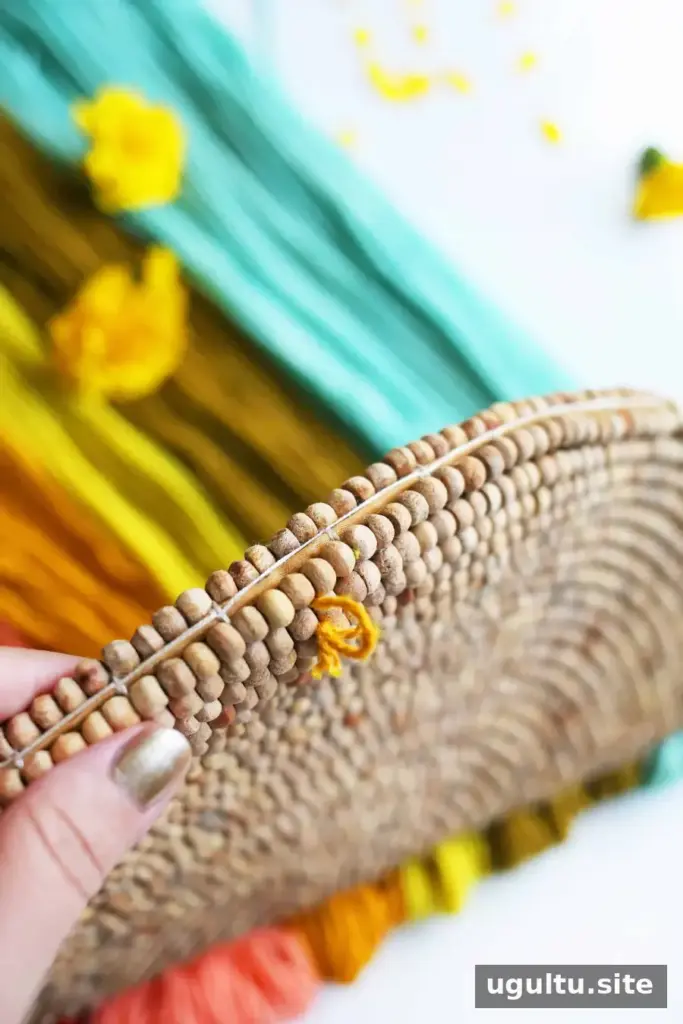
Fold the placemat together like a taco and use white thread to join it with a blanket stitch. Then make a loop from yarn and stitch it securely through the back so the piece can be hung.
Display and customize your finished piece
Choose a color palette that suits the room: summery shades create a bright focal point, while neutrals offer a quieter look. For a children’s room, select colors that complement the existing decor. The beaded base gives this simple yarn wall art DIY texture and shape without requiring advanced fiber-art techniques.
— Rachel


