
 admin
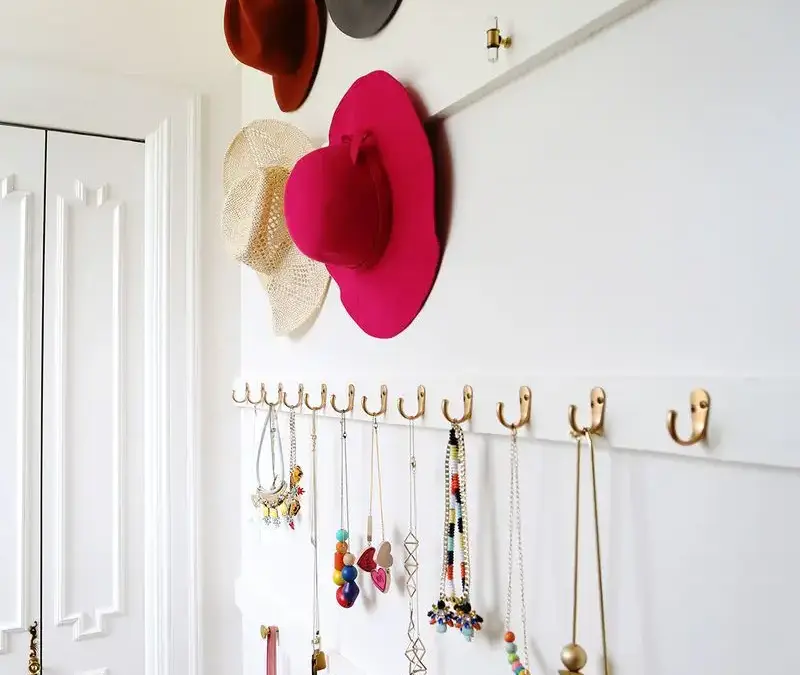
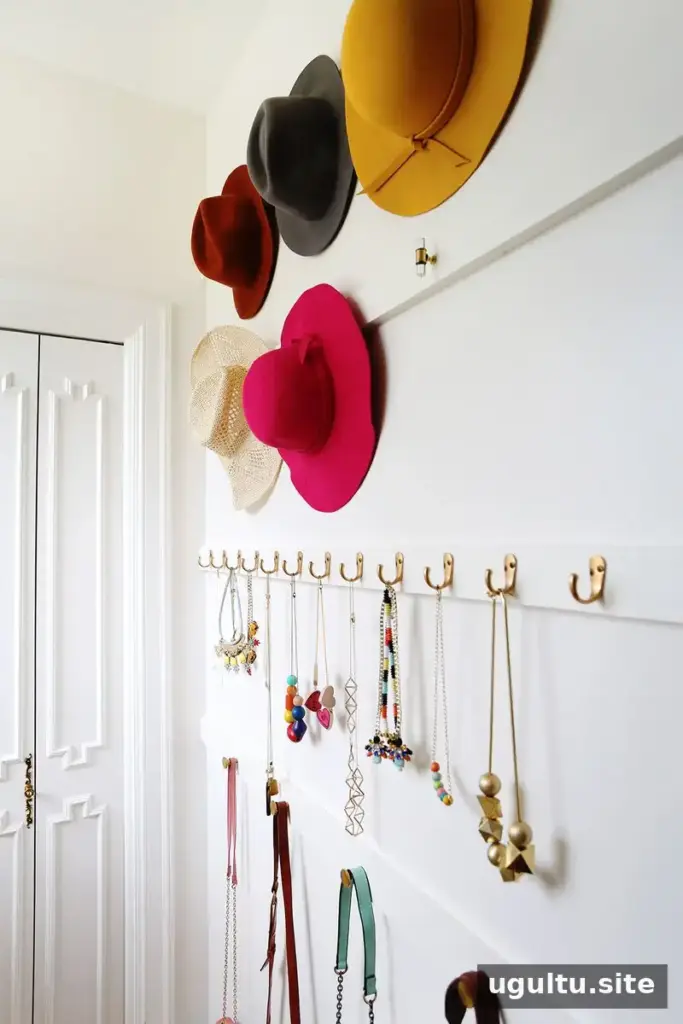
A blank wall in a closet can become useful storage for everyday accessories. This DIY closet organization project uses painted boards and different types of hardware to create dedicated spots for hats, necklaces, and bags. Planning the layout before installing anything makes it easier to fit your items and use the available wall space well.
DIY closet organization for accessories
The design can be adjusted to suit the items you own and the size of your wall. Before choosing hardware, consider what you want to hang and how much room each piece needs. A little measuring upfront can help prevent accessories from crowding one another.
Step 1: Plan the layout with tape
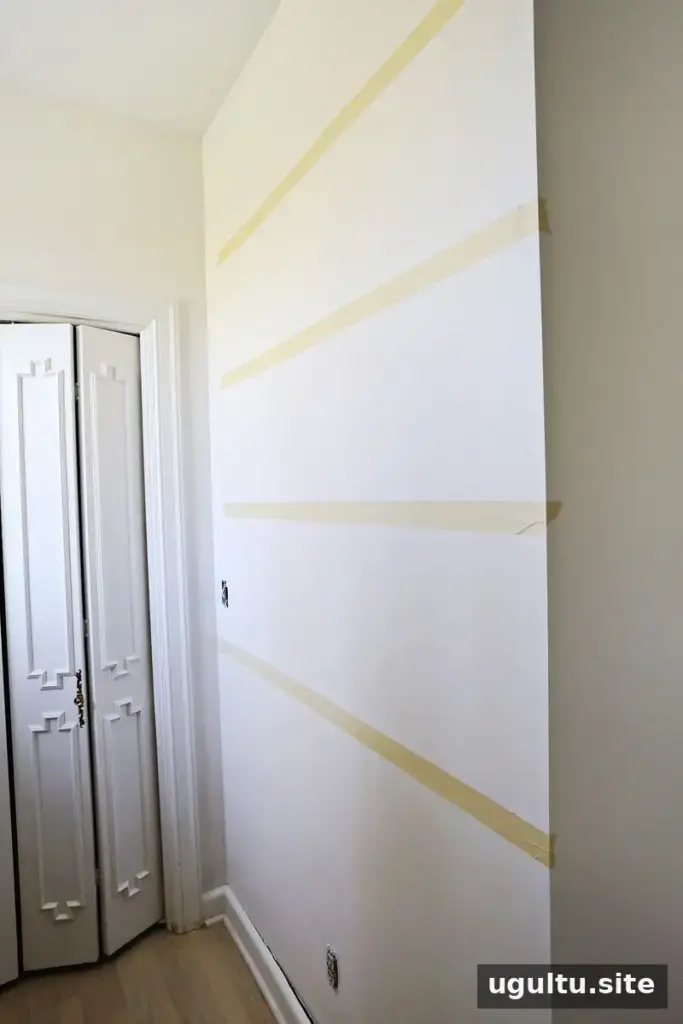
Use tape to mark the proposed storage positions on the wall. Hold up your hats, necklaces, and bags to check that the layout works for their sizes and lengths. Move the tape as needed until the spacing feels practical. This simple trial layout helps you spot issues before you drill or attach the boards.
Step 2: Measure and prepare the boards
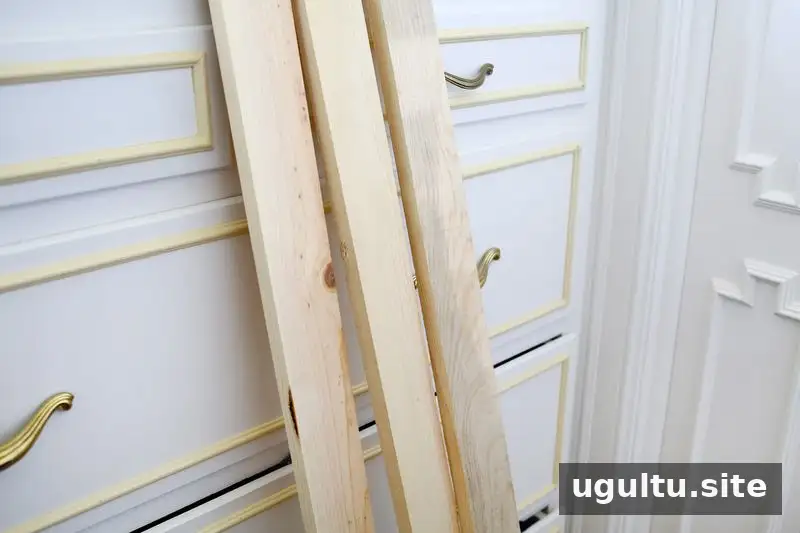
Measure the wall carefully and have boards cut to the required length at a home improvement store. The boards in this project are 2.5 inches tall; wider boards are another option if they better suit your design. Confirm the measurements before cutting, and check that the boards will fit the wall as planned.
Step 3: Choose and space the hardware
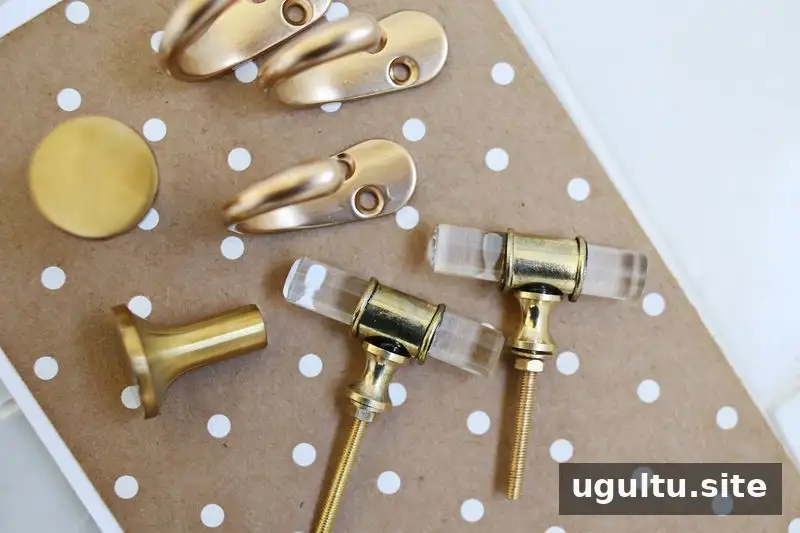
Select hardware according to what you need to store. Different styles can be used for bags, necklaces, and hats. Hold your largest items against the planned layout, then decide how far apart the hardware should sit. Use those measurements to work out how many pieces of each type you need.
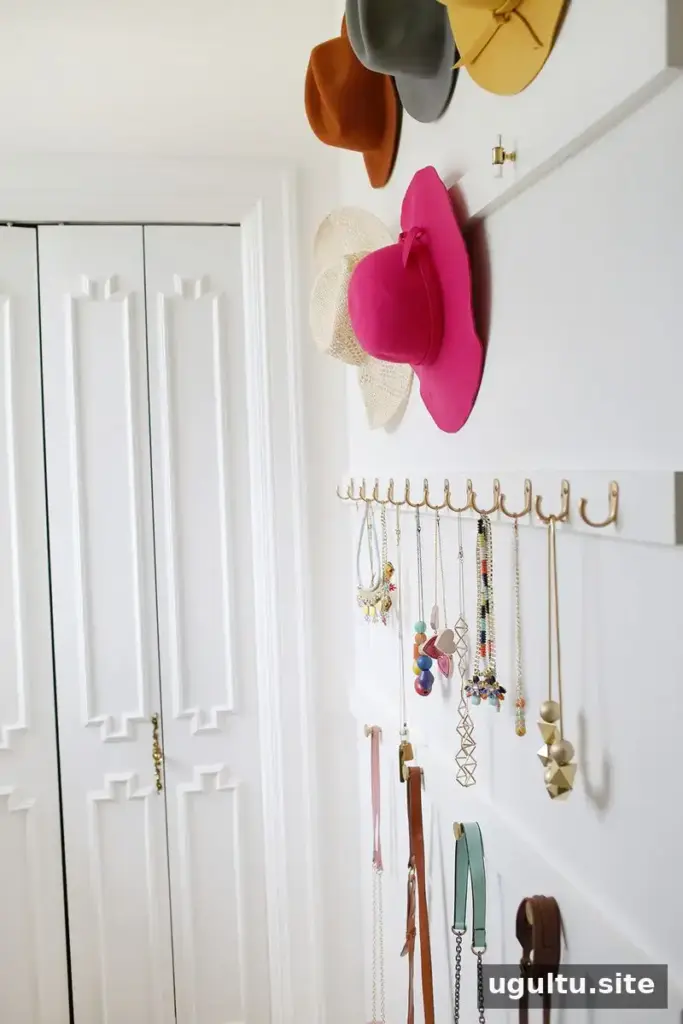
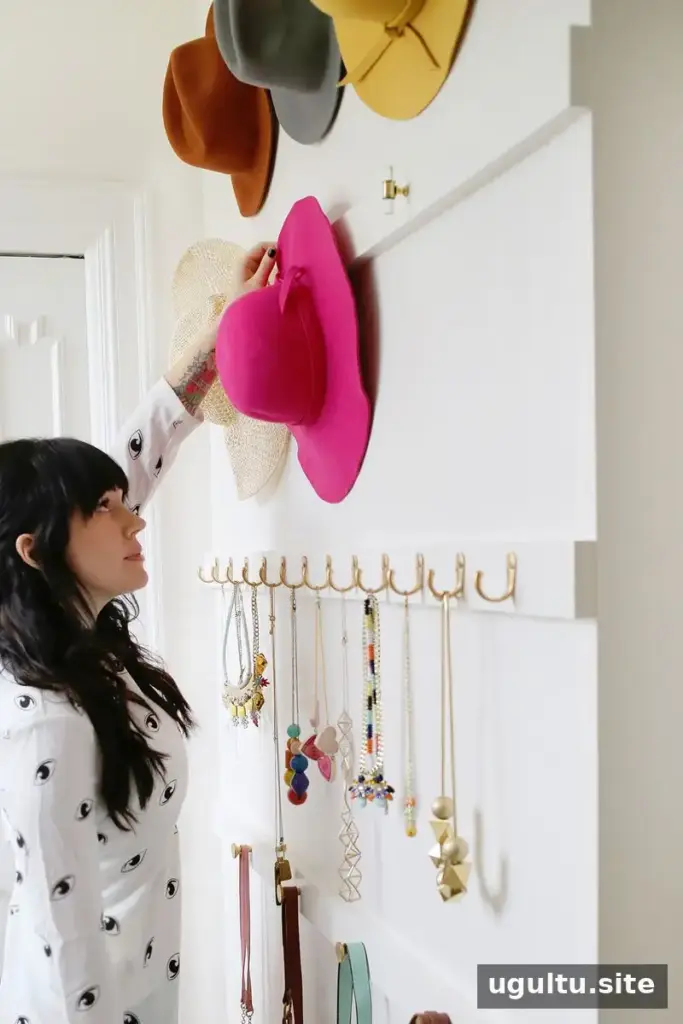
The original setup used knobs for bags, hooks for necklaces, and pulls positioned on their sides for hats. The hooks were painted gold to better match the desired finish. When adapting the idea, choose hardware that suits the weight and shape of the items you plan to hang.
Step 4: Paint the boards
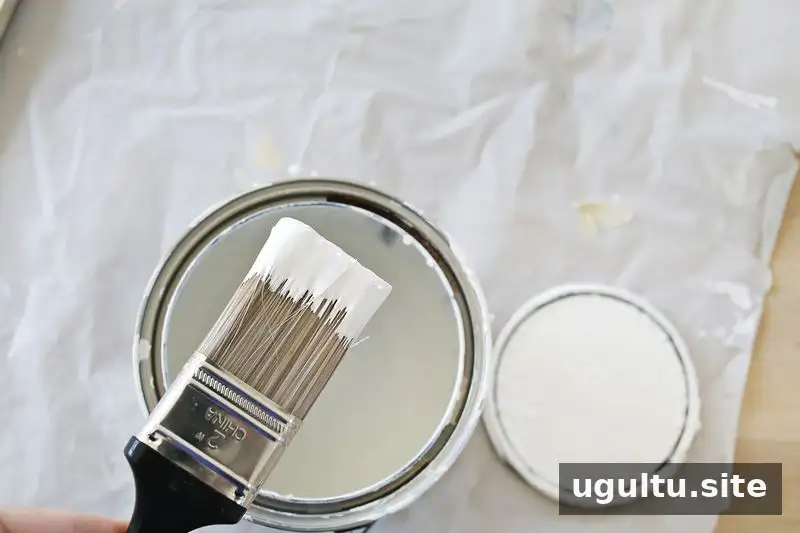
Paint the boards to match the room’s trim or another color in the closet. Let the paint dry fully before adding the hardware; this helps prevent marks and makes assembly easier.
Step 5: Attach the hardware
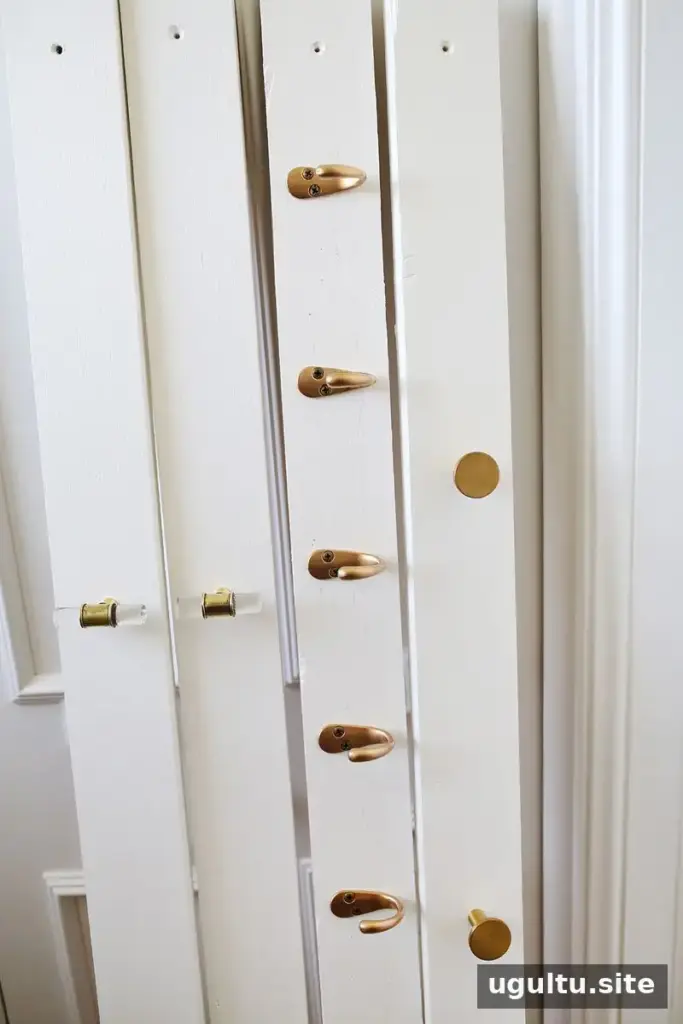
Install the selected hardware on the boards, following the spacing you planned. A countersink drill bit can help the hardware sit flush with the board’s surface.
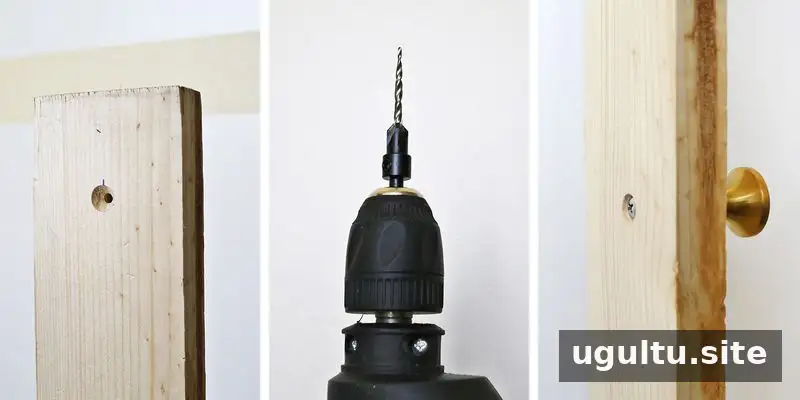
Before mounting the finished boards, choose fasteners suitable for your wall type and the expected load. Check that the boards are level and securely attached before hanging accessories.
Step 6: Finish and arrange the storage
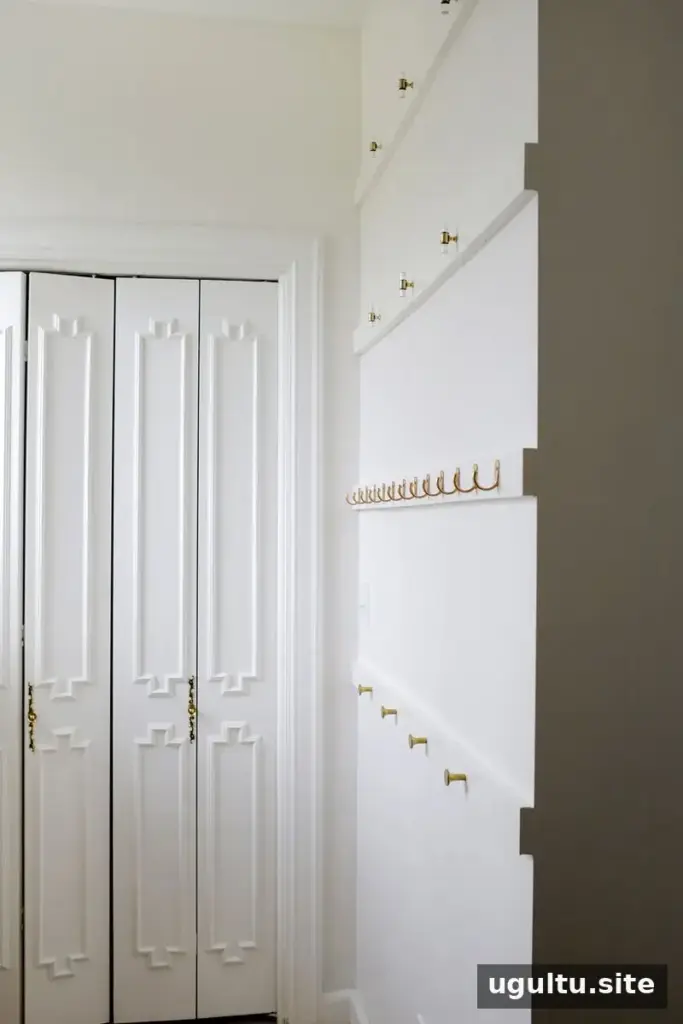
Once everything is in place, fill small gaps with caulk where needed and touch up the paint. Allow any finishing materials to dry before using the storage.
The completed wall provides separate places for accessories, making items easier to see and reach.
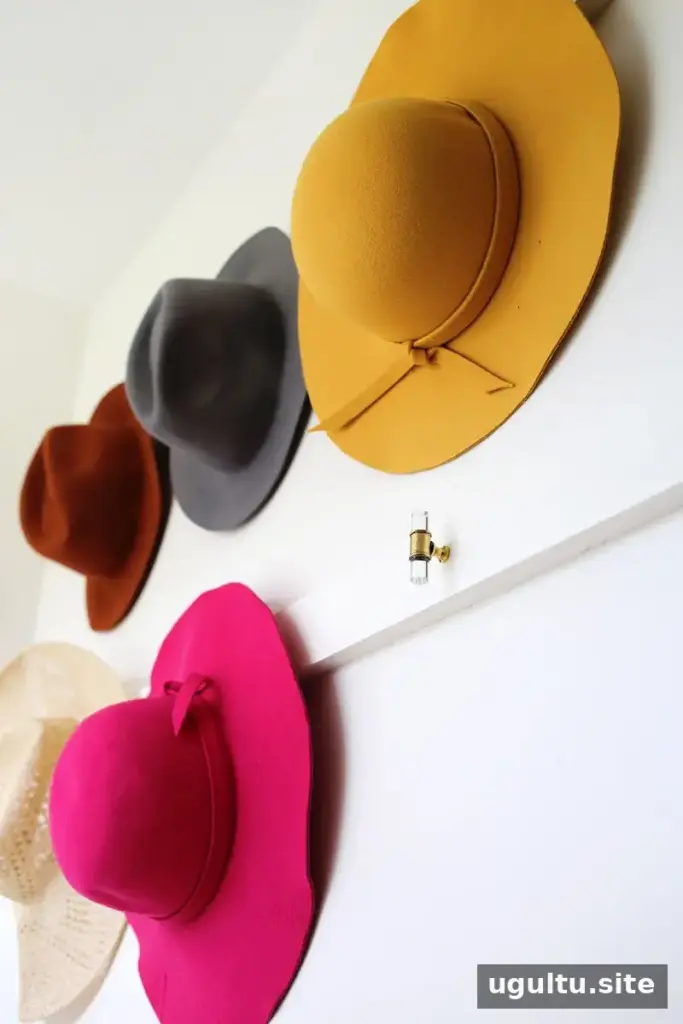
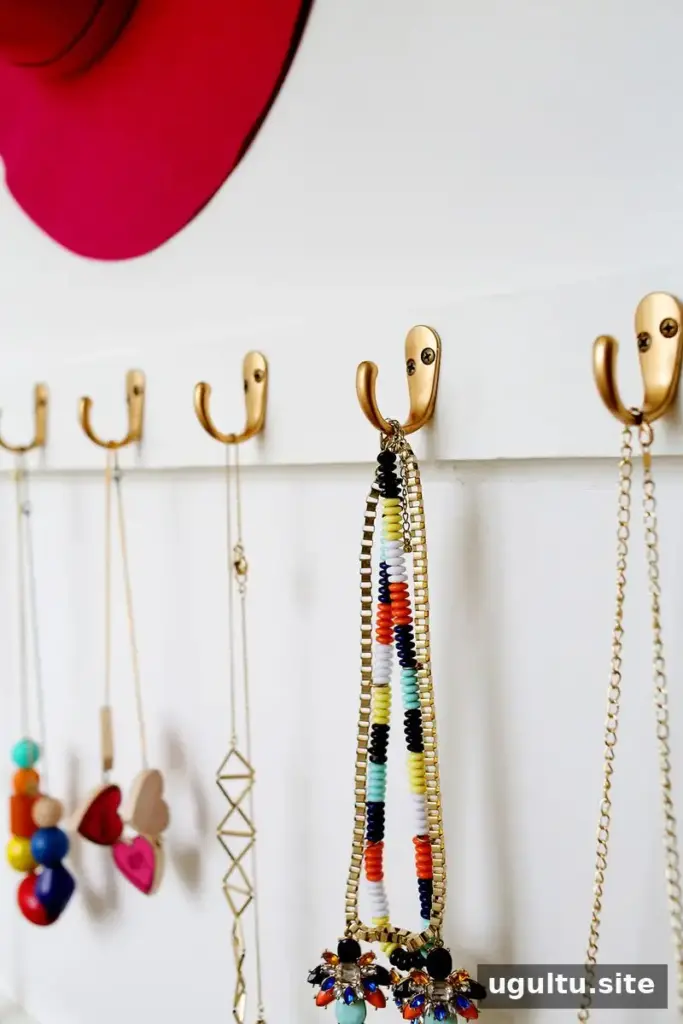
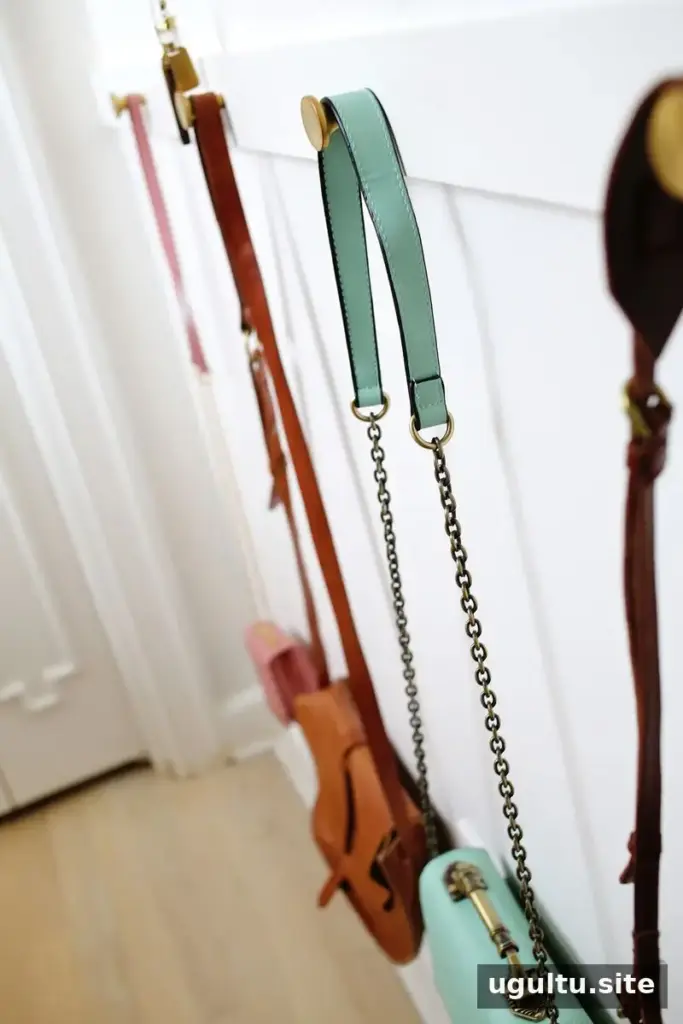
This project makes a previously unused wall work harder without changing the basic storage idea: plan around your belongings, measure carefully, and choose hardware for each item. If your closet has a similar blank area, this approach can add practical accessory storage. Elsie


