
 admin
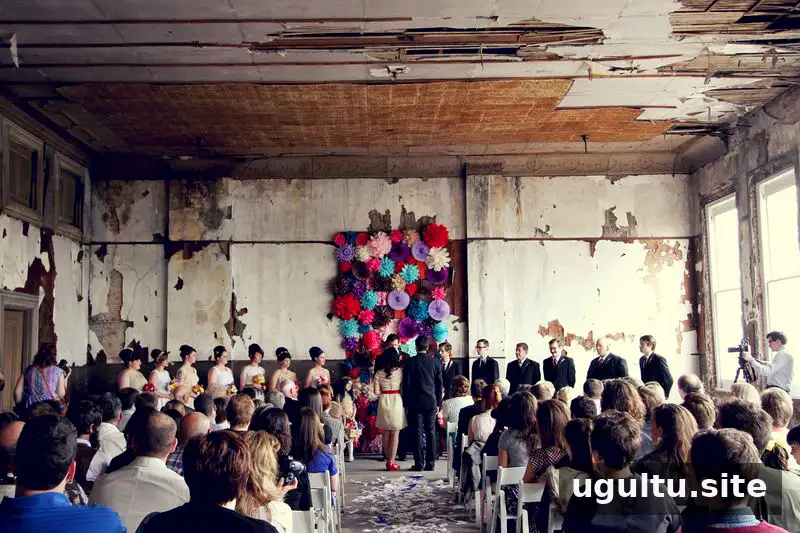
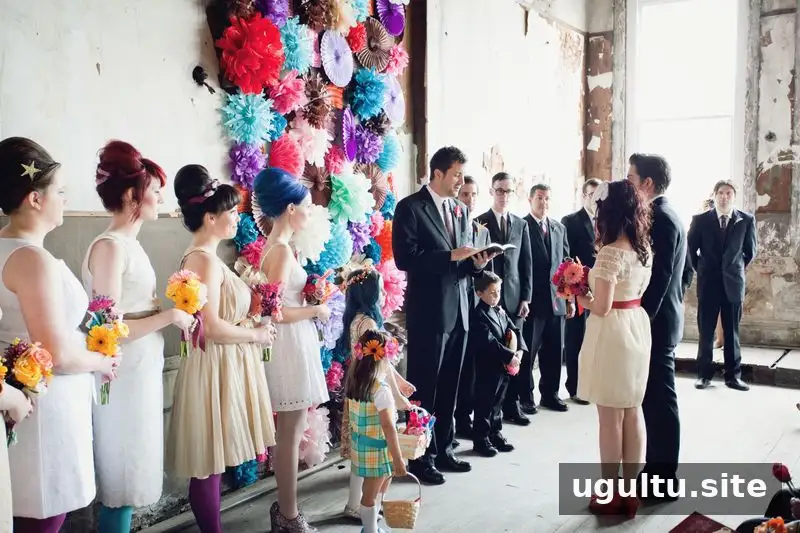
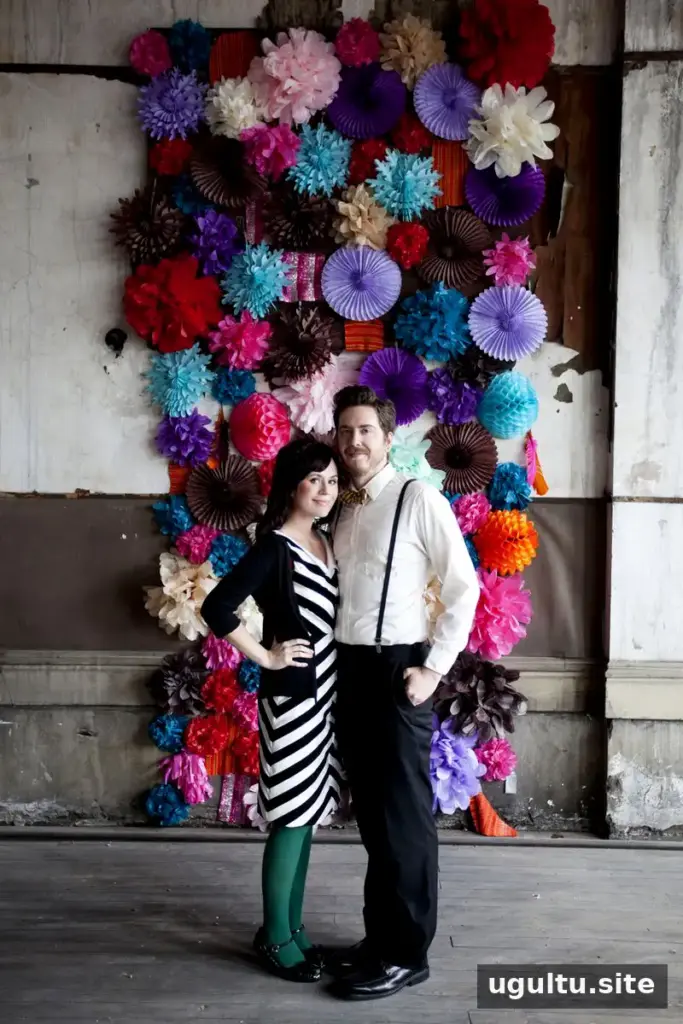
A DIY flower wall can add color and texture to a wedding ceremony, photo booth, or party table. This paper backdrop combines tissue-paper pom-poms with accordion flowers and other lightweight decorations. Make the flowers in a coordinated palette, then attach them to a backing so the finished display is easier to hang and causes less damage to the wall.
Materials for a DIY Flower Wall
Use a mix of paper decorations to create variety and cover the backdrop efficiently. Paper fans, also called accordion flowers, are often around 12 inches wide and can fill larger spaces. Tissue-paper pom-poms add volume, while fringe flowers cut from plastic bags, feathers, and fabric squares can provide extra texture.
- Tissue paper in two coordinating shades
- Twine or embroidery thread
- Paper fans or accordion flowers
- Scissors
- A cardboard backing and hot glue for a removable display
- Optional decorative materials such as feathers and fabric squares
Choose a general color scheme, such as jewel tones, but allow some variation within it. Before making all the pieces, create a few samples and arrange them together to check that the colors and shapes work well as a group.
How to Make Tissue-Paper Pom-Poms
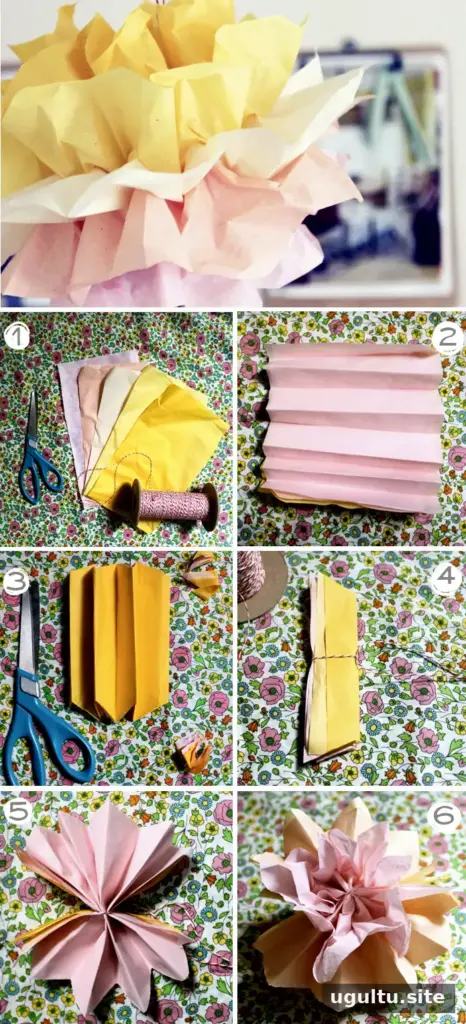
- Stack five, seven, or nine sheets of tissue paper. An odd number of sheets helps create the intended layered look. Use two coordinating shades, and cut the paper so its length is three times its width.
- Fold the stacked sheets back and forth into an accordion or fan shape.
- Trim both ends at an angle to create pointed petals. For a softer look, try rounded or scalloped edges instead.
- Tie the folded paper securely in the middle with twine or embroidery thread. Leave extra thread at the edge of the color you want to appear on top.
- Open the folds into a fan and gently pinch the paper around the tied center to help hold its shape.
- Separate the layers carefully, one side at a time, pulling them away from the center. Adjust the middle layers as needed to create a flower-like shape.
Work slowly when separating the tissue because it can tear. If a layer catches, ease it apart rather than pulling sharply. Slight changes to the petal cuts can produce different shapes, so test the effect on a small pom-pom before making a full batch.
Adapt the Flowers for a Wall Backdrop
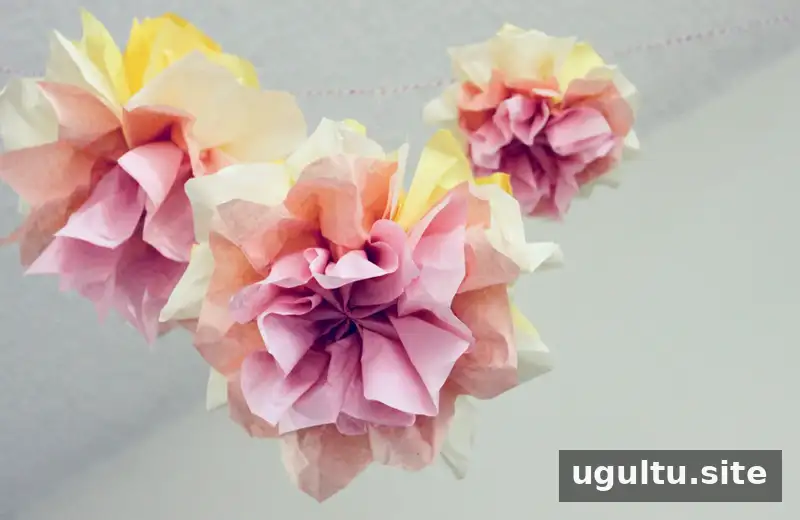
For wall-mounted pom-poms, fluff only the visible side; the back can remain flat against the surface. Combine rounded petals, pointed petals, and deeper fringe to give the arrangement variation. Lay the pieces out on the floor first to plan their placement and balance the colors before attaching them.
How to Hang the Backdrop
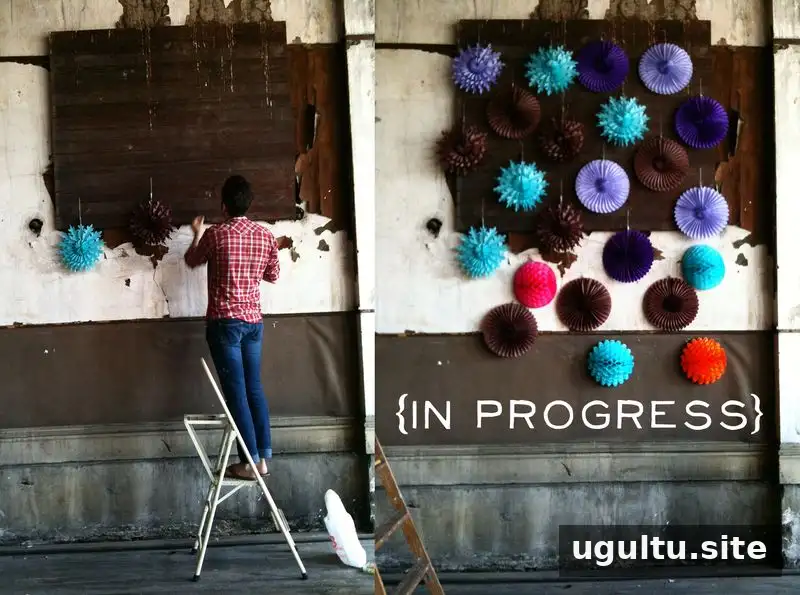
The flowers in the original display were attached directly to the wall with nails and adhesive. Since that approach may not suit every wall or venue, a large piece of cardboard can serve as a backing. Cut it to the desired height and width, attach the decorations with hot glue, and use a few nails to secure the backing. This can reduce the number of attachment points on the wall; check that the backing is suitable for the display location and support its weight securely.
For a smaller version, use the same methods to decorate a photo booth area or party table. A DIY flower wall works best when its scale, attachment method, and color palette are planned before the flowers are assembled.
Photos by Kinsey Mhire, Arrow & Apple, and Rachel Denbow.


