
 admin
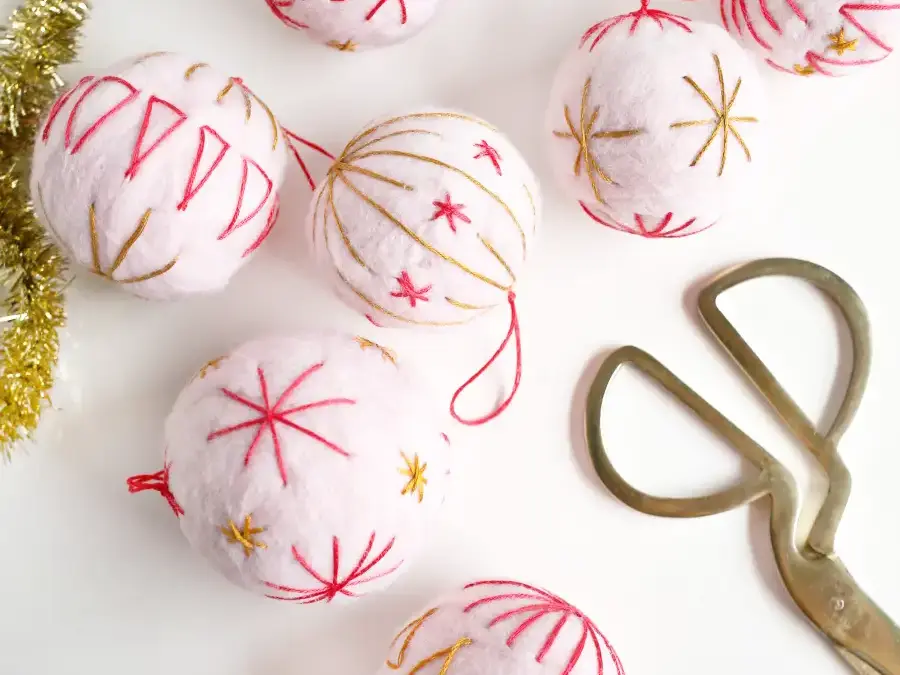
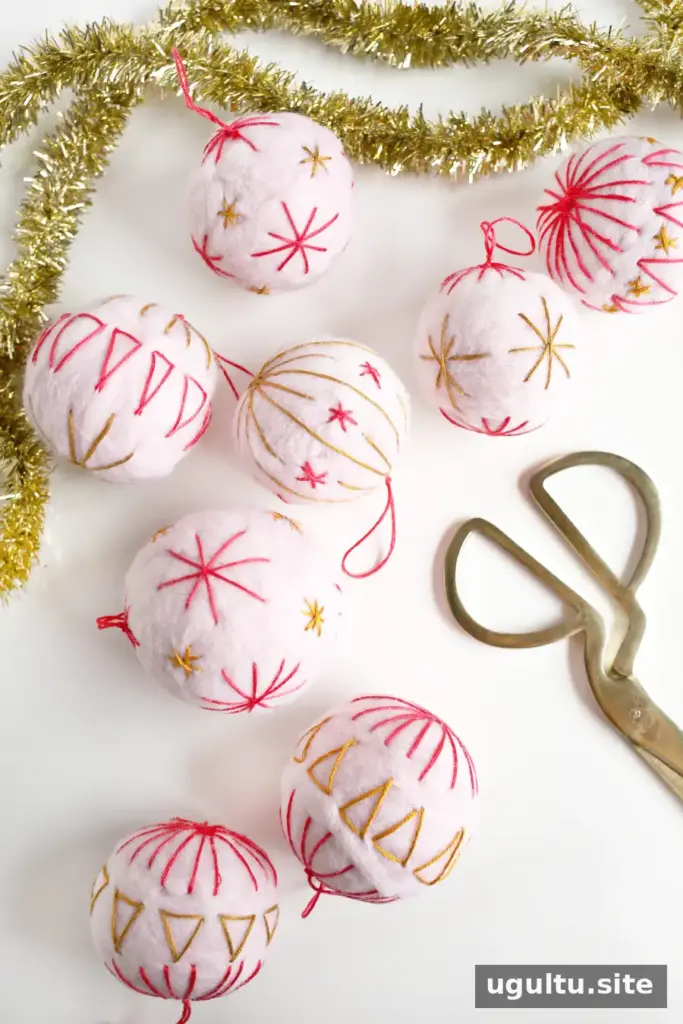
Embroidered felt wool ornaments are a soft, durable alternative to fragile holiday decorations. Made by felting merino wool roving into firm balls and adding simple embroidery, they can be customized with stars, triangles, or other small patterns. Their sturdy felted surface makes them a practical choice for homes with children or pets.
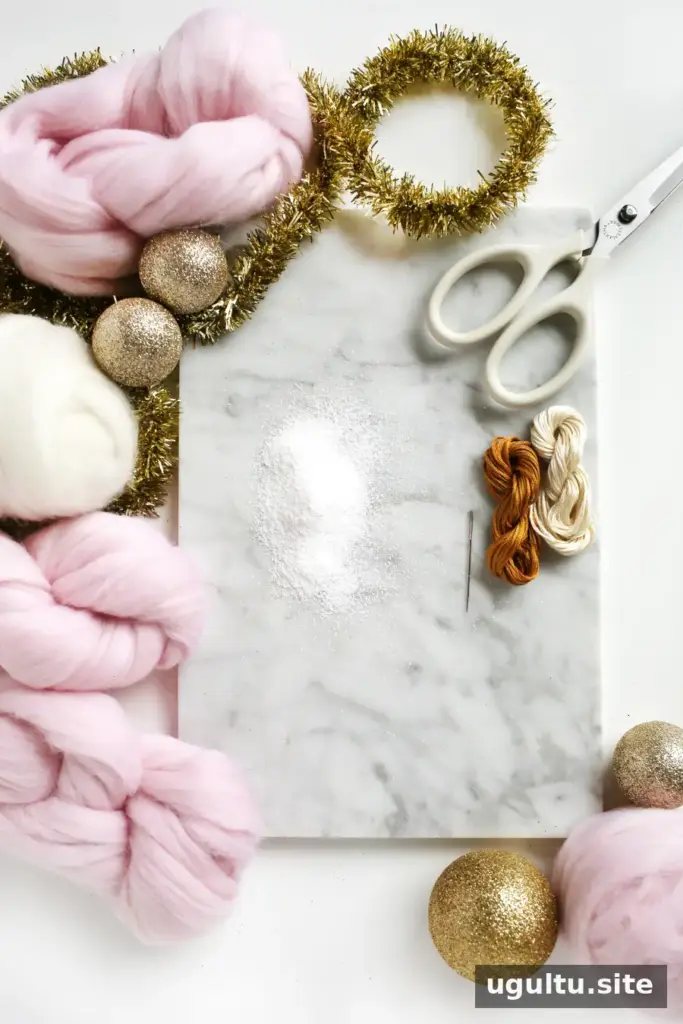
Supplies for embroidered felt wool ornaments
For approximately eight ornaments, gather the following materials. The wool quantity can make about 8–10 large balls, depending on their finished size.
- 8 oz of merino wool roving
- 4–6 skeins of embroidery thread in coordinating colors
- A sharp tapestry needle
- One pair of hosiery
- Scissors
- A washing machine
- Peppermint or fir needle essential oil, optional
Shape the wool into balls
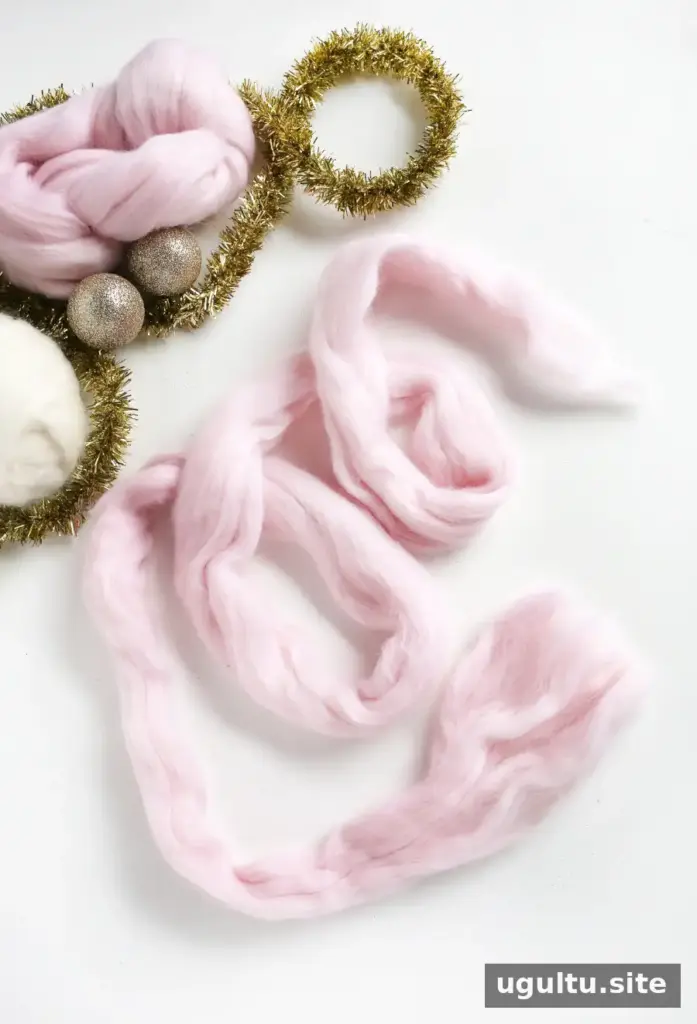
Divide the 8 oz of roving into eight portions of roughly 1 oz each. Pull the fibers apart by hand rather than cutting them; gently separating the wool helps its fibers blend during felting.
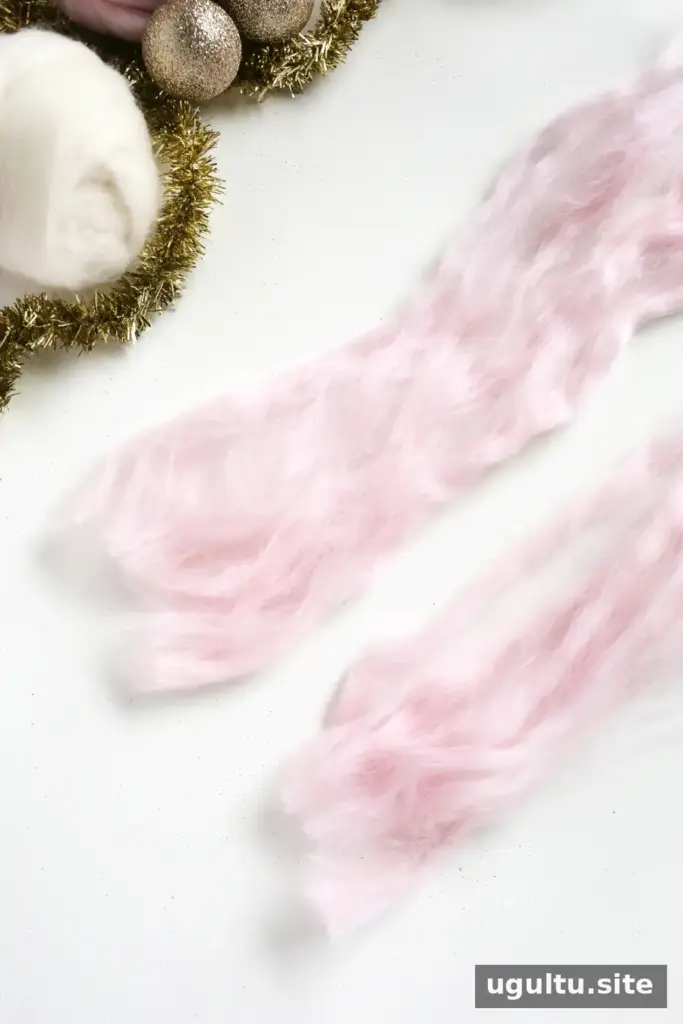
Take one portion and pull it into three or four lengths of about 2 feet each. Gently widen each length until it becomes thin and airy. Wispy strands are easier to wrap evenly and felt together.
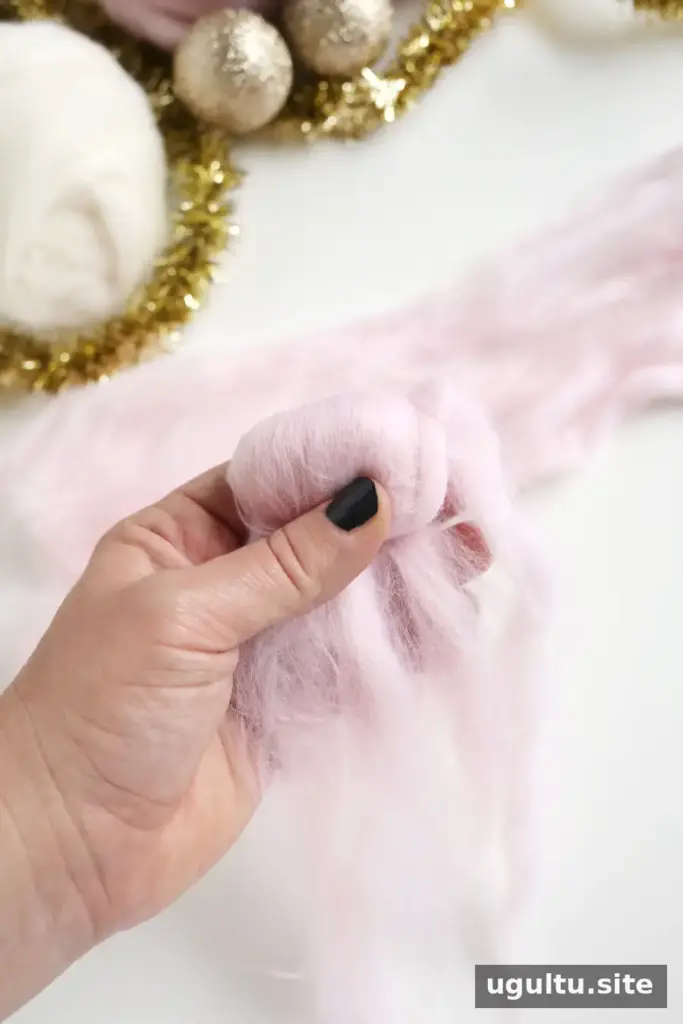
Fold one end of a strand over itself twice. Pinch the sides inward, fold again, and continue shaping the wool into a compact ball. It does not need to be perfectly round yet.
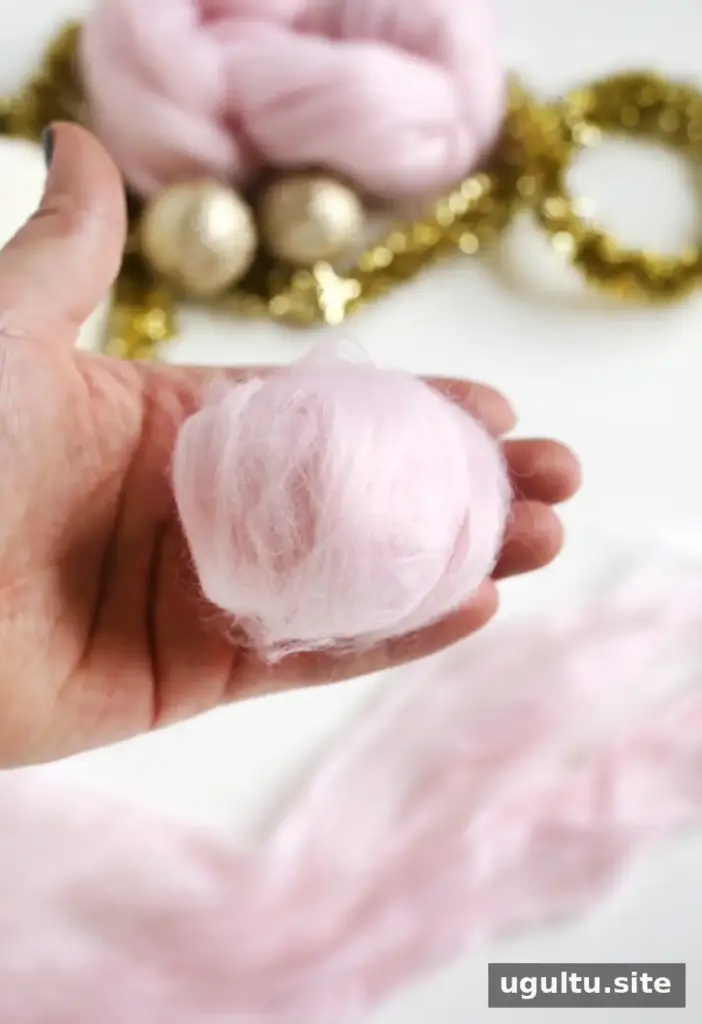
Wrap another strand around the bundle in the same direction, keeping the shape firm. If the bundle starts to look long or tubular, use thinner pieces of roving and wrap them around the widest areas.
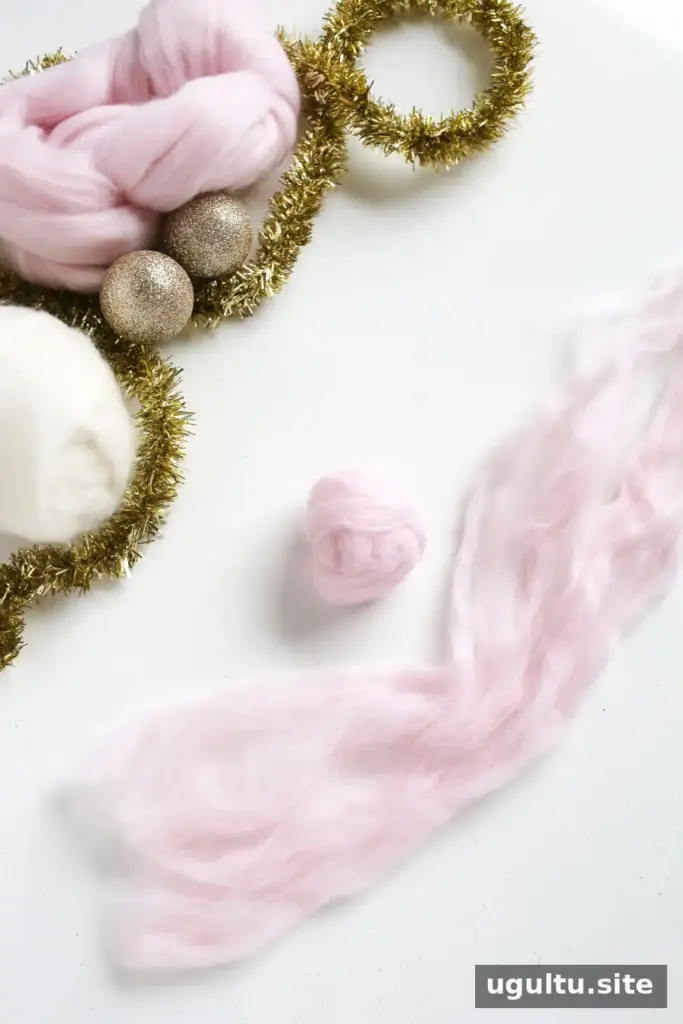
Add a third strand in a different direction, followed by a fourth in another direction. Continue layering thinner strands until the ball looks full and evenly covered.
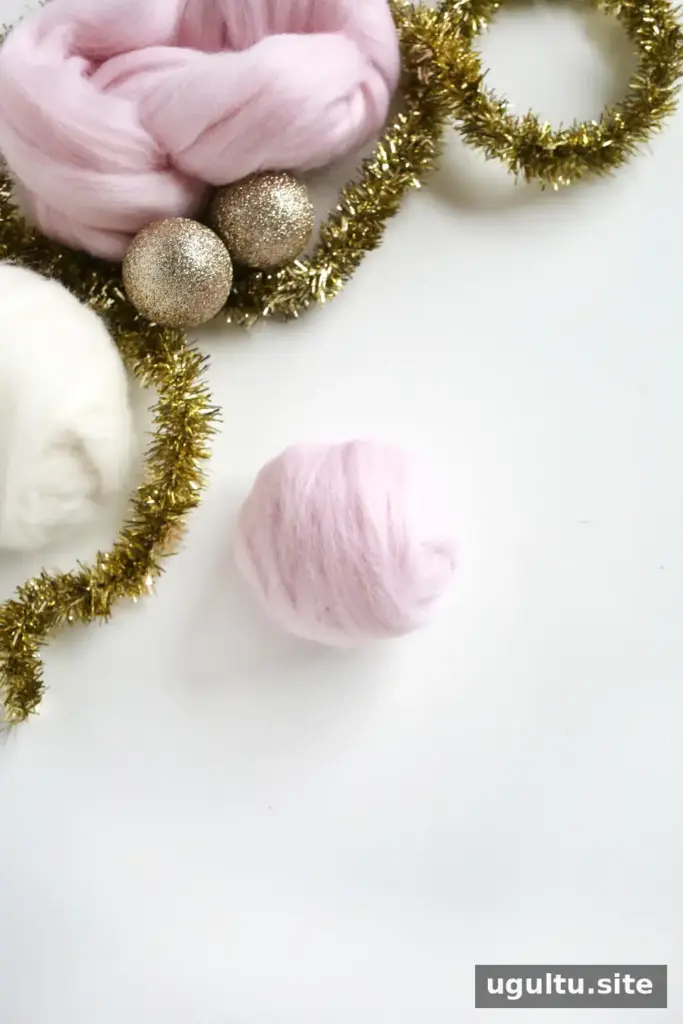
The unfelted ball should be slightly larger than the size you want for the finished ornament, since felting will cause it to shrink.
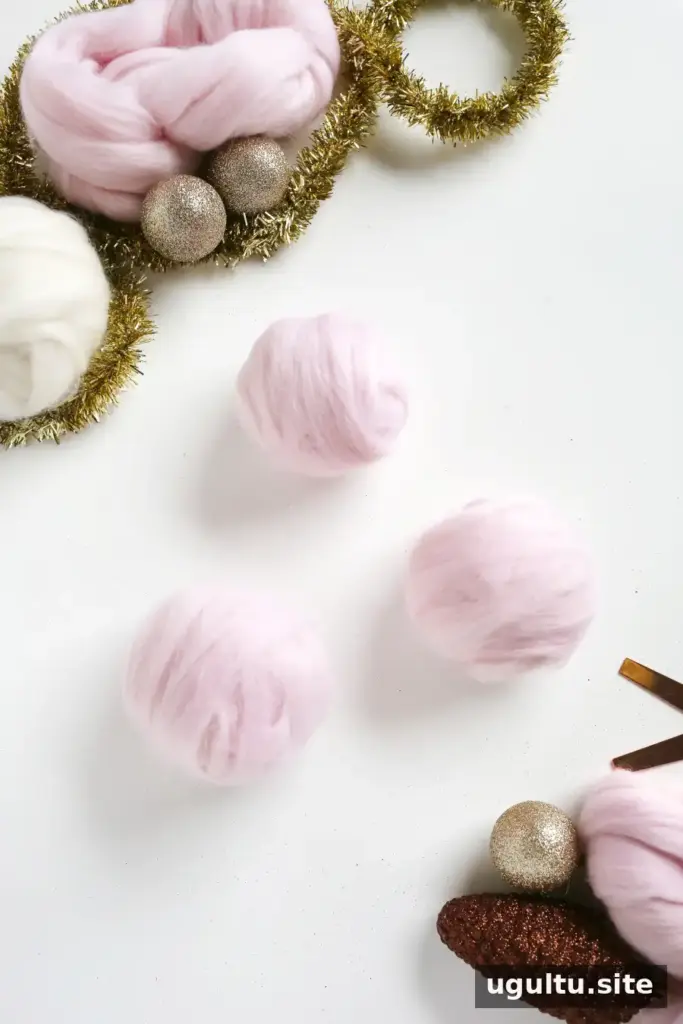
Repeat these steps with the remaining roving portions. Try to keep the balls similar in size so they look balanced when displayed together.
Felt the wool in the washing machine
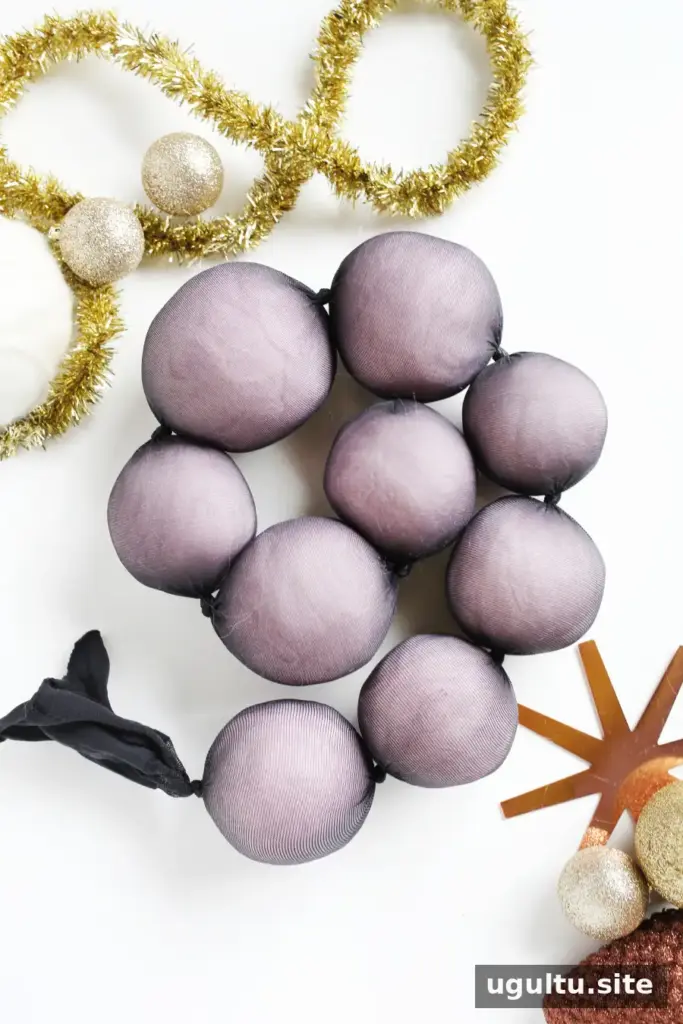
Cut one leg from a pair of inexpensive hosiery. Gather the open end, place one wool ball inside, and tie a knot above it. Avoid pushing the ball far down the leg, since friction can pull the wool out of shape. Add the remaining balls one at a time, tying a knot between each one.
Use a small amount of detergent and a hot washing-machine setting. The movement of the water, together with the hosiery, helps the wool fibers interlock and shrink. Machine settings vary, so check the balls after washing and repeat the process if they still feel loose.
Move the hosiery tube to a dryer with towels or similar items to increase agitation and help the balls dry. A cycle may take 30–50 minutes, depending on the load. Keep the wool enclosed in the hosiery during washing and drying to help prevent loose fibers from collecting in the machine.
Once dry, carefully cut away the knots and ease the hosiery off each ball. If you prefer a plain look, stitch a thread hanger into each ball and use the ornaments as they are.
Add embroidery and hanging loops
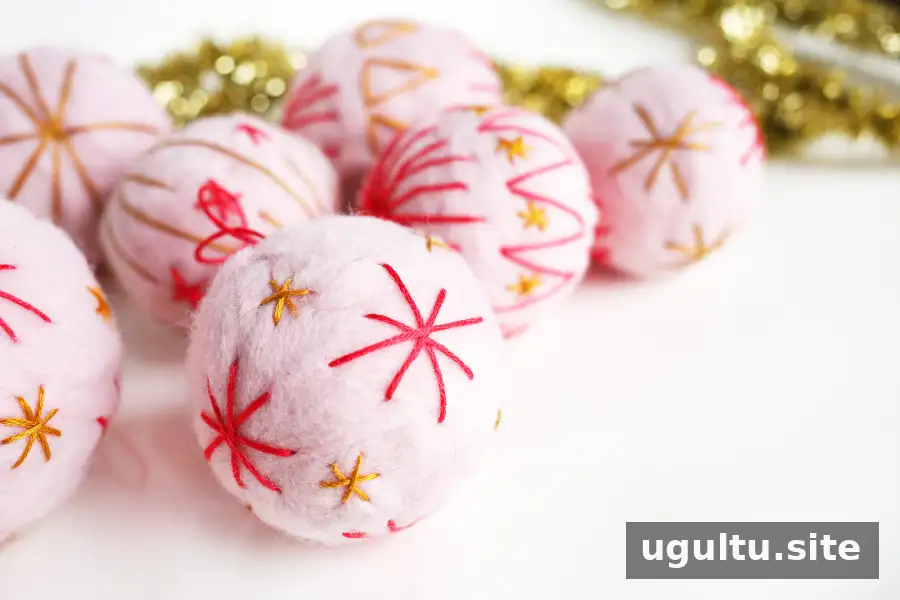
For a decorative finish, thread a sharp needle with 6 feet of embroidery thread and tie a knot at one end. Push the needle into the felt and bring it out about 1 inch away. Pull gently so the knot sits inside the ball and is hidden.
Stitch a simple starburst or triangle, then add more motifs as desired. To secure the final stitch, guide the needle into the felt and bring it out about 1 inch away. Pull the thread snug, trim it close to the surface, and let the end retract into the ball. Use a separate length of thread to sew a hanging loop.
Simple Scandinavian-style stitches and mid-century starburst patterns work well on round felt surfaces. Keep stitches evenly spaced and avoid pulling them so tightly that they distort the shape. Modern Folk Embroidery is one source of ideas for straightforward decorative patterns.
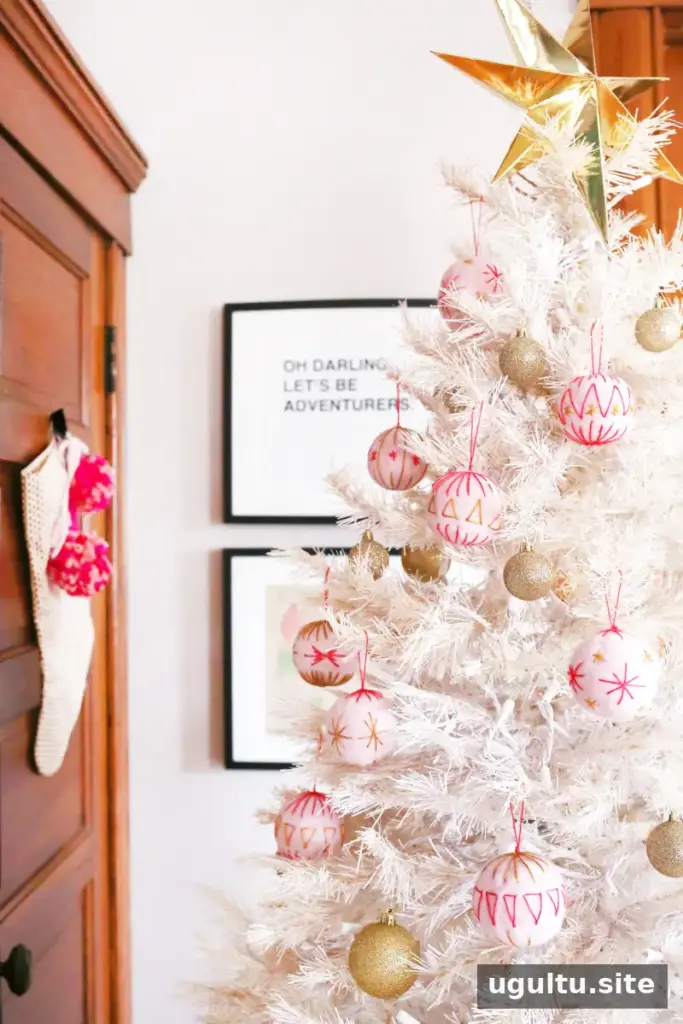
Finishing and scenting the ornaments
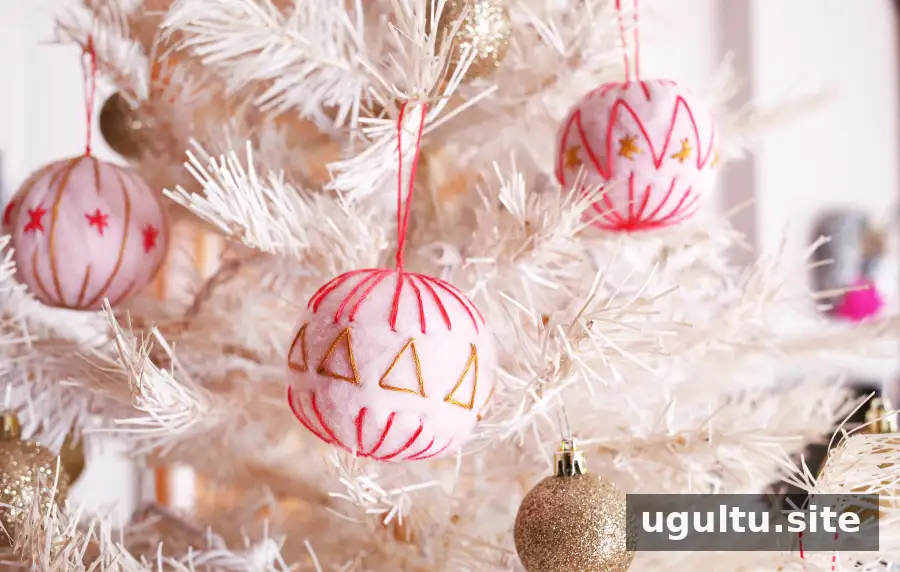
For a scented decoration, follow the essential-oil label and use only a small amount. Allow the ornaments to dry fully before adding fragrance, and do not put oil-treated wool through a heated dryer. Peppermint or fir needle scents can complement a holiday display, including an artificial tree.
Conclusion
Embroidered felt wool ornaments are made with a few basic supplies and can be personalized with simple thread designs. Shape and felt the wool first, let the balls dry completely, then add embroidery and a secure hanger. The result is a lightweight, reusable decoration that can be mixed with other ornaments year after year. —Rachel


