admin



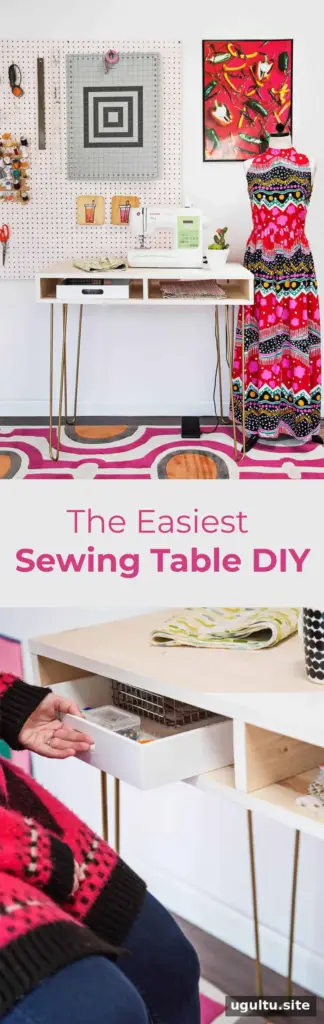
A DIY sewing desk gives your sewing machine a dedicated place without requiring a complicated build. This simple design uses a pair of large boards, a few smaller pieces, and hairpin legs to create a compact work surface. The project was completed by Emma, who wanted a more permanent spot for sewing after using a dining table for smaller projects.
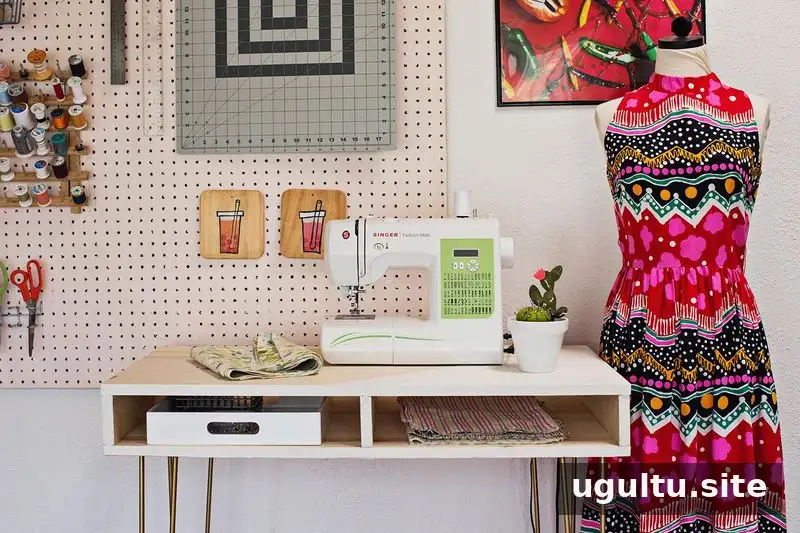
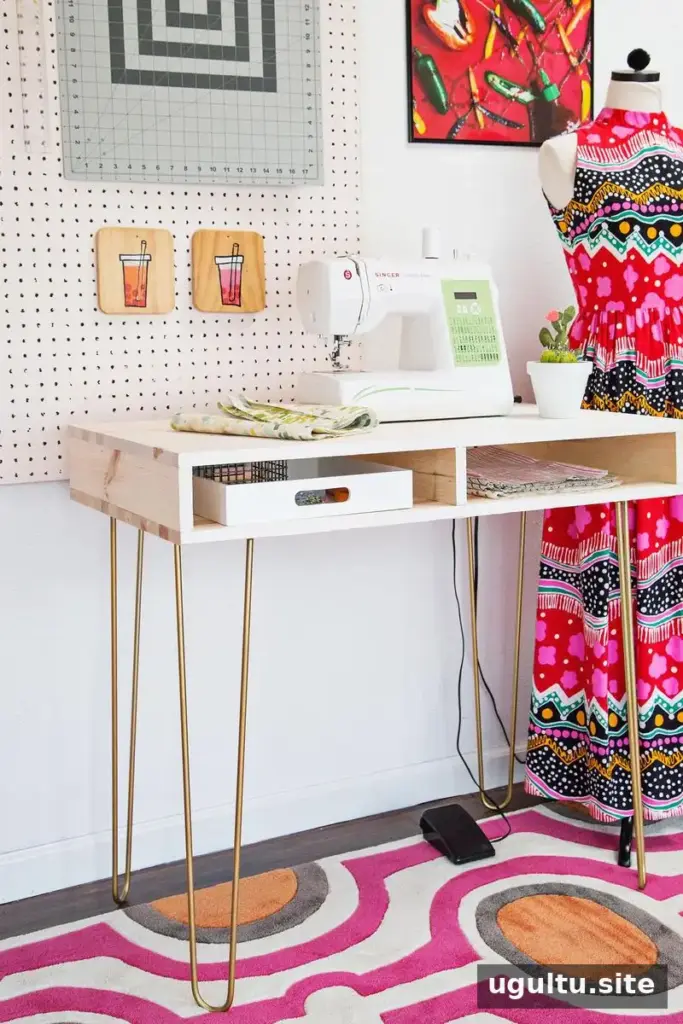
A dedicated desk can make it easier to leave your machine set up between projects. Before starting, check that the desk dimensions suit your room and that the finished height is comfortable for your sewing chair.
DIY Sewing Desk Materials
Gather the following supplies before assembling the desk:
- Two 36 × 20-inch boards, 1 inch thick
- Three 3 × 20-inch boards, 1 inch thick
- Wood glue and clamps
- Four hairpin legs, 28 inches tall
- Spray paint
- Electric drill and wood screws
- Fine sandpaper
- Paint and a paintbrush
The two larger boards were already cut to size. The three smaller boards came from one longer piece and were cut to the required lengths. If you do not have a suitable saw, ask a hardware store whether it can cut the boards for you. Confirm all measurements before cutting, and wear appropriate eye protection when using power tools.
How to Make the Desk
1. Assemble the desk top
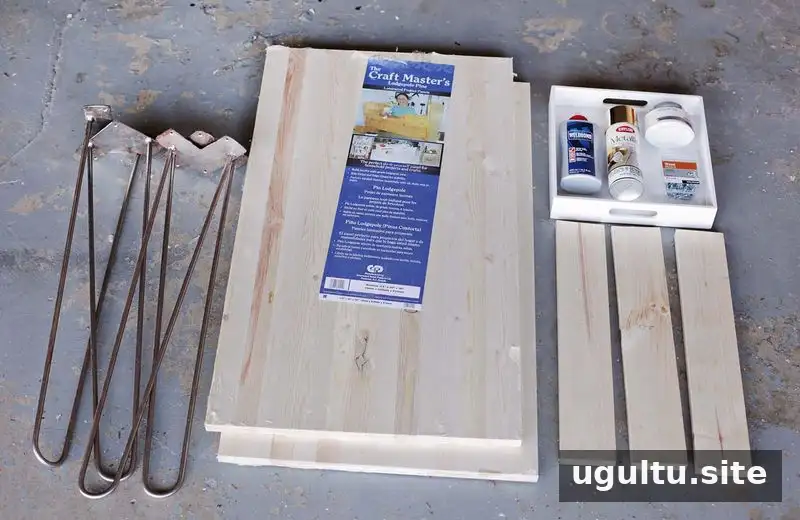
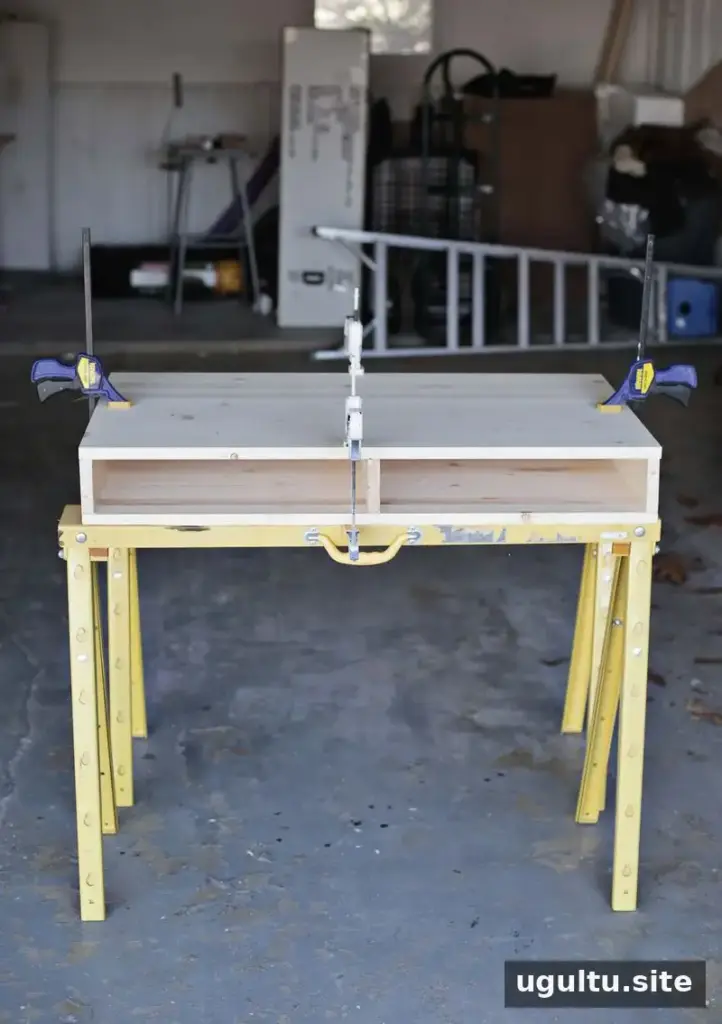
Use wood glue and clamps to join the desk components. Follow the drying time printed on your glue packaging, and keep the pieces aligned while the glue sets. A flat surface helps prevent the assembly from shifting during this step.
2. Clean and paint the legs
The hairpin legs used for this project had been stored in a garage and had rust spots. They were scrubbed with a paste of baking soda and water, then spray-painted gold. If you are reusing metal legs, inspect them for rust or damage and clean them before applying paint. For new legs in good condition, this preparation may not be needed. Follow the paint label for application and drying instructions.
3. Attach the legs
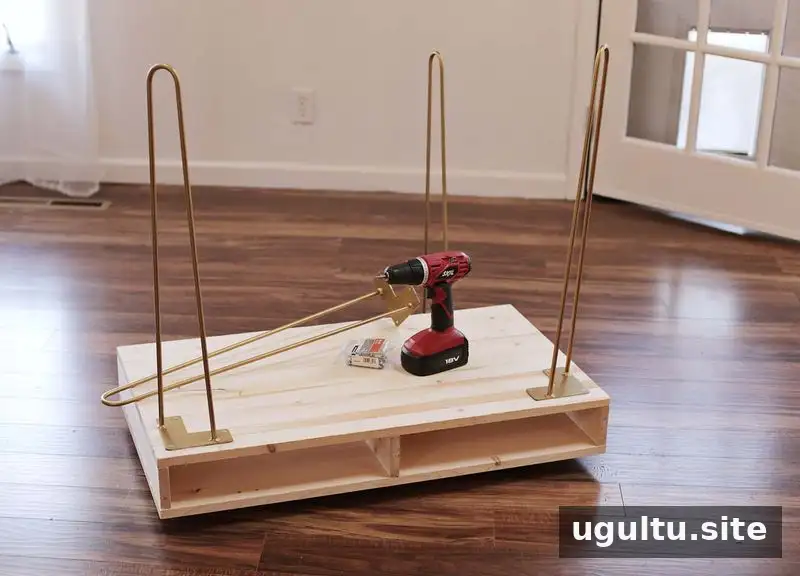
Use a drill and wood screws to fasten the legs to the desk top. Choose screws long enough to secure the legs, but short enough that they will not pierce the upper surface. Check the placement of all four legs and make sure they sit evenly before tightening the screws.
4. Sand and finish the surface
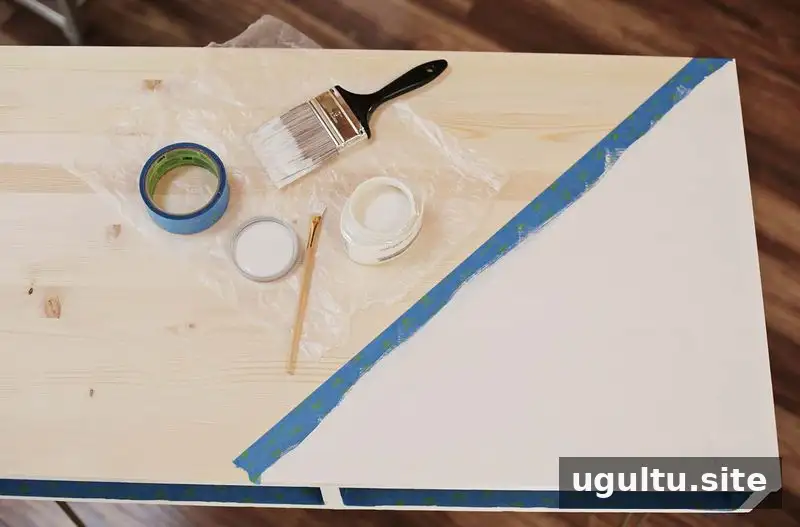
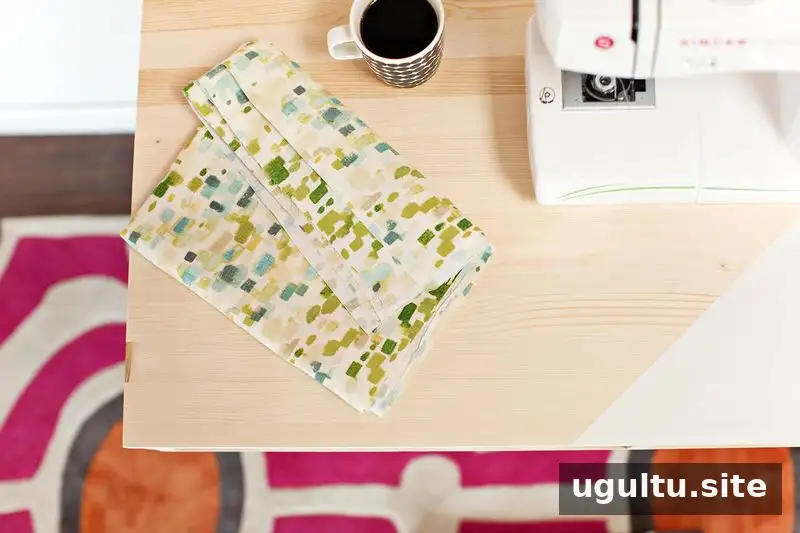
Sand the desk top with fine sandpaper, then paint it with your chosen finish. A semi-gloss or high-gloss polyurethane can be applied as a protective coat if desired. Let each finish dry fully before setting the sewing machine or other items on the desk.
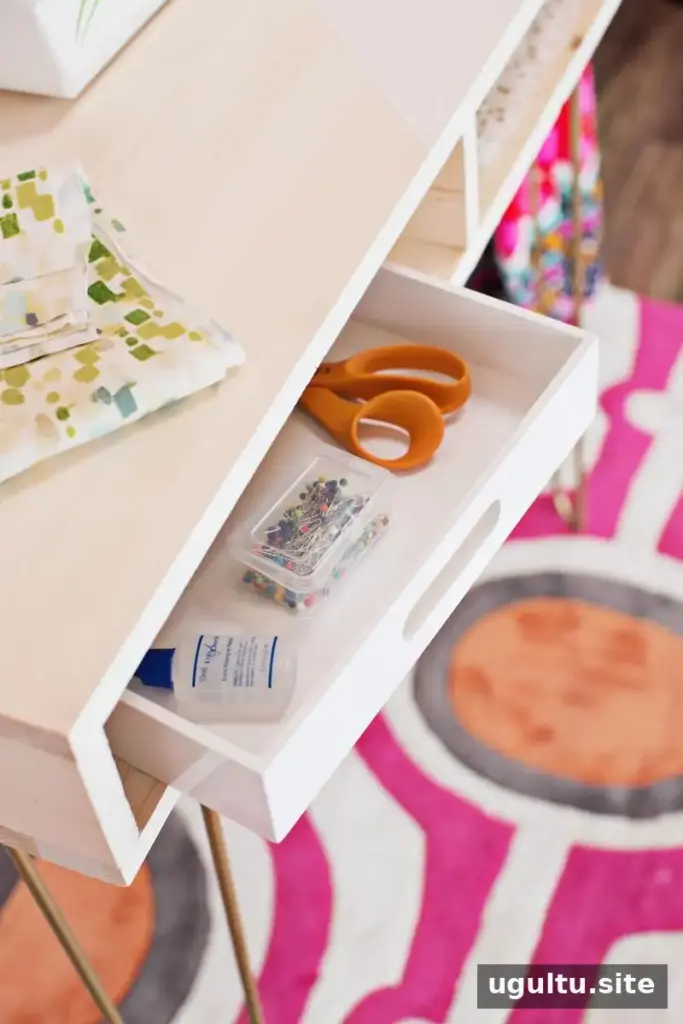
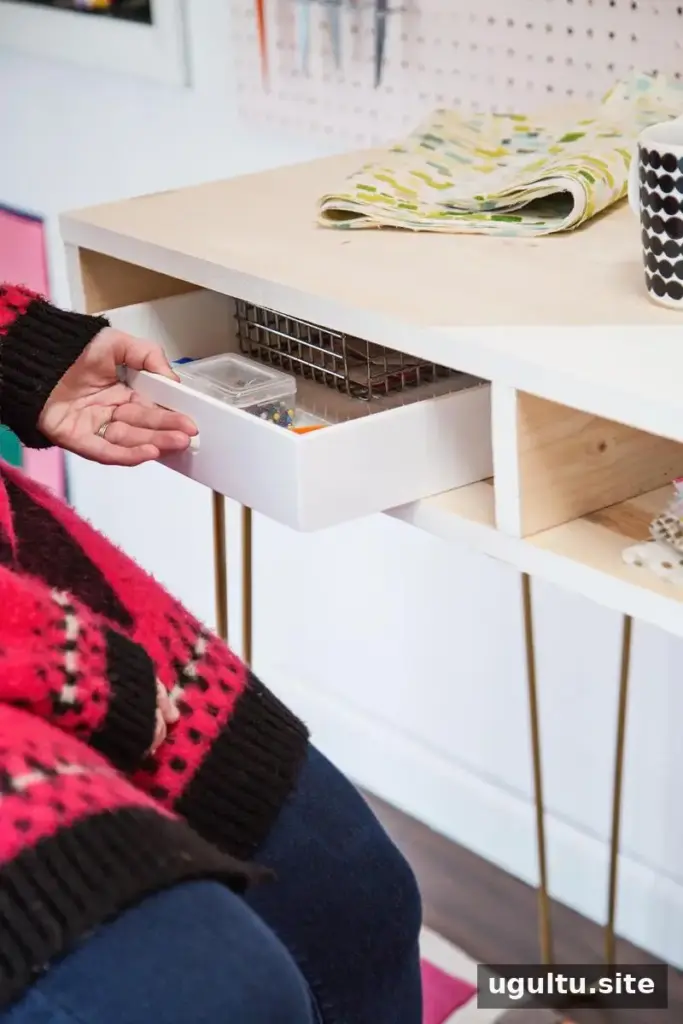
A 12 × 12-inch white lucite tray was added to one side for pull-out storage. A similar tray can keep small sewing supplies together, but make sure it does not take up too much of the work surface.

Finishing and Practical Tips
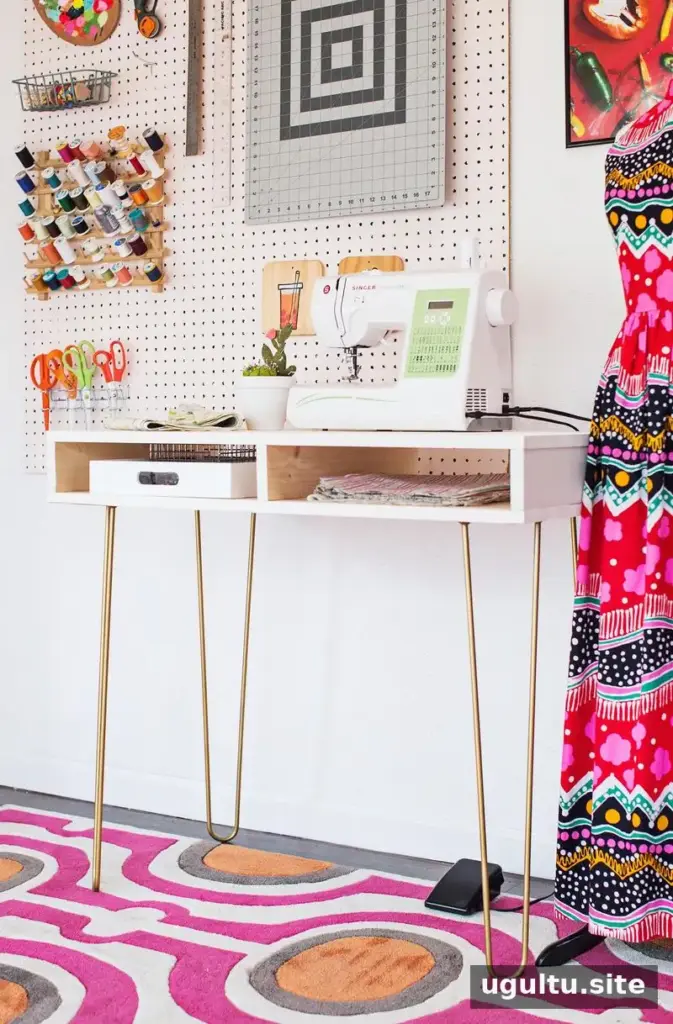
The project took a few hours, including drying time for the glue and paint. Reusing the legs and tray kept the original project cost to about $34; the total may differ depending on material prices and what you already have. Once assembled, check that the desk is stable before placing the machine on it. If it wobbles, review the leg fastenings and the floor surface.
This DIY sewing desk is a straightforward way to create a dedicated sewing area with basic materials. Measure your available space, choose a comfortable height, and allow the glue and paint to cure fully before use.