
 admin
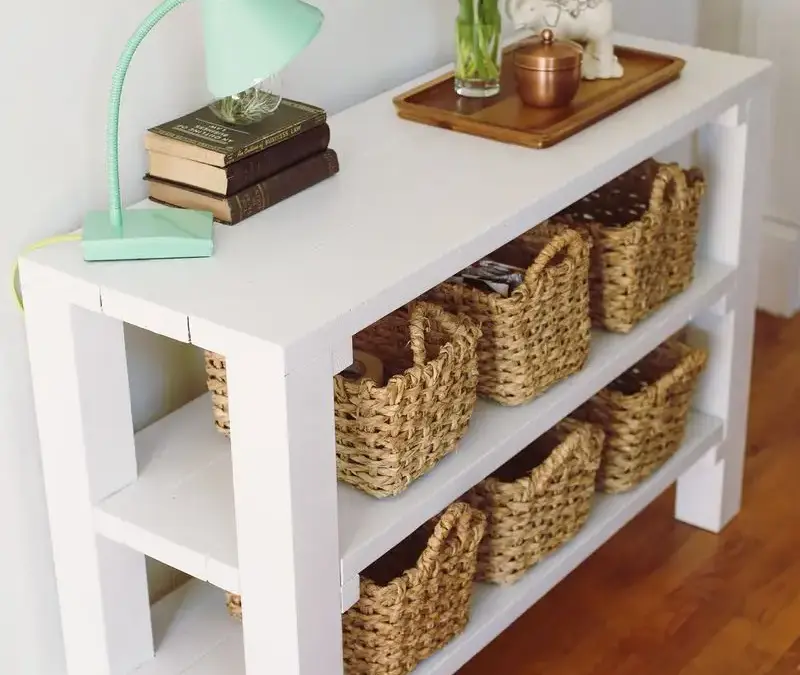
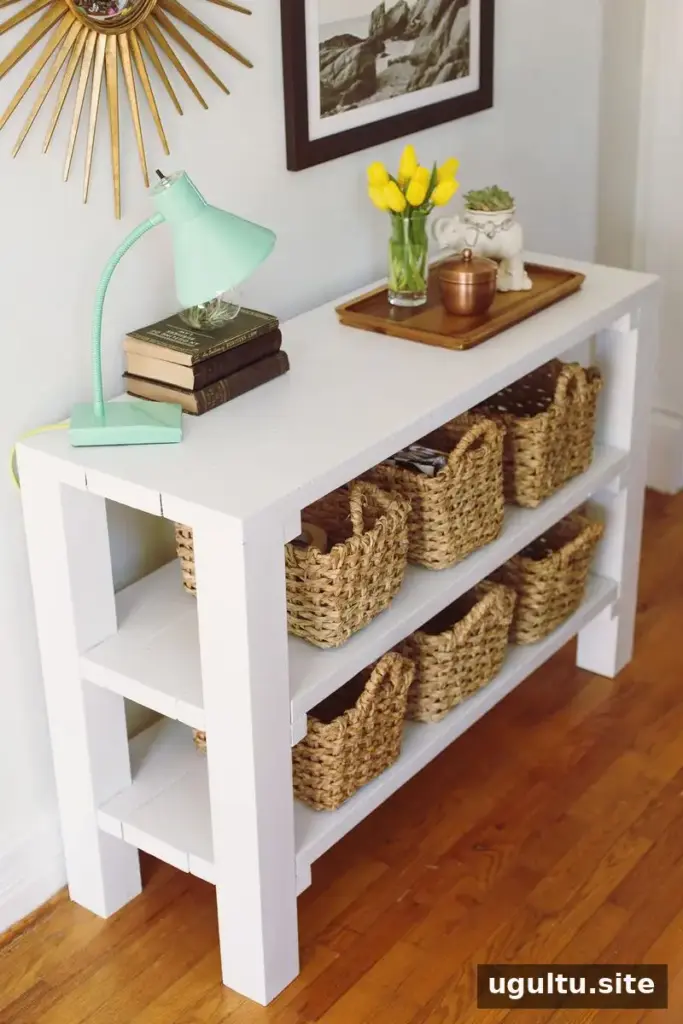
A DIY entryway table can add useful display and storage space to a hallway without requiring a complicated build. This project uses dimensional lumber to create a sturdy table with a top and two shelves. Review the measurements and materials before cutting, since the supply list and cutting instructions give different lumber quantities.
Josh shares the build steps below. Once assembled, the table can be stained or painted to suit the room. Check the finished dimensions against your available space before construction, especially if the table will sit in a narrow hallway.
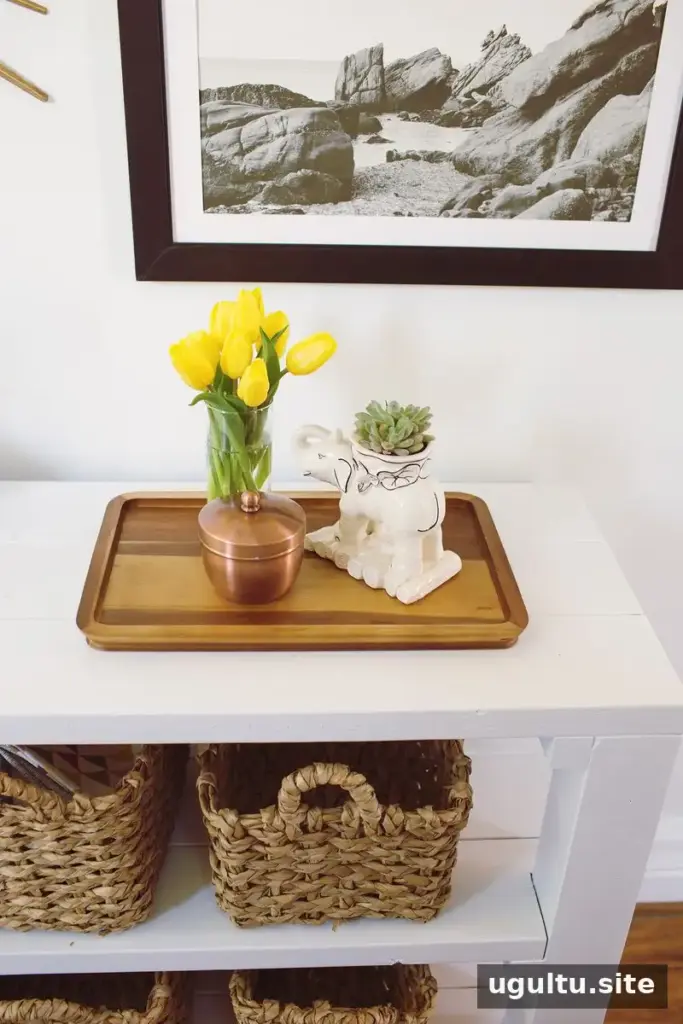
Materials and tools
Materials for the DIY Entryway Table
- Seven 2x6s are listed in the supplies.
- Two 4x4s are listed in the supplies.
- 2.5-inch Kreg screws
- 1x2s, or lumber ripped to size
- 220-grit sandpaper
- Stain and polyurethane, or paint as desired
The listed tools are a miter saw, table saw, speed square, pencil, tape measure, jigsaw, sander, and sponge brush. Use eye and hearing protection when cutting or sanding, and follow the safety instructions for each tool and finish.
Cut the Pieces and Build the Supports
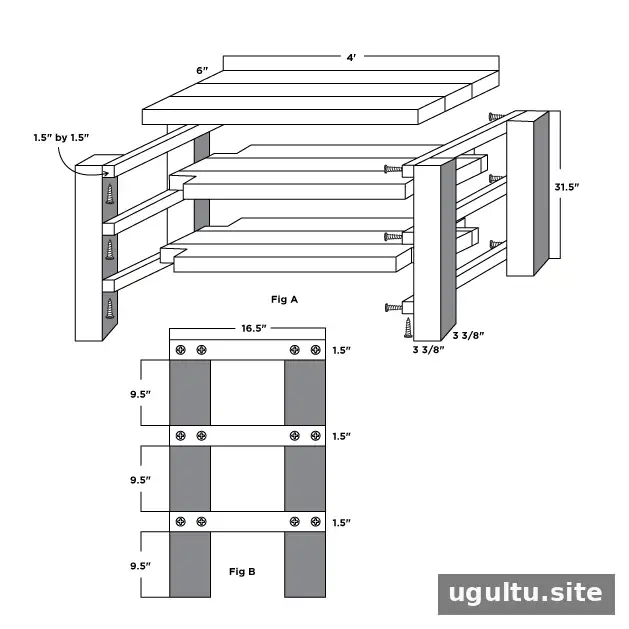
Step 1: Cut the lumber. Cut four 4x4s to 31.5 inches long. For the narrow supports, either rip 2×6 lumber into 1.5-by-1.5-inch strips and cut six pieces to 16.5 inches, or use 1x2s cut to the same length. The instructions also call for nine 2x6s cut to 4-foot lengths.
Before making the cuts, measure and mark each piece carefully. A speed square can help keep the lines straight, while labeling cut pieces can make assembly easier.
Step 2: Make two mini ladders. Use the layout shown in Figure B as a reference. Attach the top piece first, then measure down 9.5 inches, mark the position with a speed square, and fasten the next piece. Keep the parts square as you work.
Notch and Assemble the Table
Step 3: Cut the corner notches. Make notches in four 2x6s. You can trace a previously cut piece as a template or mark 3 3/8-inch boxes at the corners and cut them out. Check each notch against the intended fit before repeating the cut.
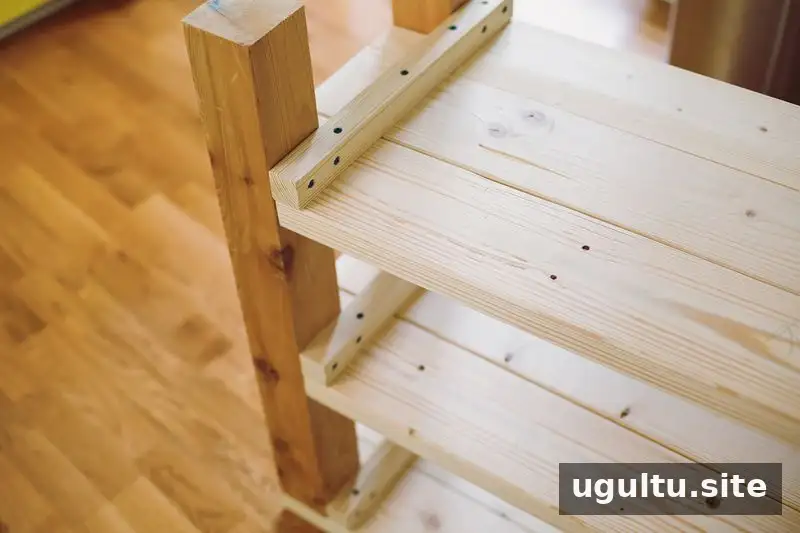
Step 4: Assemble the frame and top. Turn the pieces upside down and work from the bottom upward. Line up the three boards for the tabletop, keeping their faces down and their ends flush. Position one ladder support, check that the assembly is square, then fasten it. The build description uses one screw per side of each board.
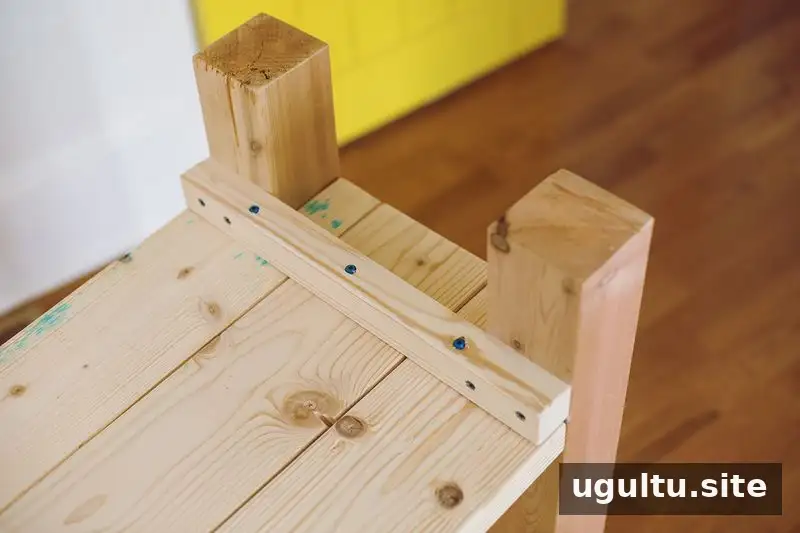
After attaching the tabletop, continue assembling the shelves. Test the fit of the pieces in the intended space before fastening them; small adjustments are easier to make before the structure is fully secured. When both shelves are assembled, turn the table upright and inspect the joints.
Sand and Finish
Sand the surfaces smooth with 220-grit sandpaper, taking care to remove rough edges and dust before applying a finish. Apply stain or paint according to the product directions. If using stain, allow it to dry as directed before applying polyurethane. Let the finish cure fully before placing items on the table.
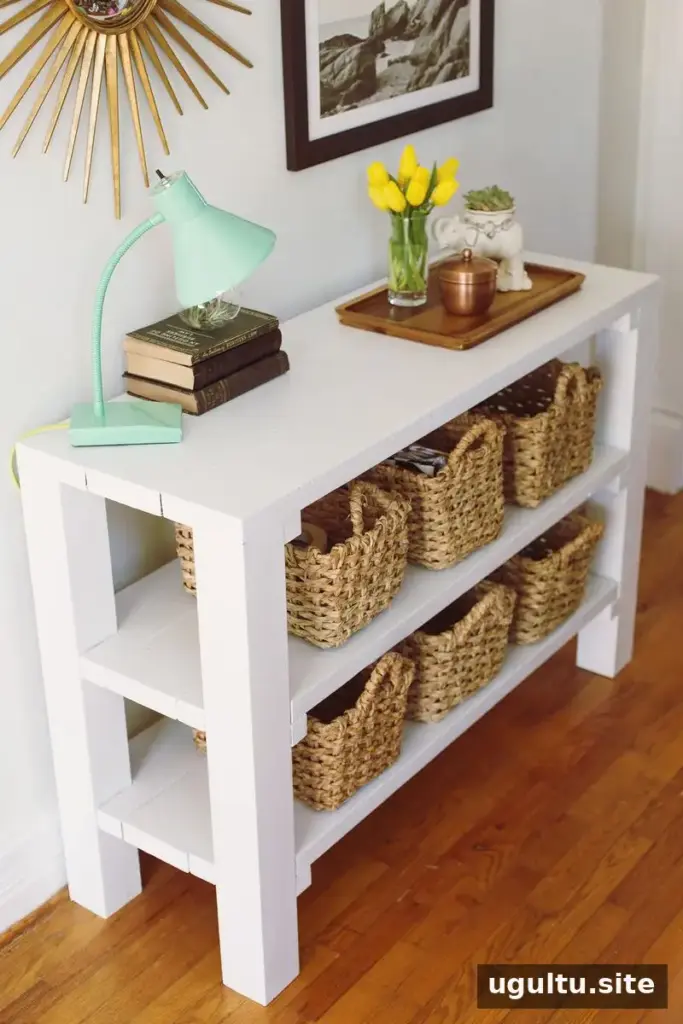
Final Checks for Your DIY Entryway Table
Confirm that the table stands level and that the fasteners are secure. Avoid placing excessive weight on it, and use suitable wall anchoring if stability is a concern in your home. With careful measuring, a square assembly, and a properly dried finish, this DIY entryway table can provide a practical surface for everyday items and decor.
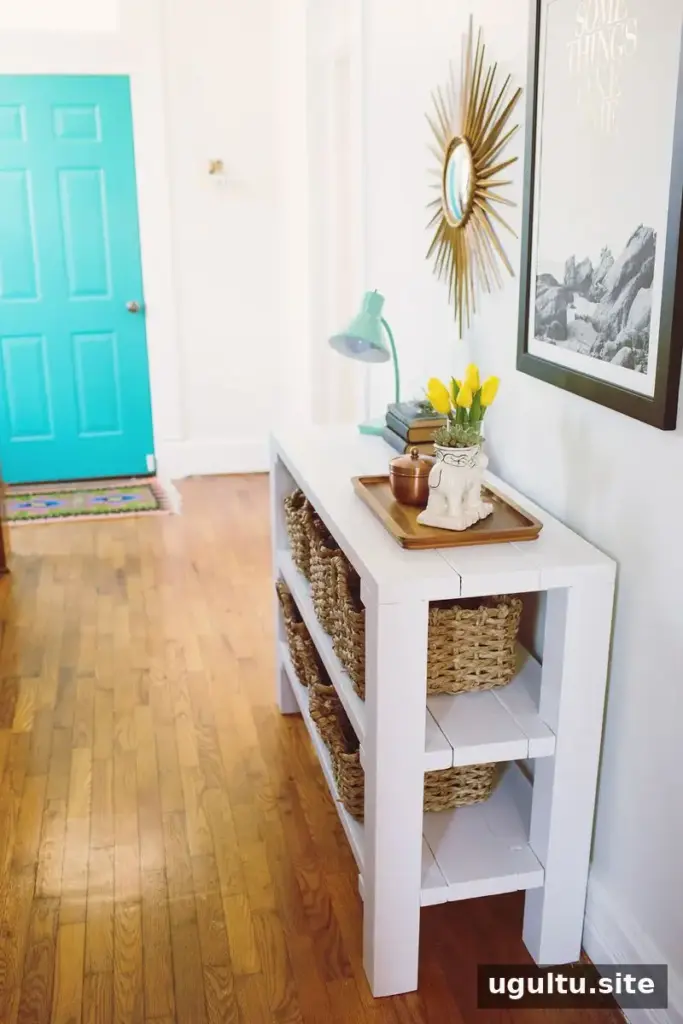
Happy building! —Josh


