
 admin
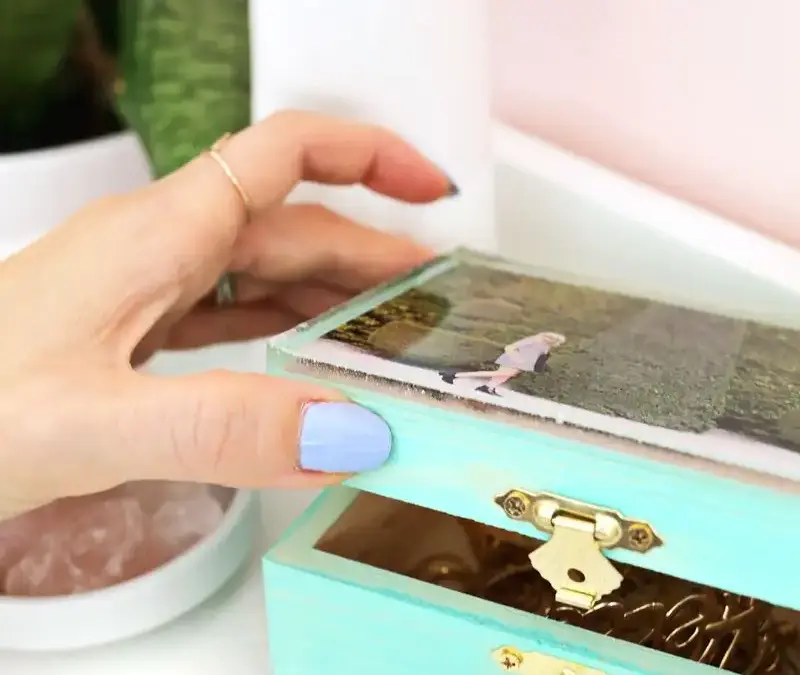
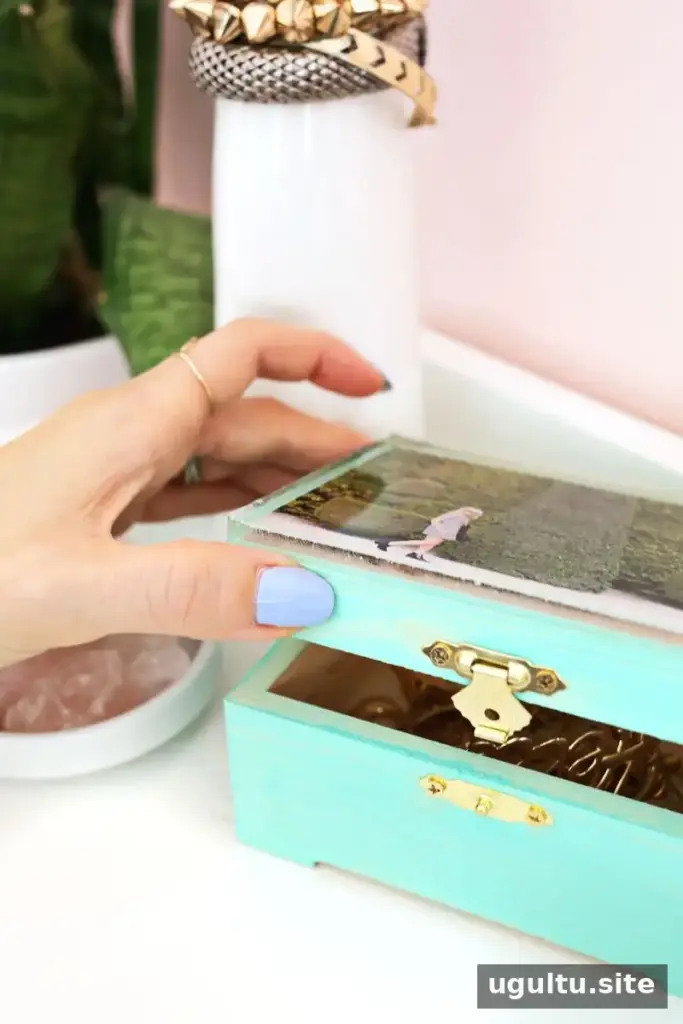
An epoxy jewelry box is a practical way to keep rings and delicate necklaces in one easy-to-find place while adding a personal touch to a dresser or bathroom counter. With a small wooden box, a favorite photograph, and a clear epoxy finish, you can create a keepsake that also helps make putting jewelry away part of your routine.
Why make a DIY epoxy jewelry box?
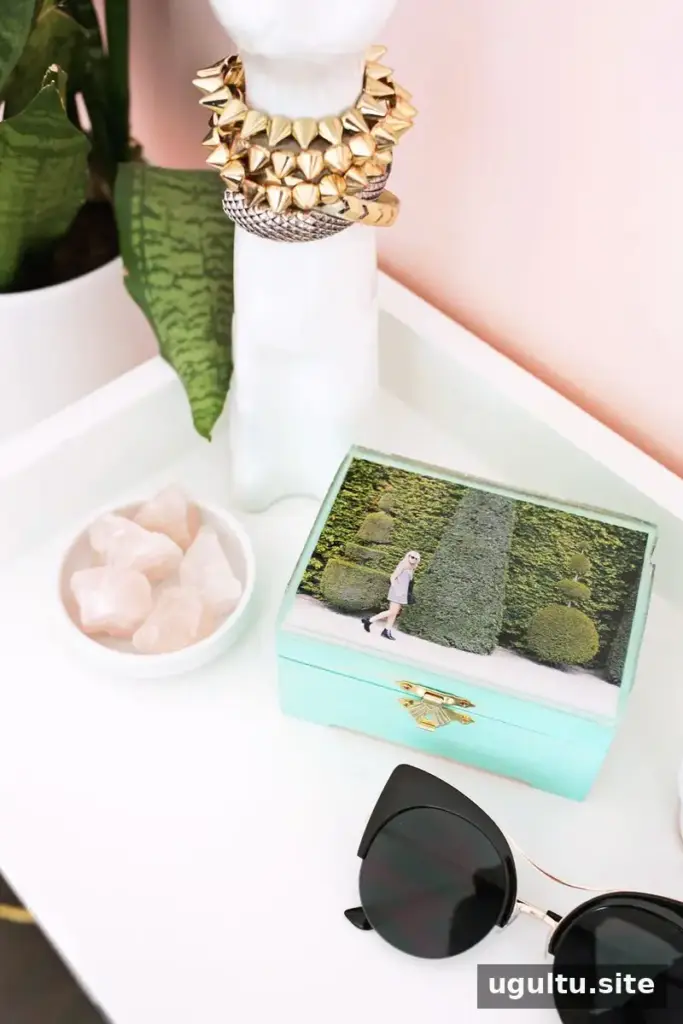
A photograph beneath a clear, thick epoxy top gives a plain wooden box a customized look. One idea is to choose an image with personal meaning, such as a travel photograph featuring the gardens of Versailles in Paris. Select a picture with clear details and colors you like, and print it to fit the top of the box.
Before starting, check that the photo, adhesive, and epoxy are suitable for the materials you are using. A small test on a spare piece of wood can help reveal problems such as discoloration or poor adhesion before you work on the box.
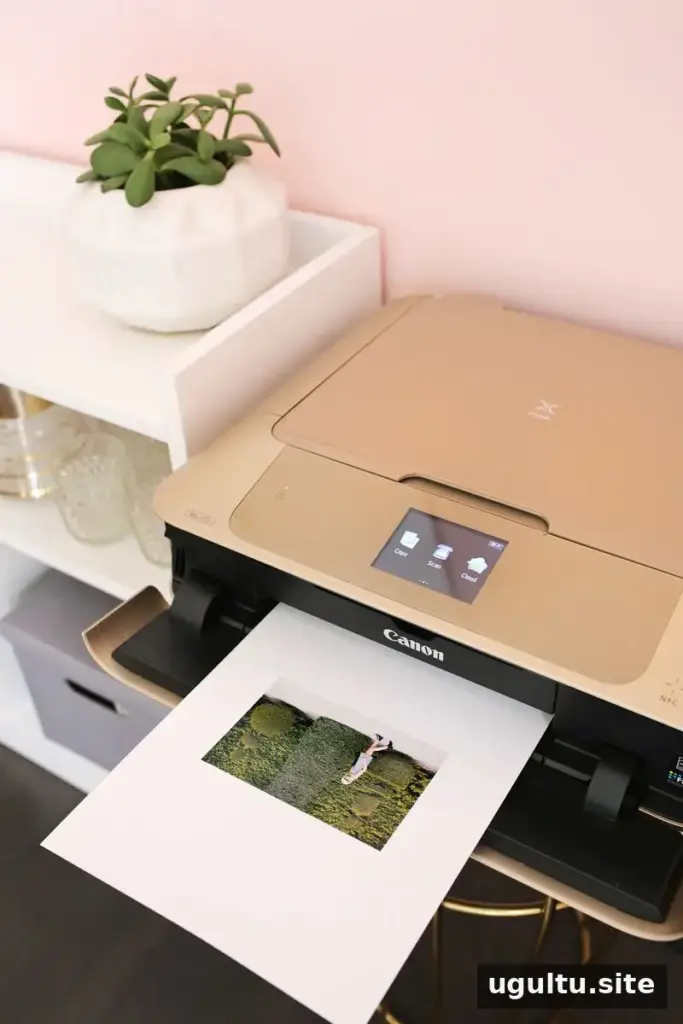
Supplies for an epoxy jewelry box
- A small wooden jewelry box
- Paint or wood stain
- Painter’s tape
- An epoxy kit, such as a low-odor option
- Photo paper and a printed photograph
- Mod Podge
- A small screwdriver, if you need to remove the box hardware
Set up a protected, level work surface before mixing epoxy. Wear the protective equipment specified by the epoxy manufacturer, provide suitable ventilation, and follow the product’s instructions for mixing and curing. Keep the work area clear of children and pets while the resin is being handled and cured.
How to make the photo-topped box
Prepare the box and photograph
Paint or stain the wooden box, following the finish manufacturer’s directions. Let it dry completely before continuing. If the front hardware gets in the way, remove it carefully with a small screwdriver and set it aside for reinstallation. Measure the lid and trim the printed photograph so it fits neatly within its top surface.
Attach the photo and seal the edges
Position the photograph on the lid and secure it with Mod Podge, smoothing it carefully to reduce wrinkles. Allow the adhesive to dry as directed. Use painter’s tape to create a barrier around the sides of the lid where the epoxy will be poured. Press the tape firmly against the wood, especially along the edges and corners, to help prevent leaks.
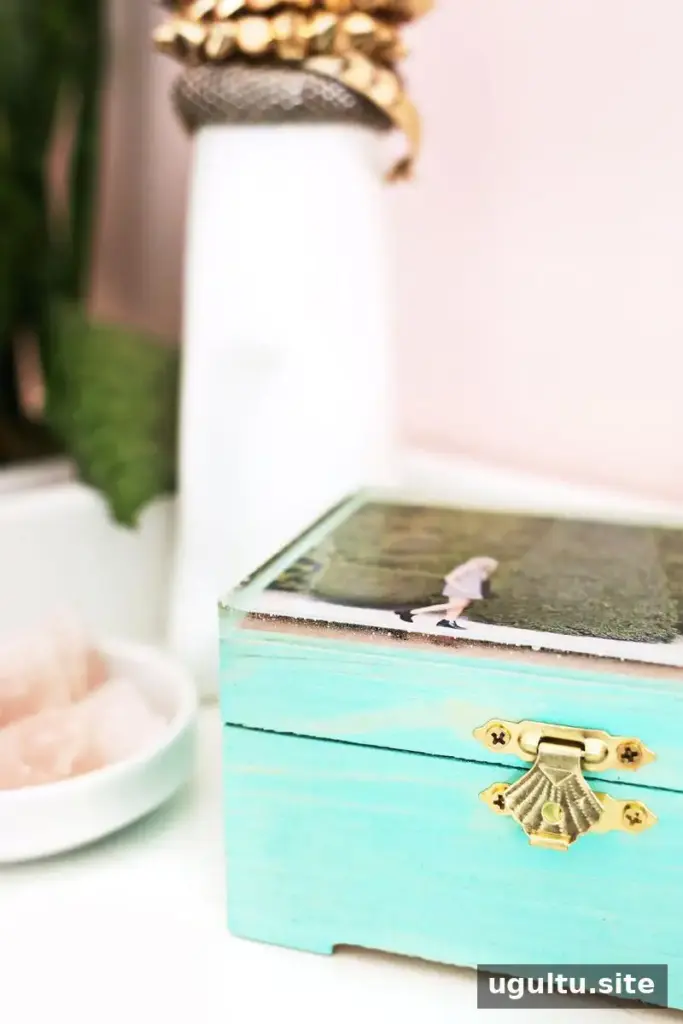
Apply the epoxy
Mix and pour the epoxy according to the kit instructions, taking care not to exceed the recommended amount. Work slowly and keep the box level. The tape needs to be sealed tightly against the sides; press it down firmly with your fingers or fingernails before pouring. Remove the tape only when the product instructions indicate it is safe to do so, and let the epoxy cure fully before handling the box.
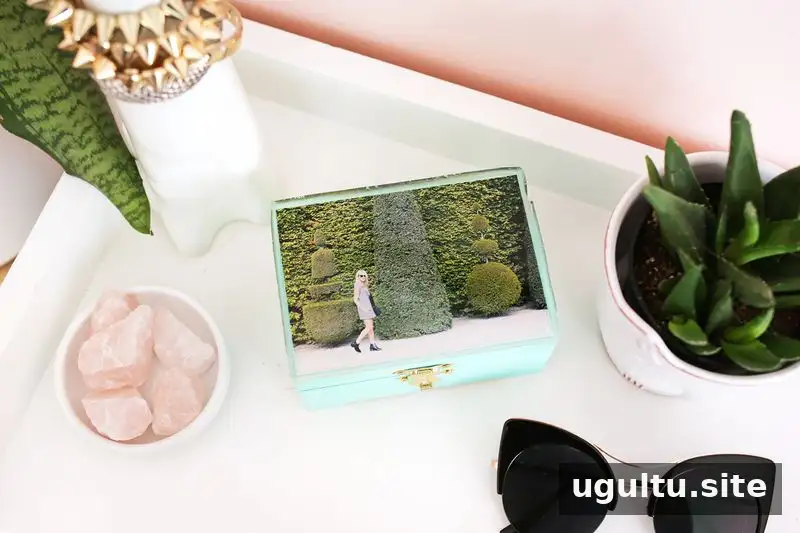
Once the surface has cured, reattach the original hardware if you removed it. Another option is to fill the hardware holes and leave the front without a pull. A deep, clear epoxy layer creates a dimensional finish that differs from simply gluing a photo onto the lid.
A personalized gift and useful keepsake
This project can be adapted to suit different rooms, photographs, and box styles. A personalized photo makes the finished piece a thoughtful gift for a friend or family member; adding a piece of jewelry inside can make it feel even more special. The most important details are a well-sealed tape barrier, a level surface, and allowing the epoxy to cure for the full time stated by its manufacturer.
An epoxy jewelry box combines practical storage with a personal design, making it a simple way to keep small accessories together and give a wooden box a distinctive finish.
— Laura


