
 admin
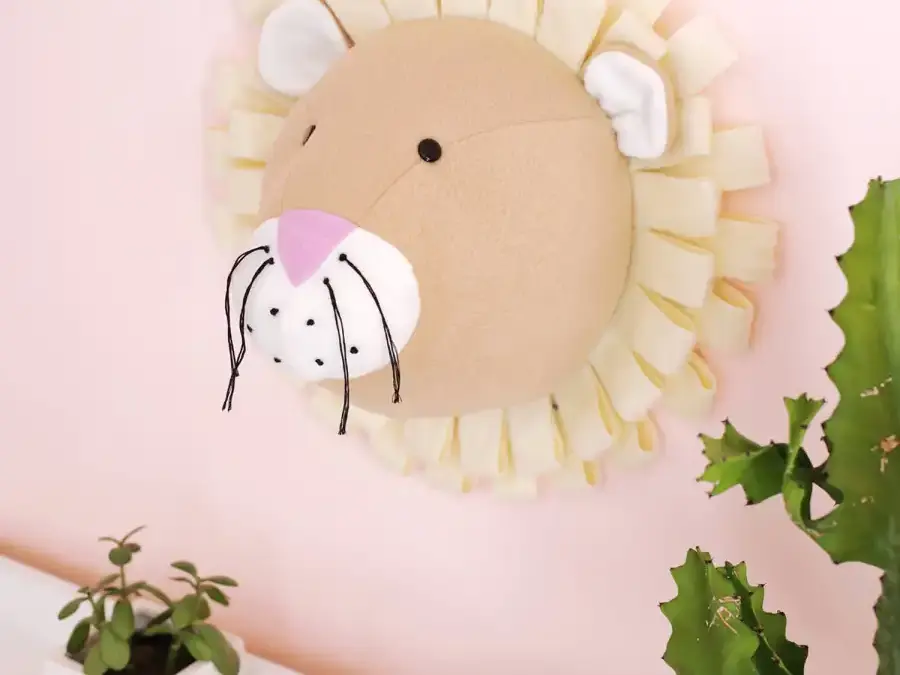
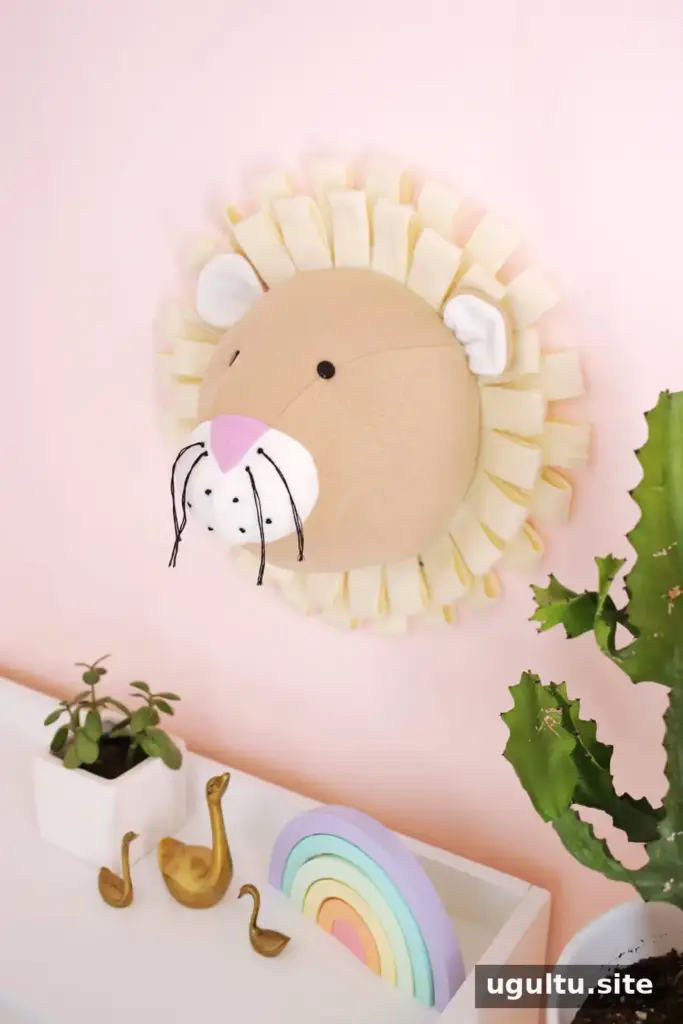
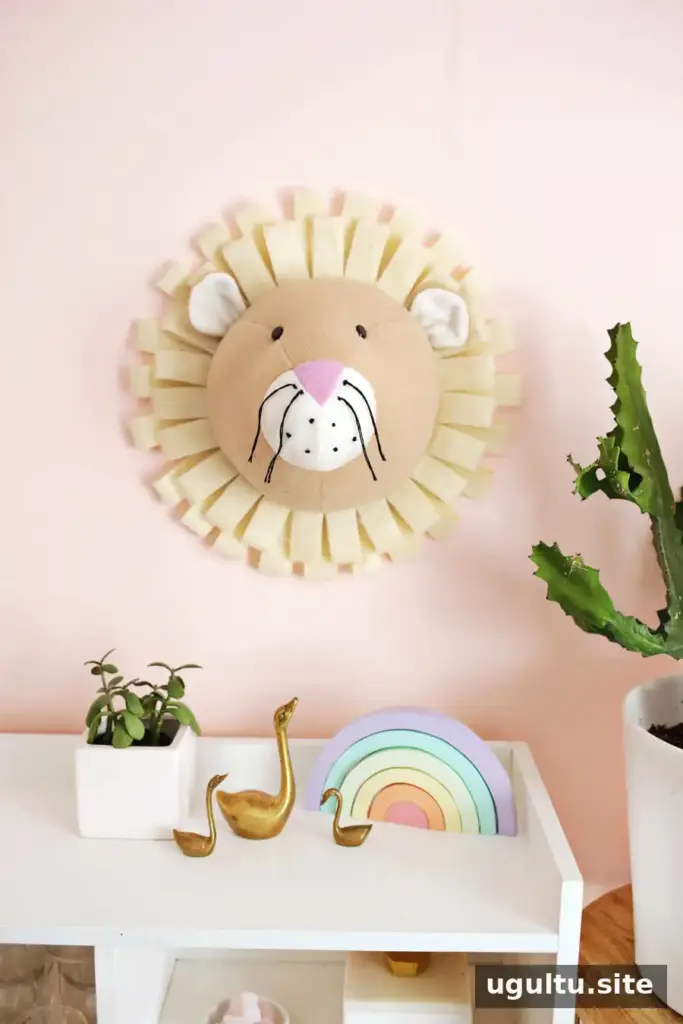
This Fabric Lion Bust DIY turns felt, stuffing, and furry fabric into a cheerful wall decoration for a nursery or children’s room. Making the bust yourself lets you choose colors to suit the space, and the finished piece can also inspire variations such as a bear by changing the colors and omitting the mane and whiskers.
Before starting, prepare a clean cutting surface and keep the templates close by. The project involves sewing small fabric sections, shaping a stuffed head, and attaching the mane and backing, so it helps to work through the steps in order.
Materials for the Fabric Lion Bust DIY
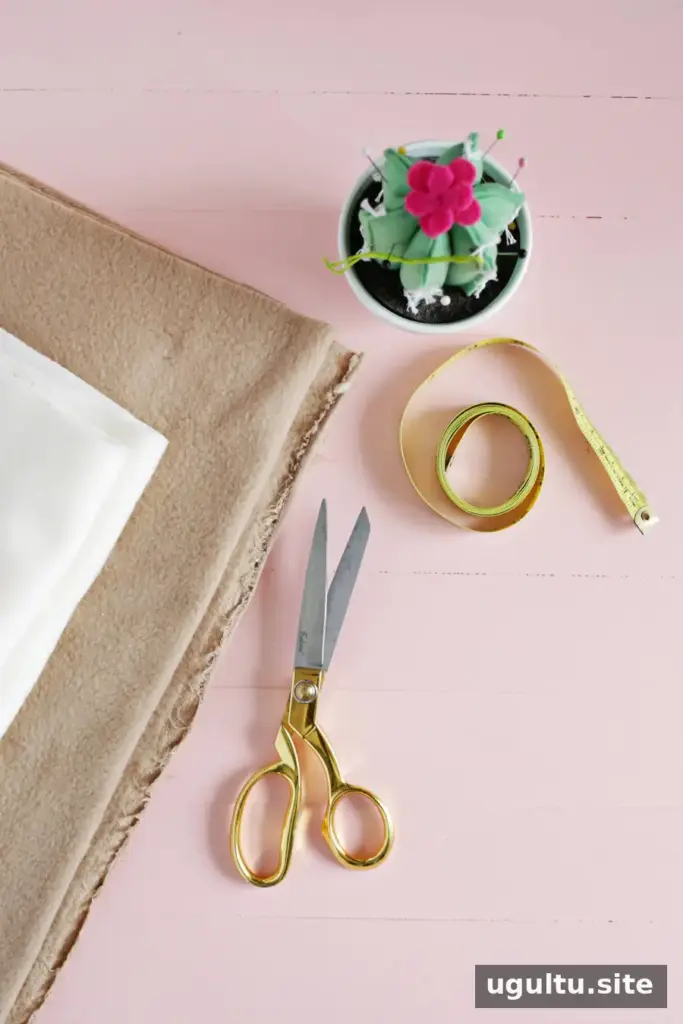
- 1/2 yard of tan felt or fleece fabric
- 1/8 yard of white felt or fleece fabric
- A small piece of pink felt or fleece fabric
- 1/2 yard of furry felt or fur fabric for the mane; choose a slightly stiff fabric so folded strips hold their shape
- Fabric scissors
- Sewing machine
- Rotary cutter, cutting mat, and ruler
- Black buttons for the eyes
- Black embroidery thread
- Stuffing
- 10-inch chipboard circle
- Hot glue gun
- Sewing clamps
- Lion bust template
Check that your fabric has a clear right side and wrong side before cutting. On fleece, the right side often has a fuller-looking nap, and keeping the fabric oriented consistently helps the finished face look even.
Cut and embroider the muzzle
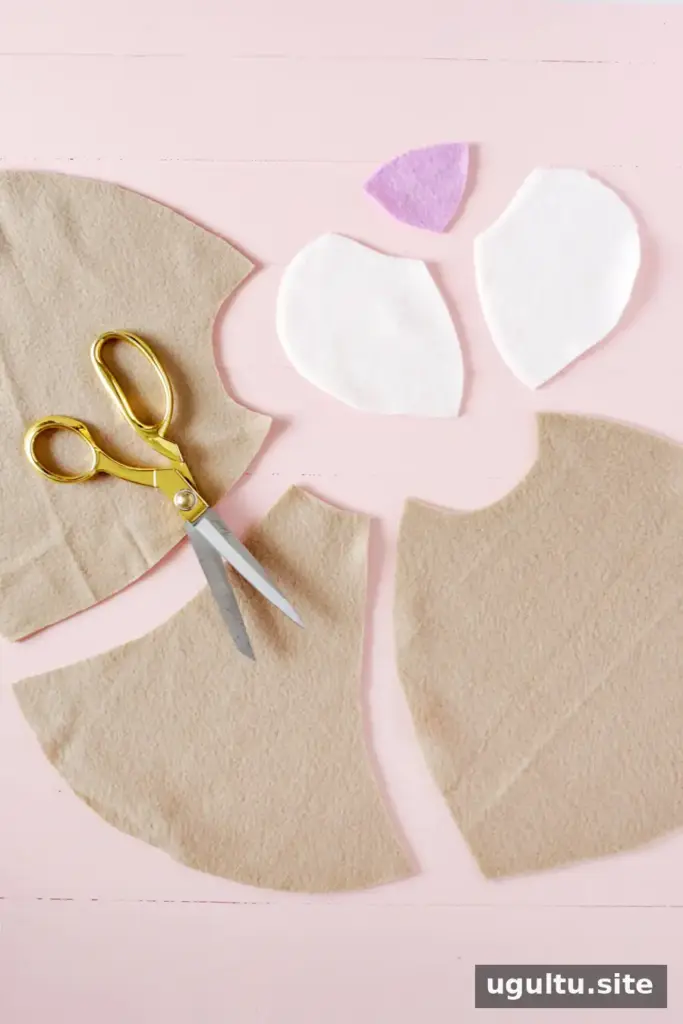
Use the templates to cut two white muzzle panels, one pink nose, and three face panels. Follow the template markings carefully, since the muzzle pieces need to match the face opening later.
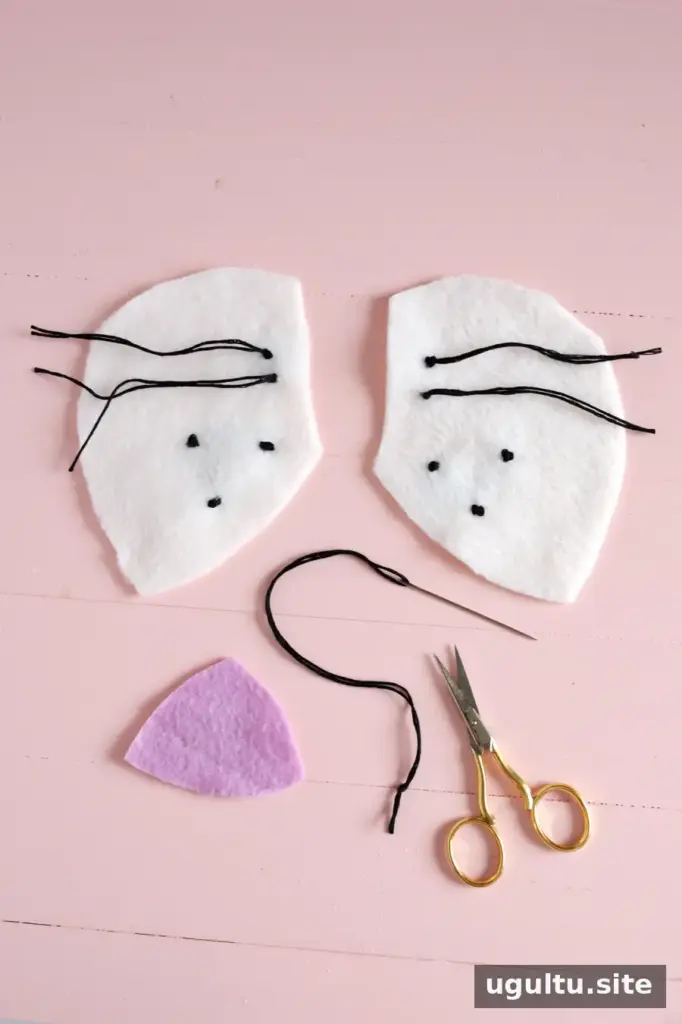
Use doubled black embroidery thread to sew the whiskers and dots onto the mouth panels. For each dot, bring the needle up from the underside, make a small knot, and secure the thread on the back. For a whisker, knot the thread and leave the desired length before trimming.
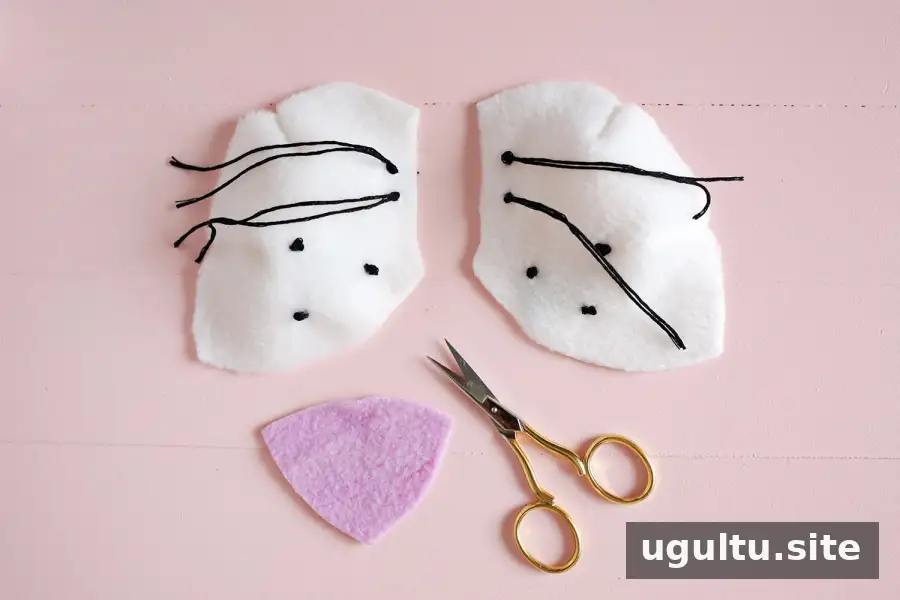
The mouth-panel templates include two triangular darts. Pinch each marked dart together at the back of the panel and sew it closed. These darts give the muzzle a rounded, three-dimensional shape.
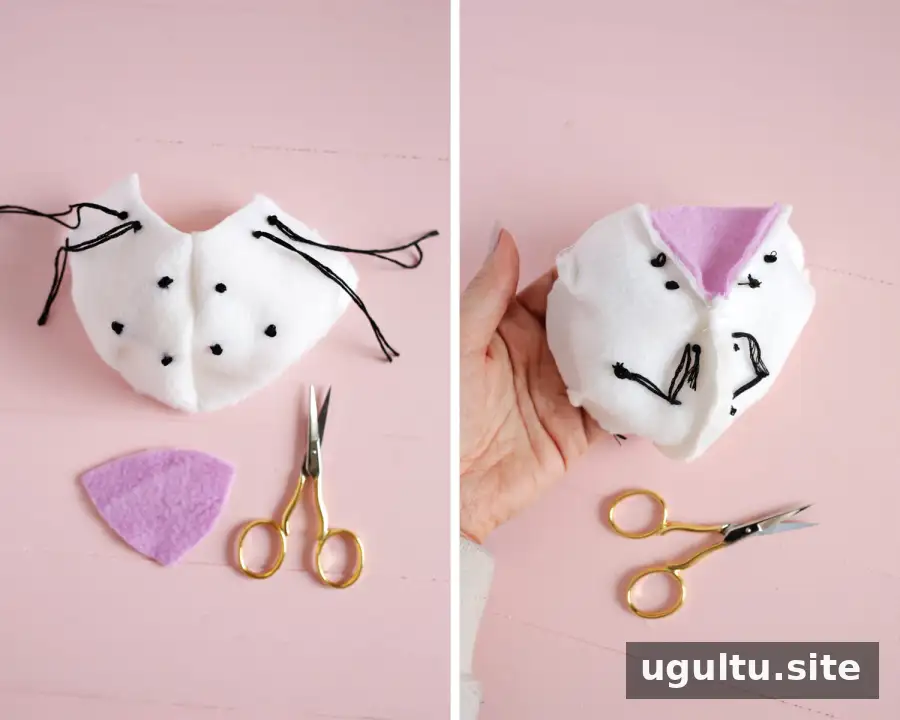
With the darts sewn, pin together the seam where the dots are placed and sew using a 1/4-inch seam allowance. Pin the nose into position and stitch it to the mouth panels. The connected pieces form the lion’s muzzle; the inside-out view can help confirm that the seams are aligned.
Sew and shape the lion’s face
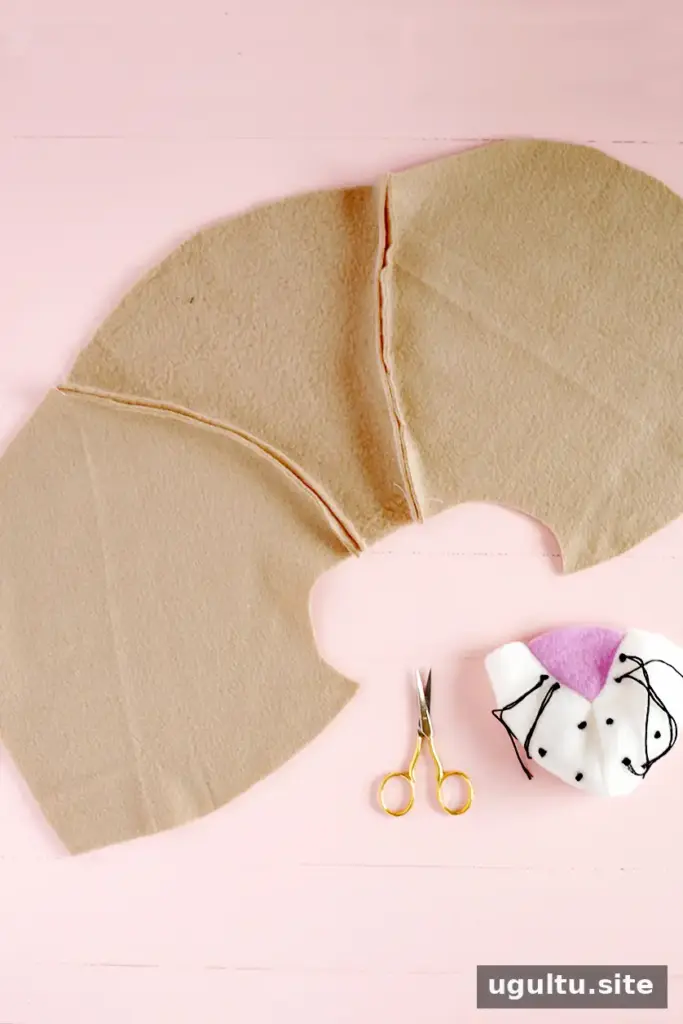
Join the side head panels to the center face panel with a 1/4-inch seam allowance. Sew the lower seams together as well, forming a funnel-like shape. Keep the face panels aligned as you sew so the center section remains straight.
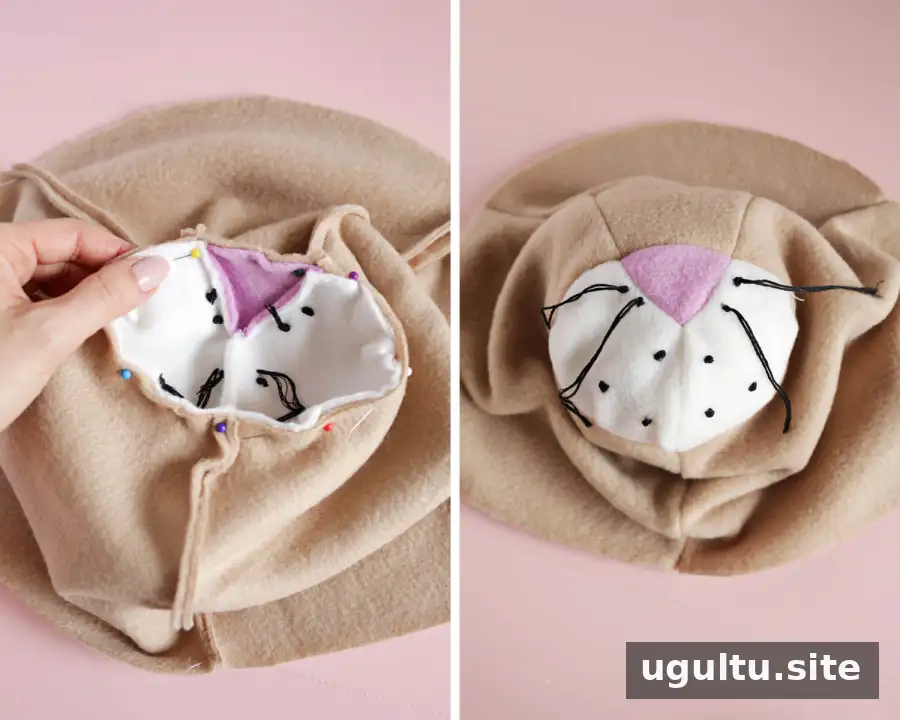
Match the middle opening of the face to the muzzle, keeping the nose centered on the center panel, then pin the pieces together. The opening and muzzle circumference should be the same. If the opening is too small, trim a little fabric from its edge and check the fit again. If it is too large, make the lower face seam allowance slightly wider as it approaches the opening.
Sew the muzzle to the face with a 1/4-inch seam allowance, then turn the head right side out. Adjust the fabric gently rather than pulling hard on the seams.
Attach the backing, ears, and mane
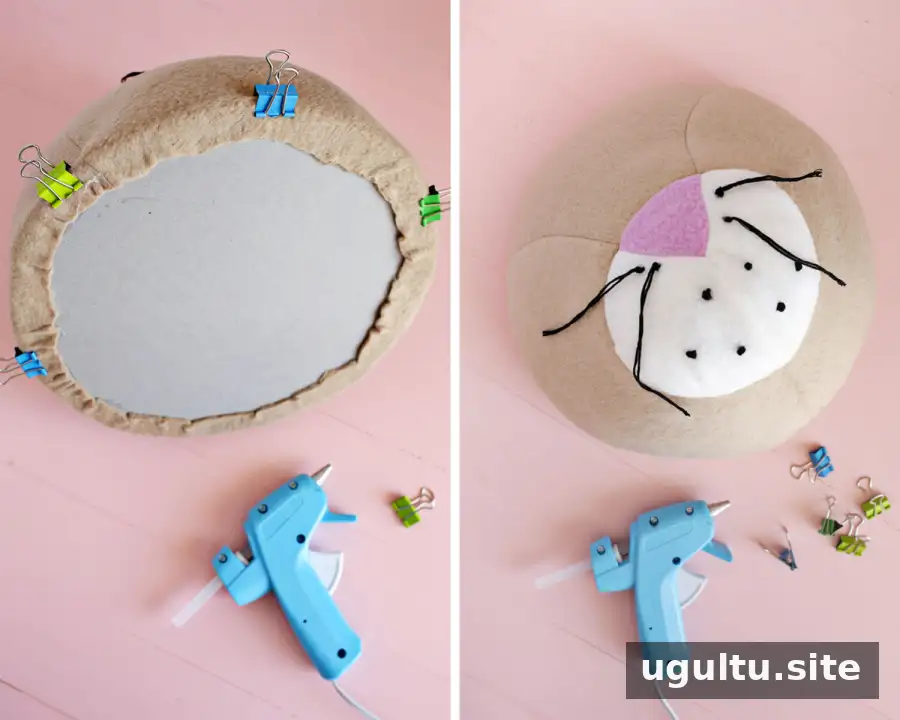
Fill the head with stuffing until it is full and slightly overfilled. Set the 10-inch chipboard circle against the back, wrap the fabric around its edge, and use sewing clamps to hold the fabric in place. Check the front before securing it: add or adjust stuffing until the muzzle sits naturally and the face looks balanced.
When the placement is right, use hot glue to secure the fabric around the back edge of the chipboard. Take care when handling hot glue, and allow it to set before moving on.
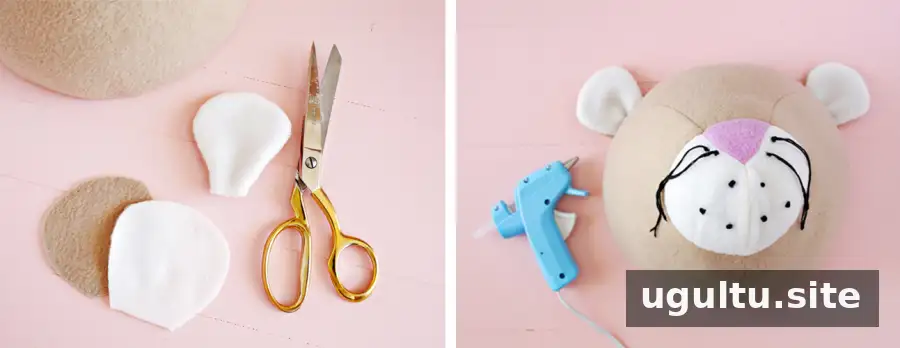
Cut two tan and two white ear pieces using the ear template. Sew each pair with right sides facing inward, leaving the bottom open. Turn the ears right side out, pinch the lower edge slightly, and glue them to the chipboard backing. Positioning them near the points where the center face-panel seams meet the back can help keep them evenly placed.
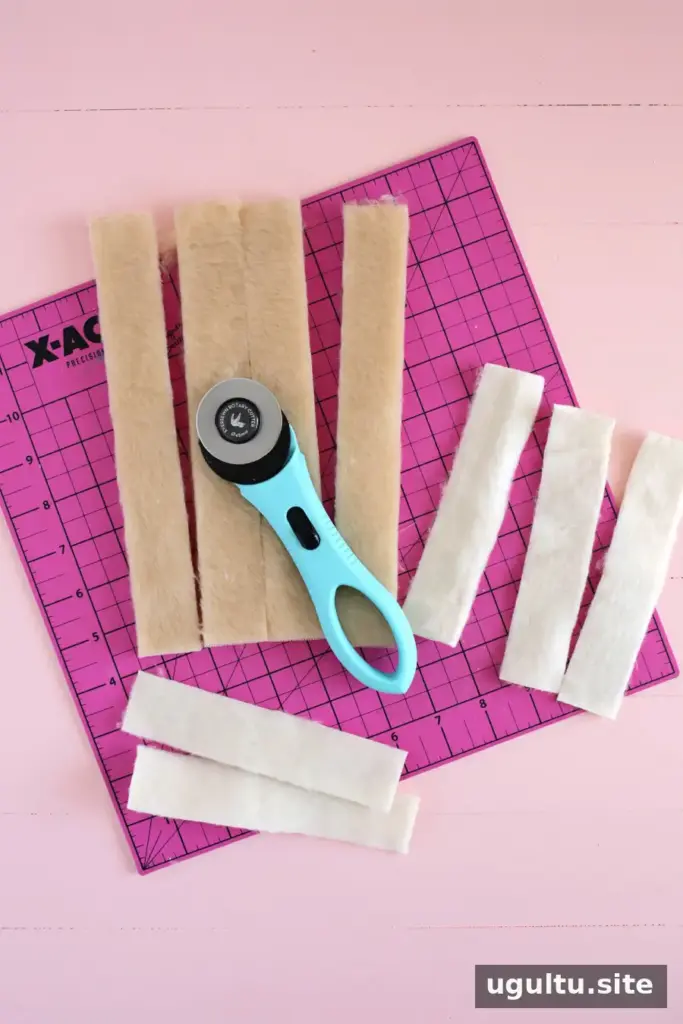
Cut 25 strips measuring 7 x 1.25 inches and another 25 strips measuring 9 x 1.25 inches from the mane fabric. A rotary cutter, ruler, and cutting mat can help produce consistent strips.
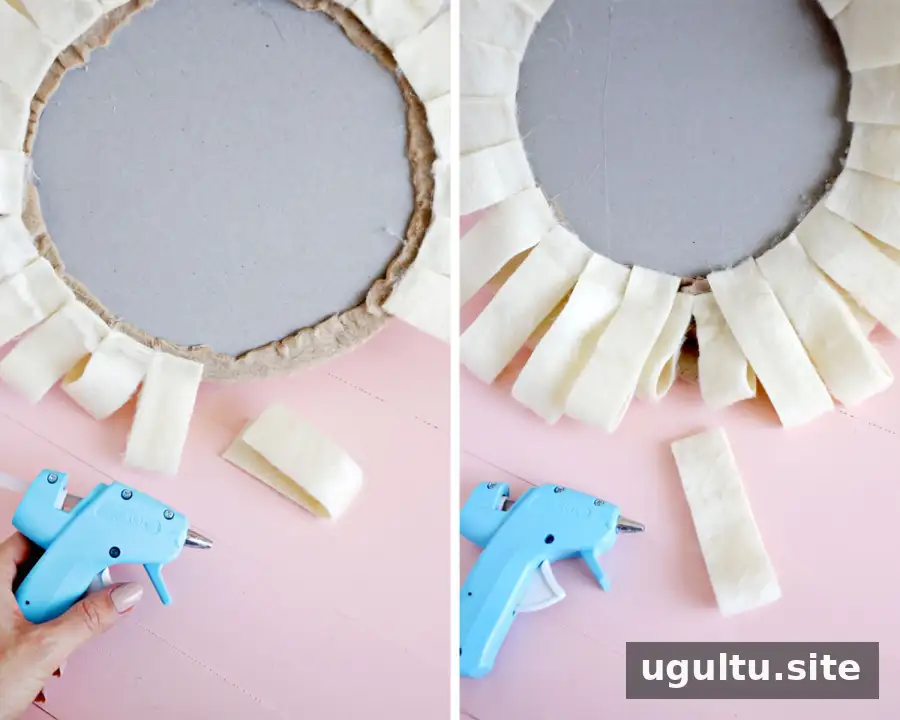
Fold each 7-inch strip in half with the furry side facing outward. Glue the cut edges together, then attach the folded strips around the back edge of the lion to create the first mane layer. Use enough strips to cover the circle. Repeat with the 9-inch strips, placing them between the shorter pieces to fill the gaps and create a fuller, layered effect.
Add the eyes and prepare the lion for display
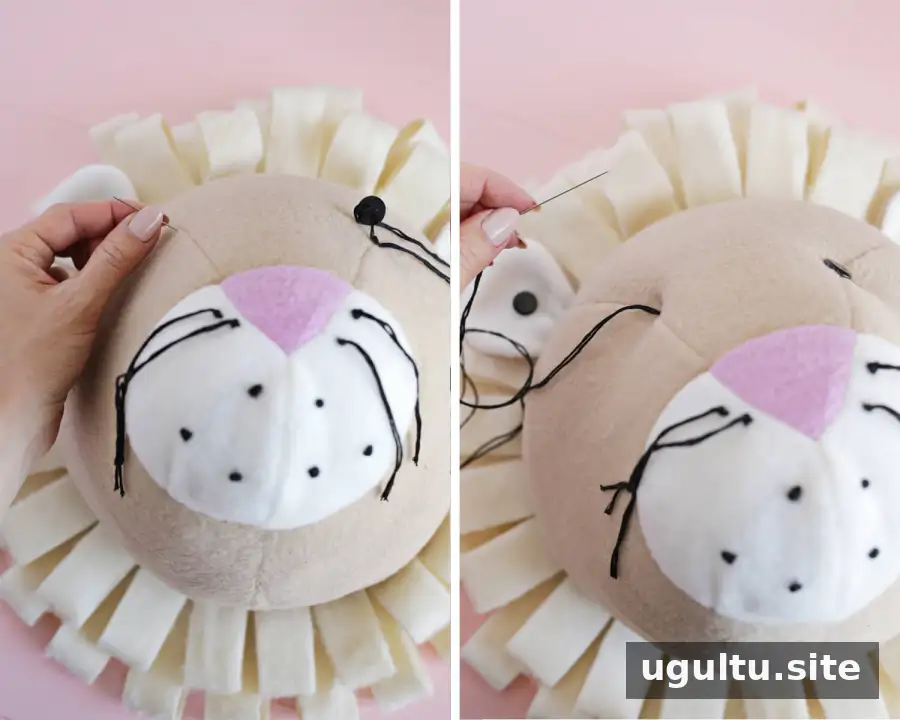
To attach the button eyes, knot the embroidery thread at one center face seam, about 2 1/2 inches above the muzzle. Thread on the first button, then pass the needle through the face so it comes out at the opposite seam at the same height. Pull the thread enough to secure the button and create a slight indentation. Knot the thread when the eye sits as desired, then attach the second button and trim the excess thread beneath it.
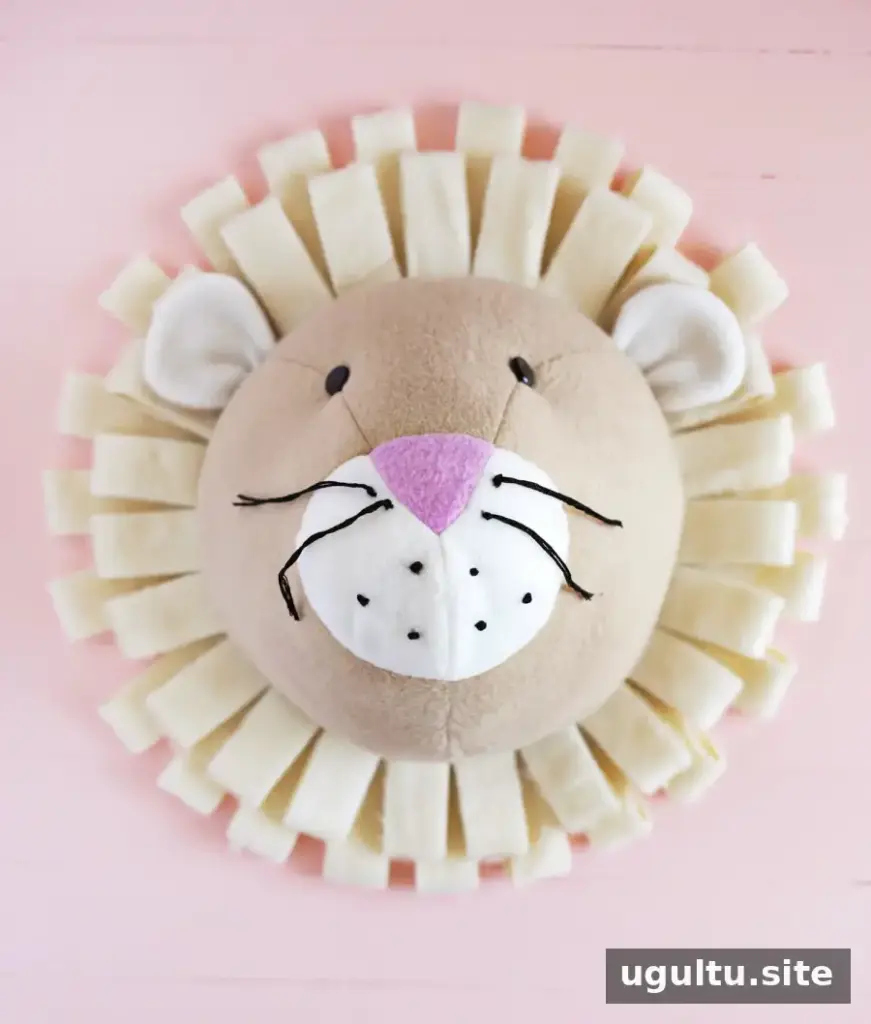
Center a picture hanger at the top of the chipboard backing and secure it with a generous amount of hot glue. Thicker chipboard may also allow a screw attachment. Before hanging the bust, check that the hanger is firmly fixed and use wall hardware appropriate for the display location.
Final tips for your Fabric Lion Bust DIY
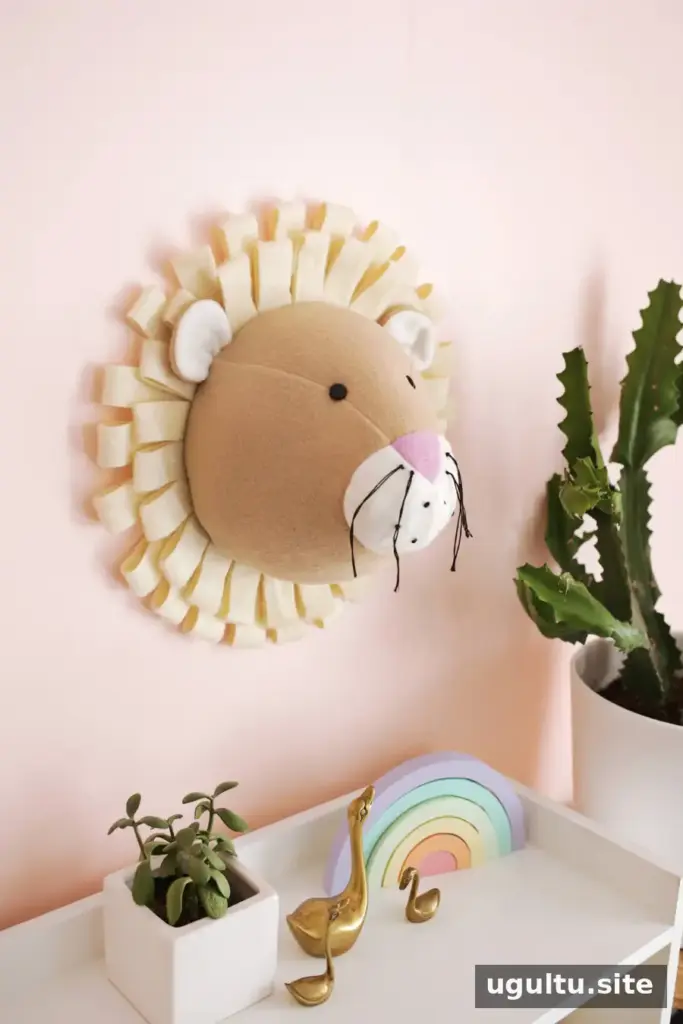
This Fabric Lion Bust DIY is a customizable decor project for a nursery or kids’ room. Check the face alignment and stuffing before gluing the backing, and place the longer mane strips between the shorter ones for fuller coverage. For a bear-inspired variation, change the colors, omit the mane and whiskers, and move the ears lower. — Laura


