
 admin
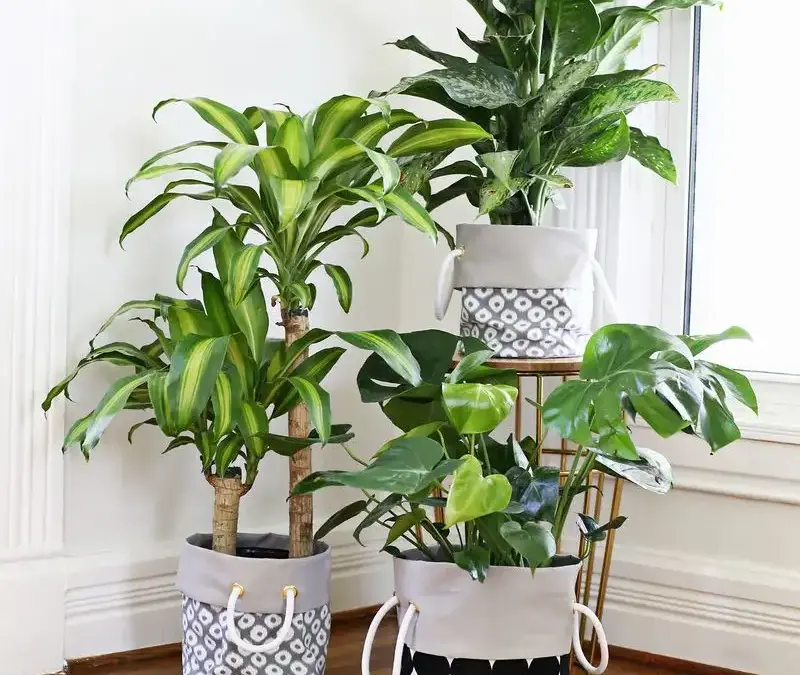
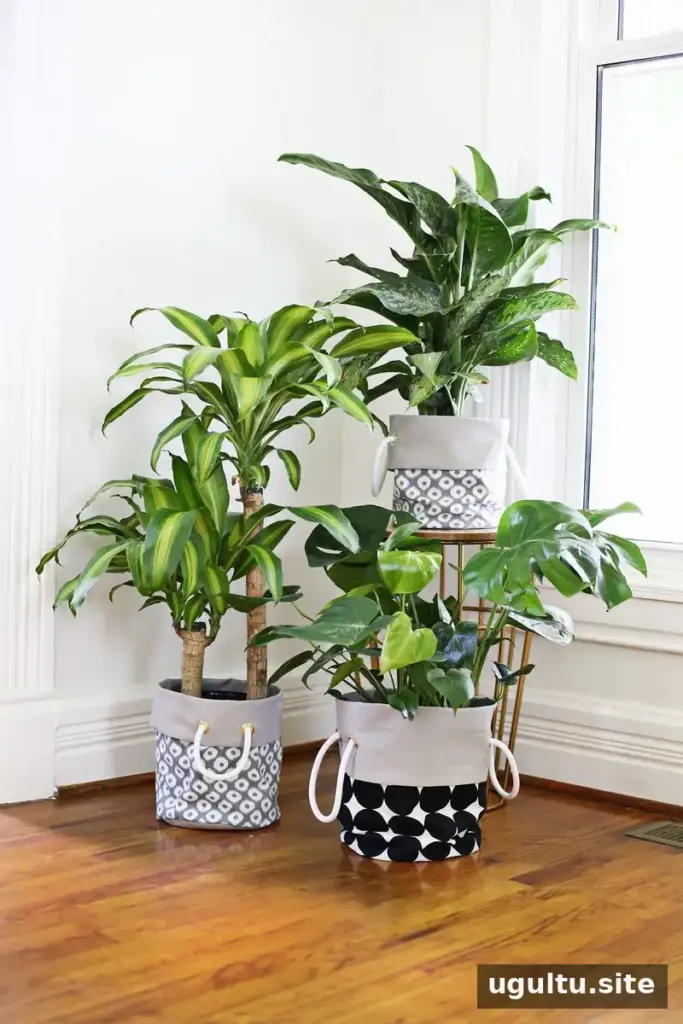
A Fabric Planter DIY project is a practical way to turn patterned twill fabric into a soft, reusable home for a potted plant. This design includes a plastic liner, eyelets, and a rope handle. The liner and optional waterproofing spray can help protect the fabric, but the planter should not be treated as fully watertight. Keep the plant in its original plastic pot, and use a tray underneath to catch excess water.
Materials for the Fabric Planter DIY
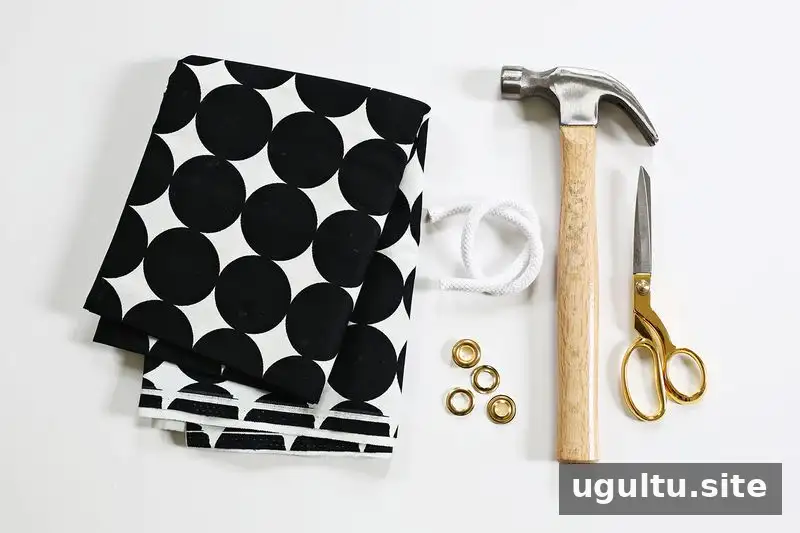
Gather the following supplies before cutting. Check that your sewing machine and needle can handle the fabric and liner layers, and follow the eyelet kit instructions when installing the hardware.
- Fabric scissors
- Two patterned twill fabrics
- Plastic liner, 6 mm thick
- Rope
- Extra-large eyelet kit
- Hammer
- Waterproofing spray (optional)
Cut and Sew the Fabric
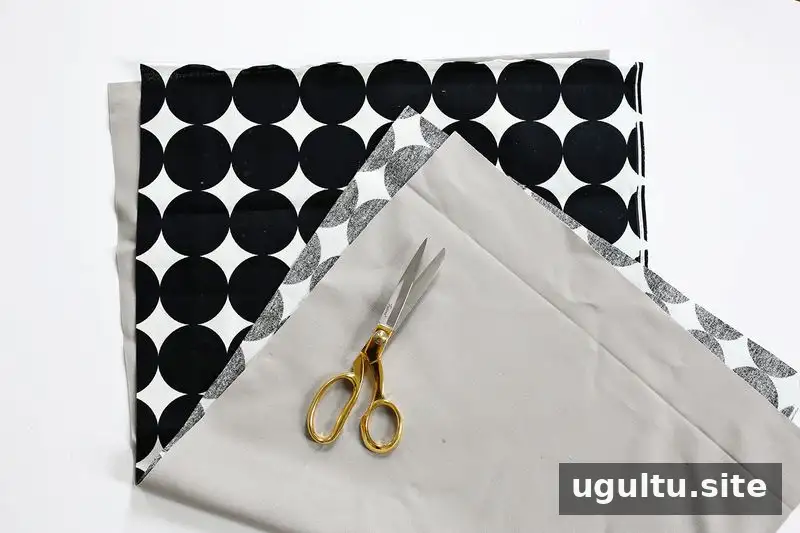
Place the two fabrics together and cut one rectangle measuring 18 inches tall by 30 inches wide. Position the pieces with their right sides facing each other, then pin along one of the 30-inch edges.
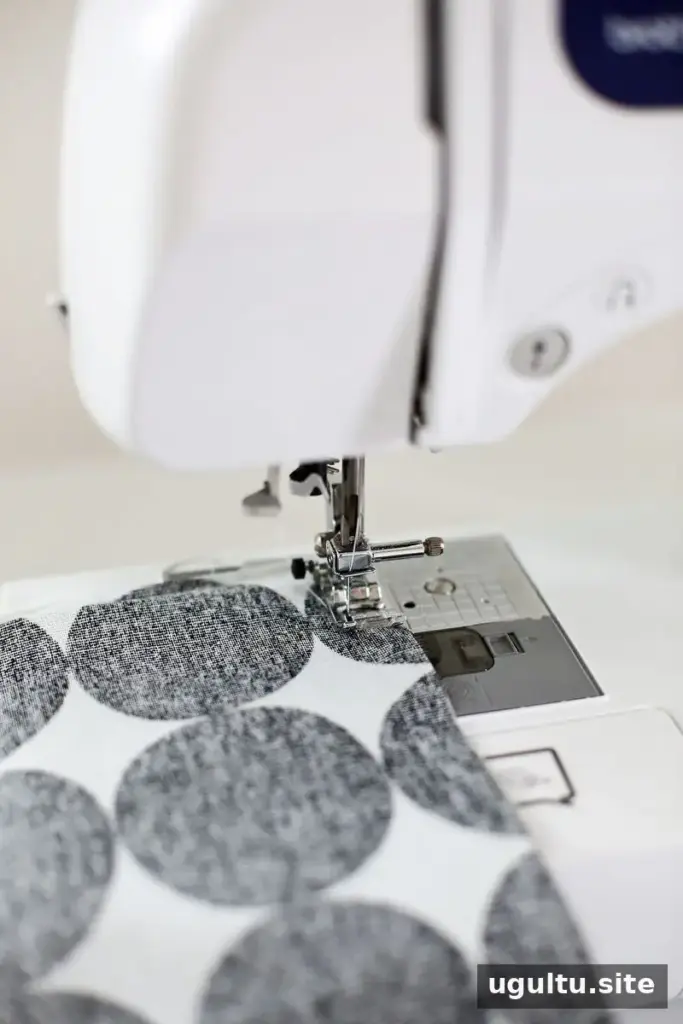
Sew across the pinned edge with a 1/2-inch seam allowance. Sew steadily so the seam stays even from one side to the other.

Turn the fabric so the patterned sides face outward and press the top seam flat with an iron. Use a suitable setting for the fabric to avoid scorching it.

On the right edge, press a 1/2-inch hem on both the front and back fabric panels. These pressed folds will form a neat finish where the side edges meet.
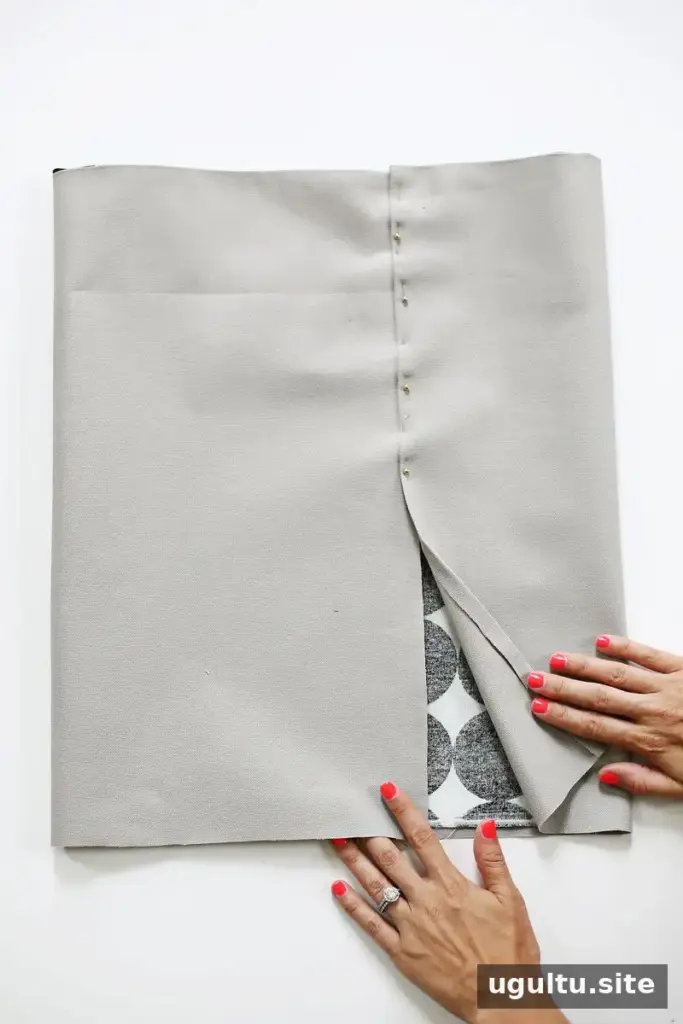
Fold the right edge toward the center. Bring the left edge toward the center as well, then tuck the first 1/2 inch of the unpressed left edge inside the pressed hem on the right. Pin the overlapping edges together.
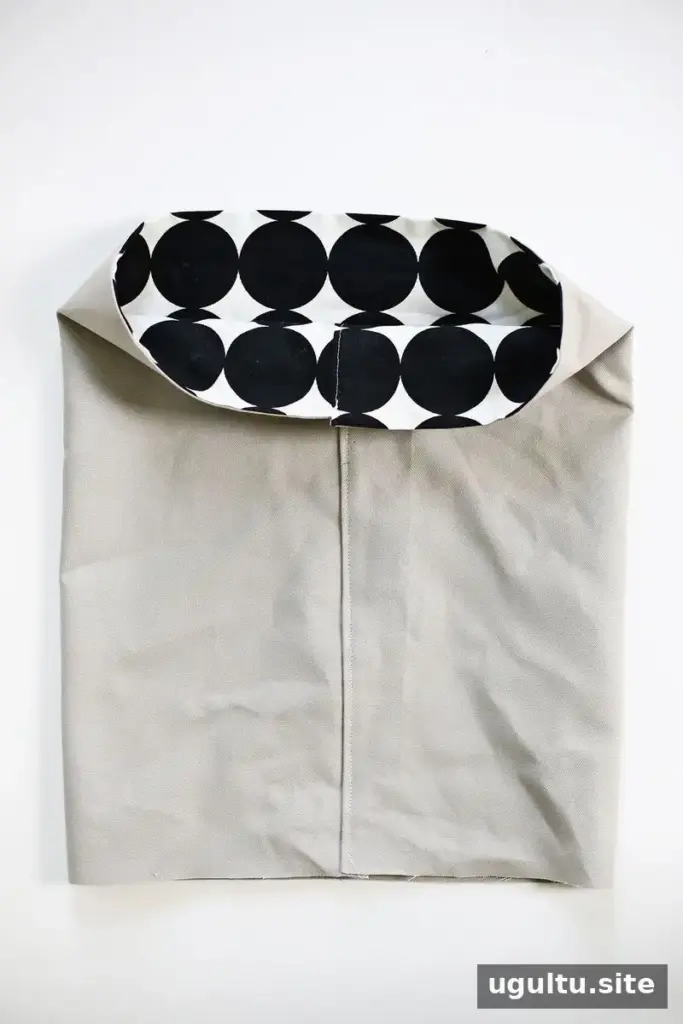
Sew down the joined edges to close the side. The piece should now form an open cylinder, with the inside fabric facing outward. This orientation makes it easier to attach the base before turning the planter right side out.
Attach the Planter Base
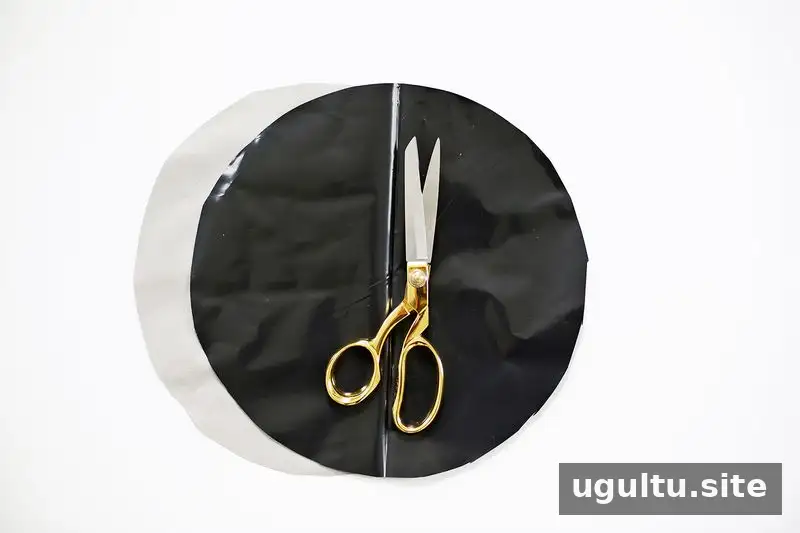
Layer the plastic liner with the bottom fabric and cut a circle measuring 10 1/4 inches across. This measurement includes a 1/2-inch seam allowance around a circle with a 9 1/4-inch diameter.
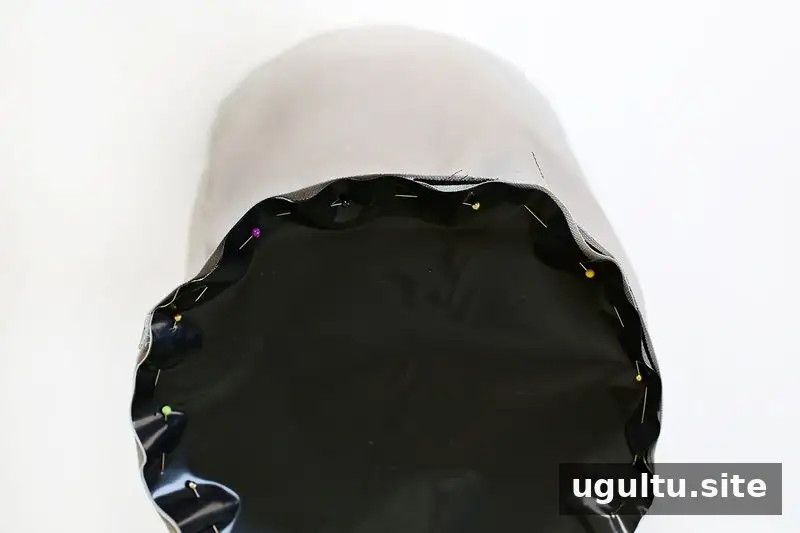
Align the fabric and liner circles, with the liner side facing outward, and pin them around the bottom edge of the cylinder. Distribute the fabric evenly as you pin to help the base sit flat.
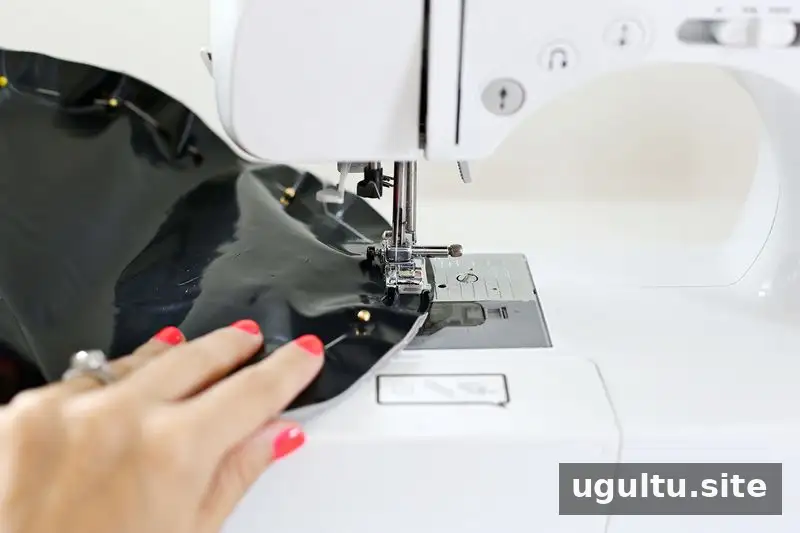
Sew around the base with a 1/2-inch seam allowance, then turn the planter right side out. Check that the base seam is secure before adding a plant.
Add Eyelets and a Rope Handle
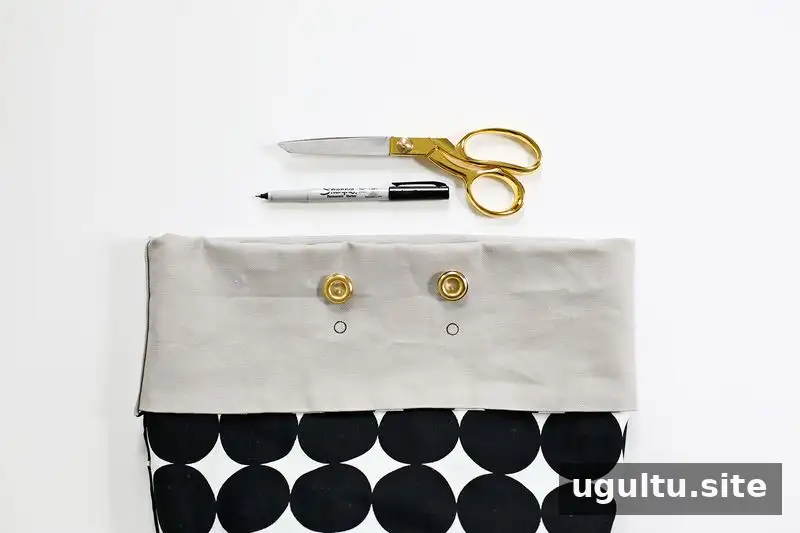
Fold the top edge over to set the planter’s height. Mark the eyelet positions with a pen; the example places them near the middle of the fold, about 3 inches apart. Cut a small X at each mark, then install the eyelets with a hammer according to the kit directions. Repeat on the opposite side.
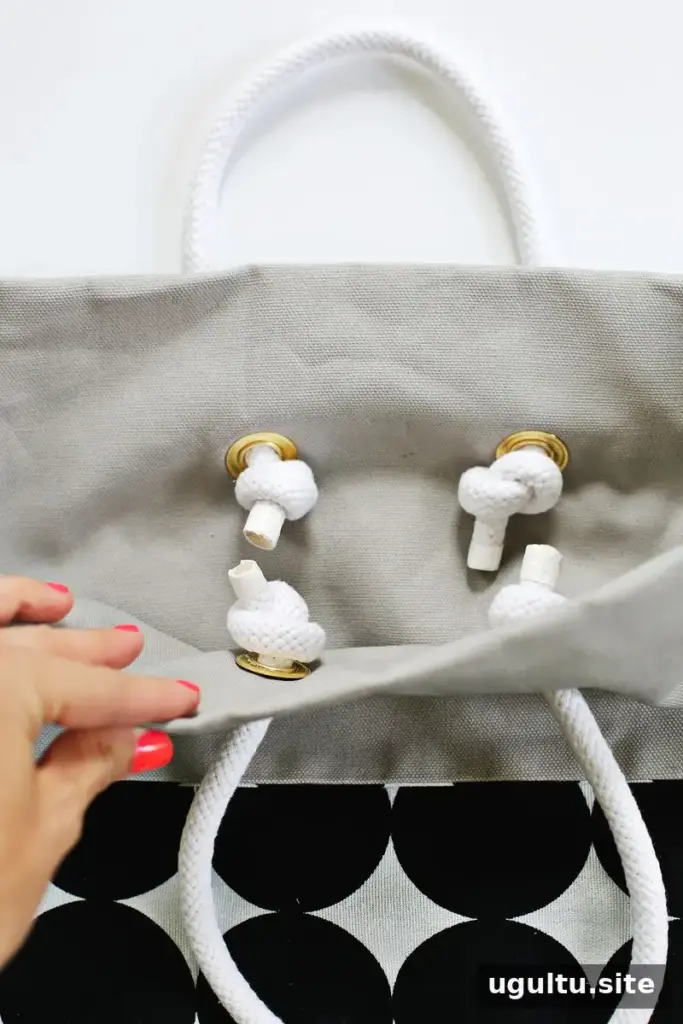
Thread rope through the eyelets and tie a knot inside the planter. Before cutting the rope, wrap masking or electrical tape around the cut point to help prevent fraying. If using waterproofing spray, apply it to the inside and outside according to the product directions, and allow it to dry as instructed.
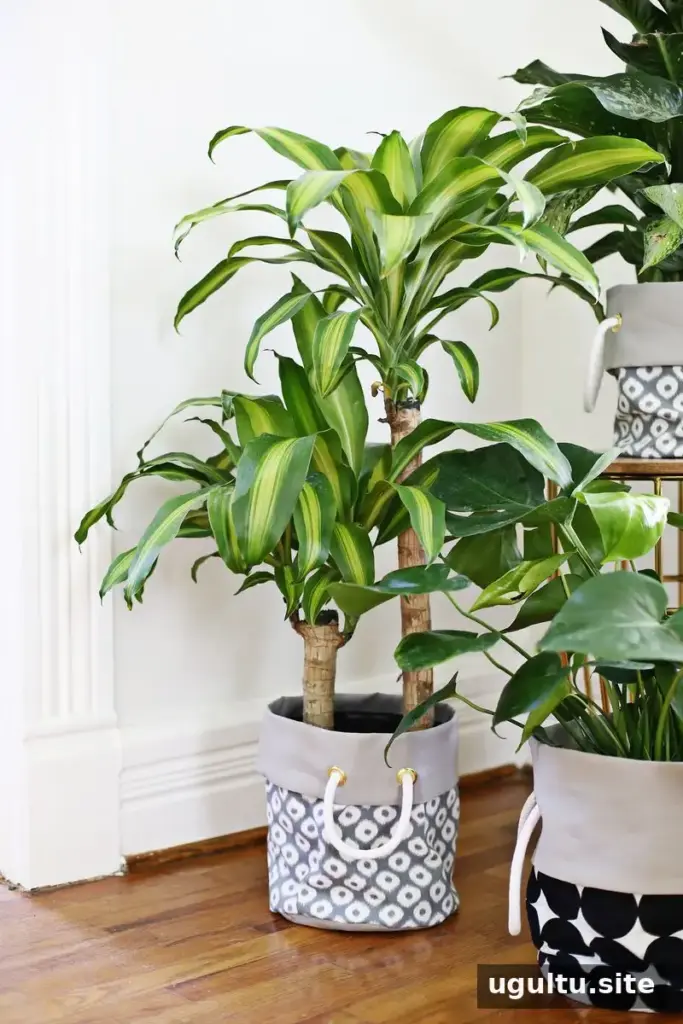
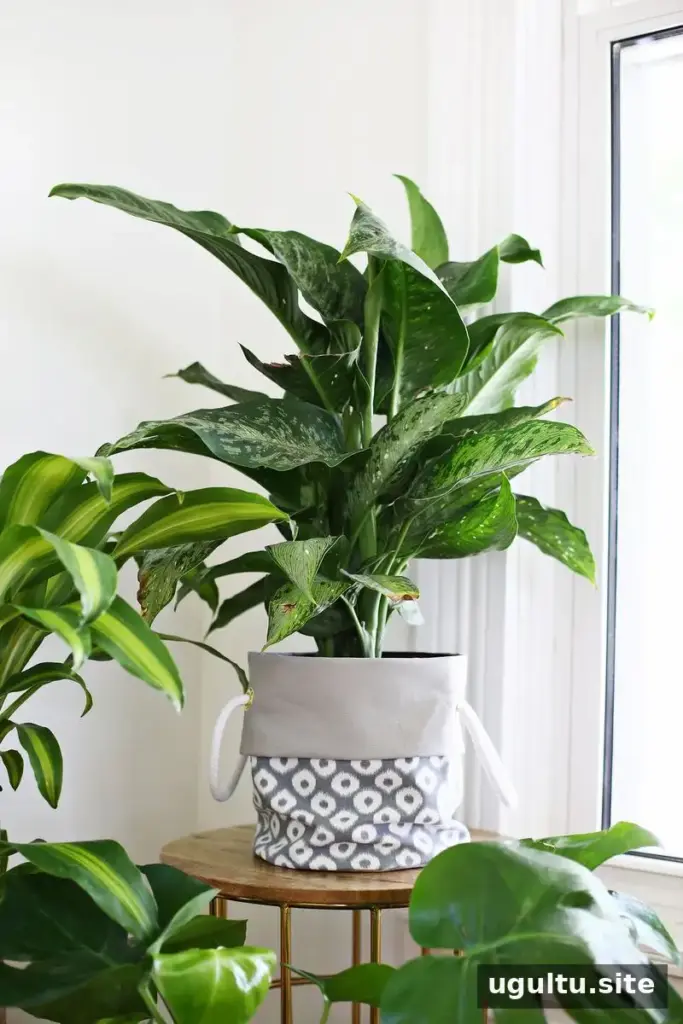
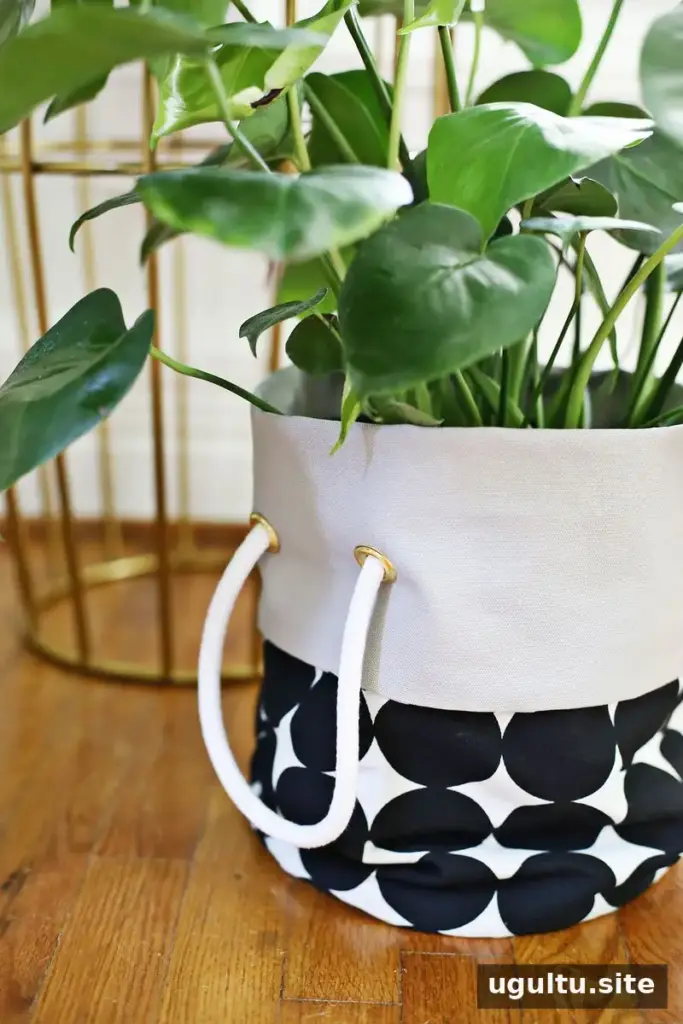
Using and Adjusting Your Fabric Planter
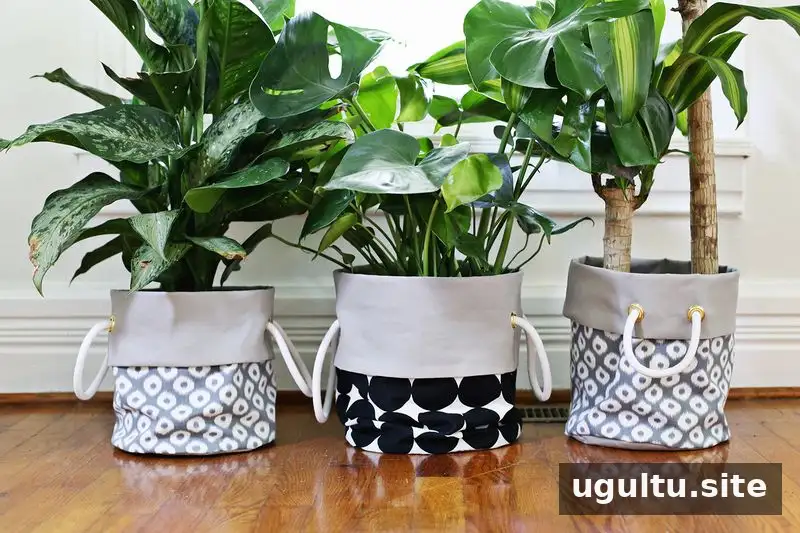
For added protection from water, place a plastic tray or cork circle at the bottom before setting in the plant’s original plastic container. Measure the tray or cork first so it fits inside the planter. Avoid letting standing water collect in the fabric planter, since the liner and spray do not make it a guaranteed waterproof container.
You can adjust the planter’s height and width to suit your plant, but remember that changing the dimensions may also affect the size of the base circle and the amount of fabric needed. For a simple fit check, compare the finished planter’s base with the tray or pot you plan to use before planting.
This Fabric Planter DIY combines straightforward sewing steps with a customizable folded top and rope detail. Follow the measurements for the sample size, or adapt them carefully to your container and plant. — Laura


