
 admin

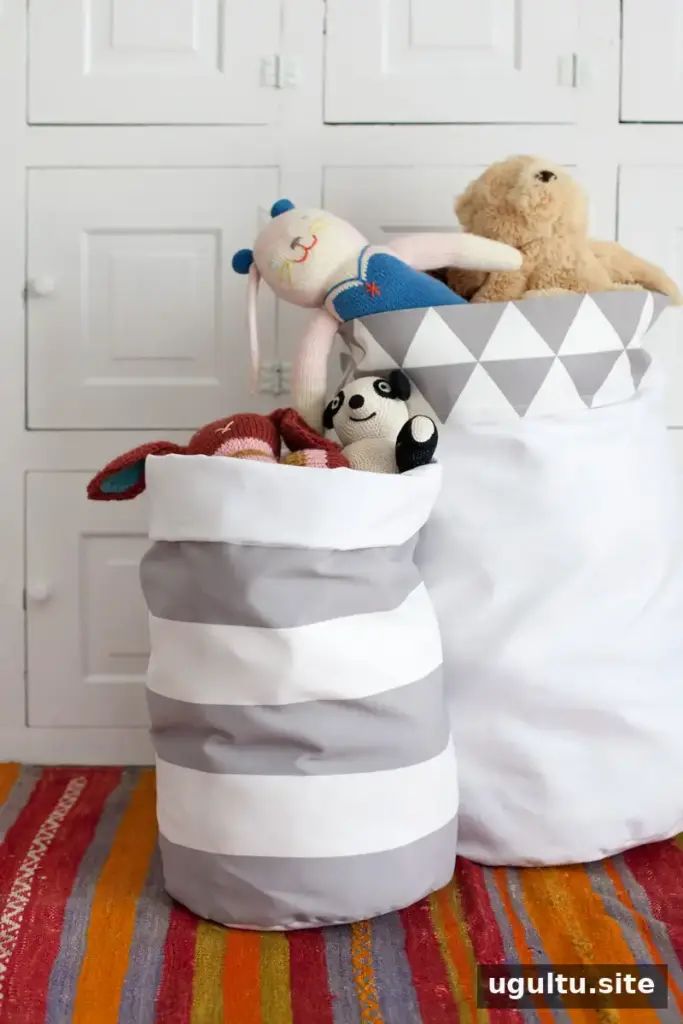
Fabric storage bins offer a practical way to organize soft household items such as blankets, pillows, toys, and stuffed animals. This reversible design lets you switch between two fabrics, making the bins easy to coordinate with different rooms or décor. The project suits beginner and intermediate sewers, but accurate measuring is essential for a neat fit.
The finished bins are soft-sided and work best when filled. Folding the top edge down helps make them more stable, while optional fusible interfacing can add structure. Before cutting, decide how tall you want the sides and check that you have enough fabric for both the outer and inner layers.
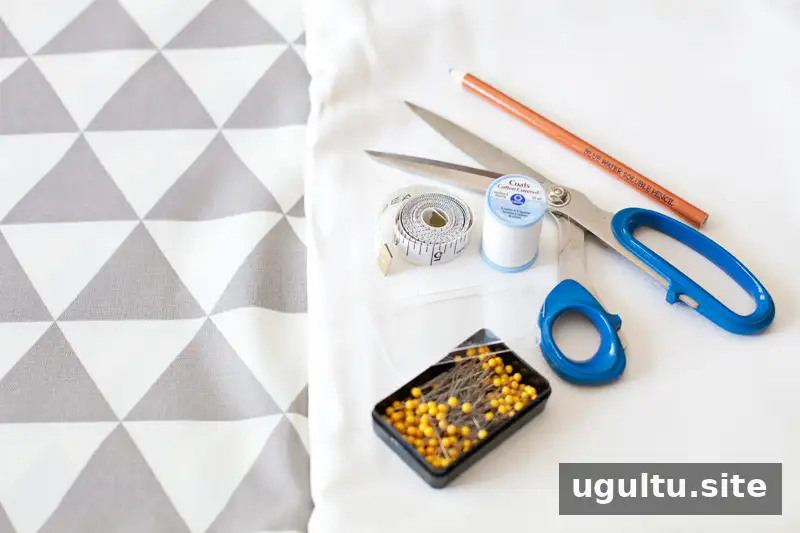
Supplies
- Stiff coordinating fabric. Home décor fabric was used for this project; a bottom-weight apparel fabric is another option if washability is a priority. Yardage depends on the bin dimensions and the width of the fabric.
- Measuring tape
- Fabric scissors
- Water-soluble pen or pencil
- Straight pins
- Coordinating thread
Additional supplies
- Sewing machine
- Iron and ironing board
- A round object to trace. The examples used dishes with circumferences of 48″ and 37″.
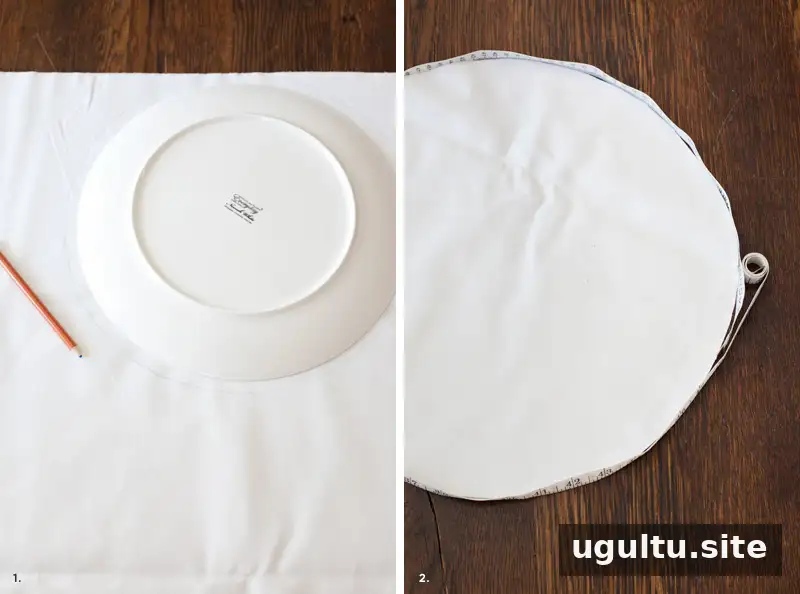
Step 1: Make the base pattern
Trace around a round object to create the bottom of the bin, then cut out the circle. For the larger bin, avoid a base circumference greater than 48″; a larger base may make the finished container too floppy. Measure the circle’s circumference carefully, since this measurement determines the length of the side panel.
Step 2: Cut the side panels
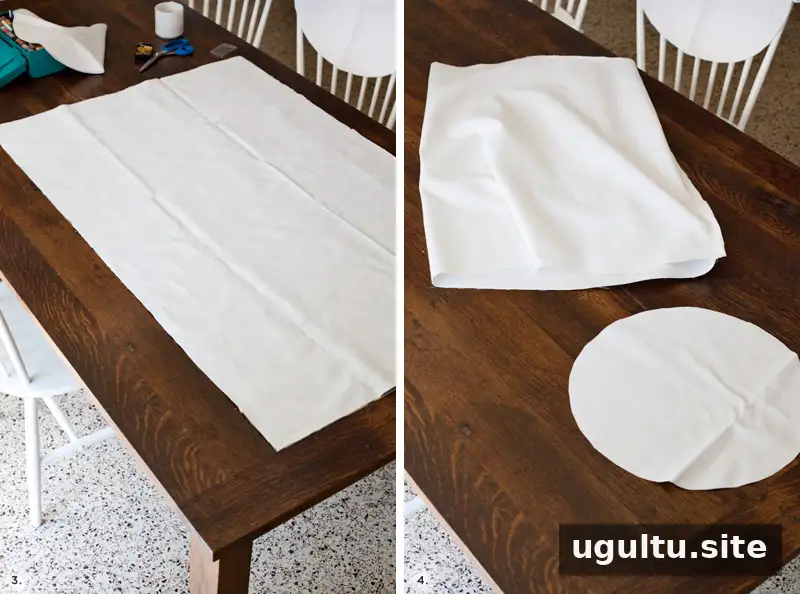
Cut a rectangular piece for the bin walls. Its width should equal the base circumference plus 1″ to allow for a 1/2″ hem. Choose the height to suit your storage needs, keeping in mind that folding the top down multiple times can make the bin sturdier. The large bin’s side panel in this example measured 49″ wide by 28″ tall.
Step 3: Sew the outer and inner layers
Fold the side panel in half widthwise and sew a precise 1/2″ hem to form a tube. The tube’s circumference needs to match the base, so take time to check the measurements before attaching the pieces.
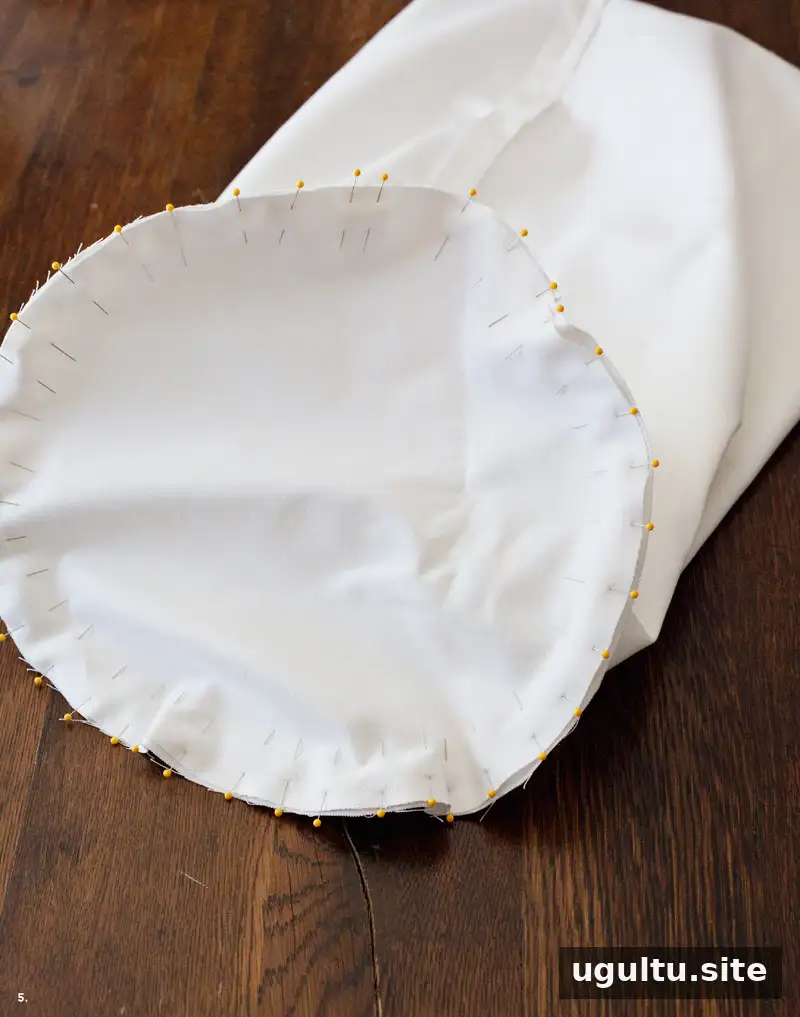
Pin the circular base to the bottom edge of the tube. If the tube does not fit the circle correctly, remove the pins and adjust the seam before sewing. Repeat the cutting and sewing process for the lining. Cutting the matching outer and inner pieces at the same time can help ensure they are the same size.
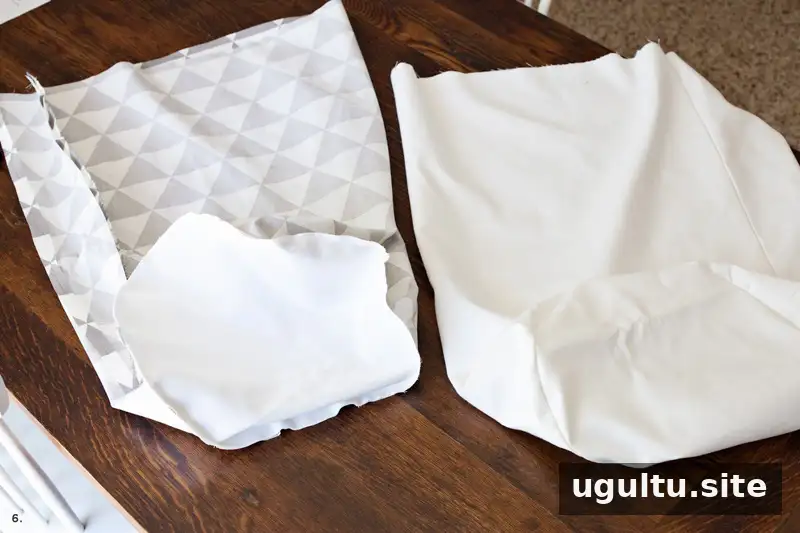
Step 4: Assemble the reversible bin
Turn the outer fabric right side out. Keep the lining inside out, then place it inside the outer piece so the fabric faces align at the top edge.
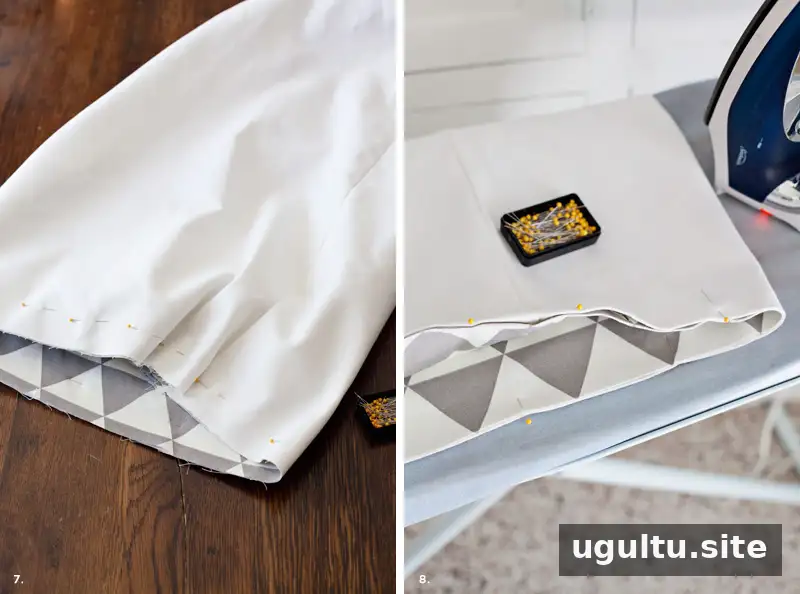
Pin the layers together a couple of inches below the edge to keep them from shifting. Fold the raw edges of both layers inward and press them with a hot iron. Pin the folded edges, then stitch them together to finish the rim.
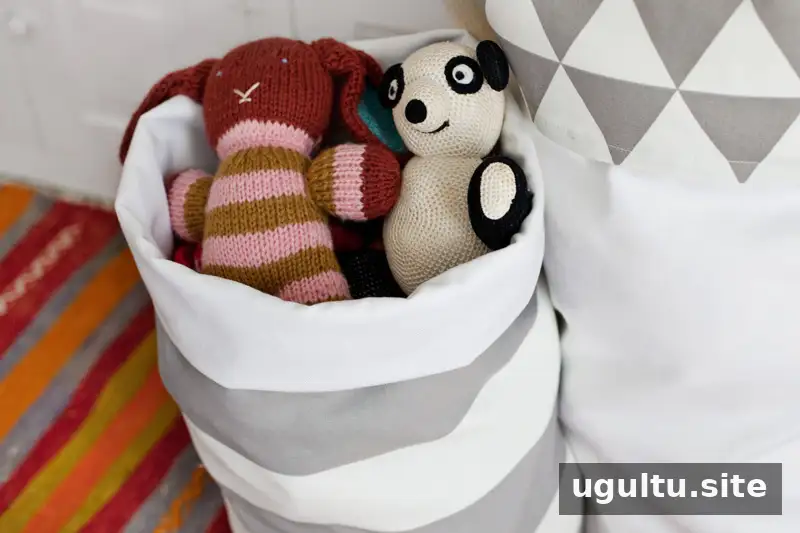
Fold the top edge down once or twice to give the bin more shape. Without anything inside, the fabric bin will not hold a firm shape on its own. For added stiffness, place double-sided fusible interfacing between the outer fabric and lining during assembly, then follow the interfacing instructions when pressing.
A final check before sewing the rim can help: make sure the lining sits smoothly inside the outer layer and that both folded edges line up evenly.
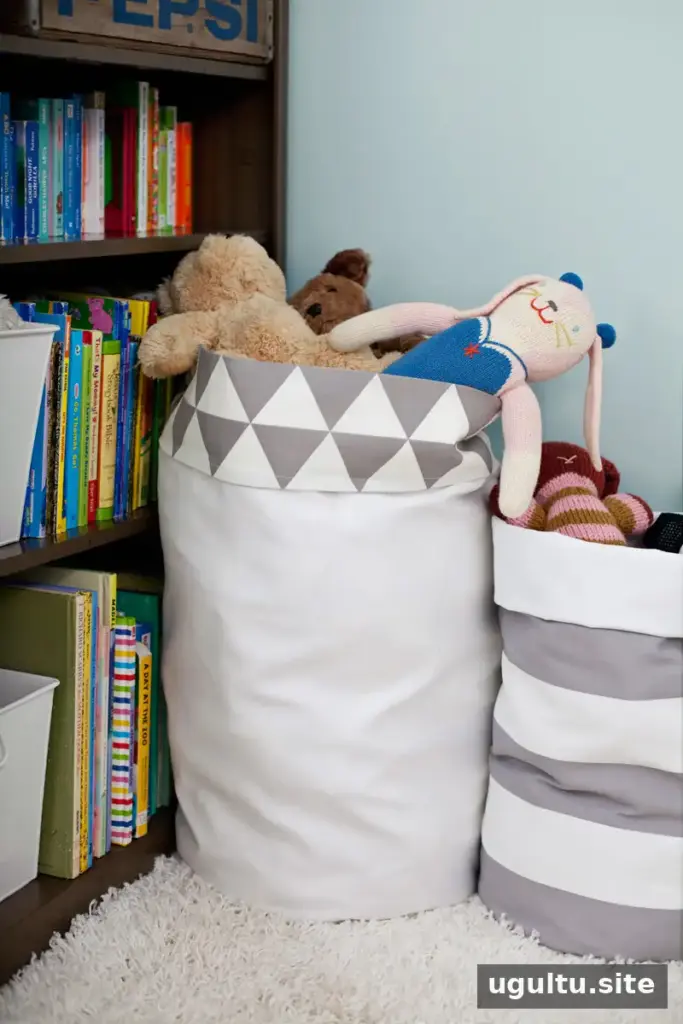
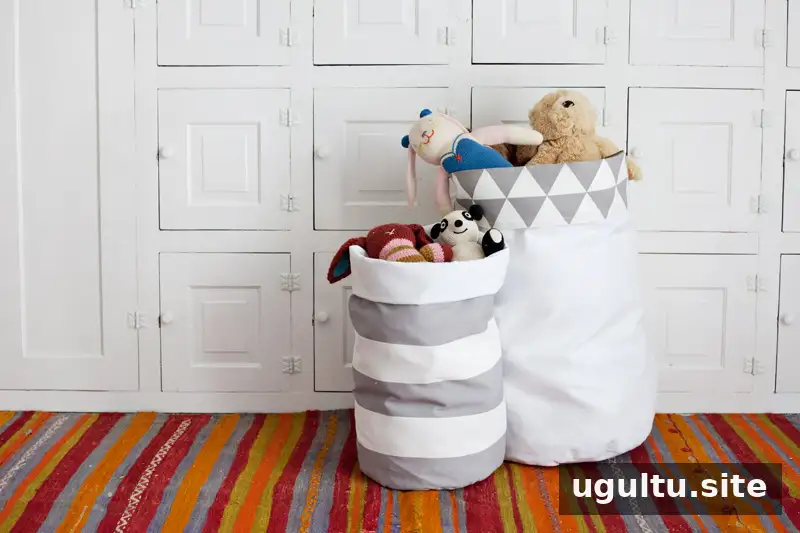
These reversible fabric storage bins can provide extra space for soft items while offering two fabric looks in one project. Choose coordinating materials, measure the base and side panels carefully, and fold the rim to adjust the shape. –Mandi


