
 admin
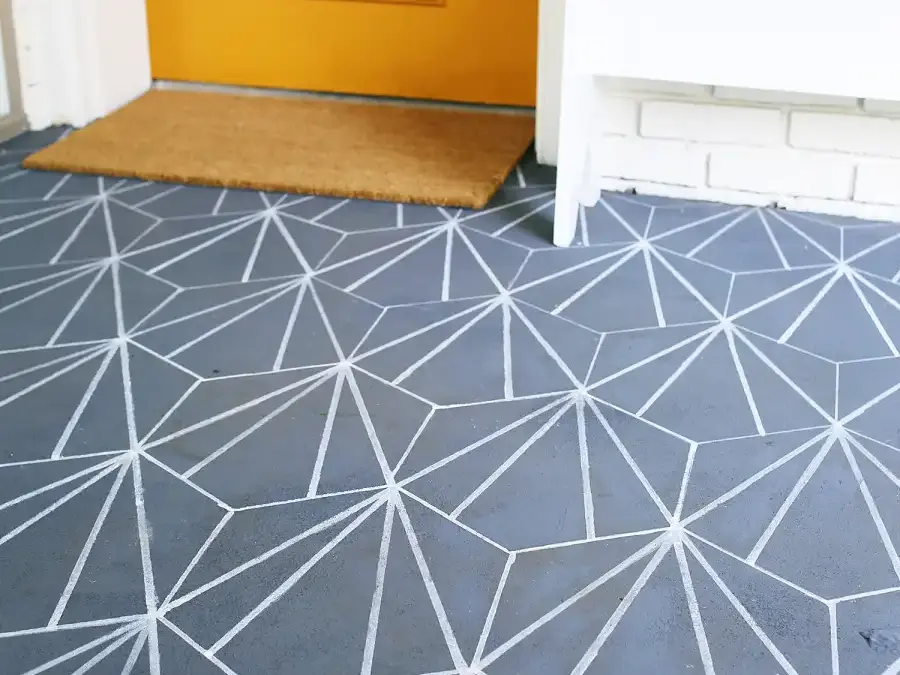
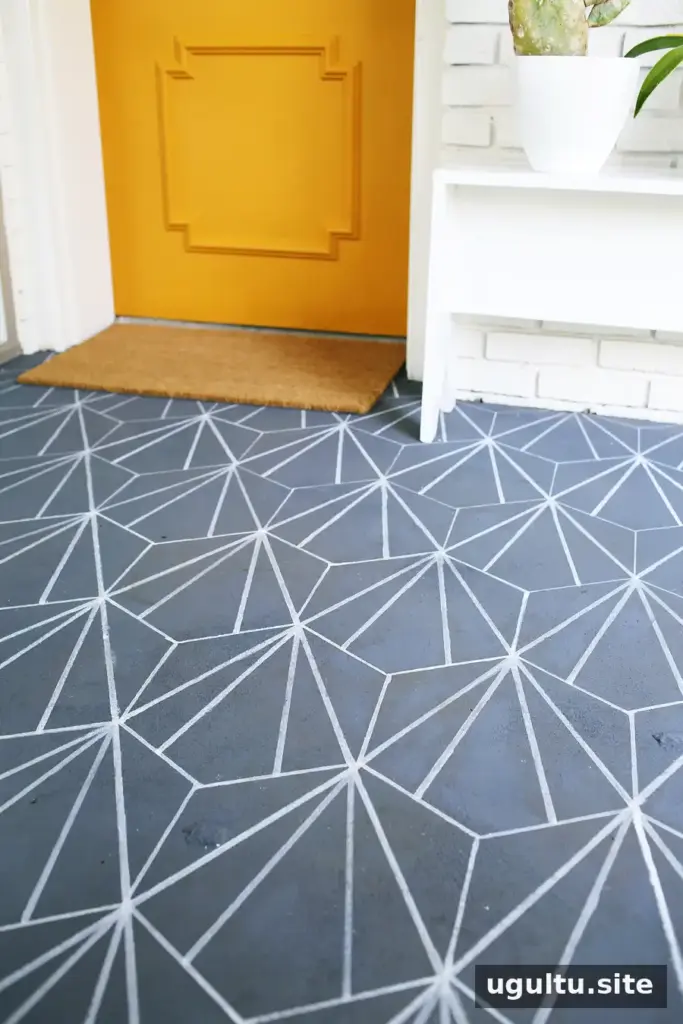
A faux cement tile DIY is a practical way to add character to a concrete floor without the cost of installing real tile. For this project, a covered outdoor entrance was transformed using floor paint, a homemade hexagon stencil, and paint pens. The materials cost less than $50, while a professional tile installation had been expected to cost thousands more.
Why choose a faux cement tile DIY?
The entrance serves a home recording studio, so it needed to feel welcoming and finished for clients and collaborators. The concrete slab is outdoors but protected by a ceiling, which limits its exposure to rain, snow, and ice. That setting made a painted design a reasonable alternative to tile.
The project also shows how a simple pattern can make a plain surface feel intentional. Before starting, consider how much foot traffic and weather the area receives. Paint may be a better fit for a protected space than for a fully exposed walkway.
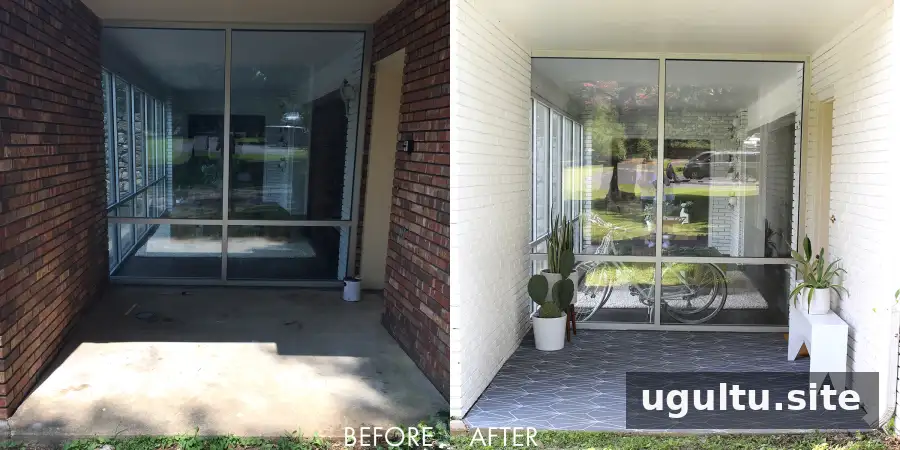
The before-and-after gives a clear view of how much visual impact the painted pattern adds.
Materials and floor preparation
The concrete was coated with premixed dark grey anti-skid porch and floor paint, applied with a roller. The color appeared more blue than expected at first, but worked well with the finished design. Even premixed paint can benefit from a thorough stir or a shake at the paint counter to help ensure the color is consistent.
Before painting, make sure the concrete is clean and dry, and check the paint label for surface preparation and application instructions. Using a product intended for floors is important because ordinary wall paint is not designed for the same use.
Make a hexagon stencil and draw the pattern
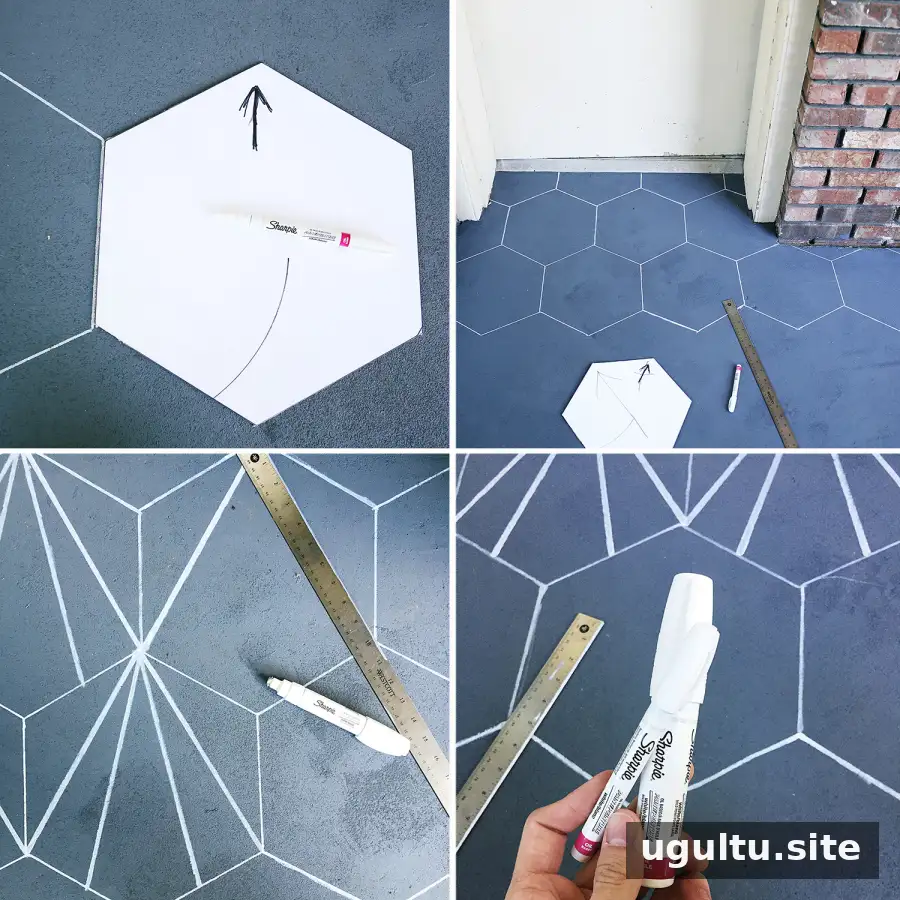
To create the stencil, draw a 12-inch hexagon on poster board with a ruler. Cut it out carefully with a craft knife and a straight edge. Clean, even edges help keep the repeated shapes consistent, so take time with this step.
Begin at one corner of the concrete and position the stencil. Trace around it with a white, oil-based paint pen, then move the stencil so the next hexagon connects to the previous one. Continue across the floor, checking the alignment as you go. A small test section can help you see how the spacing and color look before completing the whole area.
Two paint-pen sizes were used: a standard-size pen for the hexagon outlines and an extra-large pen for the lines inside each shape. Using different widths can make the pattern easier to build and give the design a more defined appearance.
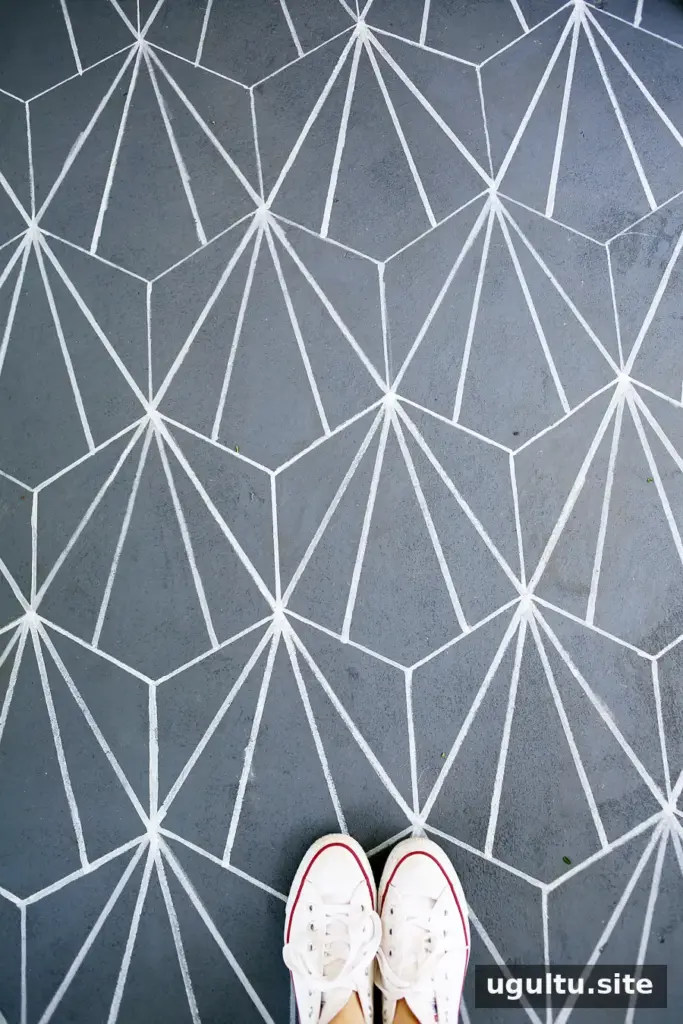
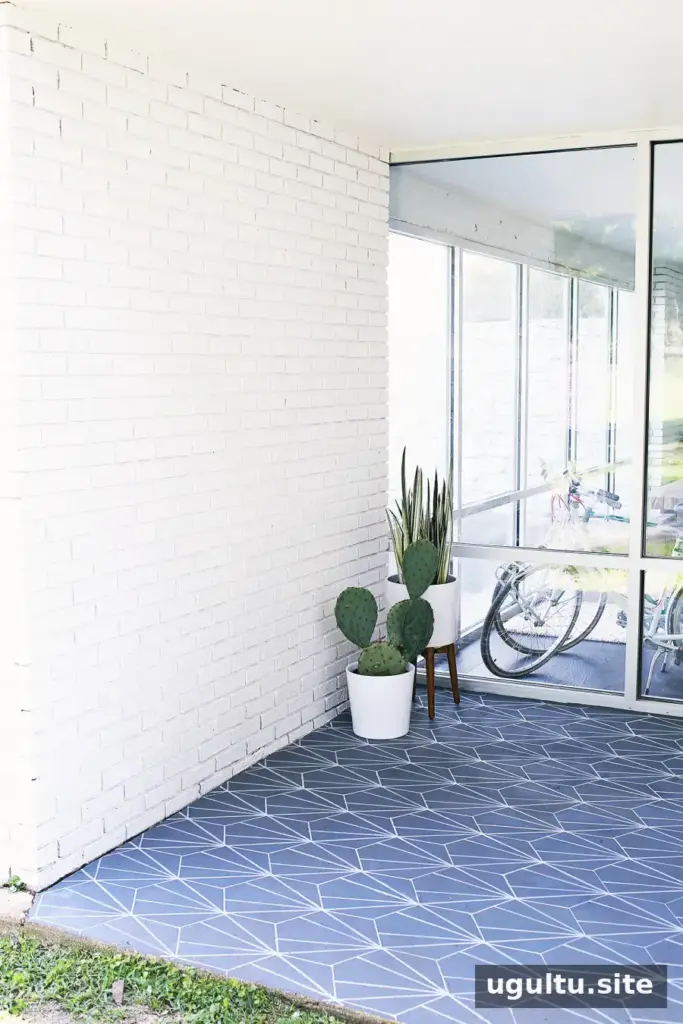
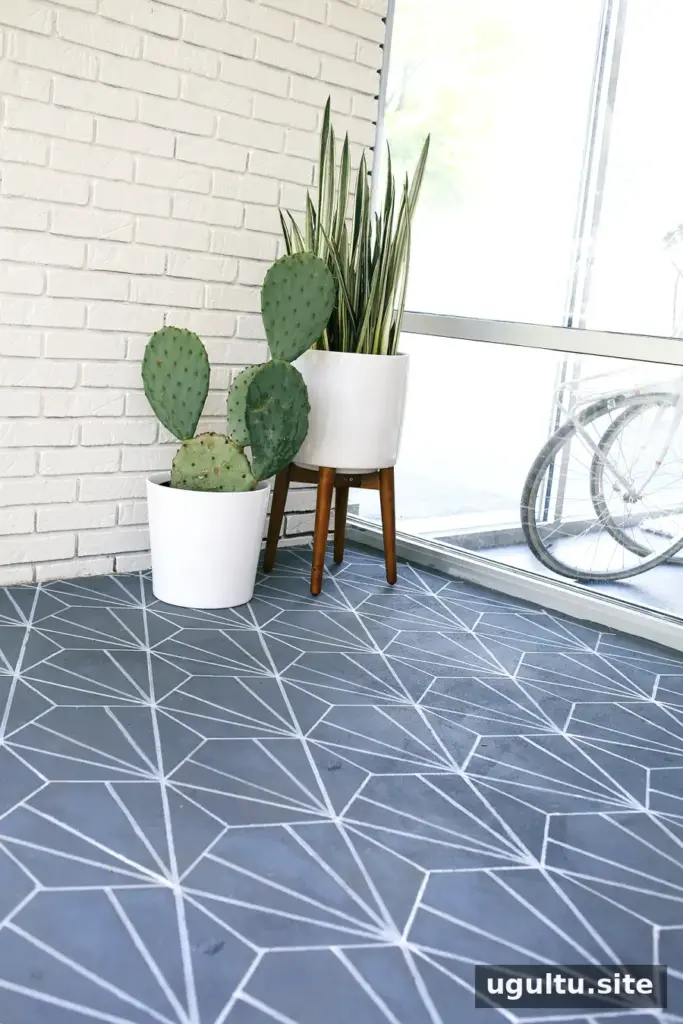
The finished lines are not perfectly uniform, even after detail touch-ups. Small imperfections are common with a hand-drawn stencil pattern and may be less noticeable once the full floor is complete. Step back occasionally to check the overall effect rather than judging every line up close.
Finishing tips and what to expect
In this particular project, the white lines held up to scrubbing after nearby painting work, and an additional sealer was not needed. That result may vary with the surface, products, and conditions, so follow the paint and marker manufacturers’ instructions when deciding whether a protective topcoat is appropriate.
- Use a stable stencil and a straight edge for cleaner shapes.
- Work in sections and keep the stencil aligned with the shapes already drawn.
- Let the paint dry according to the product directions before putting the area back into use.
- Expect minor hand-drawn variations; the overall pattern matters more than perfect individual lines.
Conclusion: Is a faux cement tile DIY worth trying?
This faux cement tile DIY added color and personality to a covered concrete entrance for less than $50. It can be a budget-conscious option when real tile is outside the project budget, provided the surface and products suit the location. With a carefully cut 12-inch stencil, floor paint, and patience, a plain slab can become a distinctive patterned floor. — Elsie


