admin


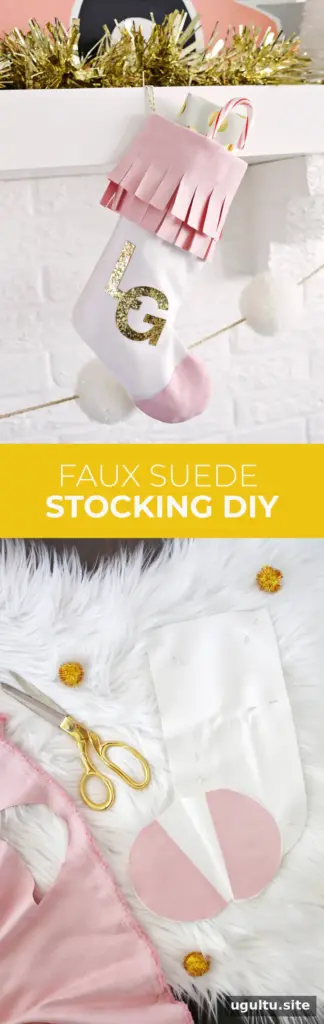
A faux suede fringe stocking adds soft texture and a personalized touch to holiday décor. This sewing project combines cotton fabric, faux suede accents, layered fringe, and an optional monogram. The instructions below explain how to cut and assemble one stocking, with practical tips for neat seams and a clean finish.
Materials for a Faux Suede Fringe Stocking
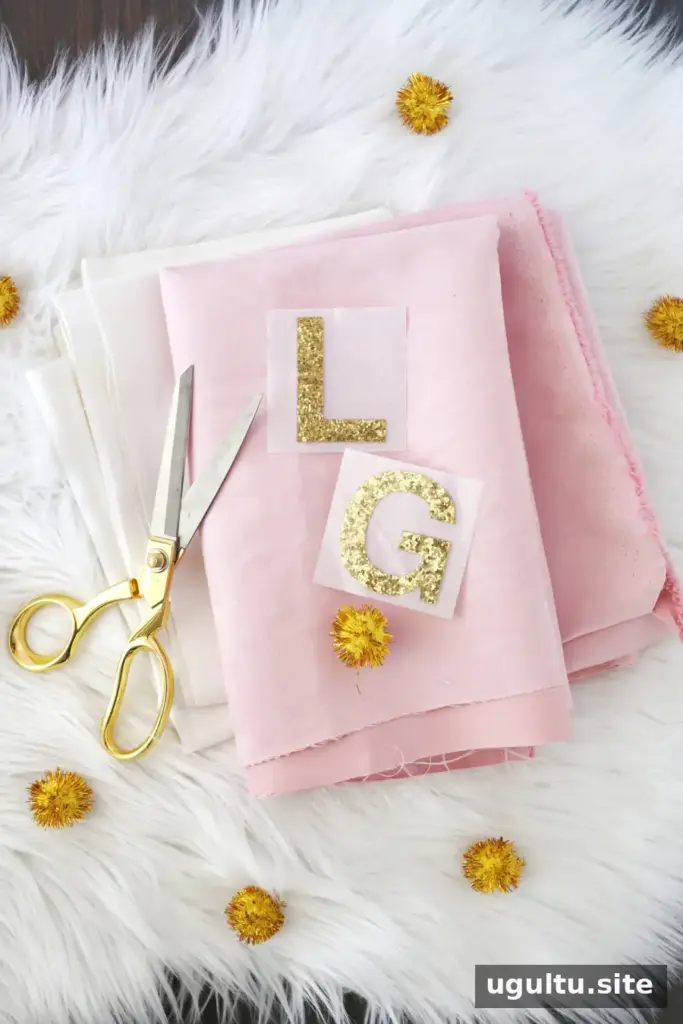
Gather these supplies before you begin. The quantities listed make one stocking:
- 1/4 yard white cotton fabric
- 1/4 yard faux suede fabric
- EverSewn Sparrow 30 sewing machine
- Fabric glue
- Straight pins and fabric scissors
- Iron-on gold letters
- Fabric clips (optional)
- Stocking template
Check that the template fits your fabric before cutting. If the faux suede has a visible nap or directional texture, keep its orientation consistent across the pieces.

How to Make the Stocking
1. Cut and prepare the cotton pieces
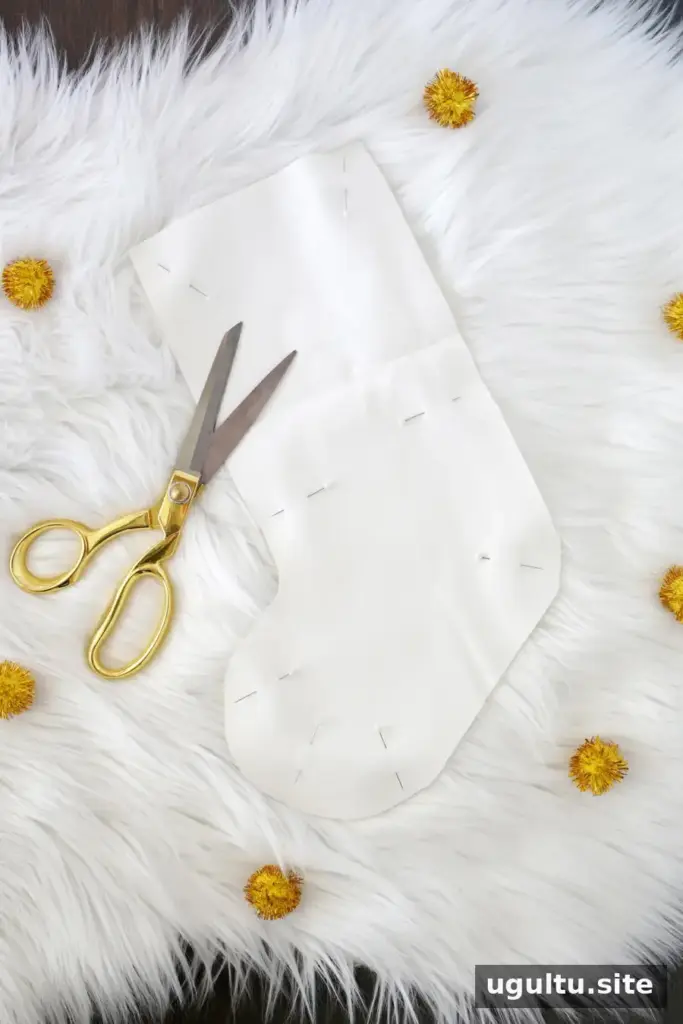
Print and cut out the stocking template. Fold the cotton fabric, place the template on top, and cut around it to create two matching boot-shaped pieces. Pin the pieces together, keeping their right sides facing inward. Accurate alignment now helps the finished edges match.
2. Add the faux suede toe
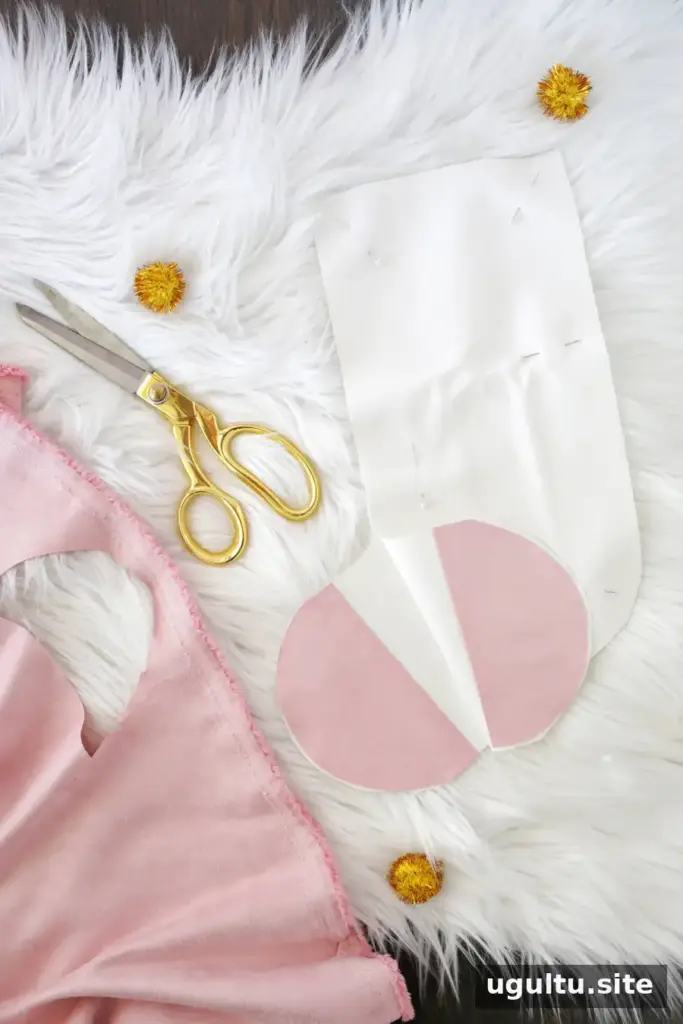
Cut a toe-shaped piece from the faux suede. Glue it to the right side of each boot piece, positioning the shapes so they face one another when the stocking pieces are placed right sides together. Use only enough fabric glue to hold the pieces in position and let it set as directed before sewing.
3. Sew the stocking body
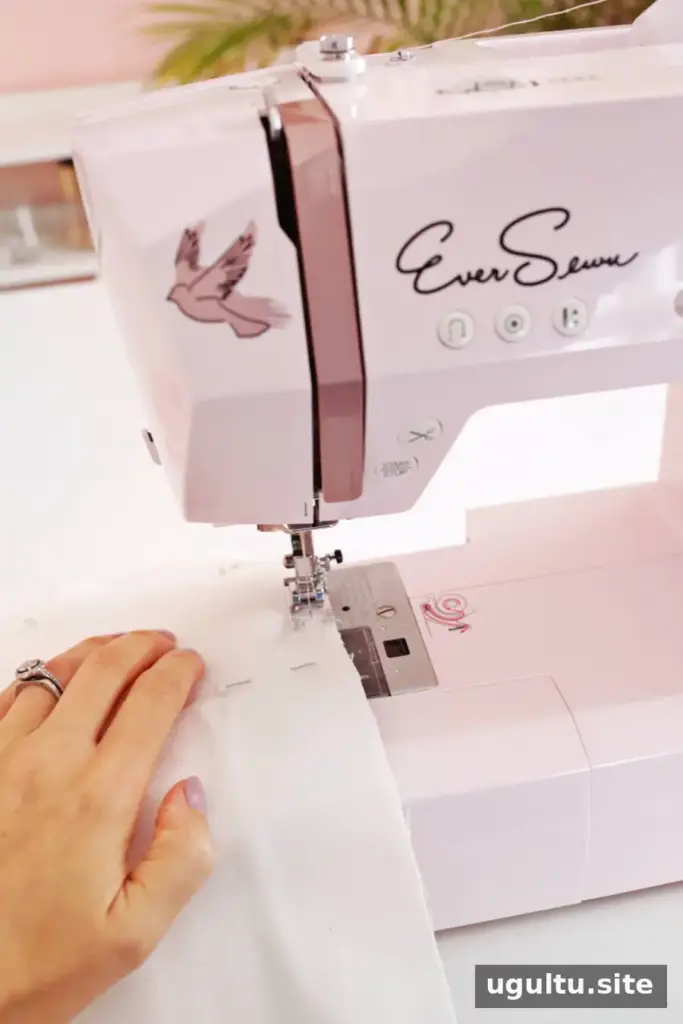
Sew around the edges with a 1/2-inch seam allowance, leaving the top open. At rounded corners, carefully trim small V-shaped notches into the seam allowance without cutting through the stitching. These notches reduce bulk and help the curves lie smoothly when turned right side out.

4. Make the layered fringe band
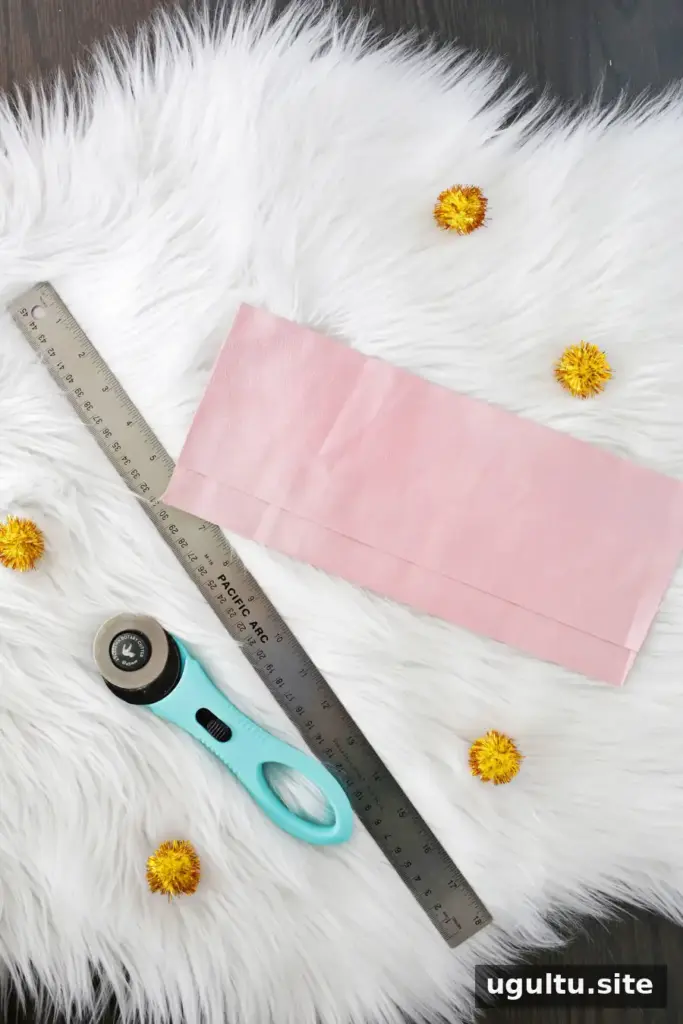
Cut two faux suede strips measuring 4 x 12 inches each. Stagger the strips so the top strip sits 1 inch higher than the bottom one. Glue the top edge of the lower strip to the underside of the upper strip to create a layered band. Allow the glue to dry before attaching the fringe to the stocking.
5. Attach the band and finish the front
Pin the right side of the fringe band to the wrong side of the stocking’s open top. Let the extra band length overlap at the back of the stocking. Before sewing, choose whether the toe will point left or right when the stocking hangs. Sew around the top using a 1/2-inch seam allowance.
Turn the stocking right side out and apply the iron-on gold letters according to the lettering product’s instructions. Check the placement before pressing so the monogram sits where you want it.


6. Cut the fringe and add a hanging loop
Use fabric scissors to cut fringe into the suede band, spacing the cuts about 1 inch apart. Take care not to cut into the seam or the joined upper layer. Make a loop from decorative twine or a narrow strip of suede, then hand-sew it inside the top corner opposite the toe.




Finishing Tips
For a real-suede version, thin suede is recommended. Use a leather sewing needle when stitching the fringe band, as noted in the project instructions. Test the needle and stitch on a small scrap first, and handle the material gently to avoid unnecessary marks.

This faux suede fringe stocking can be personalized with initials and adjusted with a left- or right-facing toe. Keep the seam allowance consistent, trim curved seam allowances carefully, and make sure the hanging loop is securely attached before placing anything inside. With those details in place, your faux suede fringe stocking is ready to hang for the holidays.
Project by Laura.