
 admin
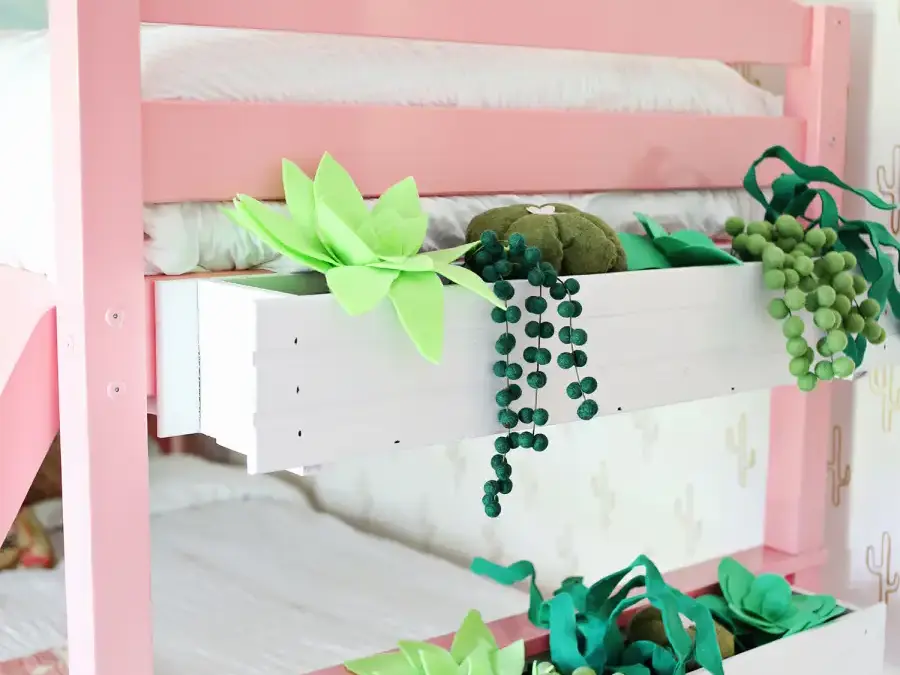
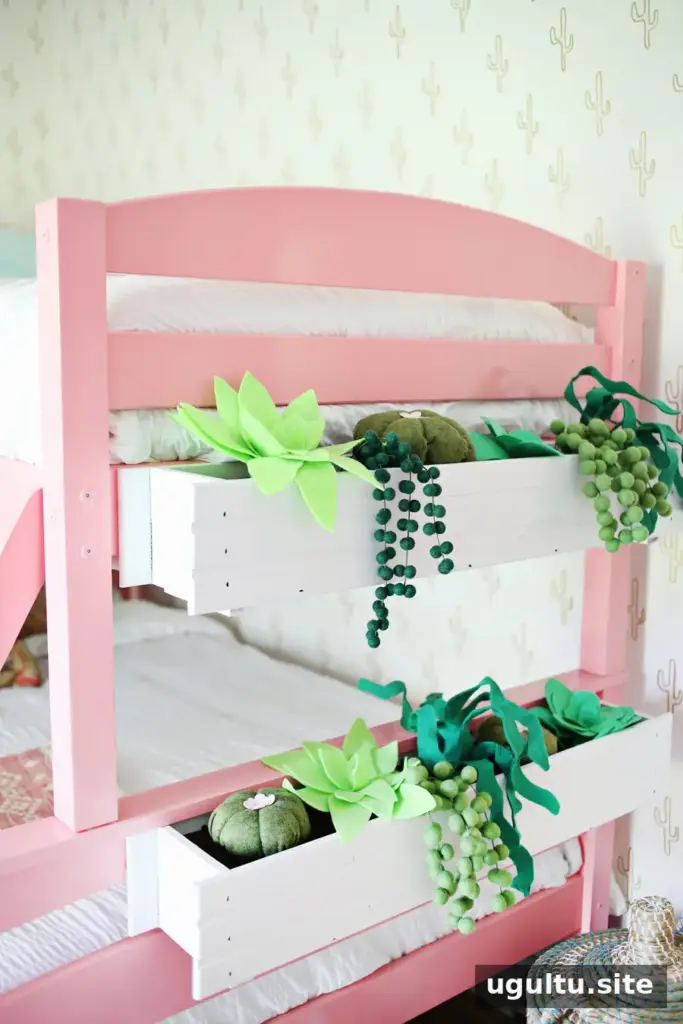
A felt succulent window box is a playful way to bring a touch of greenery into a child’s room without using live plants. This project combines soft, handmade felt plants with a window box, creating a decorative display that can also be rearranged. The instructions below cover three cactus and succulent styles, plus a removable base for arranging them.
The project was created for a Palm Springs-inspired, kid-friendly guest room. It was developed in collaboration with Laura, with instructions by Elsie. Felt plants can also be arranged in other types of planters, so you can adapt the idea to suit your space.
Supplies for a felt succulent window box
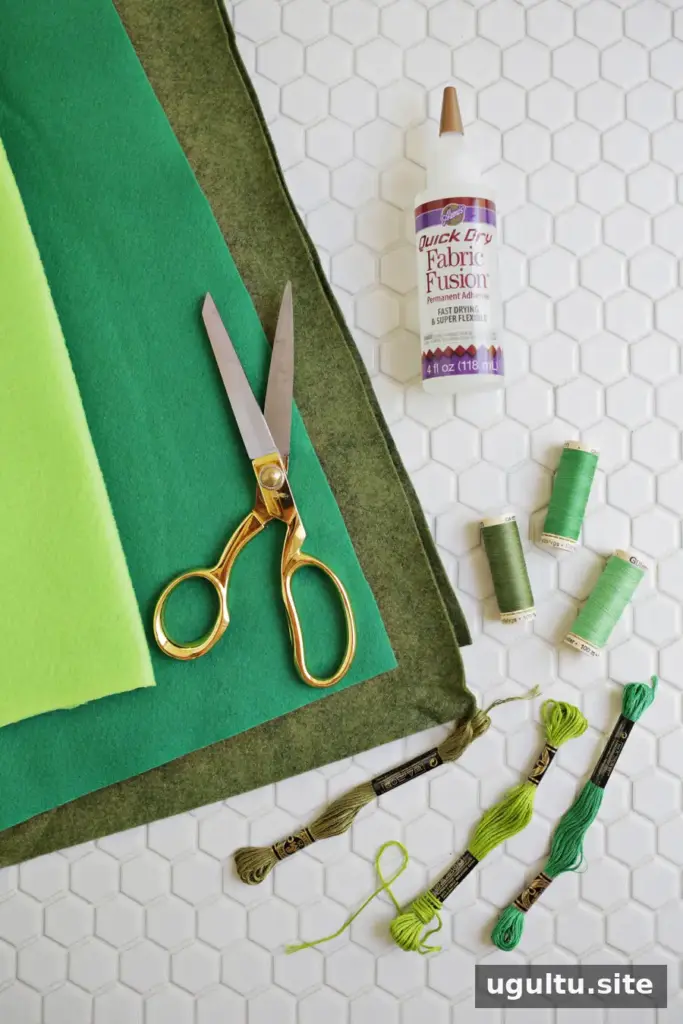
Gather these materials before you begin:
- Green felt in several shades and brown felt
- Wire and wire snippers
- Fabric scissors
- Fabric glue or a hot glue gun
- Peel-and-stick Velcro
- A window box
- Cardboard
- Pillow stuffing
- Embroidery thread for the rounded cactus
- Paper-covered floral wire, super glue, and green felt balls in two sizes for the mother-of-pearl succulent
Use care when cutting wire or cardboard. An adult should handle sharp tools and hot glue, particularly when children are helping with the project.
Make the felt cactus and succulent plants
Wire-supported ric-rac cactus
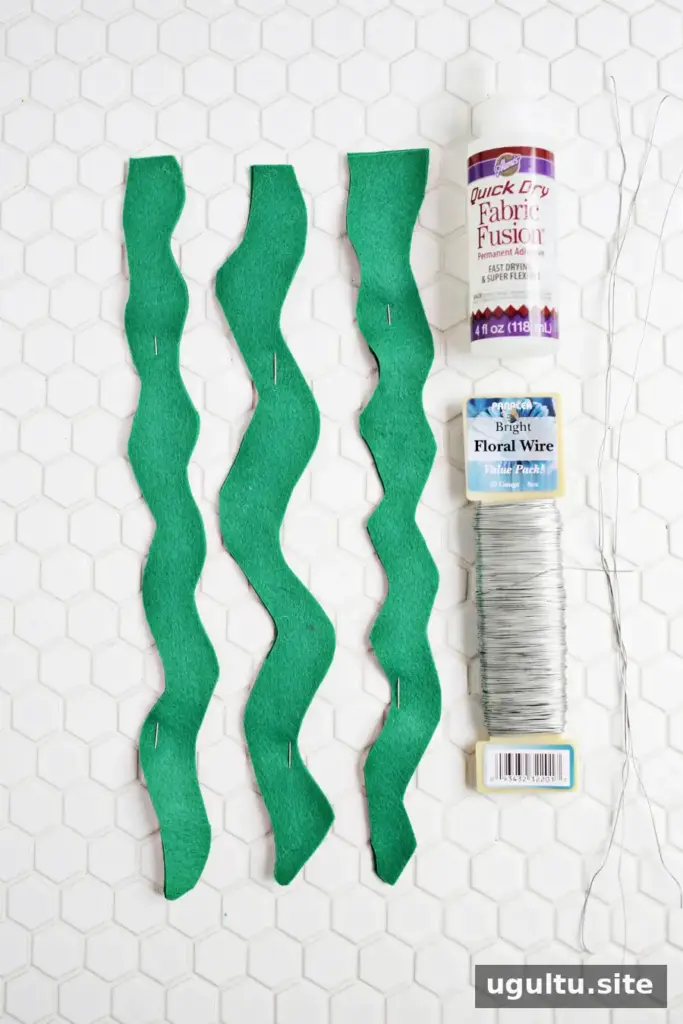
Fold green felt in half and cut out curved, wavy shapes about 14 inches long. Cutting through two layers at once creates matching pieces. Make about 8–10 pairs for each plant. Place a length of wire between each matching pair, then glue around the edges to enclose the wire. The wire lets you bend and position the cactus arms after assembly.
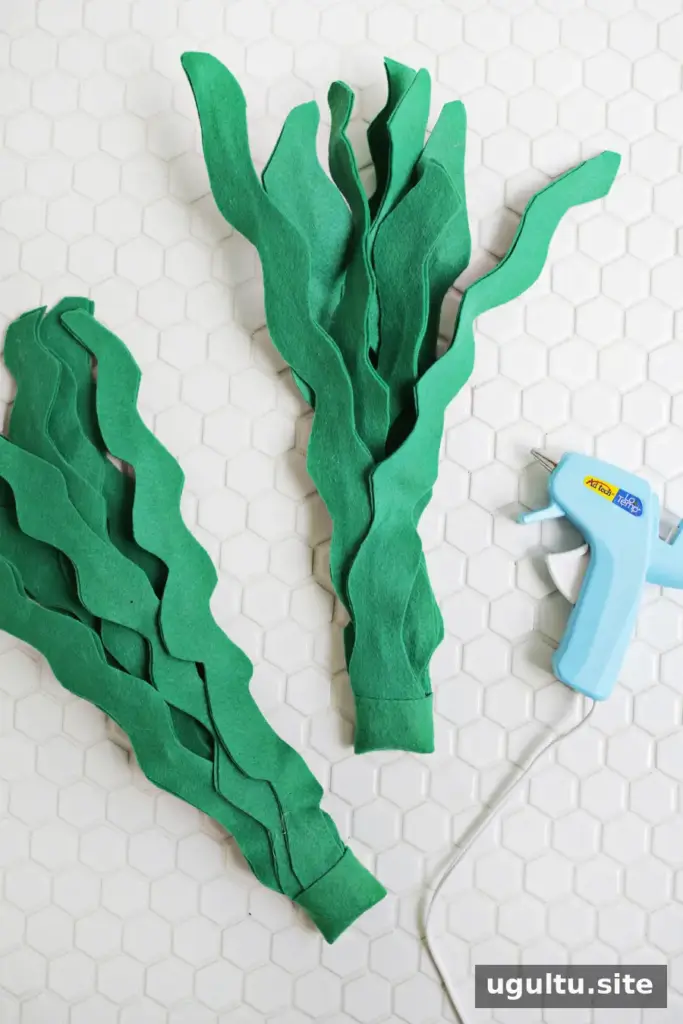
Stack 8–10 arms with their bases aligned. Glue the bottom inch of each arm to the neighboring piece, then wrap the base with another strip of felt and glue it in place. Keep the wire ends inside the felt layers.
Stuffed round cactus
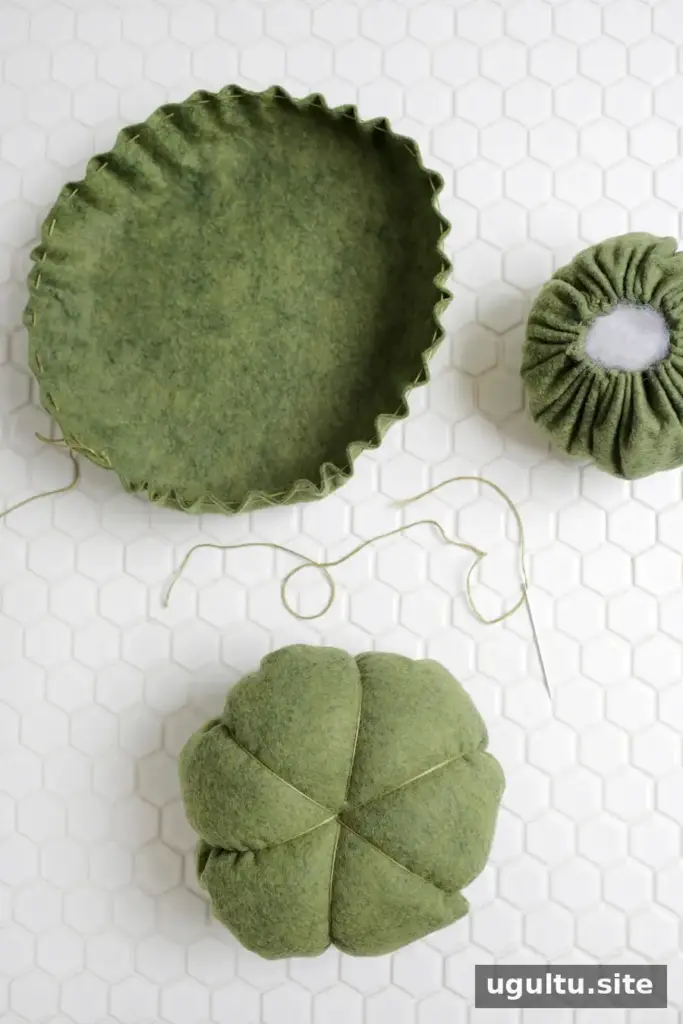
Cut felt circles in several sizes. The finished cactus will be a little smaller than half the circle’s diameter, so account for that when choosing a size. With embroidery thread, sew a running stitch around the edge of a circle. Add pillow stuffing, pull the thread tight, and knot it to form a ball. Stitch up through the middle, down the side, and back through the center to create sections. Add small thread knots for needles or a felt flower as a finishing touch.
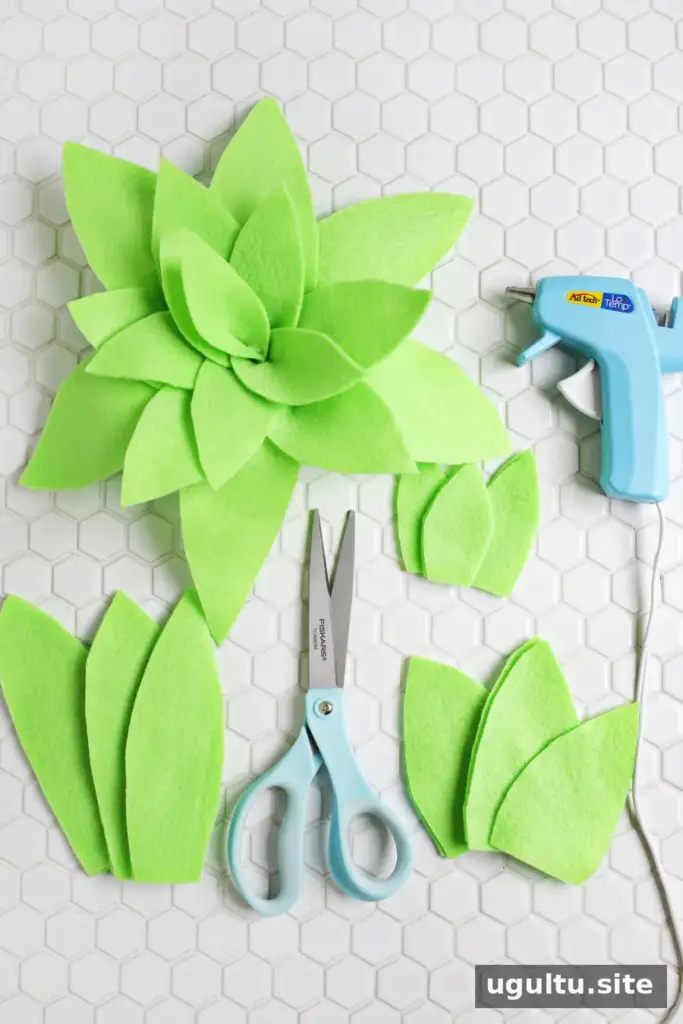
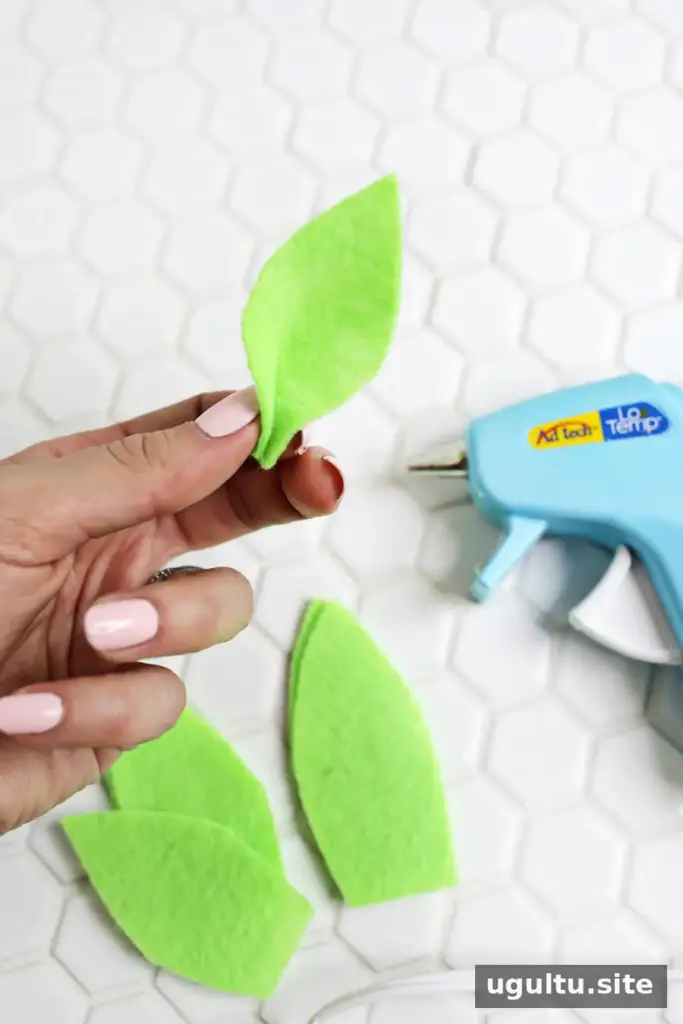
For a layered succulent, cut three sizes of felt leaves, from about 2 inches for the smallest to 5–6 inches for the largest. Fold the felt before cutting to make paired leaves. Pinch a small amount of glue at the base of each leaf and hold it until secure. Start with the smallest leaves, staggering them around the center, then add progressively larger leaves. Longer leaves suggest an agave shape, while shorter leaves with rounded tips create an echeveria-like form.
Prepare the window box insert
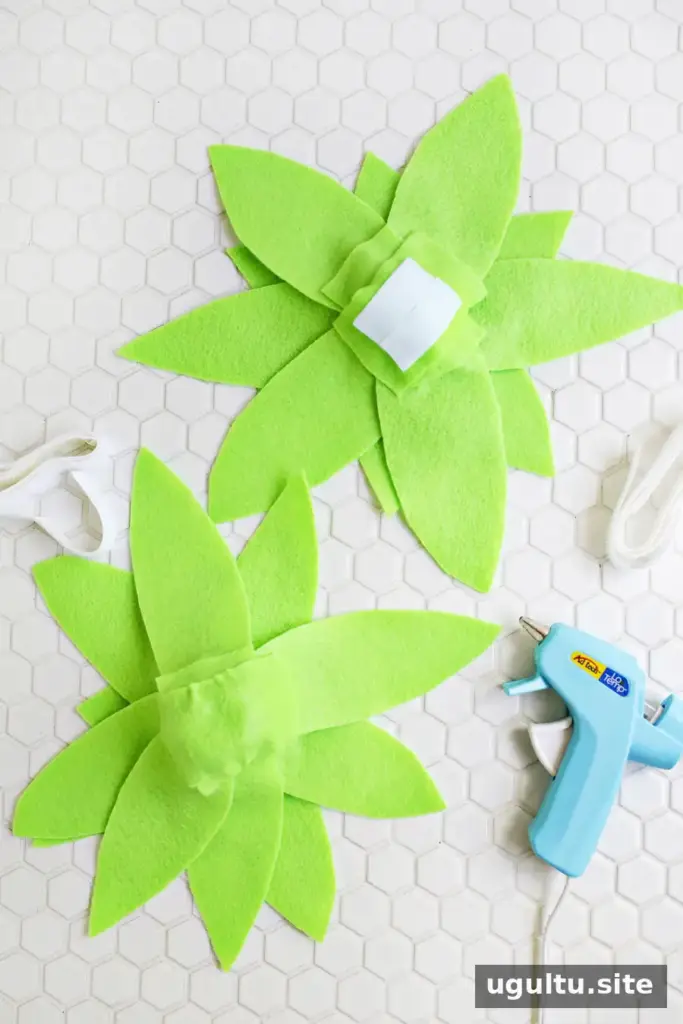
Cover each plant base with felt strips to create a smooth surface for the Velcro. Attach Velcro to the underside of each plant. This makes it easier to reposition the plants when arranging the finished display.
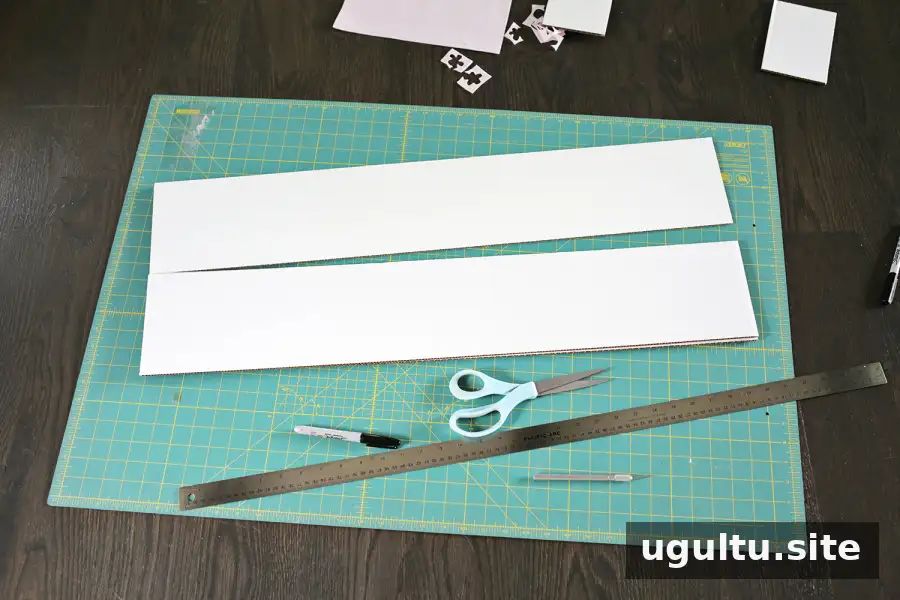
Measure the inside of the window box and cut cardboard to fit those dimensions exactly.
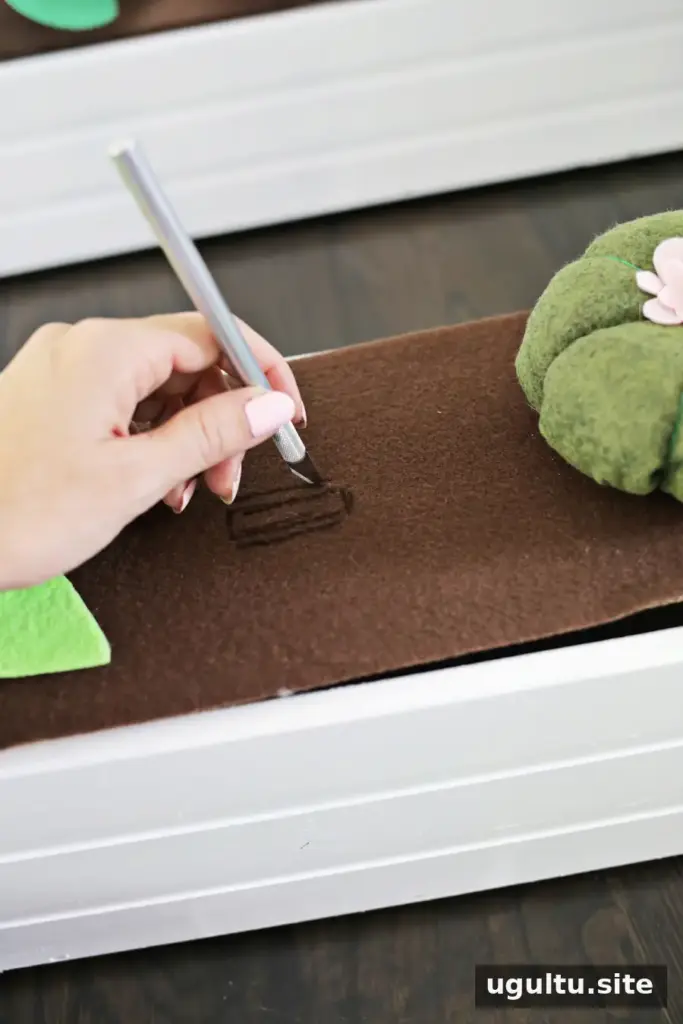
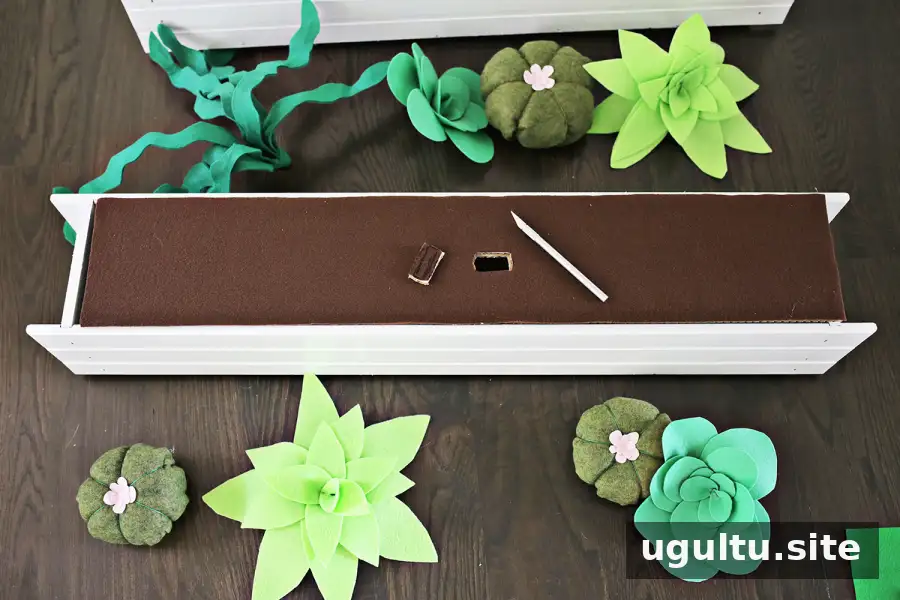
Trace the cardboard onto brown felt, cut out the shape, and attach the felt to the cardboard with hot glue. Mark where the ric-rac cactus should sit, then carefully cut a snug opening with an X-Acto knife so its base can fit through.
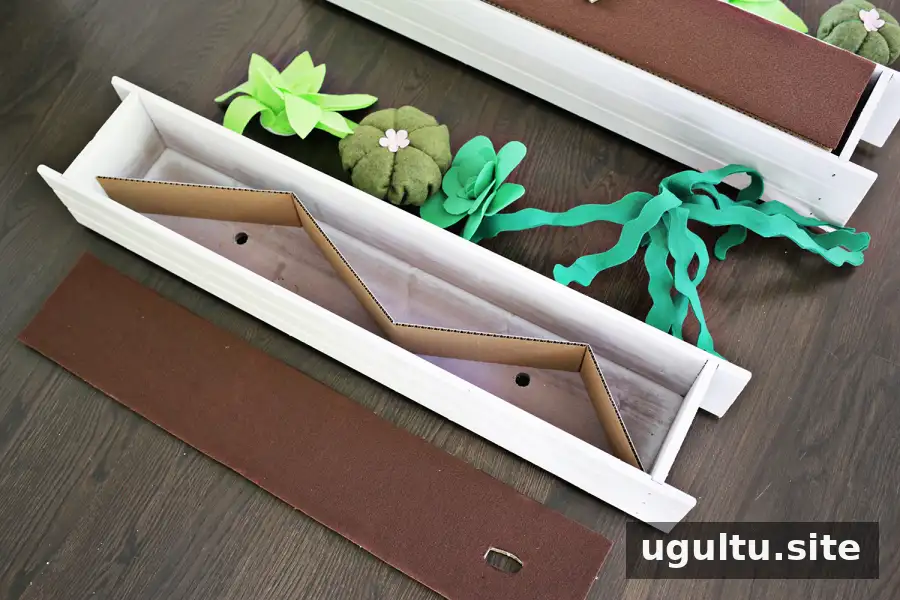
To support the felt-covered board, cut a long strip of cardboard that uses most of the window box’s depth. Fold it back and forth in a zigzag inside the box. Set the felt board on top so the support keeps it from sinking.
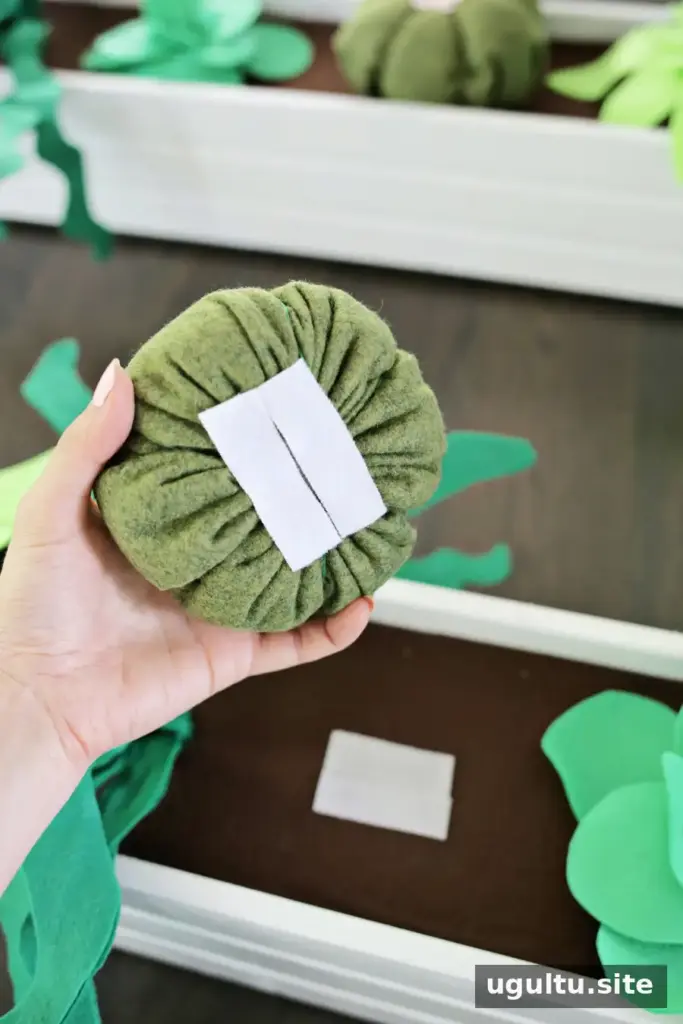
Attach the matching Velcro pieces to the brown cardboard insert, opposite the strips on the plants. Check that each plant sits securely, then arrange the display before hanging the box. Use a suitable, secure mounting method for the window box and the surface where it will be installed.
Add the mother-of-pearl succulent
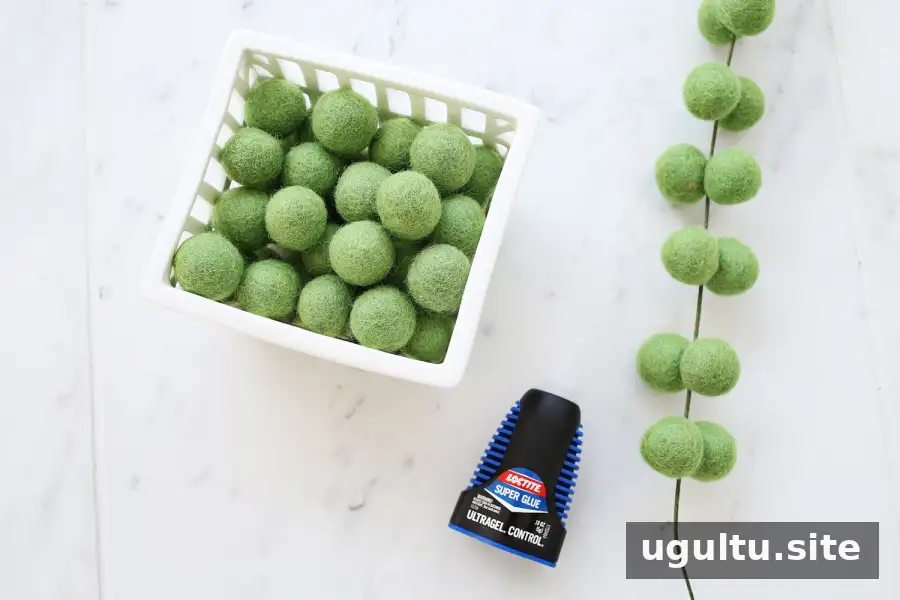
For the mother-of-pearl sections, use paper-covered floral wire, super glue, and green felt balls in two sizes. This style adds a different texture and silhouette alongside the layered leaves and cactus shapes.
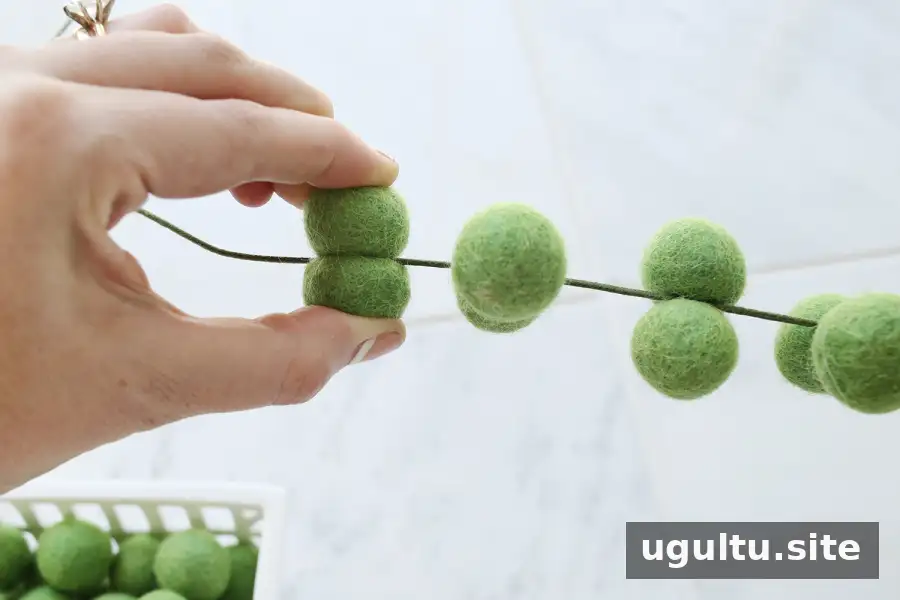
Apply super glue to one felt ball and press another against it for about 60 seconds, or until the pair is dry. Repeat to make the strands. Twist 3–4 pieces of wire together and add them to the window box.
Arrange and display your felt plants
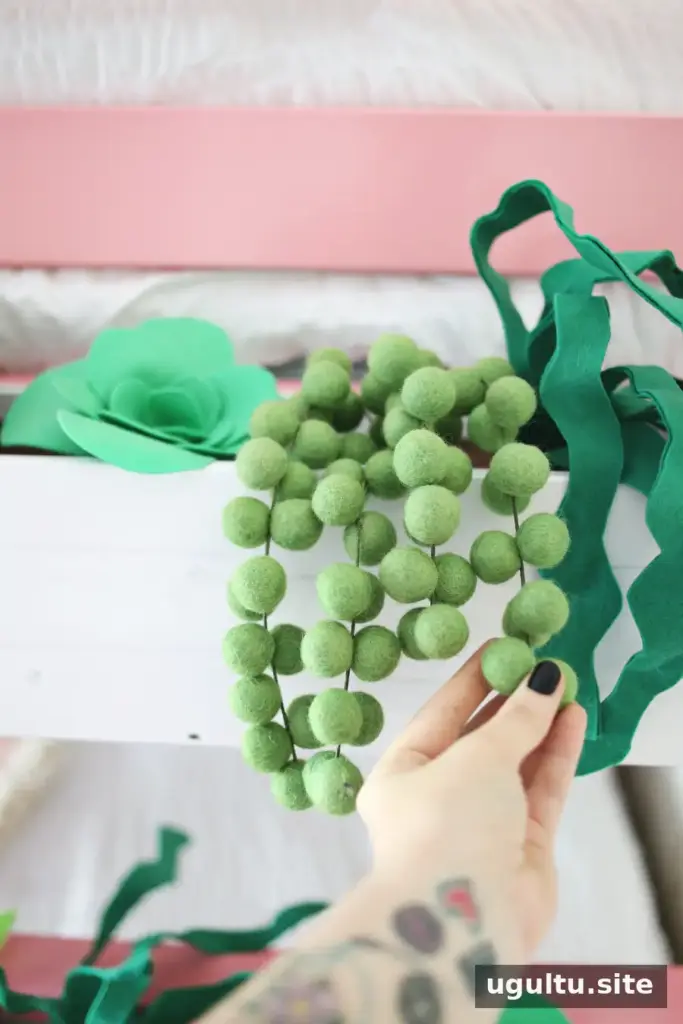
Once the plants are attached to the insert, adjust the wire-supported arms and rearrange the Velcro-backed pieces until the display looks balanced. Mixing the three plant shapes and different shades of green helps give the box a varied, garden-like appearance.
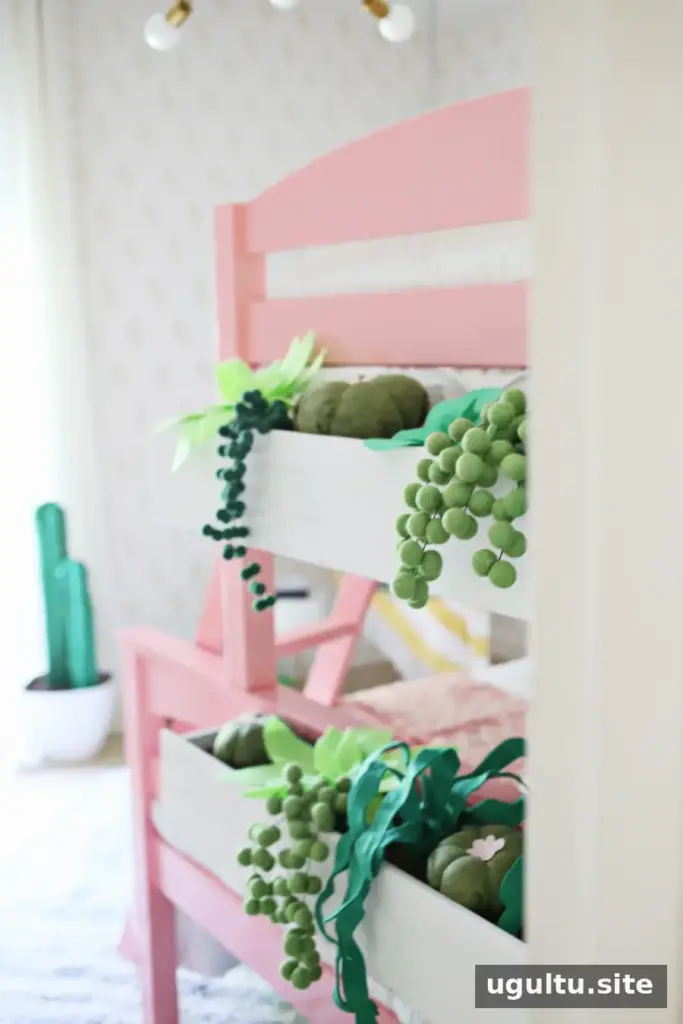
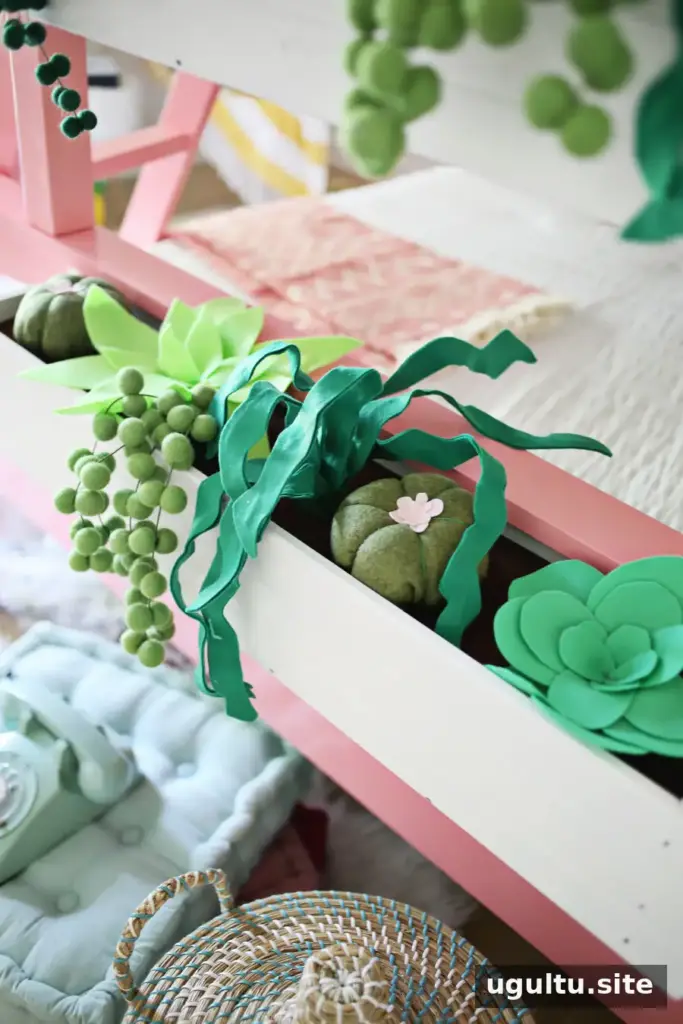
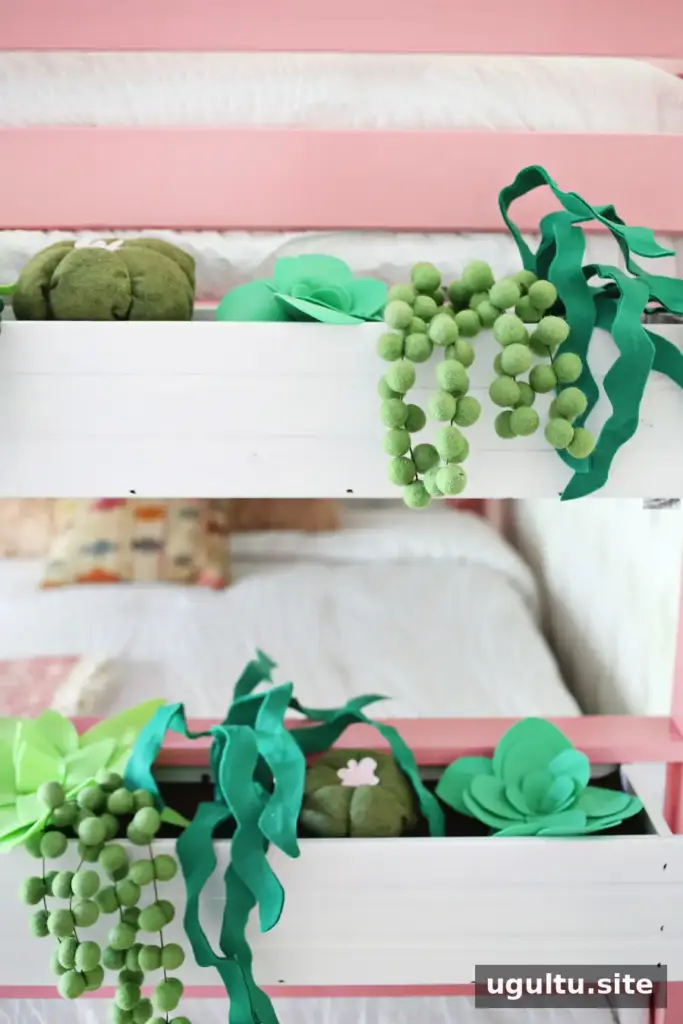
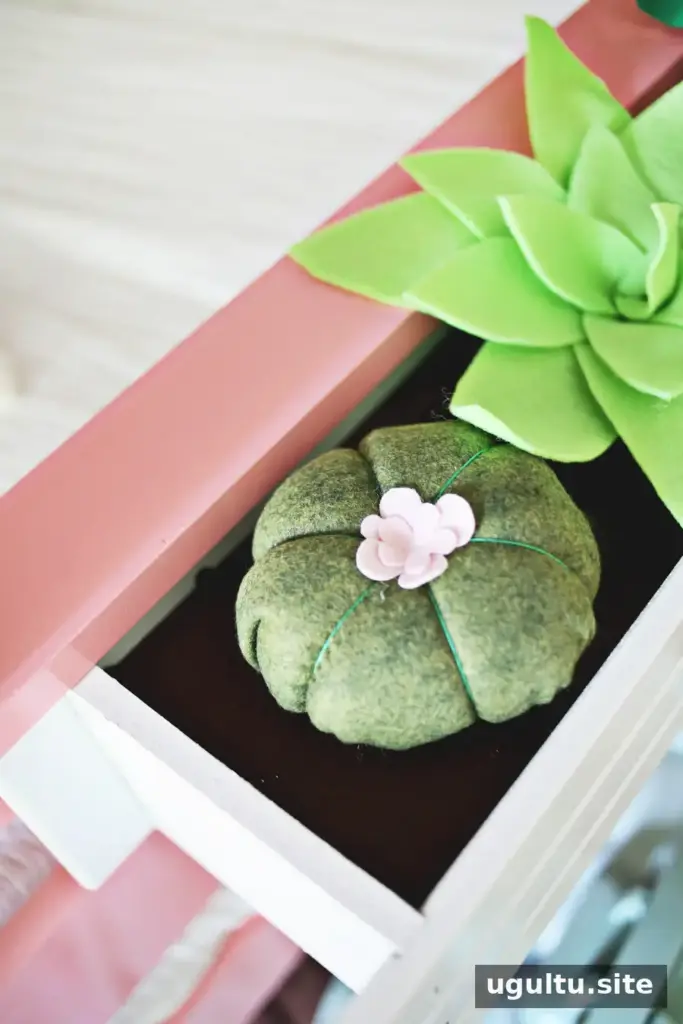
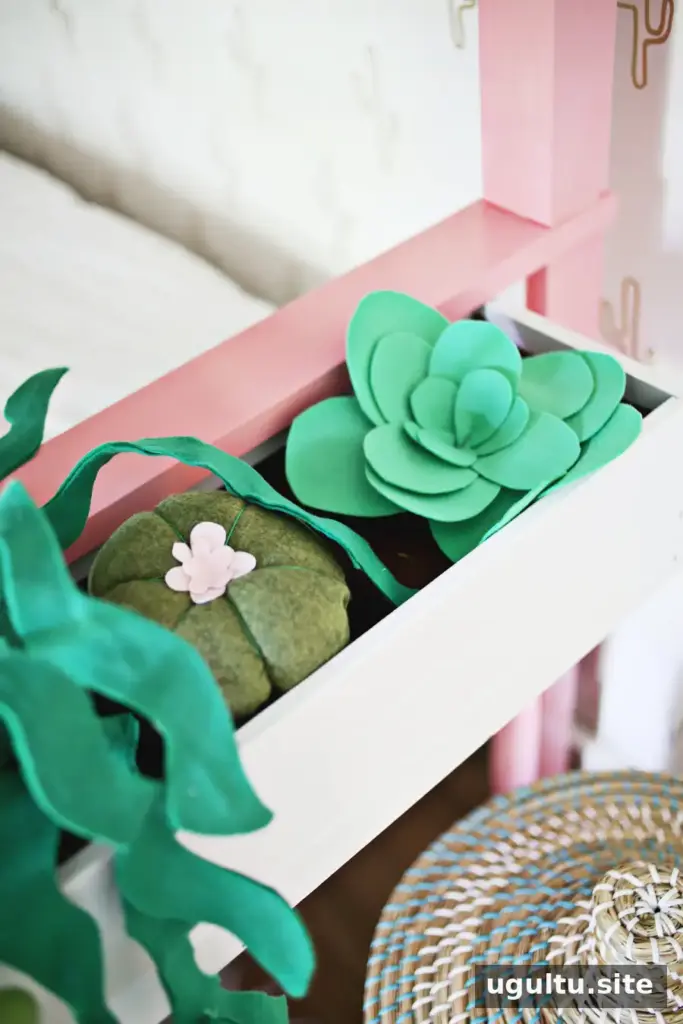
This project can be adapted for other planters, not just window boxes. Measure the container before cutting the cardboard insert, and make sure the plants and support fit securely. The result is a soft, low-maintenance decorative accent for a kid’s room or another indoor space. Project instructions by Elsie, created in collaboration with Laura.


