
 admin
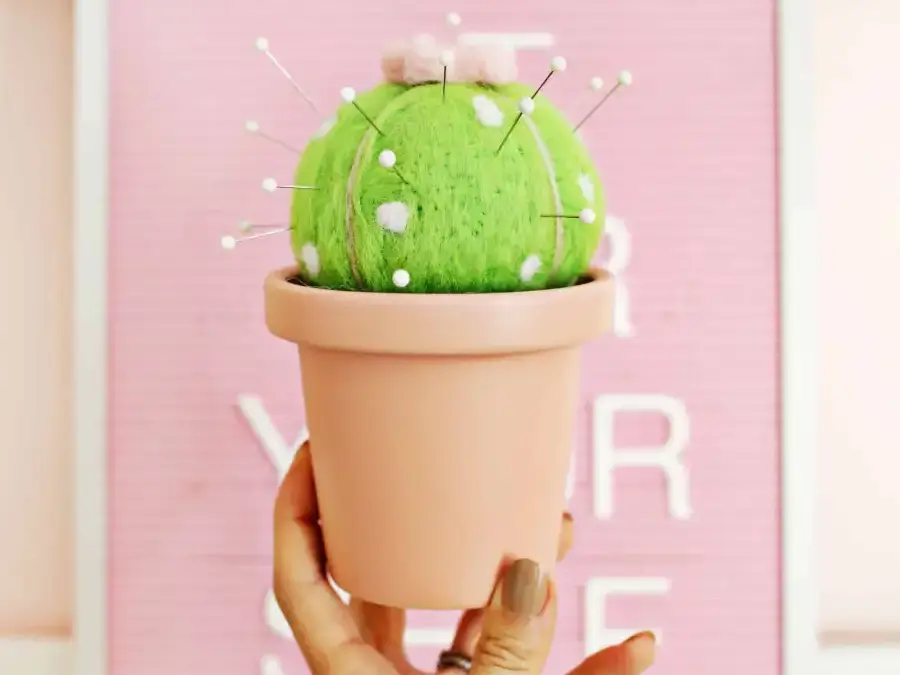
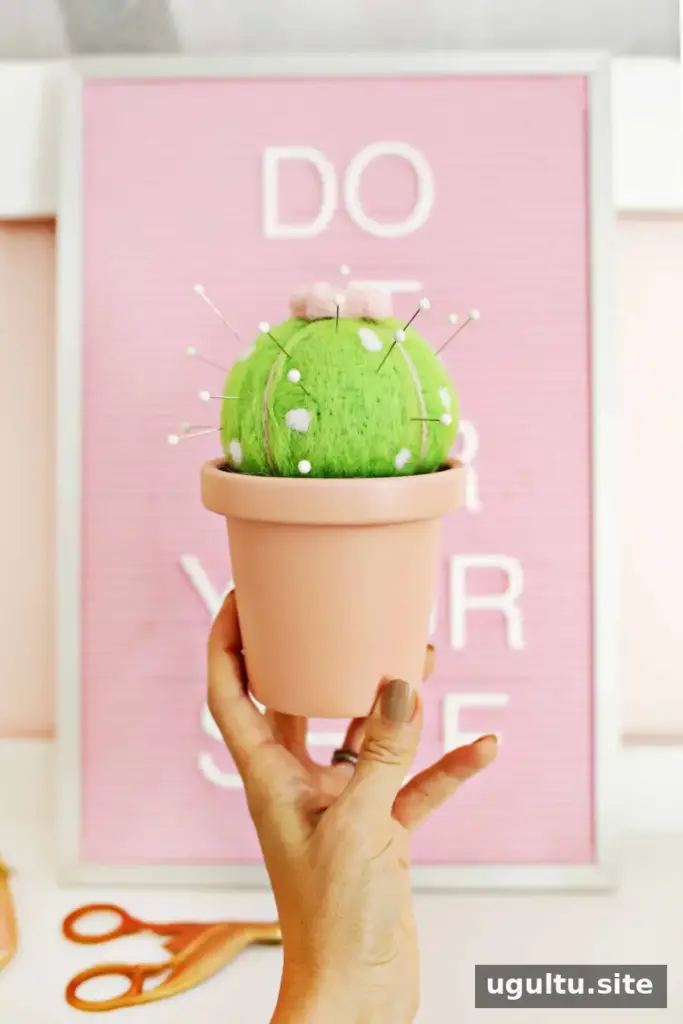
A felted wool cactus pincushion is a fun beginner project that turns loose wool fibers into a useful sewing accessory. With a felting needle, a little stuffing, and a few simple supplies, you can shape a barrel cactus, add decorative details, and mount it in a small planter. Work patiently and keep your fingers clear of the needle as you felt.
Supplies for a Felted Wool Cactus Pincushion
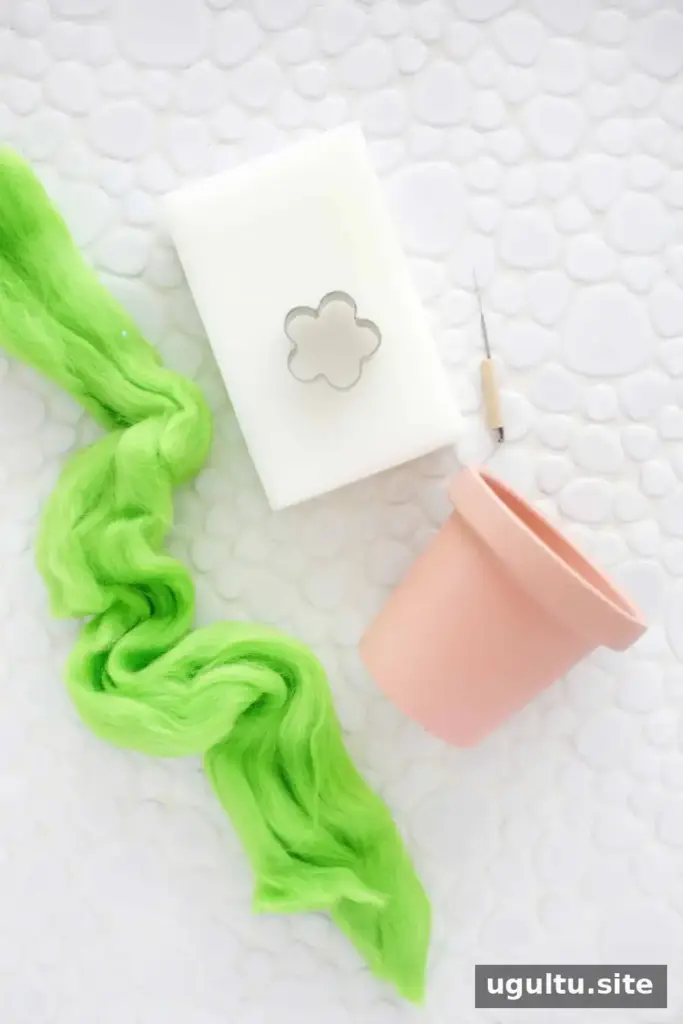
You’ll need:
- A wool-felting kit with wool, felting needles, and a foam mat. A larger cactus may require extra green wool.
- A multi-needle punch tool (optional; useful for covering larger areas).
- A small planter for the base.
- A small flower-shaped cookie cutter.
- A small amount of polyfill stuffing.
- A Styrofoam cone.
- A hot glue gun.
- A small piece of brown felt fabric.
Set up the foam mat on a stable work surface before you begin. It protects the surface beneath and gives the needle a safe place to pass through the wool.
Make the Cactus Body
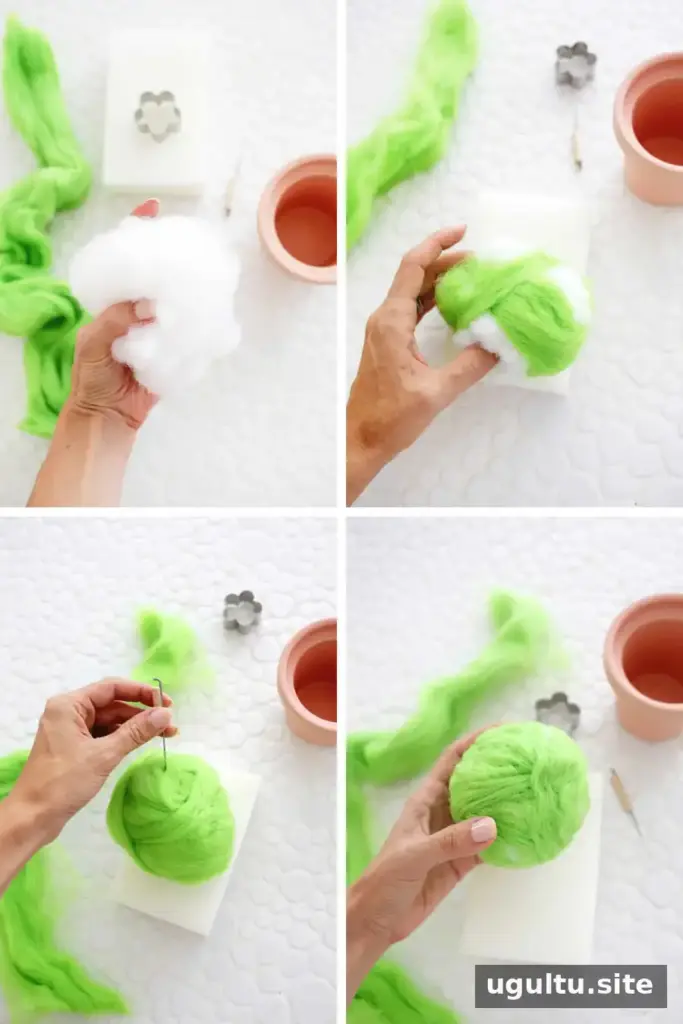
Shape the polyfill into a ball slightly larger than your intended cactus. Gently squeeze it to estimate the finished size, keeping in mind that felting will compact the wool covering. Pull off a section of green wool, called a weft, and tease it apart into thin, airy wisps. Wrap the wool around the stuffing in different directions until roughly two-thirds of the ball is covered.
Poke the wool with the felting needle in small sections, keeping the needle at a consistent angle to reduce the chance of breaking it. Continue until the fibers begin to interlock, then rotate the ball and repeat. Add more thin layers of green wool until the stuffing is fully covered. Felt the surface until it feels firm and has an even texture; the center will remain softer because of the polyfill.
A single needle offers control, while a multi-needle punch tool can speed up work on larger areas. If you are new to felting, try each tool on a small patch first to see which feels easier to handle.
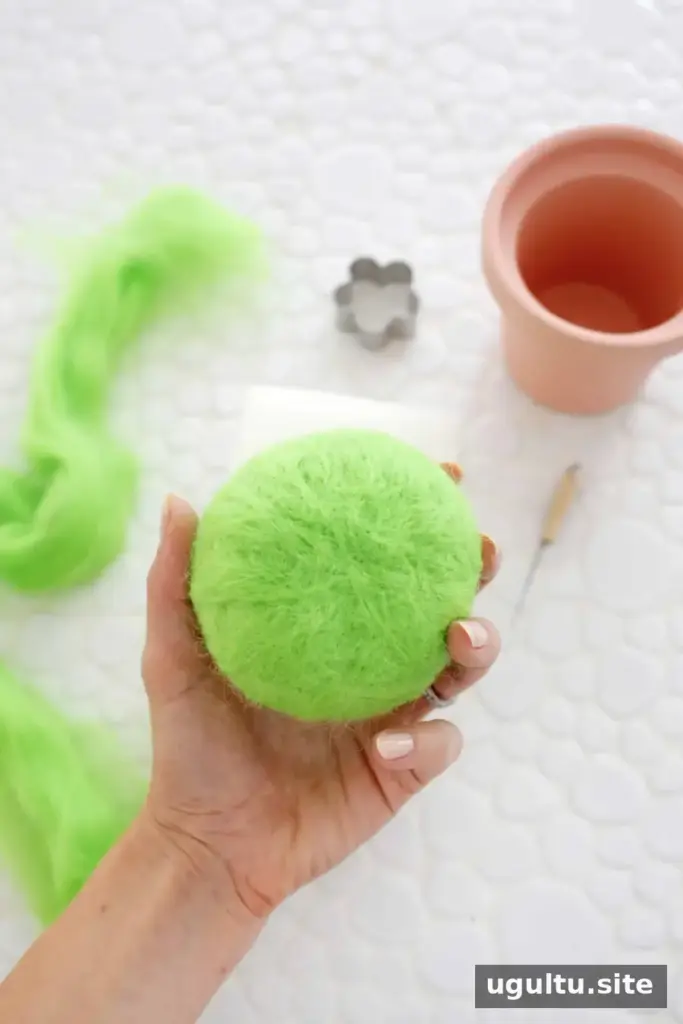
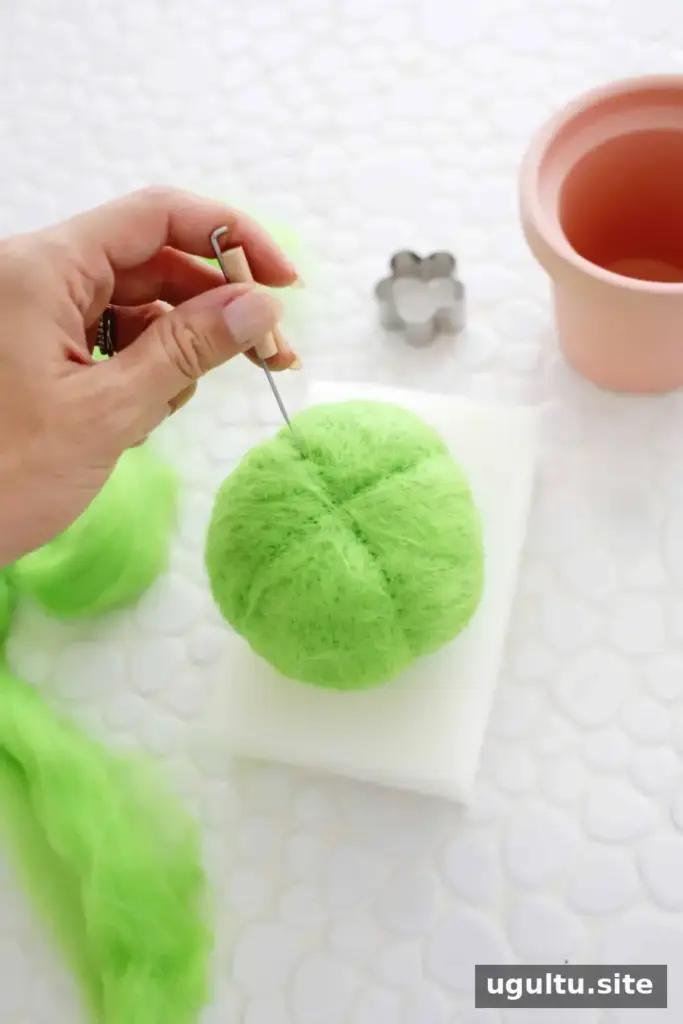
Choose the top of the cactus and make a small indentation there with concentrated needle punches. From the indentation, felt a straight channel down the side to the bottom. Repeat on the opposite side, then add two more channels to divide the ball into four sections. Rotate the cactus as needed so the lines are spaced evenly.
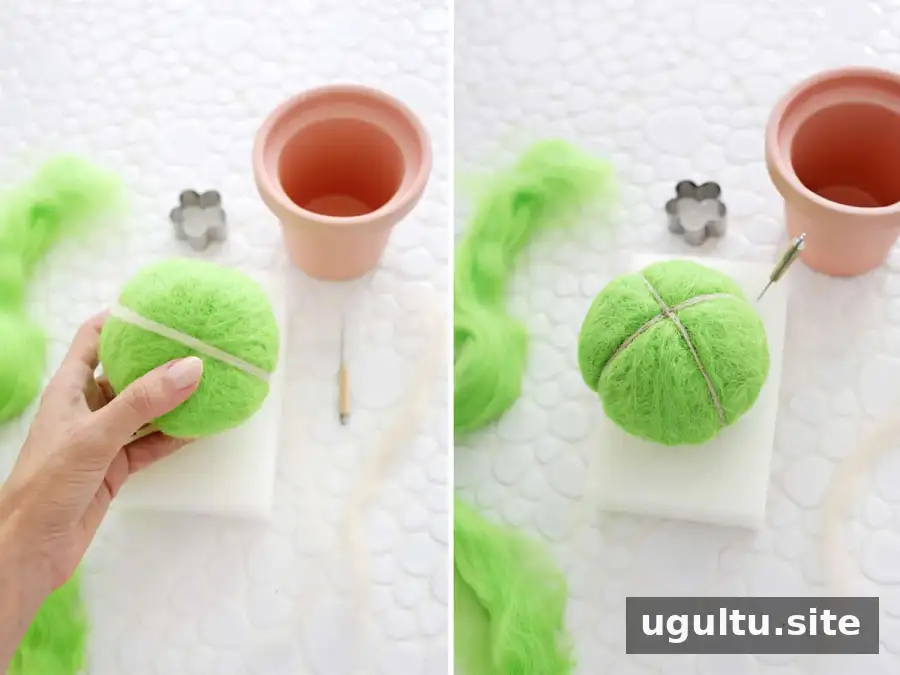
Pull a long, very thin weft of tan or brown wool. Center it over one of the channels, with its midpoint at the top of the cactus, and use the needle to attach it along the line. Repeat for the other channel. Add the wool gradually so the decorative lines stay narrow and follow the grooves.
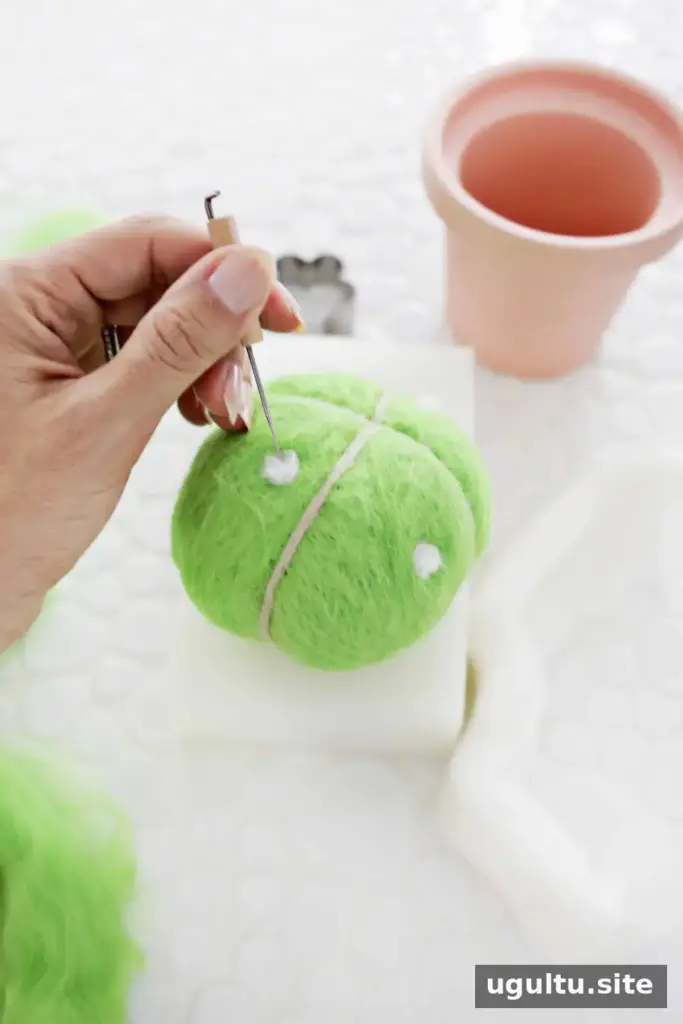
For the cactus’s white spots, roll small wisps of white wool between your fingertips to form little balls. Place each one on the cactus and needle-felt it in place. Start with a few pokes in the center, then use the needle tip to bring stray fibers back toward the spot. Leave the dots slightly raised if you want a textured finish.
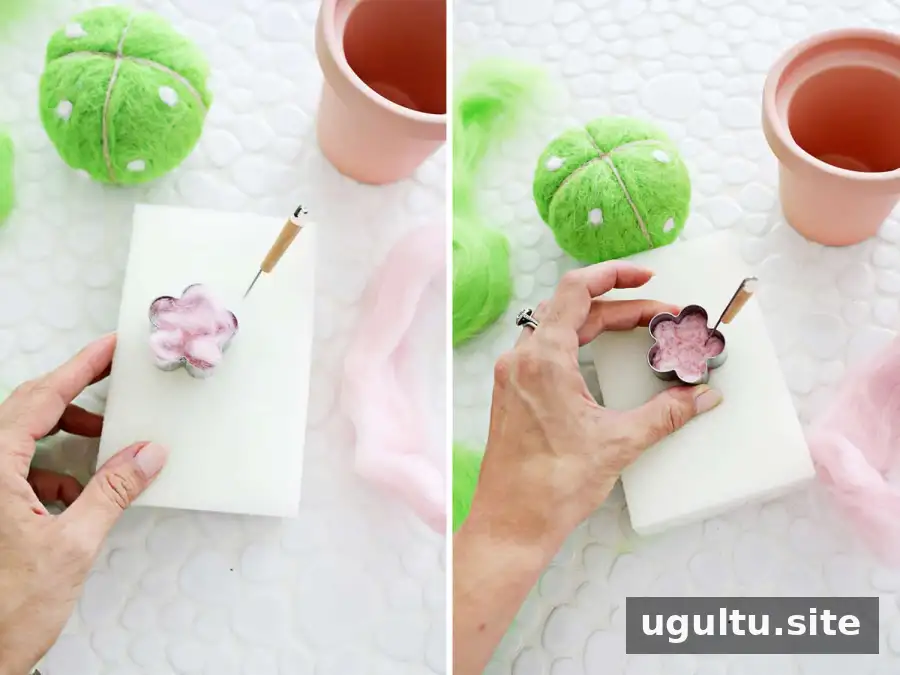
Felt and Attach the Flower
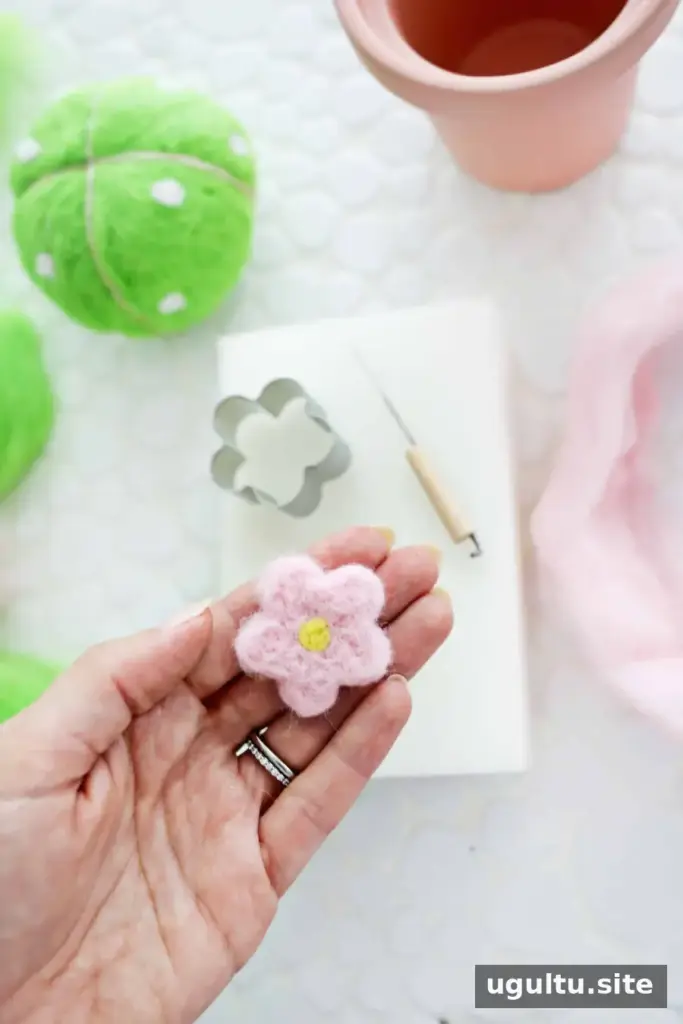
Place the flower-shaped cookie cutter on the foam mat. Pull the wool for the petals into thin wisps and arrange them inside the cutter until it is filled. Felt through the wool, working across the center and around the edges. Move the cutter to another area of the mat every five or six punches to help prevent the wool from sticking, and turn the flower over occasionally to felt both sides.
When the wool is compact, remove the cutter. To sharpen the outline, carefully felt along the flower’s side edges, keeping your fingers away from the needle. Add more definition where the petals meet and use lighter punches around their rounded edges. Make the flower center from a small wisp of a contrasting color and attach it with the same method used for the cactus spots.
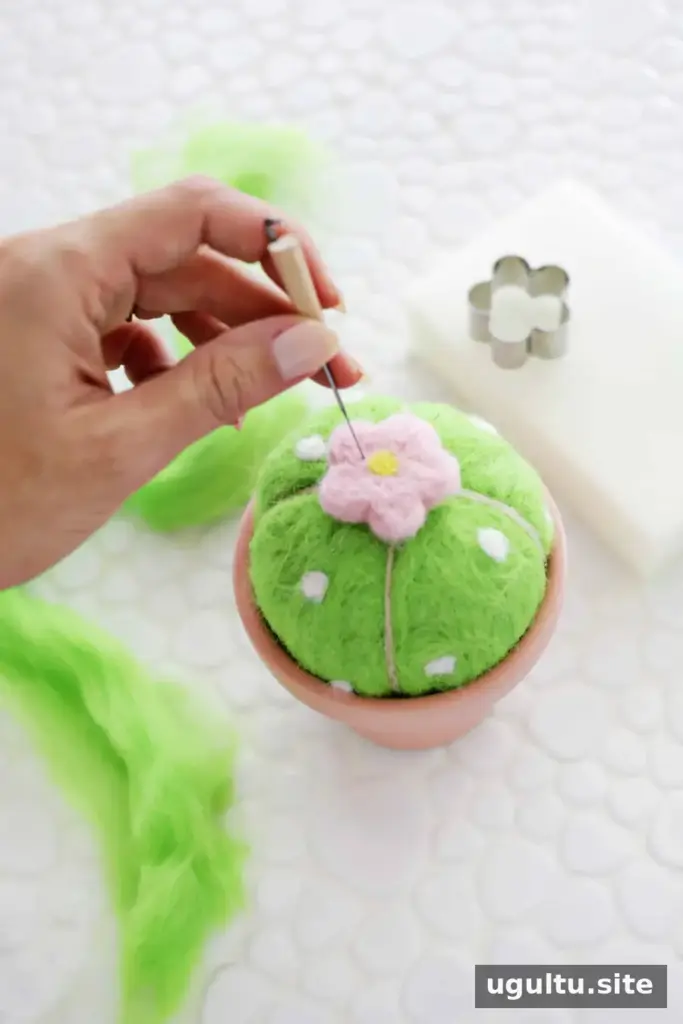
Position the flower on top of the cactus. Use the needle to punch through both pieces at several points until they are securely felted together.
Assemble the Planter Base
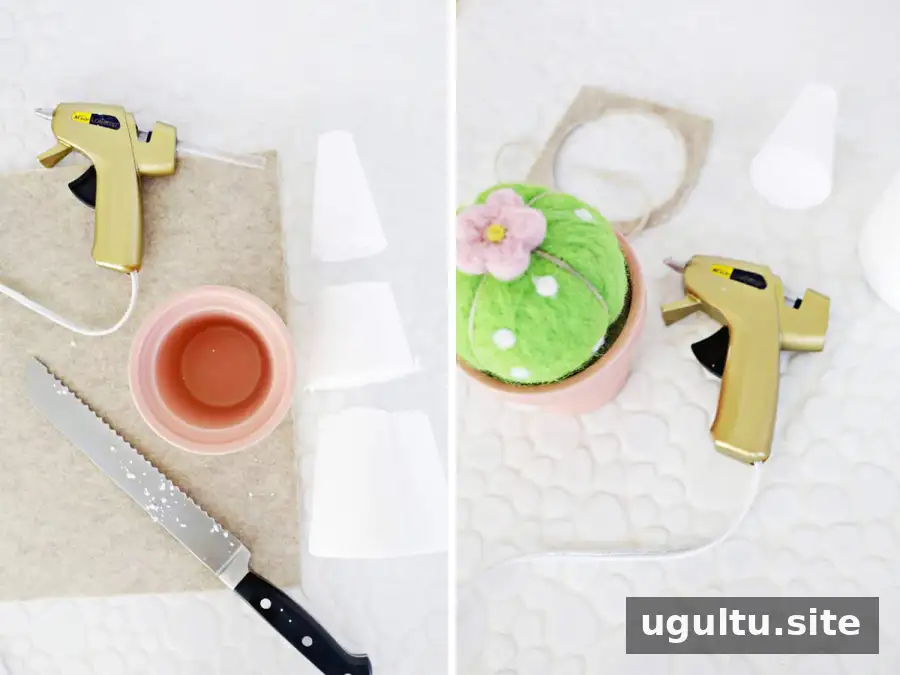
Trim the Styrofoam cone so it fits inside the planter, then secure it with hot glue. Cut a circle of brown felt to cover the top of the cone and glue it in place. Finally, glue the cactus onto the felt-covered base. Take care when using hot glue, and allow it to cool before handling the finished arrangement.
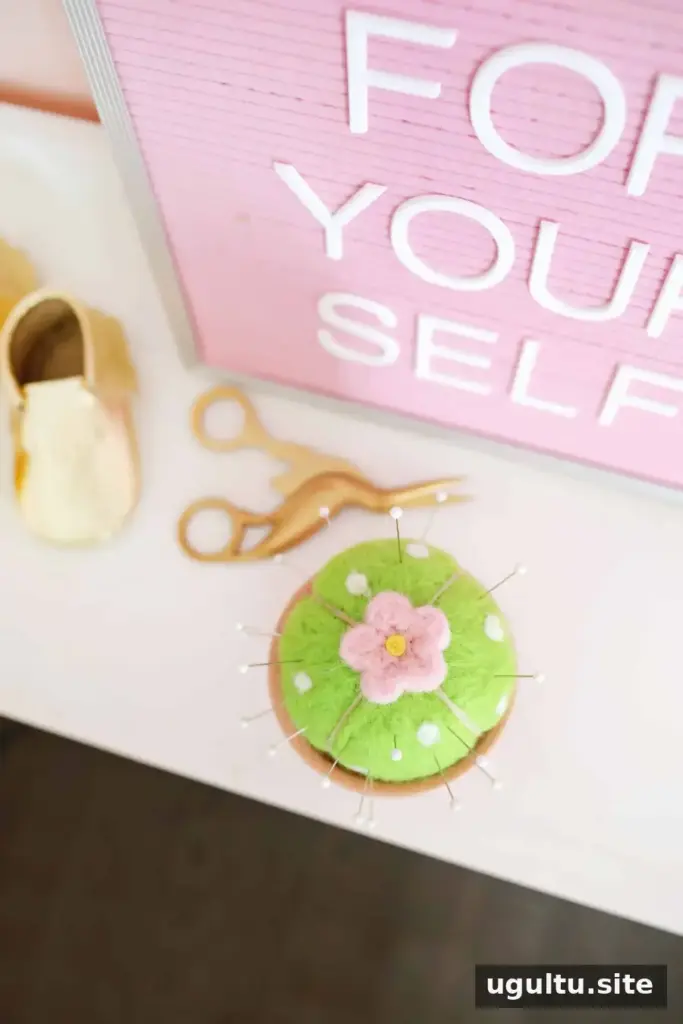
Finish Your Felted Wool Cactus Pincushion
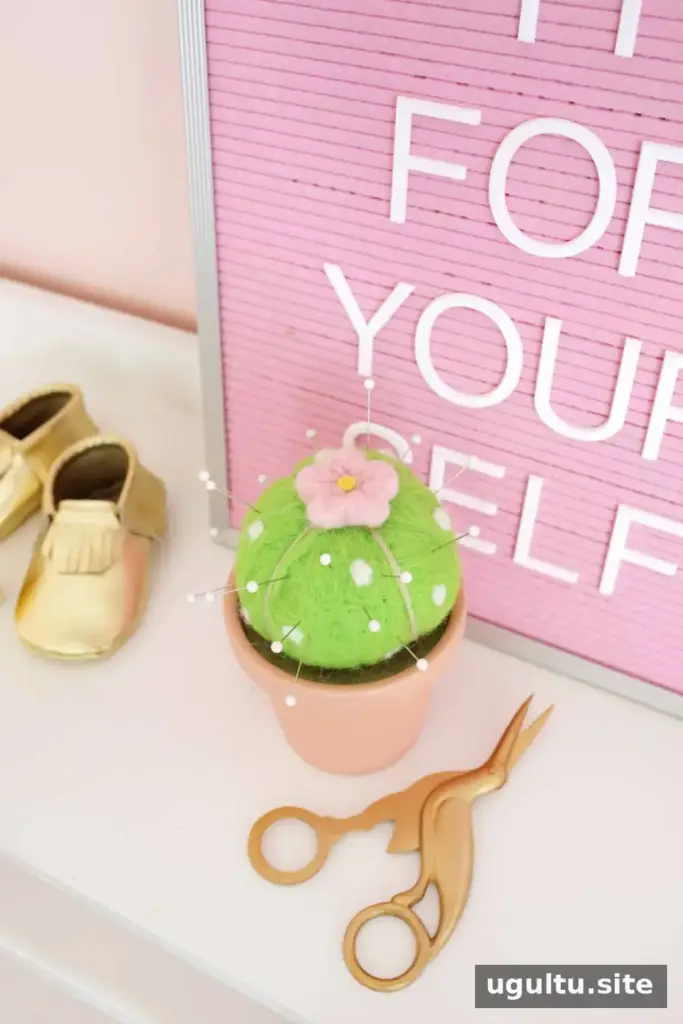
Your felted wool cactus pincushion is ready to use. Its rounded body, raised spots, and small flower make it both a practical place to keep pins and a decorative addition to a sewing space. For best results, insert pins into the felted cactus body rather than the planter or its glued base. — Laura


