
 admin
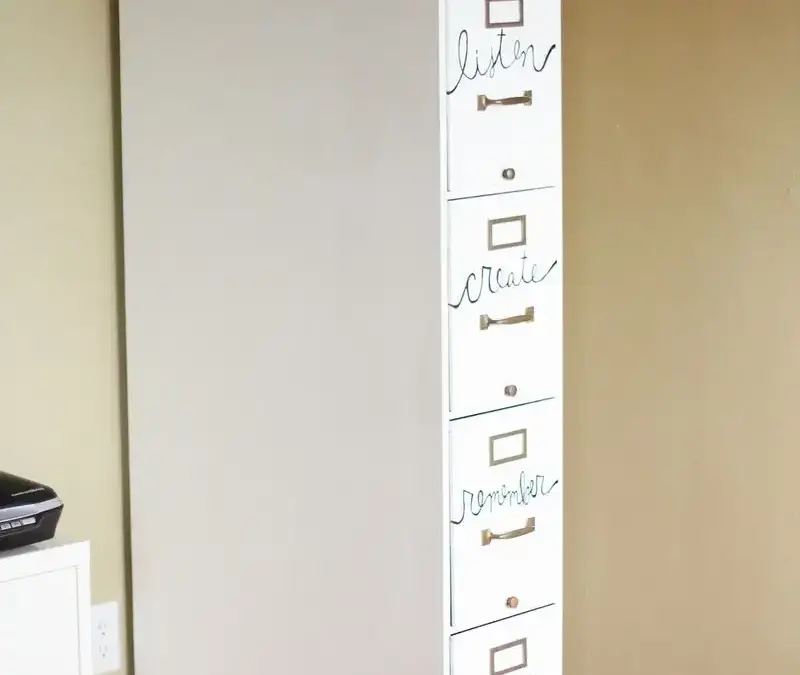
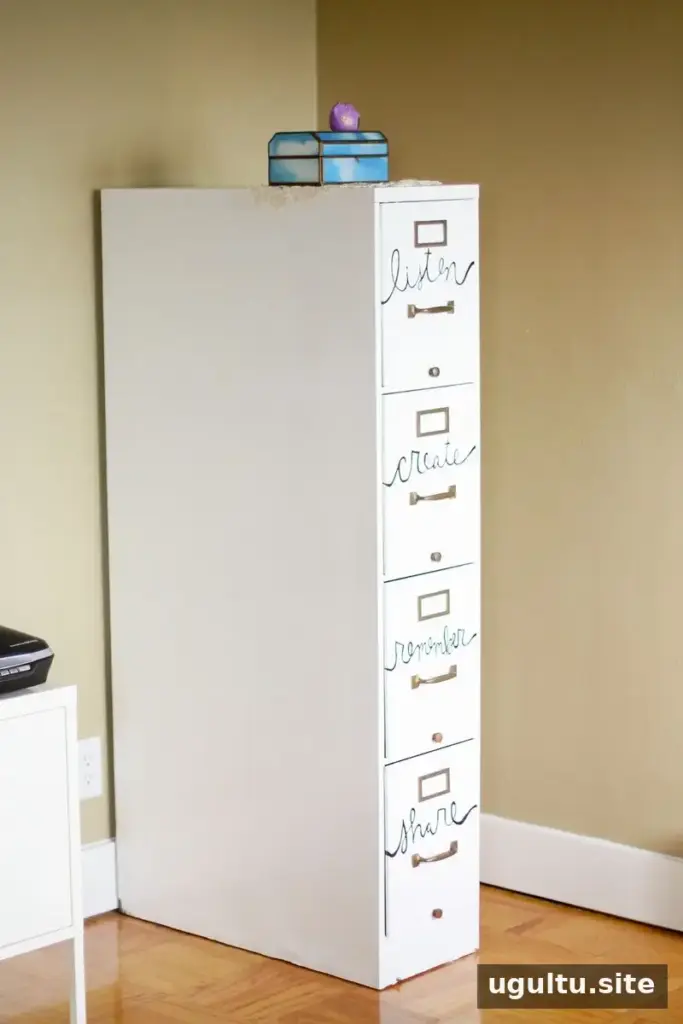
A file cabinet makeover can give a sturdy secondhand piece a fresh look while keeping it useful for everyday storage. This project updates a large metal cabinet with paint and hand-lettered drawer labels. Before starting, check that the cabinet is stable and that the drawers open smoothly; a clean, functional surface makes the painting process easier.
Prepare the file cabinet for painting
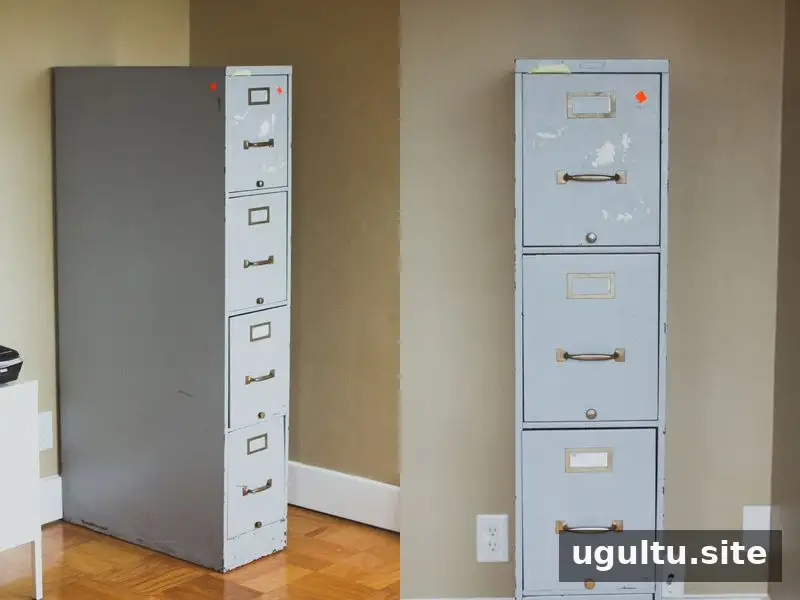
The cabinet was dirty and had sticker residue on several drawers. Remove any residue, then wipe the drawers and cabinet surfaces with paper towels and water. Let the metal dry completely before applying paint. Clean surfaces help paint go on more evenly, while leftover grime or adhesive can affect the finish.
Materials
- A metal file cabinet
- Painter’s tape
- A 2-inch paintbrush and a small paintbrush
- Black acrylic paint
- All-surface enamel acrylic paint suitable for metal
If you are unsure which paint is appropriate, ask a paint specialist for a product intended for metal surfaces. Read the label for application and drying instructions, and work in a well-ventilated area.
Paint the drawers and cabinet
Cover the drawer hardware with painter’s tape, taking care to protect the parts you do not want painted. Accuracy helps create clean edges, but small areas can be touched up later with a fine brush. Apply 3–5 coats of paint, allowing each coat to dry as directed on the paint label. Several thin coats can make it easier to achieve an even-looking finish than applying one heavy coat.
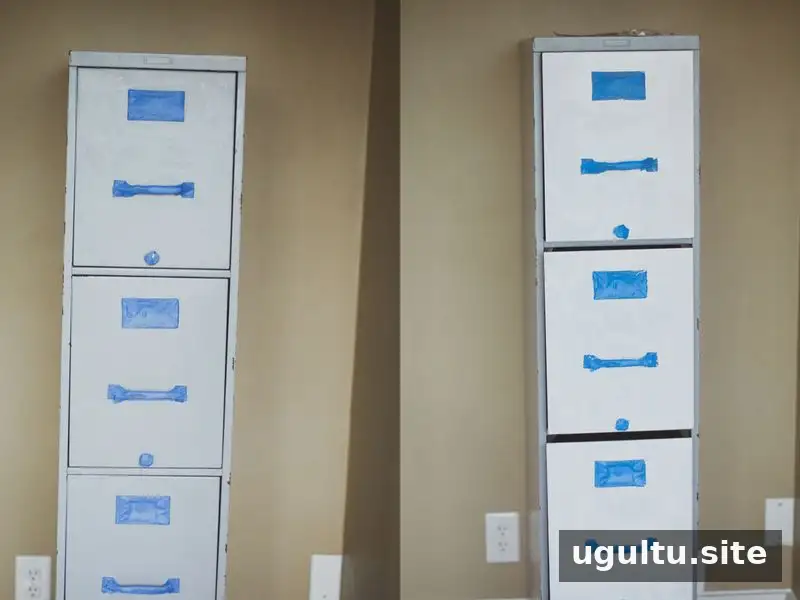
After painting the drawers, keep the hardware covered and paint the rest of the cabinet. Once the paint is ready for the next step, remove the tape and paint the inside of the label areas. Follow the product’s drying guidance before handling the painted surfaces.
Add custom drawer labels
Sketch the words on tracing paper first. This gives you a chance to estimate the lettering size and placement before marking the drawer fronts. Lightly sketch each word where you want it to appear, keeping the labels easy to read and consistent across the drawers.
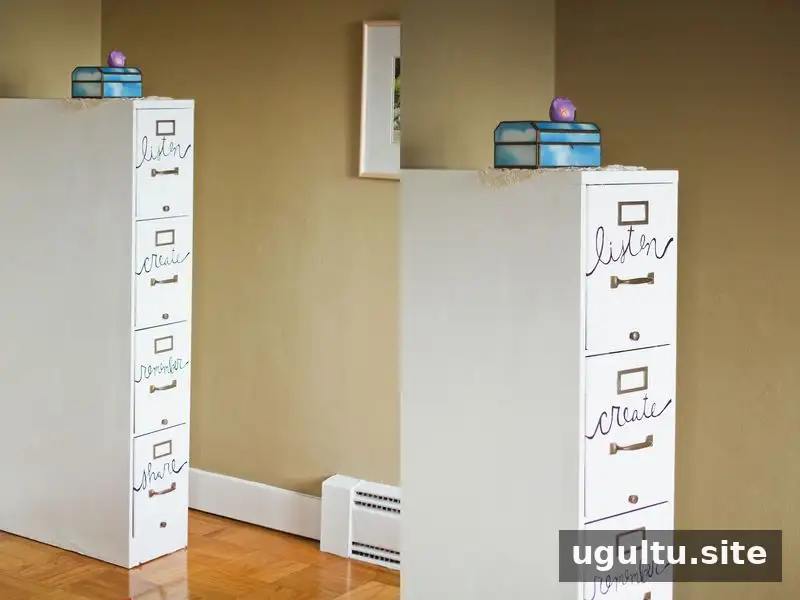
The labels used for this project were “Listen” for sheet music, “Create” for cookbooks and DIY books, “Remember” for paperwork, and “Share” for miscellaneous items. Choose labels that match what you plan to store, so the cabinet is easier to organize and use.
With a small paintbrush, carefully paint over the sketched lines. Work slowly and use a light touch; a small brush makes it easier to control the lettering. Let the labels dry completely before putting items back into the drawers.
Enjoy the finished file cabinet makeover
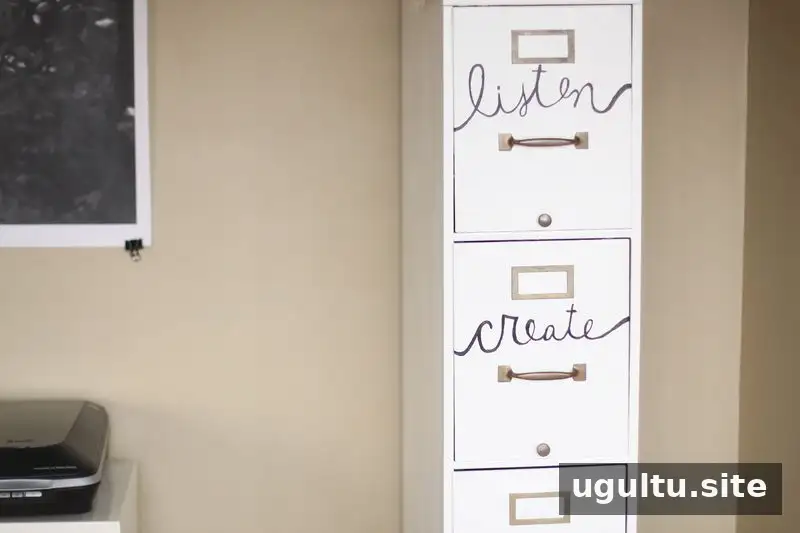
The refreshed cabinet combines practical storage with a personal touch. For a lasting result, follow the paint’s stated drying and curing instructions before regular use, and avoid scraping the newly painted surfaces while they set.
Project by Kara


