admin
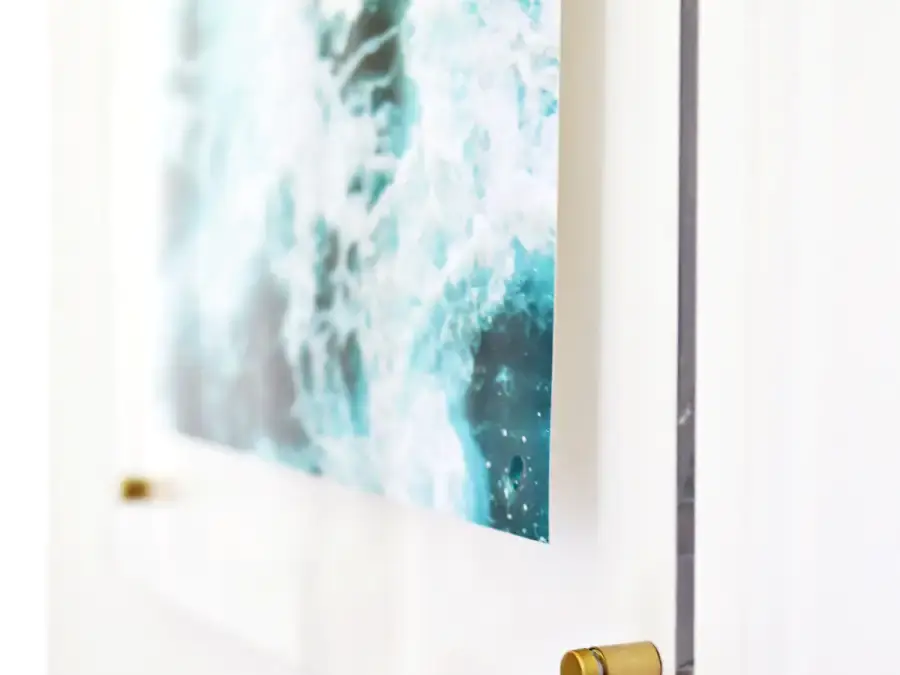
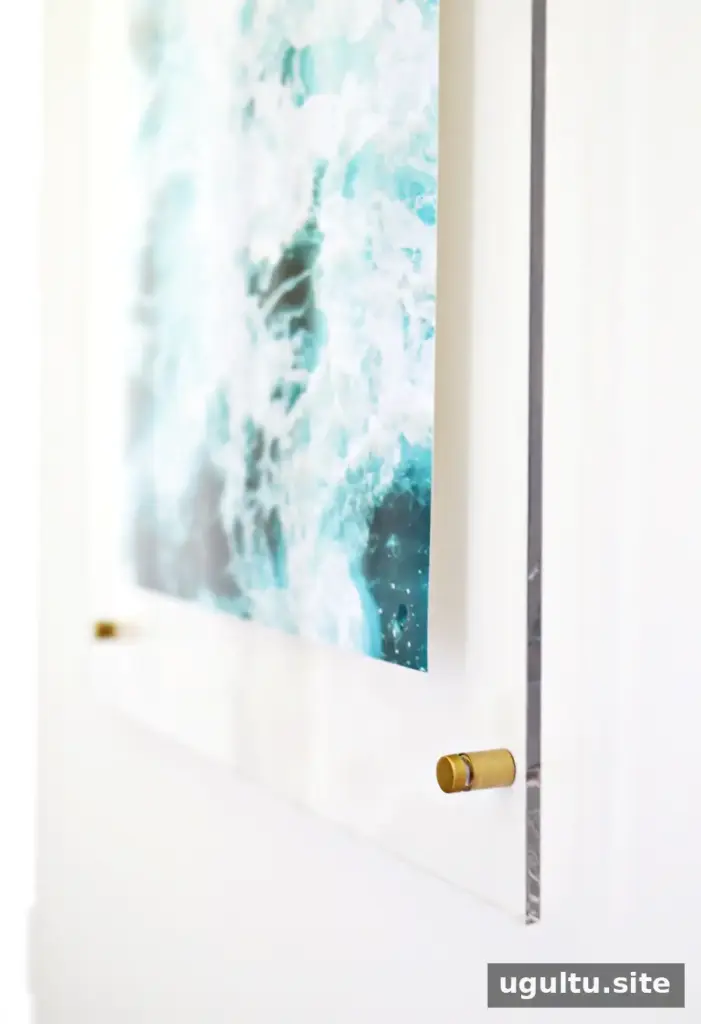
A Floating Acrylic Frame DIY project is a simple way to display a favorite photo with a clean, modern look. The clear sheet and standoff hardware create a light, floating effect, while a large print can make the frame a statement piece. The process is manageable with basic tools, but careful measuring and gentle drilling help prevent cracks and misaligned holes.
The project described here costs about $40. The acrylic should be a few inches larger than the photo, and many home improvement stores can cut it to size. Read through the steps before starting so you can choose screws that fit the mounting hardware and plan where the frame will hang.
Floating Acrylic Frame DIY: Supplies and Tools
- A sheet of acrylic a few inches larger than your photo
- Standoff mounting hardware and compatible screws
- A printed photo and printer paper; the example uses a 13×19-inch print on Luster paper
- A drill, drill bits, and a screwdriver
- Painter’s tape and glue dots
- Gold spray paint, if you want to change the hardware’s finish
- Scrap wood to support the acrylic while drilling
Before buying screws, take the standoff hardware with you and check that the screw head fits inside the hardware tube. Also confirm that the wall and fasteners can support the finished frame.
How to Make the Acrylic Photo Frame
1. Print and prepare your photo
Print the image to suit the size of your acrylic sheet. The example uses a 13×19-inch print on Luster paper. If your printer supports borderless printing, selecting that option in the print settings can prevent a white margin from appearing around the image.
2. Mark and drill the acrylic
Apply painter’s tape to the front and back of each corner, then mark the hole locations on the tape. Place scrap wood beneath the sheet to protect your work surface and support the acrylic. Start with a small drill bit. The original method recommends beginning the hole, then switching the drill to reverse and applying steady pressure to finish it. Gradually increase the bit size until the holes fit the standoff hardware.
Work carefully to reduce the risk of cracking. Keep the sheet supported, avoid forcing the bit, and wear eye protection. Once drilling is complete, remove the tape and any protective film.
3. Attach the photo and install the hardware
Use glue dots to hold the photo face down against the acrylic. Center the frame on the wall where you plan to hang it, and mark the wall through the acrylic’s holes. Set the frame aside and pre-drill small pilot holes at the marks. Measure carefully: standoff mounts leave little room to correct holes that do not line up.
Spray-paint the mounting hardware gold if desired and let it dry completely. Attach the tube sections to the wall with suitable screws and a screwdriver. Align the acrylic’s holes with the mounts, then fit and tighten the front screws to secure the sheet.
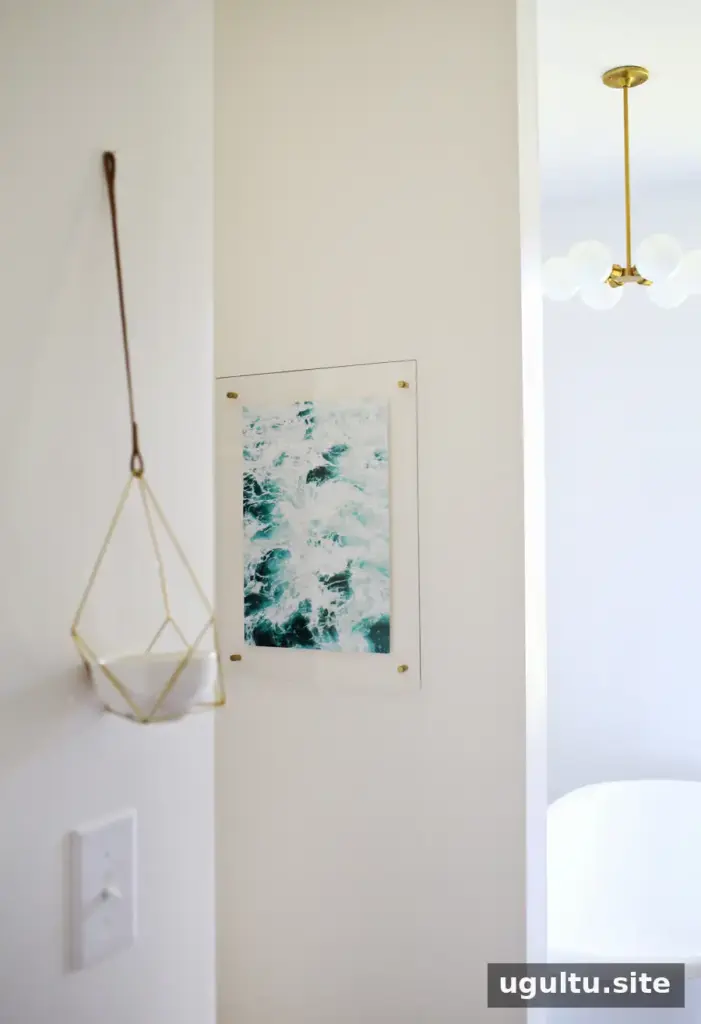
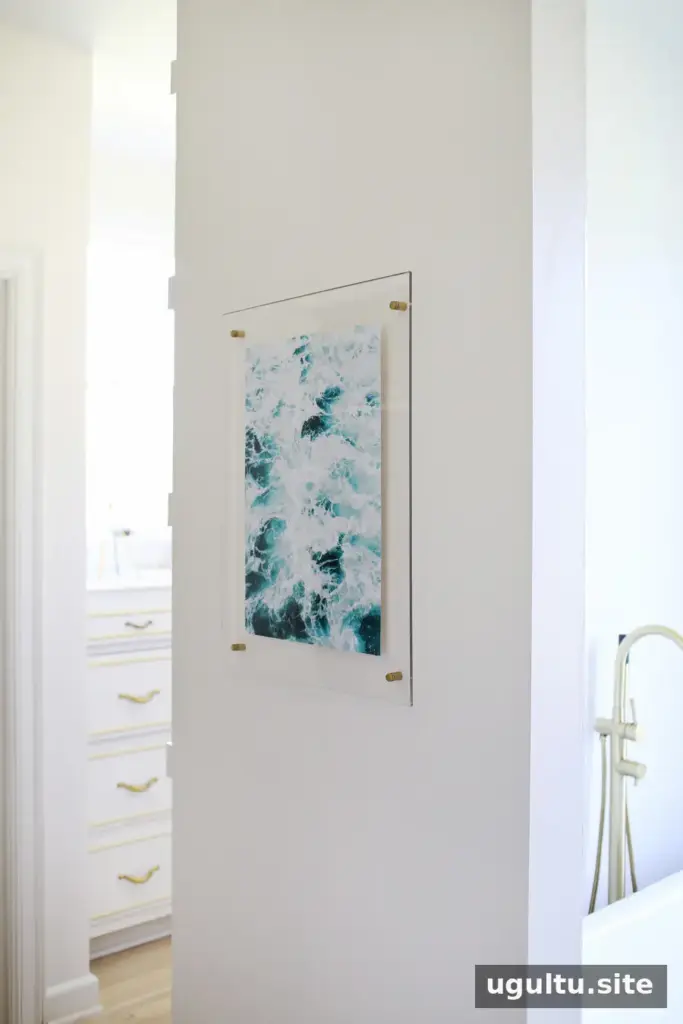
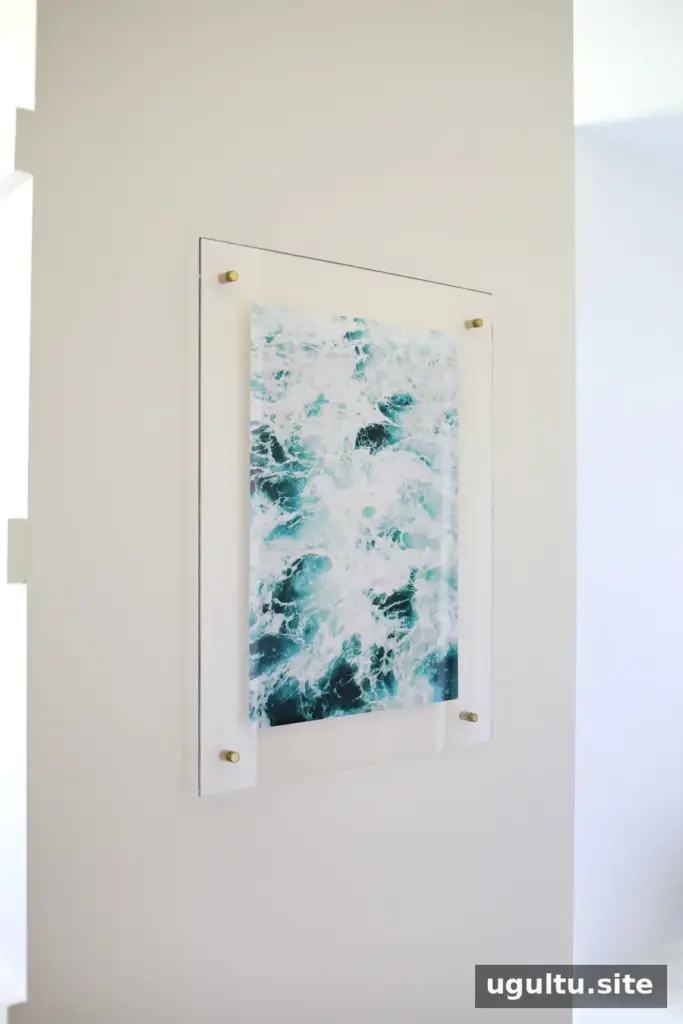
The finished frame has a clean, contemporary appearance, and the clear acrylic keeps the display feeling open. A busy image may make small glue dots less noticeable; for a simpler image, position the dots where they are least visible.
The example photo was taken by Arielle Vey. Choosing an image that suits the room can help the frame feel intentional: a soft, understated print may work well in a dressing room, while a bolder image can serve as a focal point elsewhere.
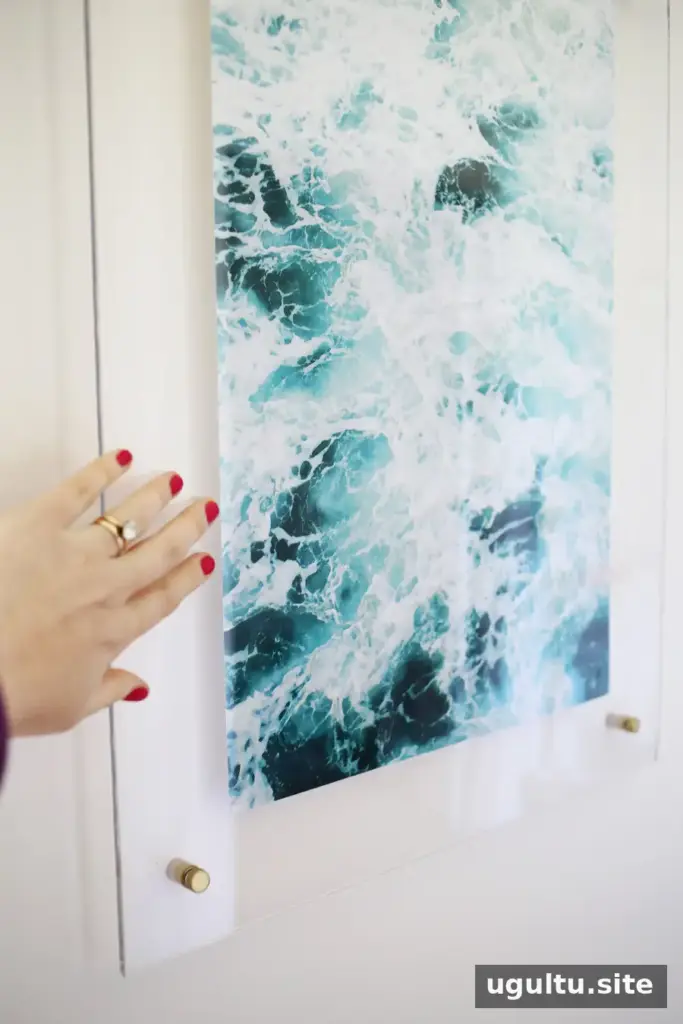
Acrylic has a substantial feel, so plan the hanging location and hardware before installation. For larger or heavier pieces, use wall fasteners appropriate for the wall material and the frame’s weight.
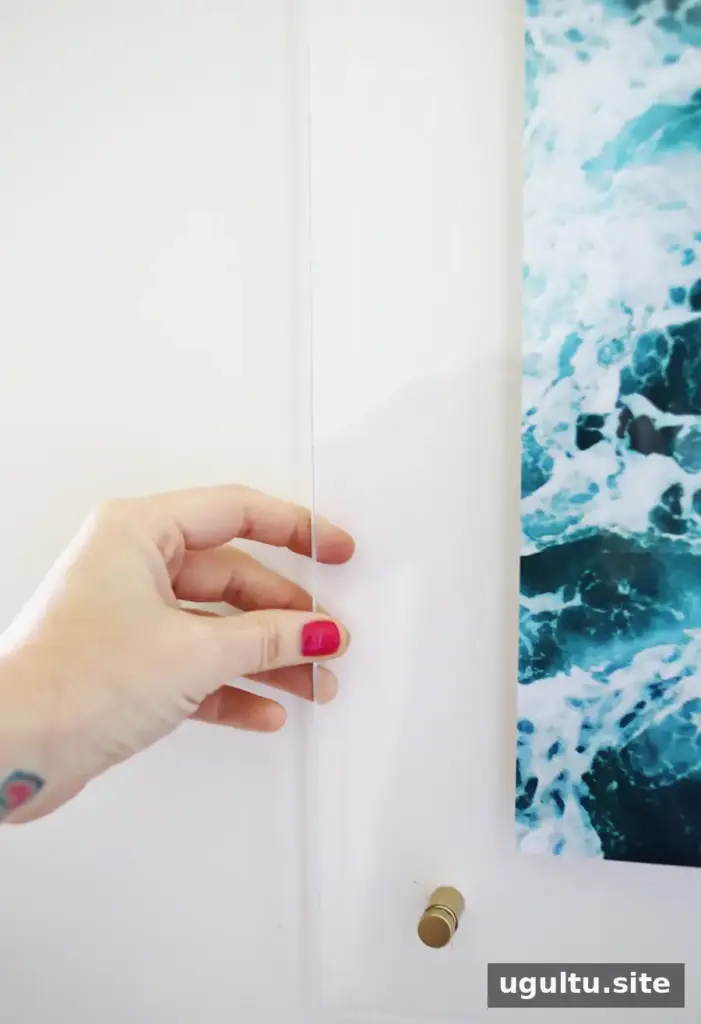
This project is a practical option for displaying one larger image instead of arranging several small pieces. Before tightening the front screws, check that the photo is centered and the frame sits level. That final adjustment helps the finished display look neat and balanced.
With accurate measurements, compatible standoff hardware, and careful drilling, a Floating Acrylic Frame DIY project can create a polished photo display for many rooms. The key steps are to support the acrylic while drilling, match the screws to the hardware, and choose a print that works with the space. Instructions by Elsie.