
 admin
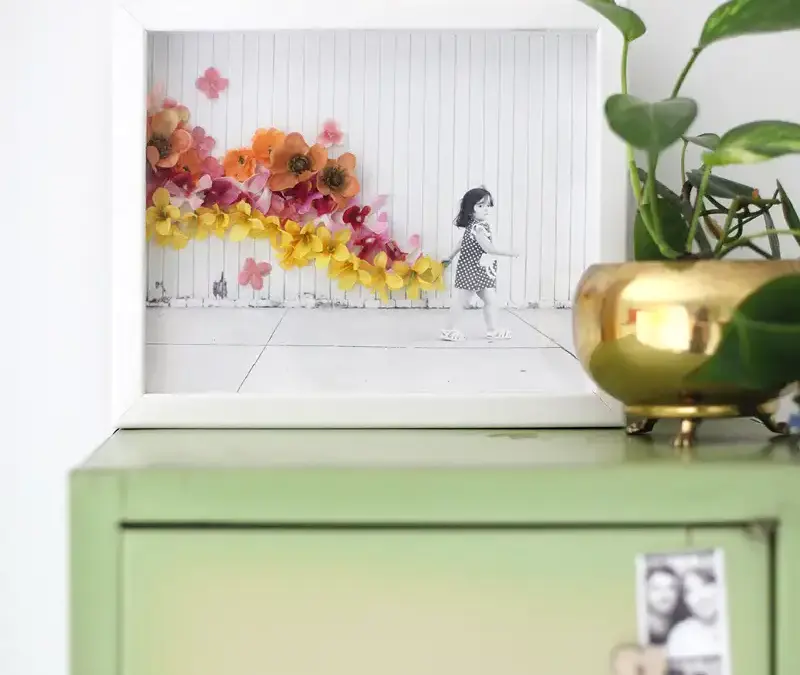
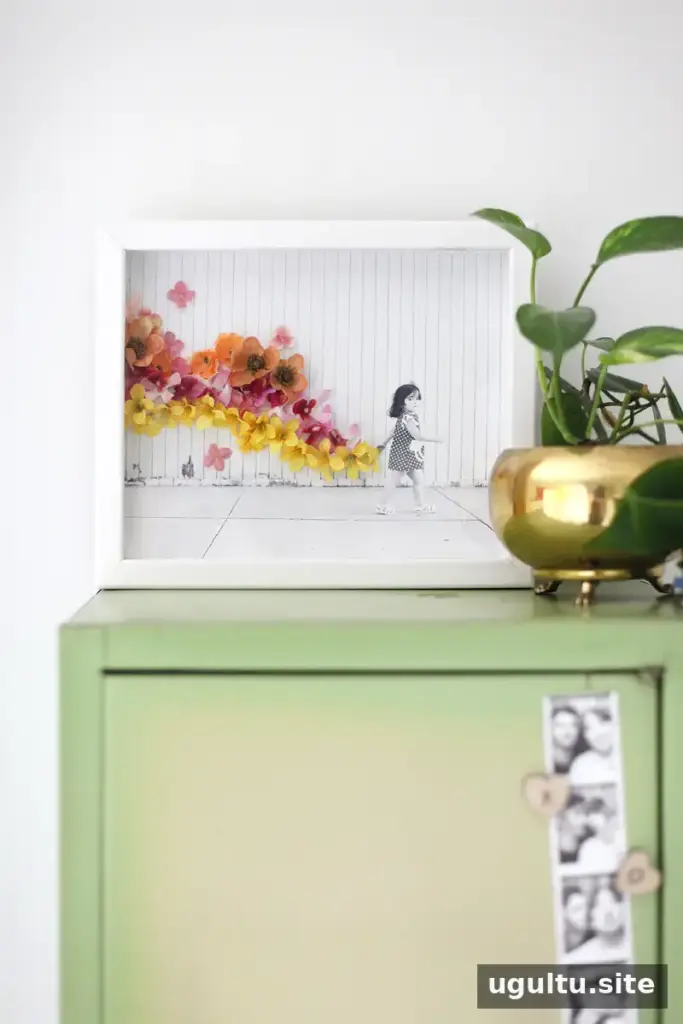
Flower embellished photo art turns a favorite photograph into a dimensional display using small artificial flowers and a shadow box frame. The flowers add color and texture while the original image remains visible, making this project a personalized option for a bedroom, living room, or other space. A simple layout and a few basic supplies are all you need to get started.
How to Make Flower Embellished Photo Art
This mixed-media idea combines photography with three-dimensional floral details. Choose an image with some open space around the subject so the flowers can extend into the composition without obscuring important features. A light or slightly desaturated photo can also make bright blooms stand out.
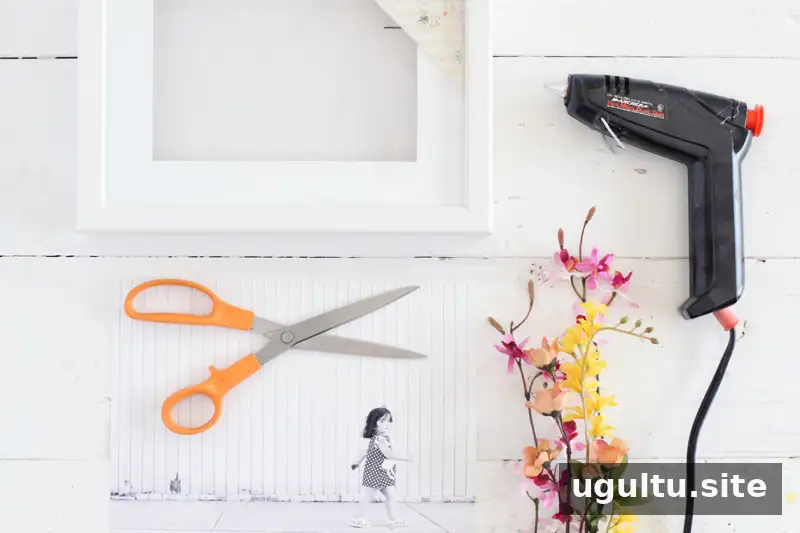
Supplies:
- Shadow box frame
- Photo sized to fit the frame (the example uses an 8" x 10" photo)
- A variety of small artificial flowers
- Scissors
- Hot glue gun and glue sticks
For a keepsake intended to last, print the image on acid-free paper and use acid-free glue sticks, as in the original project. Check that the frame has enough depth to accommodate the flowers without pressing them against the glass. Handle a hot glue gun carefully and keep it on a heat-resistant surface while working.
Plan the Floral Design
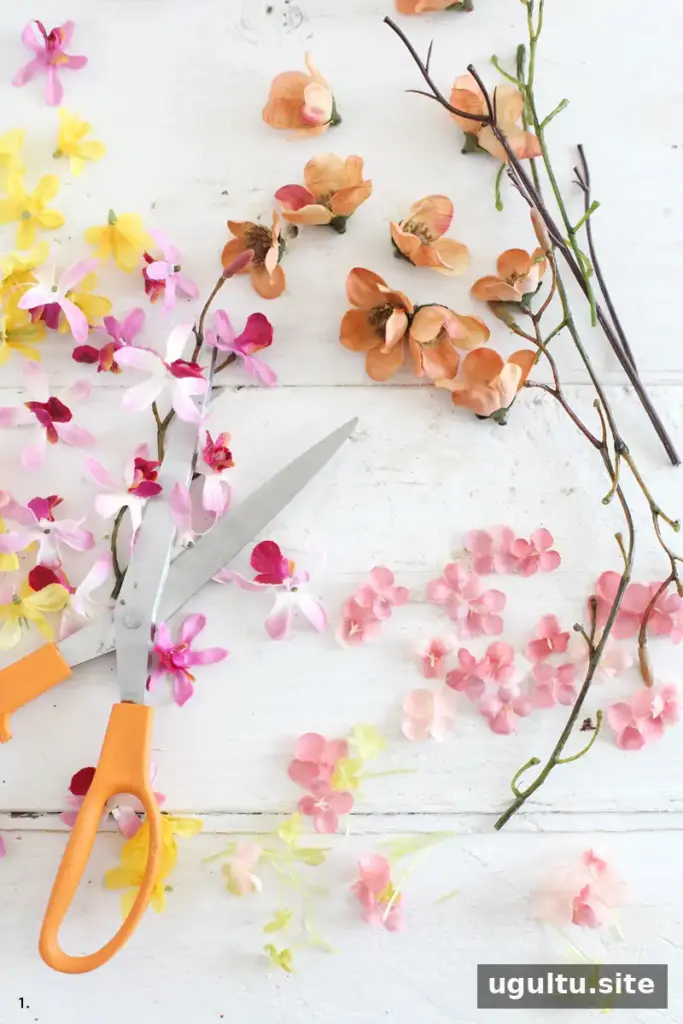
Choose flower sprays with small blooms in a few different sizes. For a bright, coordinated result, select analogous colors—shades that sit next to one another on the color wheel. You can also use a more restrained palette to complement the colors in the photograph.
Step 1: Prepare the flowers
Trim the blooms from their artificial stems with scissors and gather them in one place. Leave a short piece of stem if it helps with handling, but remove any parts that would prevent the flowers from sitting flat against the photo.
Step 2: Arrange before gluing
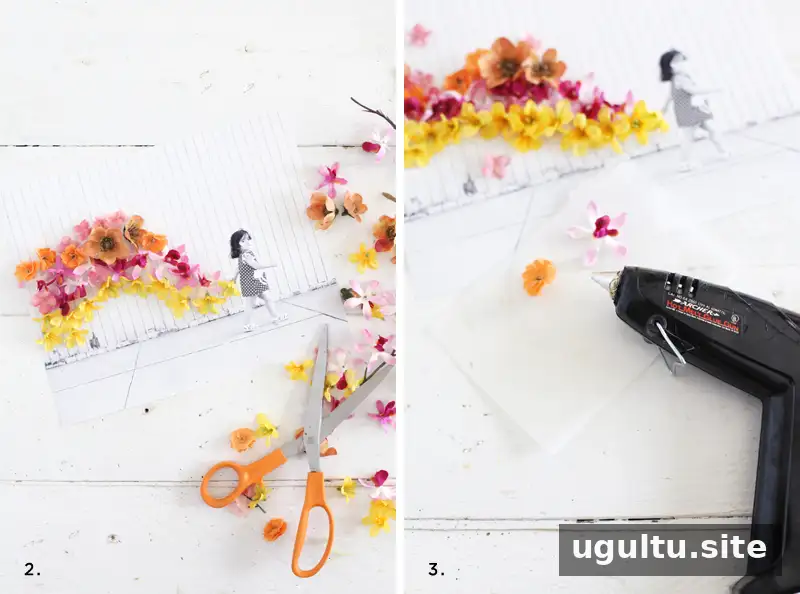
Place the flowers on the photo without glue first. In the example, bands of color create a rainbow-like flow from the subject’s hand. The arrangement can follow a gesture, frame a face, or fill an open area. Keep the photo’s key details visible and leave enough negative space to avoid making the composition feel crowded.
To judge the overall balance, take a photo of the unglued arrangement and view it at a smaller size. This makes it easier to see how the design will read from across the room before you commit to the placement.
Step 3: Attach the blooms
Apply a small amount of hot glue to each flower and press it into its planned position. Work in manageable sections so the glue does not cool before the bloom is attached. Once the glue has set, remove any stray glue strands and check that no flower extends beyond the frame’s edges.
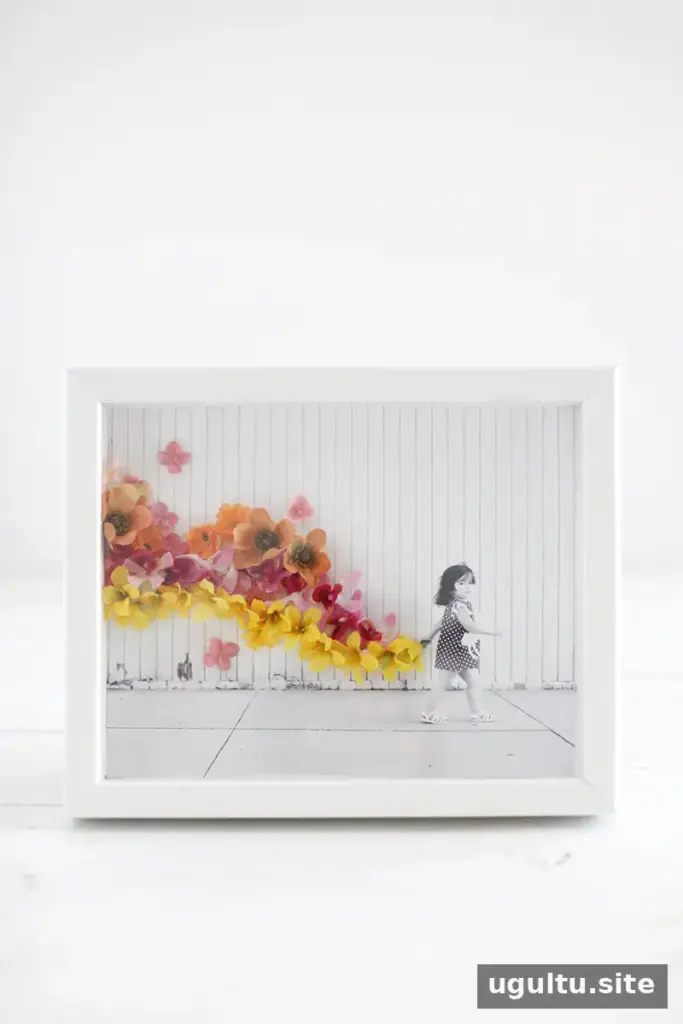
Bright flowers can create a striking contrast with a pale, low-saturation photograph. From a distance, the finished work may read as an abstract composition; up close, the layered blooms add visible texture.
Finishing and Display Tips
Before placing the artwork in the shadow box, inspect the photo for loose flowers and leftover glue. Assemble the frame according to its instructions, making sure the floral details fit comfortably inside. If the arrangement looks uneven, adjust the blooms before closing the frame rather than forcing the glass or backing into place.
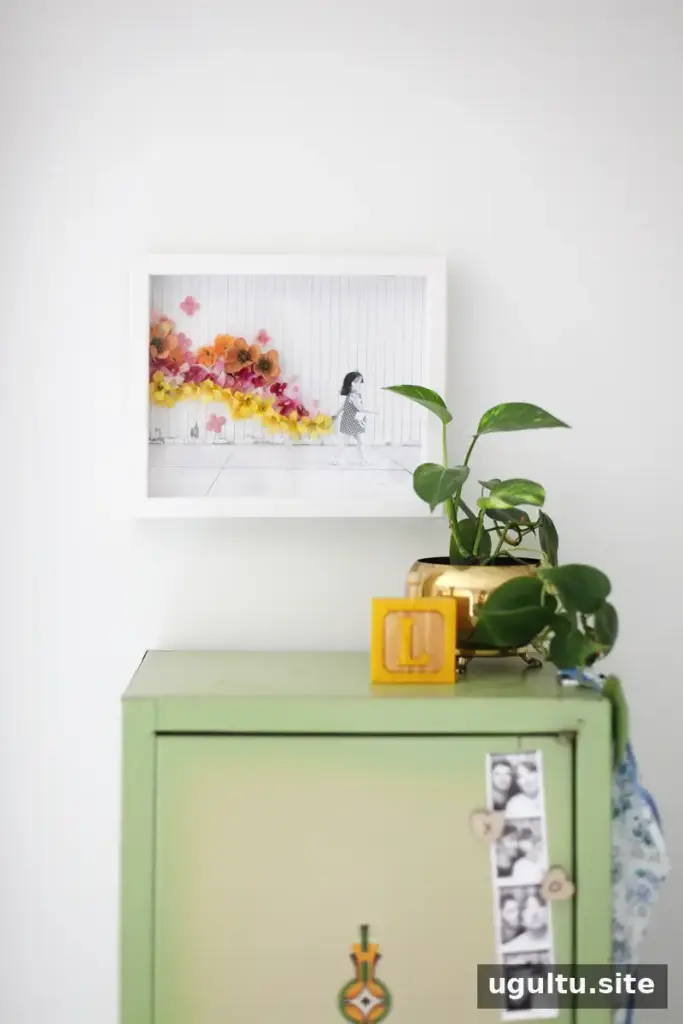
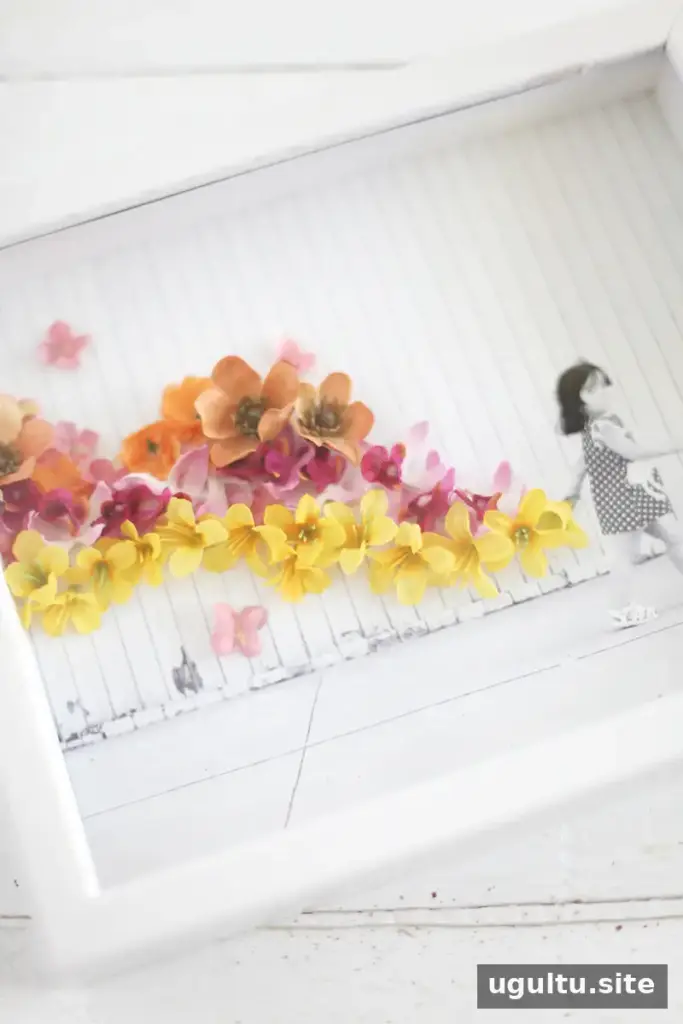
The same approach can be adapted to other photographs, including close-up portraits or images where clothing and background areas offer room for decoration. Flower embellished photo art works best when the added blooms support the image rather than hide its subject. —Mandi


