
 admin
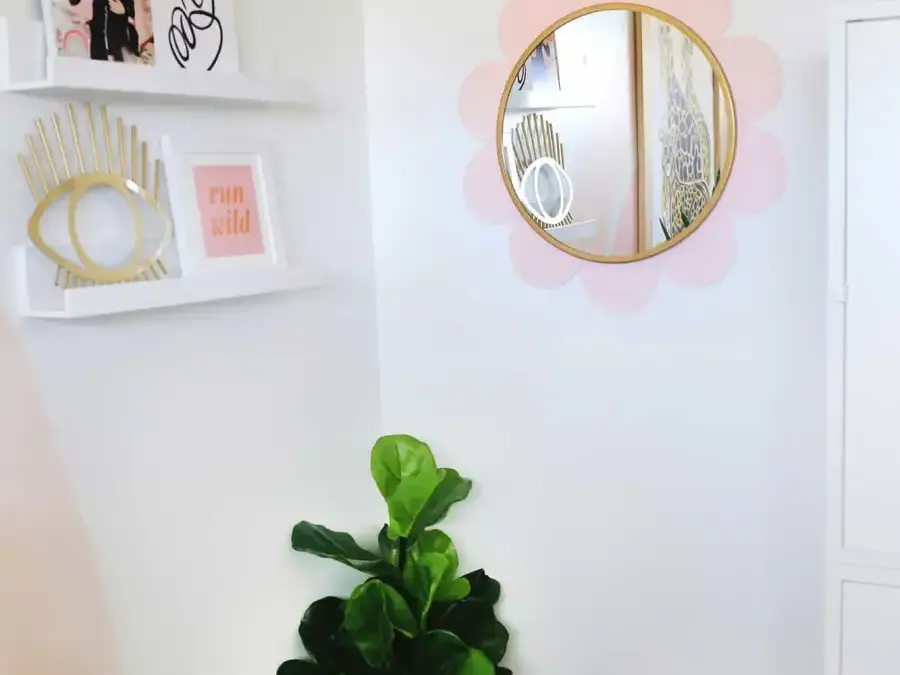
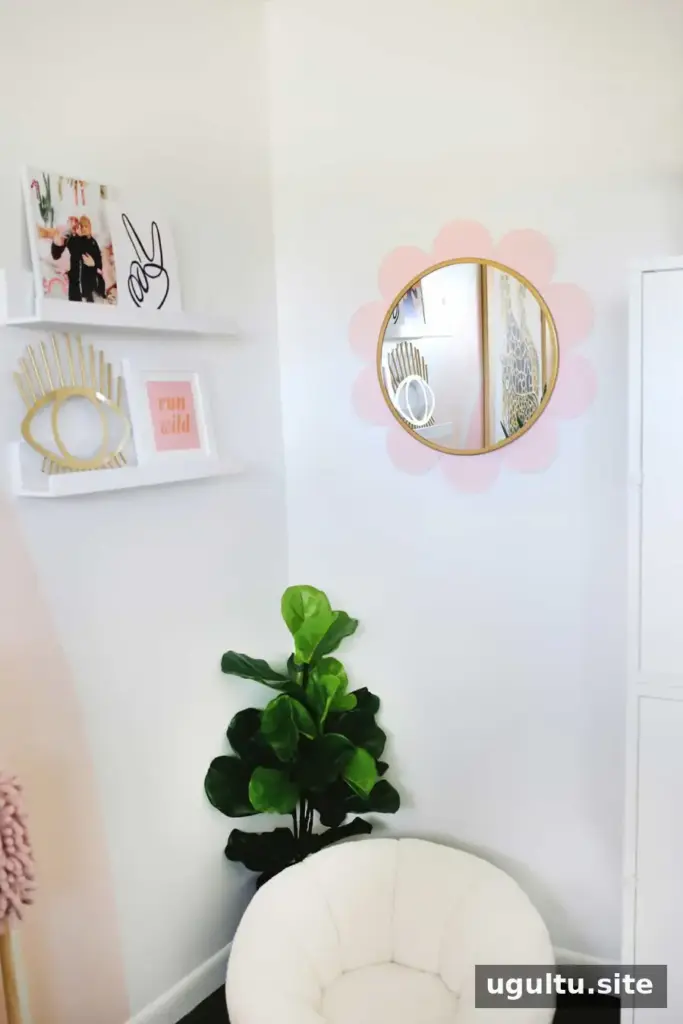
A Flower Mirror DIY is a simple way to turn a plain round mirror into a cheerful decorative feature. The finished piece works well in a playroom, reading nook, or any space that could use a playful accent. A mirror can also help reflect available natural light around a room, so this project combines decoration with a practical purpose.
Supplies for a Flower Mirror DIY
Gather the materials before you begin so you can test the layout and attach the pieces without rushing. The example uses an 18-inch round mirror and 6-inch wooden circles.
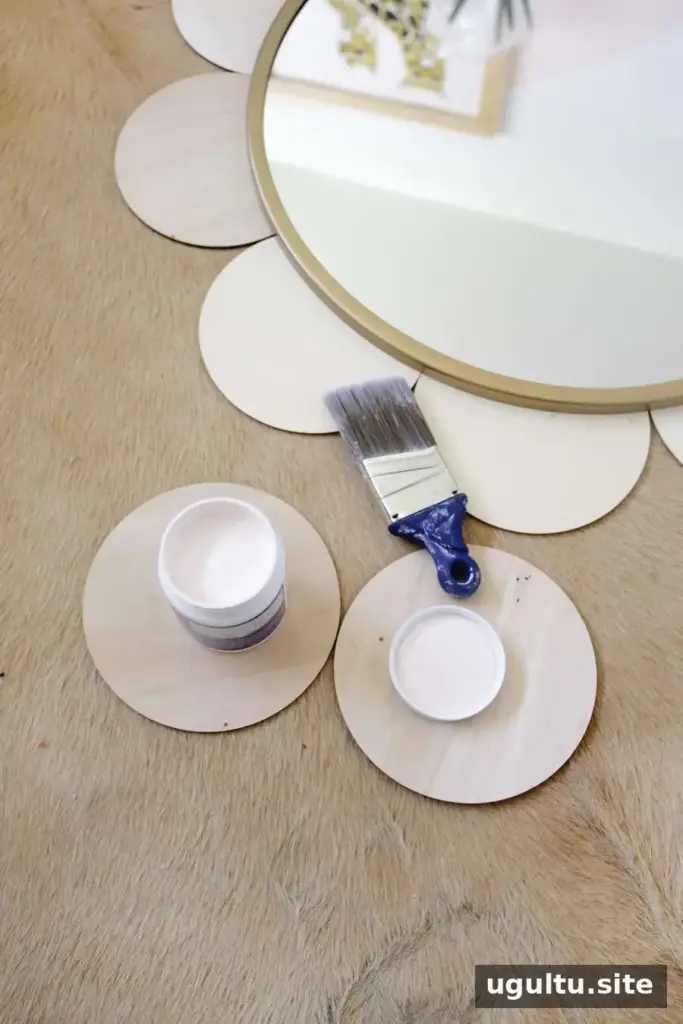
- One round mirror (18 inches in the example)
- Wooden circles for the petals (6 inches wide in the example)
- Epoxy suitable for bonding different materials, such as wood and metal
- Paint in your preferred color
- An X-acto knife or utility knife
- Painter’s tape
- Cardboard and a few heavy books for the layout and glue-setting stages
Check that the adhesive is intended for the materials you are joining, and follow its package directions for application and setting. Keep the mirror on a stable, protected surface while you work.
Arrange and paint the wooden petals
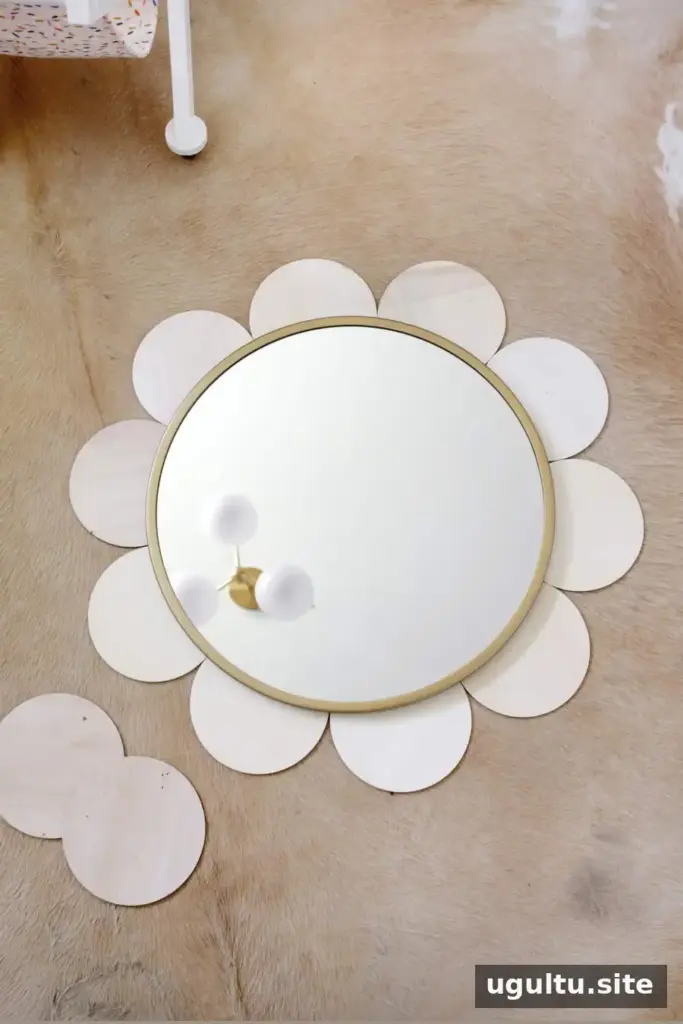
Lay the wooden circles around the mirror to plan the flower shape. The example uses 10 petals. Adjust the spacing to suit your preference, keeping the circles evenly distributed so the finished design looks balanced. Before painting, check that the mirror will cover the inner edges of the circles as intended.
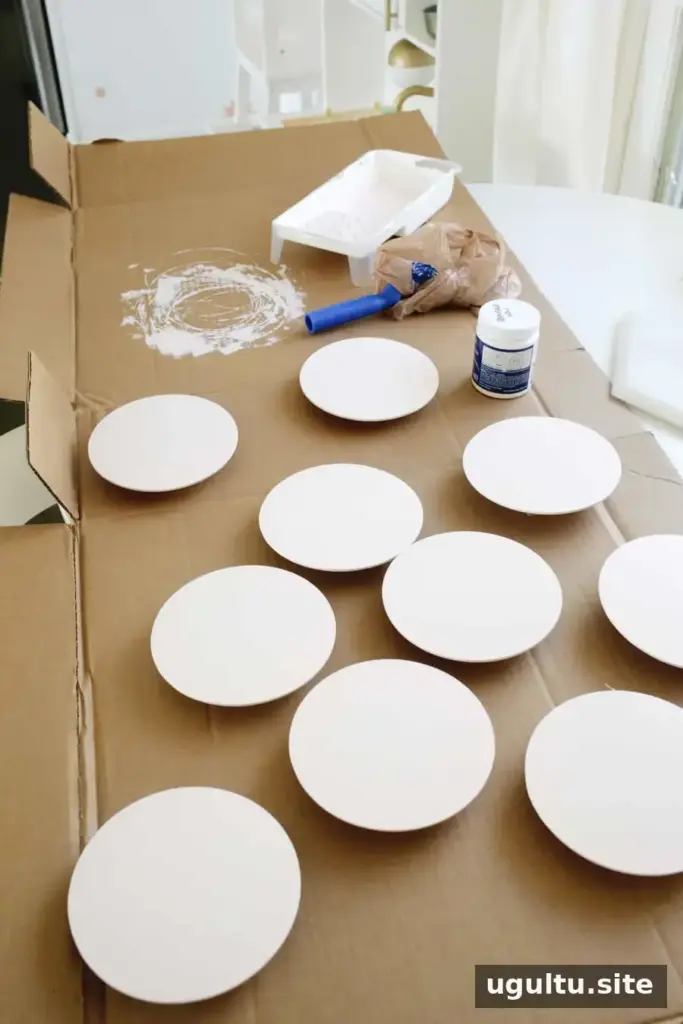
Paint the petals in your chosen color and let them dry fully before assembly. For a more natural look, you can leave the wood unpainted if the circles have a grain pattern you like. Test the arrangement once more after the paint has dried.
Attach the petals to the mirror
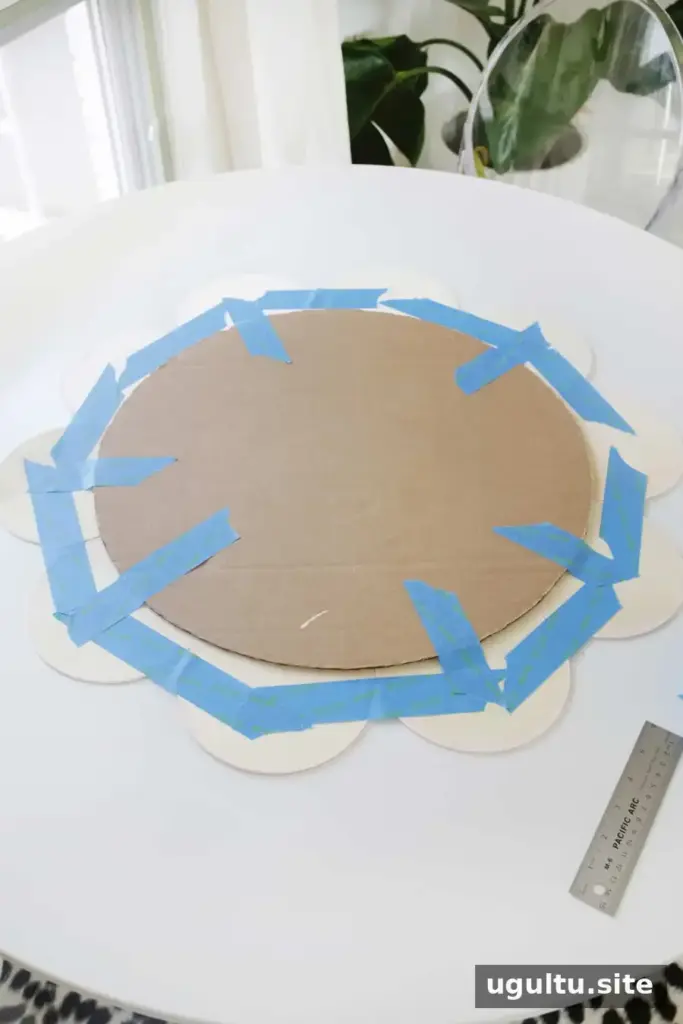
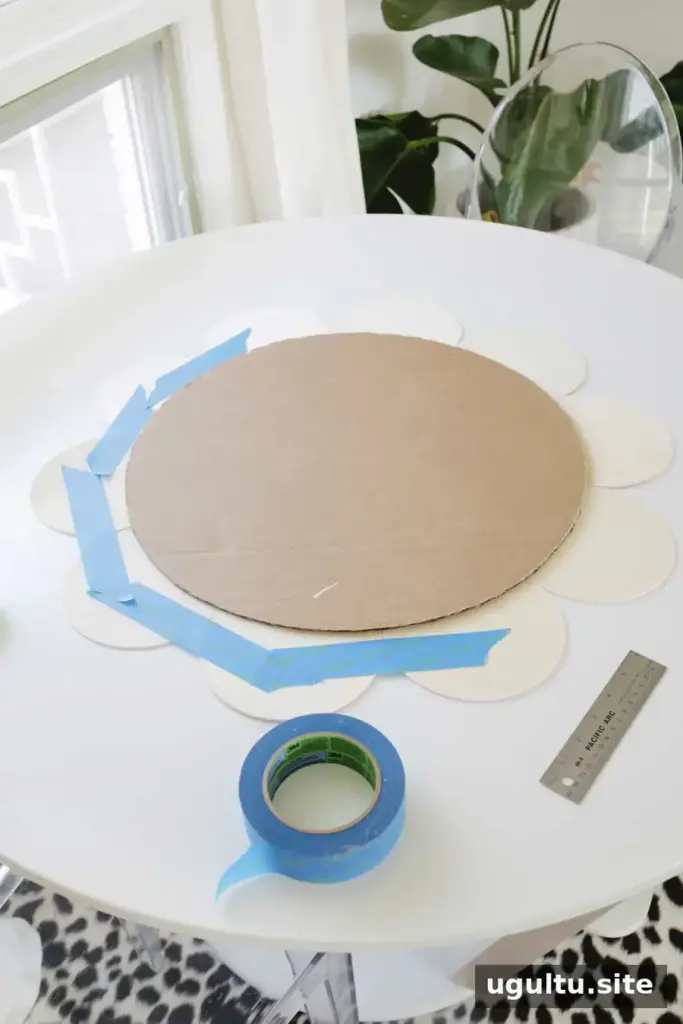
Cut a cardboard circle to match the mirror’s size. Turn the petals over and arrange them around the cardboard template, checking their positions and spacing. Use painter’s tape to hold the petals together and secure them to the cardboard. This temporary backing helps keep the layout in place when you turn the arrangement over.
Carefully flip the taped assembly so the petals face up. If it feels unstable, slide it onto a broad, flat support before turning it. Place the mirror on top and use painter’s tape to mark its position. Also identify the mirror’s top and bottom so the flower sits correctly when hung.
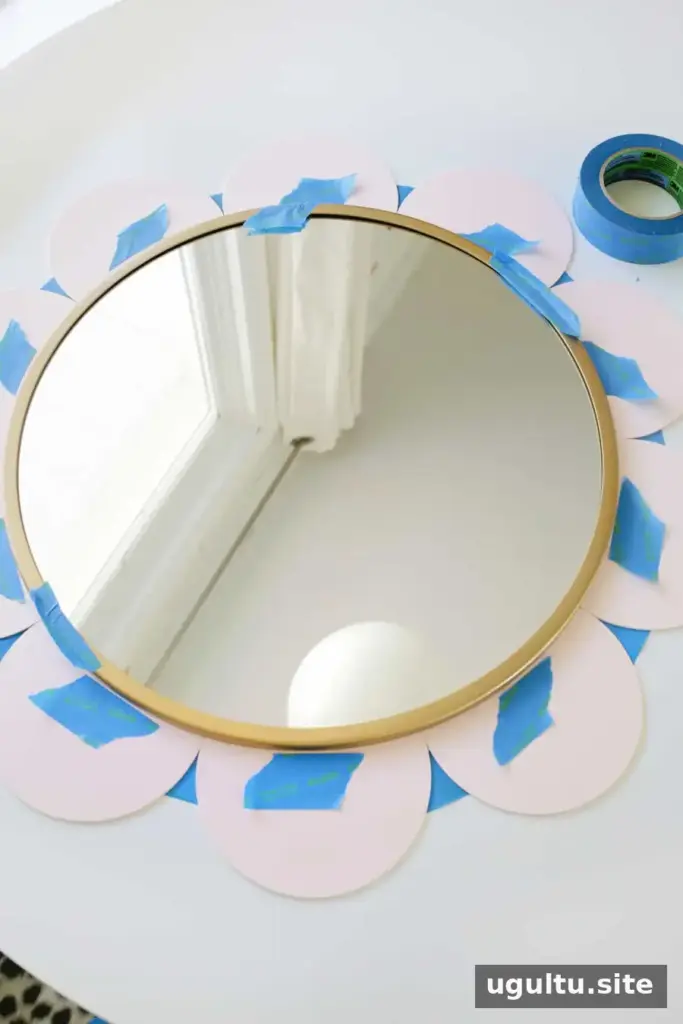
If a petal blocks access to the mirror’s hanging tab, trim the hidden portion of that petal before gluing. Add folded tape tabs near the top edges of the mirror to create temporary handles, which can make it easier to lower the mirror into position.
Turn the mirror over and apply the epoxy along its underside edge, following the adhesive instructions. Carefully flip it back and place it within the tape guidelines. Set heavy books over the mirror’s edges while the glue sets, taking care not to shift the pieces. Once the adhesive has fully set, remove the tape and cardboard. Handle the finished mirror carefully when hanging it.
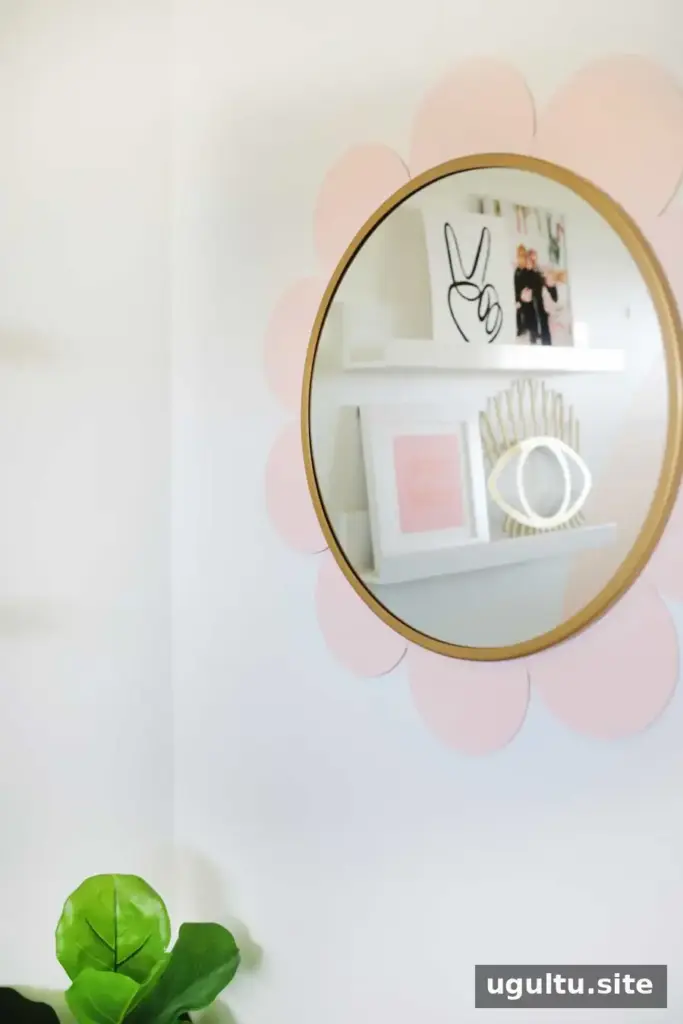
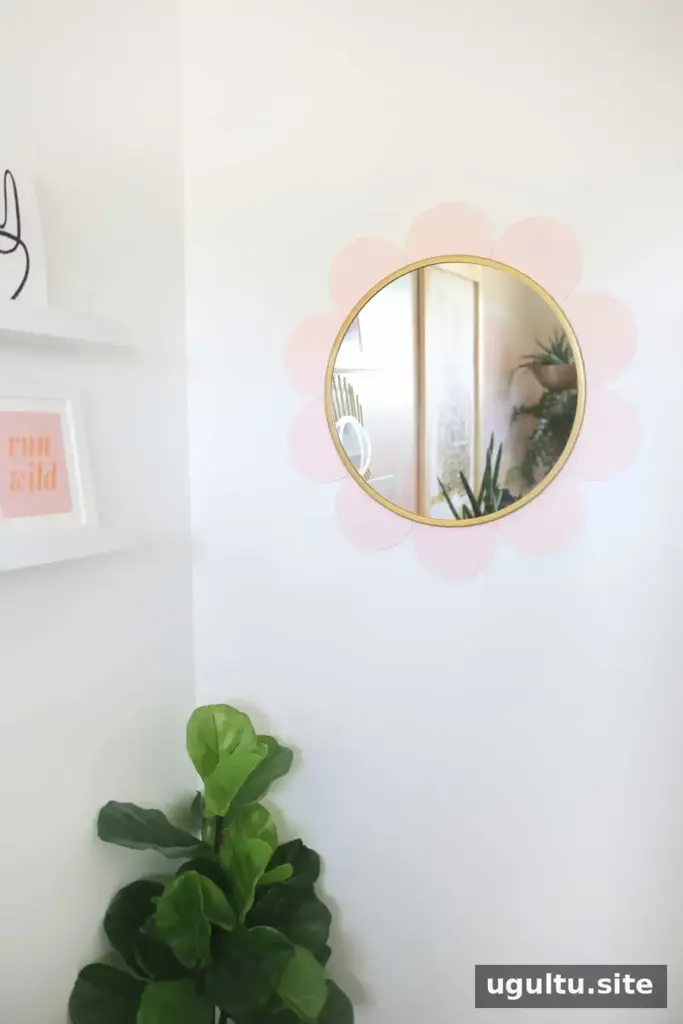
Enjoy your finished flower mirror
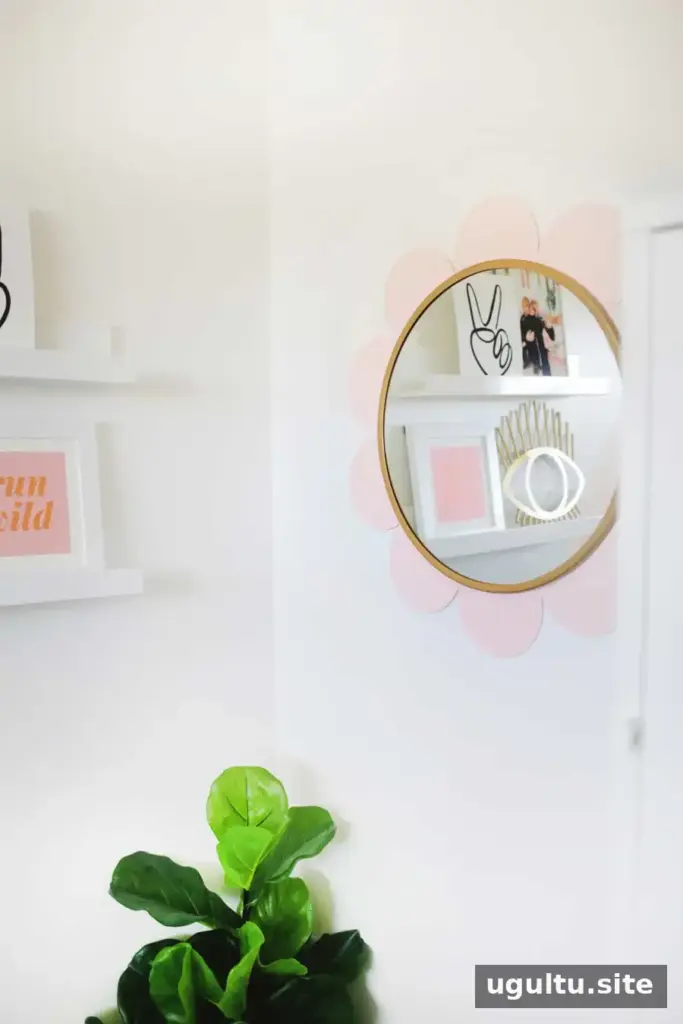
The completed mirror adds a whimsical touch without overwhelming the room. It can brighten a child’s bedroom or play space, but the design also suits any room that would benefit from a colorful handmade detail. Consider placing it near a reading corner or another area where a decorative mirror can reflect some of the available light.
This Flower Mirror DIY can be customized with different paint colors or a natural wood finish. Before hanging, make sure the mirror’s original hanging hardware remains accessible and use a suitable wall fixing for the mirror’s weight. — Laura


