admin
Free-lensing photography is a creative technique for cameras with removable lenses. By holding a detached lens close to the camera instead of mounting it, you can create selective focus, soft blur, and a tilt-shift-like effect. The results can be unpredictable at first, so begin with still subjects and allow time to practice. This technique and the example photographs are shared by Sarah; the original article was credited to Elsie.
How free-lensing photography works
When the lens is detached, the camera can no longer control it in the usual way. Moving the lens slightly in relation to the camera changes how light reaches the sensor, which can shift the area of apparent focus and create blur around it. The effect is different from using a dedicated tilt-shift lens, and results depend on the lens, camera, lighting, and how you hold the lens.
Try photographing stationary objects at home before attempting portraits or other moving subjects. A still subject gives you more time to adjust the lens position and see how small movements affect focus.
Protect your camera from dust
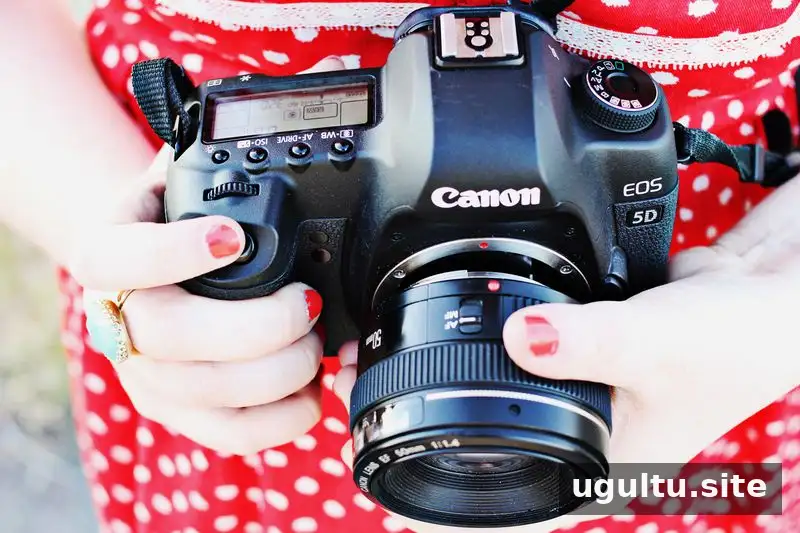
Removing a lens leaves the camera opening exposed, so dust may enter the camera. Avoid trying this in dusty or windy surroundings, and do not use the technique if the risk makes you uncomfortable. Keep the lens close to the camera body and use your hand to shield the opening as much as possible. This can also help limit unwanted light entering around the lens.
Free-lensing photography: step-by-step tips
- Choose a suitable lens. Wide-angle lenses can make it harder to achieve a clear focus area. If you have options, start with a 50mm lens or a longer focal length. With a kit zoom lens, zoom to at least the 50mm range if available.
- Set exposure before detaching the lens. Auto exposure may not work as expected once the lens is disconnected, so set your exposure while the lens is still attached.
- Set the focus ring to infinity. Do this before removing the lens, then hold it close to the camera body.
- Adjust the lens gently. Take a few photographs while changing its angle. For example, keep one side near the camera and move the opposite side slightly away. Small adjustments can produce noticeably different results.
- Use manual mode when needed. Nikon users should set the camera to manual mode before removing the lens.
- Practice and review. It may take many attempts to get the focus and blur you want. Review your images between adjustments, and change one thing at a time so you can learn what affects the result.
Start with simple subjects
Choose a stationary object with distinct details, such as a book or a small household item. Work in a clean, calm space and keep the camera steady while you experiment. Once you can reliably place focus on a still subject, you can decide whether to try more challenging scenes.
Free-lensing photography examples
The photographs below show a range of effects created with this technique. Look for how focus and blur vary across each image; these differences are part of the creative appeal.
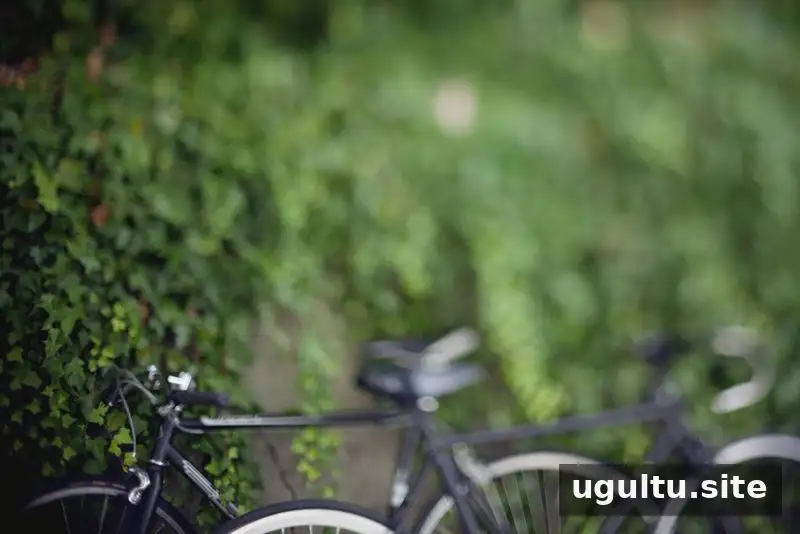


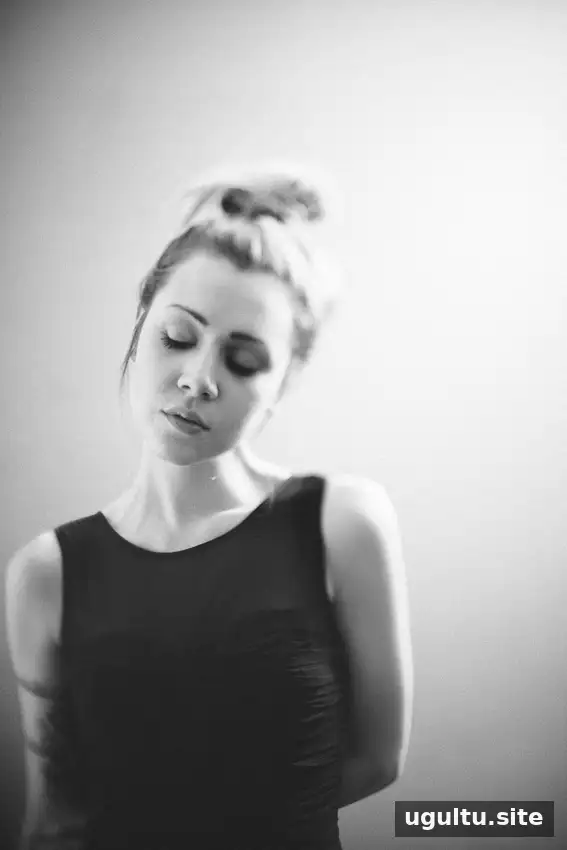

Technique and example photographs shared by Sarah. Original article credited to Elsie.
Conclusion
Free-lensing photography offers a hands-on way to experiment with selective focus and soft, shifting blur using a removable lens. Choose a longer focal length if available, set exposure before detaching the lens, shield the camera opening from dust, and practice with still subjects. With patience and careful handling, you can explore the technique and find the effects that suit your photographs.