admin
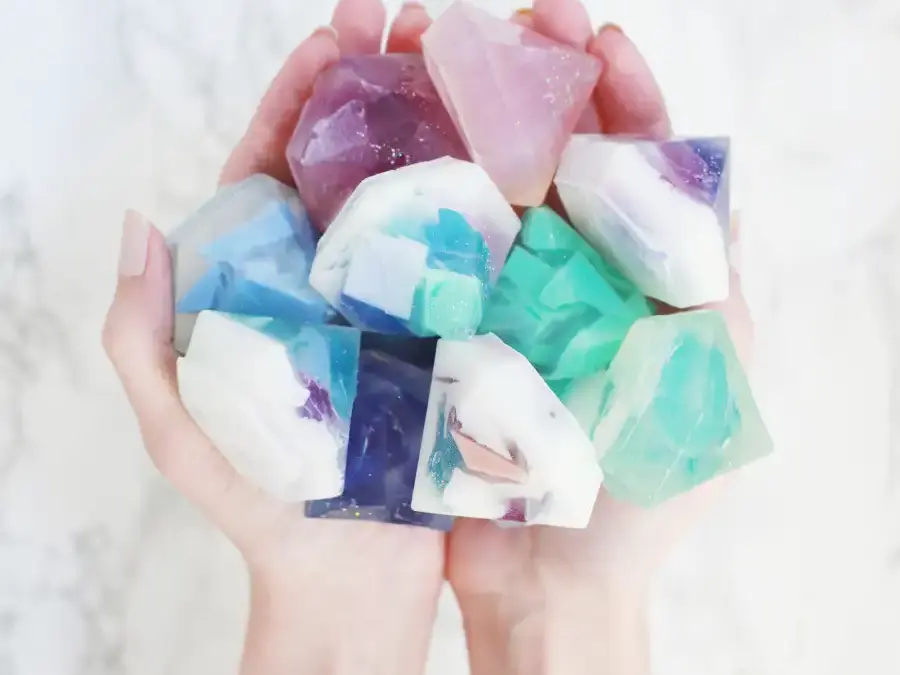
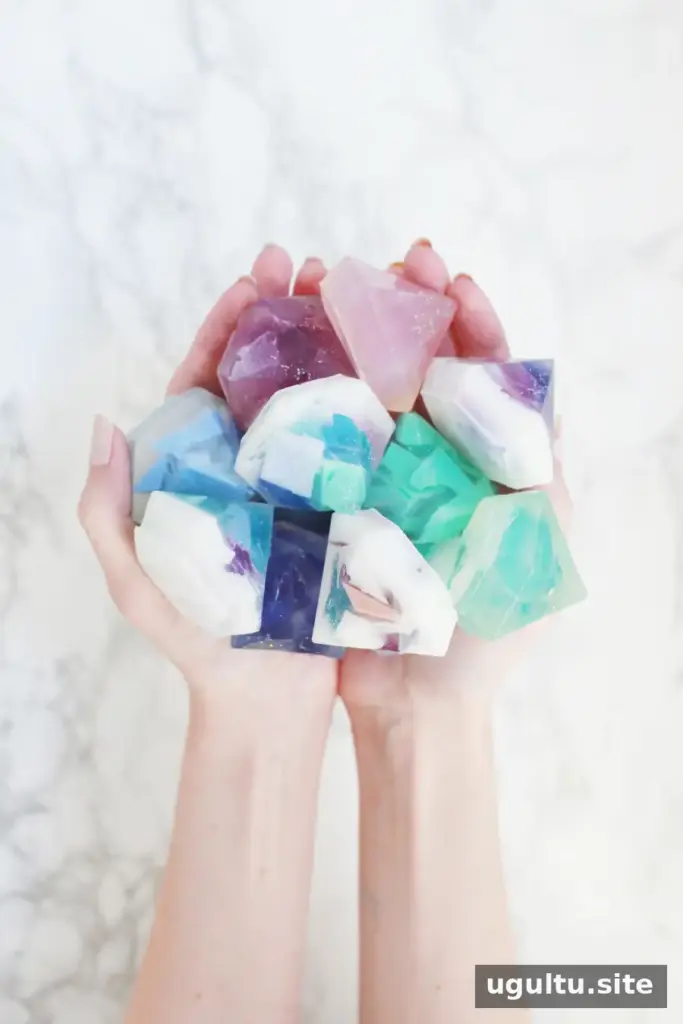
Gemstone soap is a creative melt-and-pour project that turns colored soap pieces into decorative bars inspired by natural crystals. You can make the finished soaps in two ways: pour them into a diamond-shaped mold, or use a rectangular mold and carve facets by hand. With a mix of clear and opaque soap bases, each bar can have its own pattern and appearance.
Supplies for Gemstone Soap
Gather everything before melting the soap so you can work while the base is still pourable. Use heat-safe containers and tools, and take care when handling hot soap.
- Clear and opaque melt-and-pour soap base
- Soap colorants
- Essential oils suitable for soap, if desired
- Rectangle and diamond-shaped silicone molds
- A knife for cutting soap pieces and carving facets
- Heat-safe glass pitchers
- A silicone spatula
- Disposable plastic cups
- Cosmetic-grade micro glitter, optional
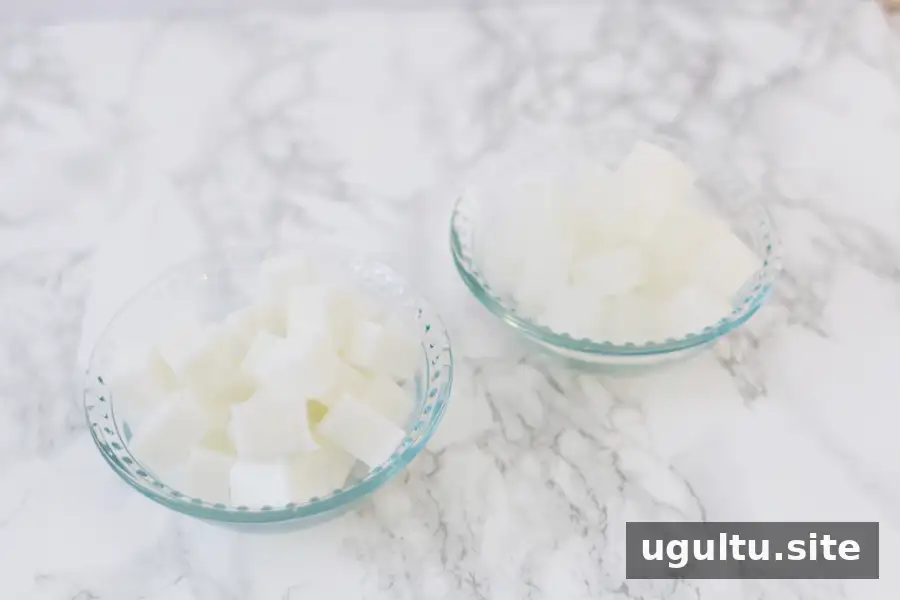
Make the Colored Soap Pieces
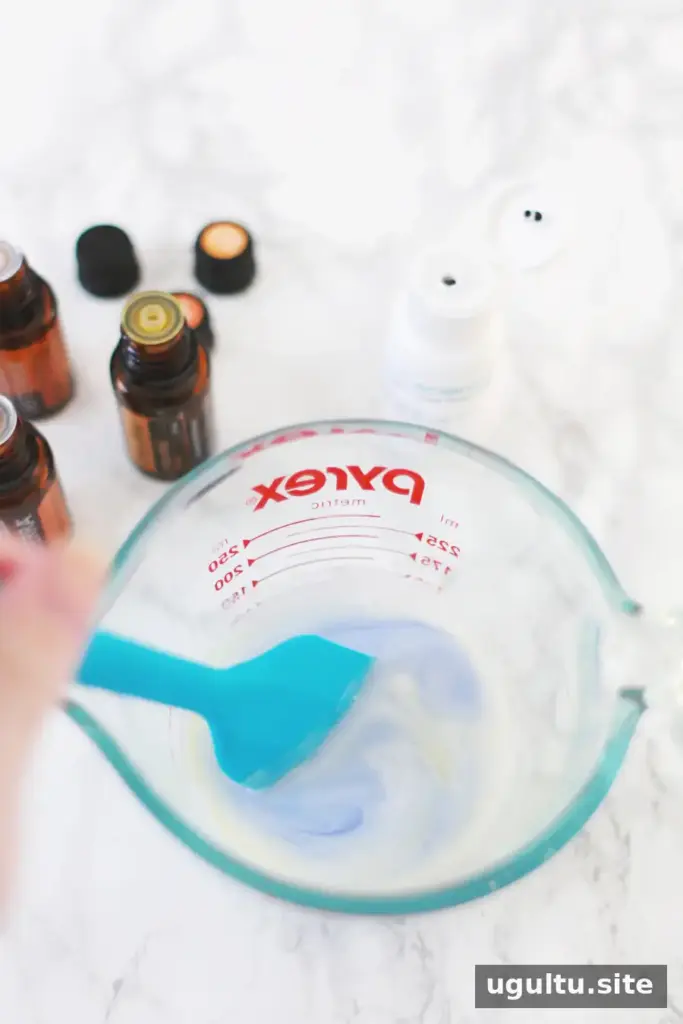
Step 1: Prepare 6–9 individual colors. Cut the melt-and-pour base into small cubes, place a handful in a heat-safe glass pitcher, and melt it carefully in the microwave. Stir with a silicone spatula until smooth, following the instructions for your soap base.
Mix in soap colorant and, if using, a suitable essential oil. Pour the colored base into a disposable cup and repeat for each shade. Pairing the same color with clear and opaque bases can create noticeably different results, so try both for variety. Allow the colored soaps to set fully; leaving them overnight is one option, or you can place them in the refrigerator for a few hours.
Practical tip: Keep the colors in separate cups and label them if you are making several shades. This makes it easier to plan the pattern when assembling the bars.
Method One: Hand-Cut Gemstone Soap
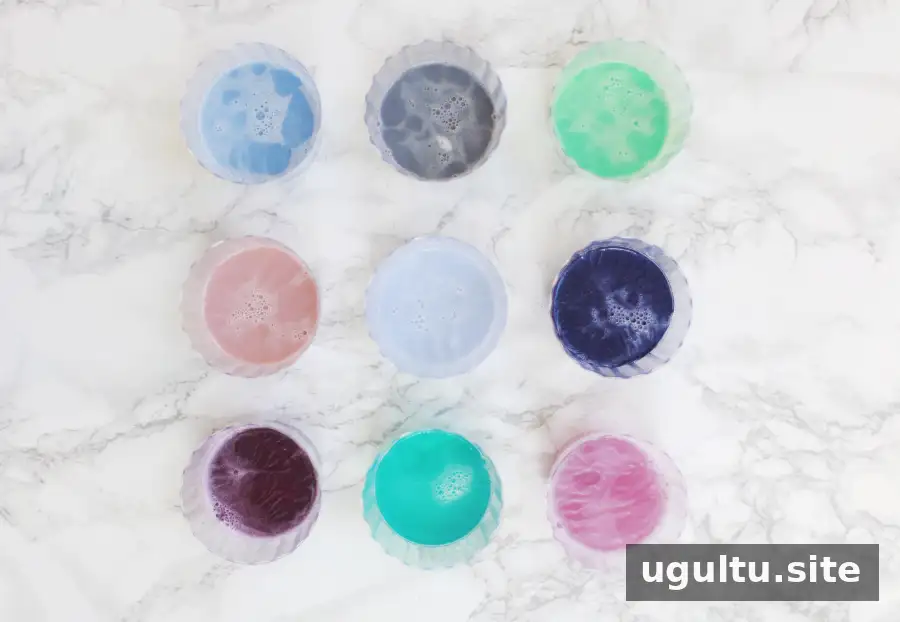
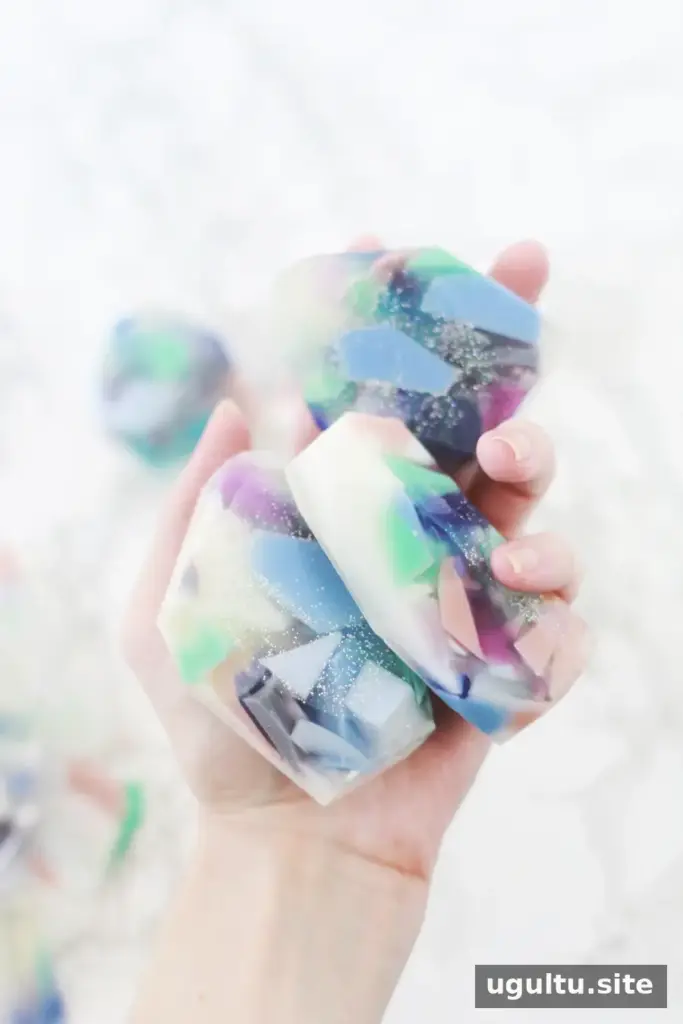
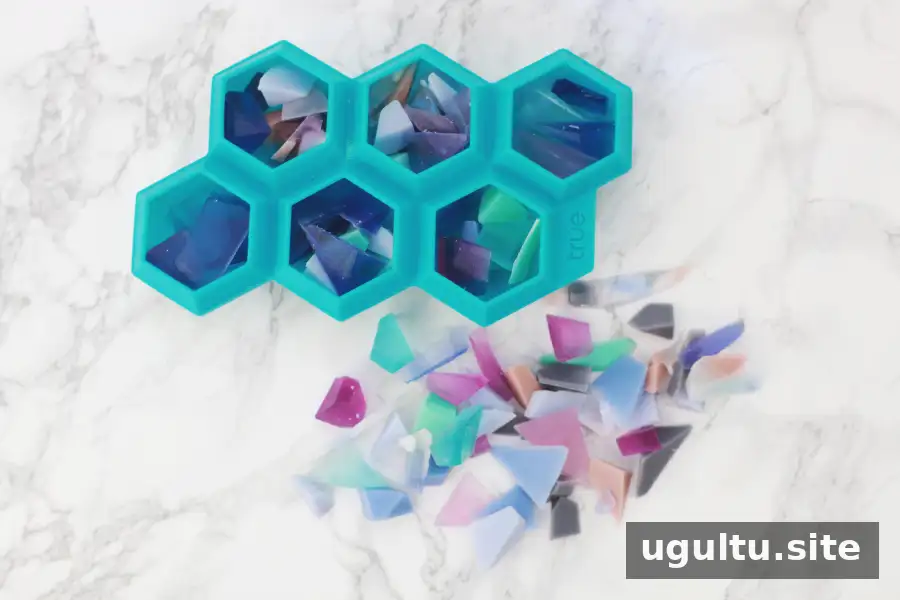
Step 2: Remove the set colored soaps from their cups. If a soap does not release easily, the disposable cup can be carefully cut away. Slice the colored soaps into pieces of different shapes and sizes, then set them aside.
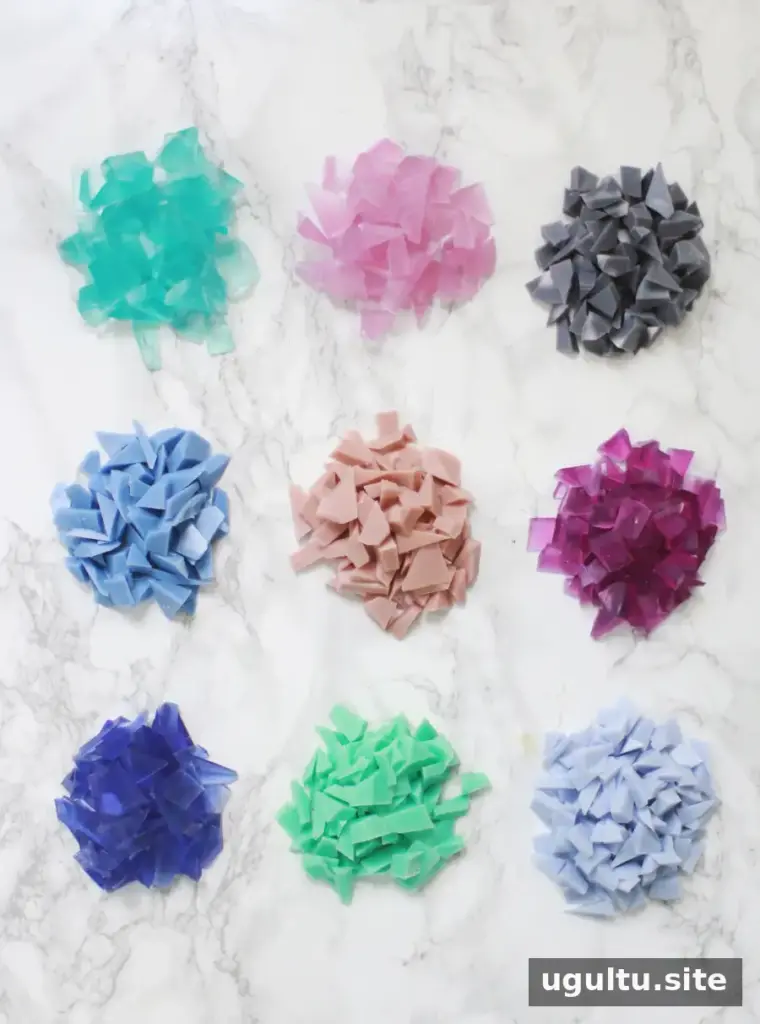
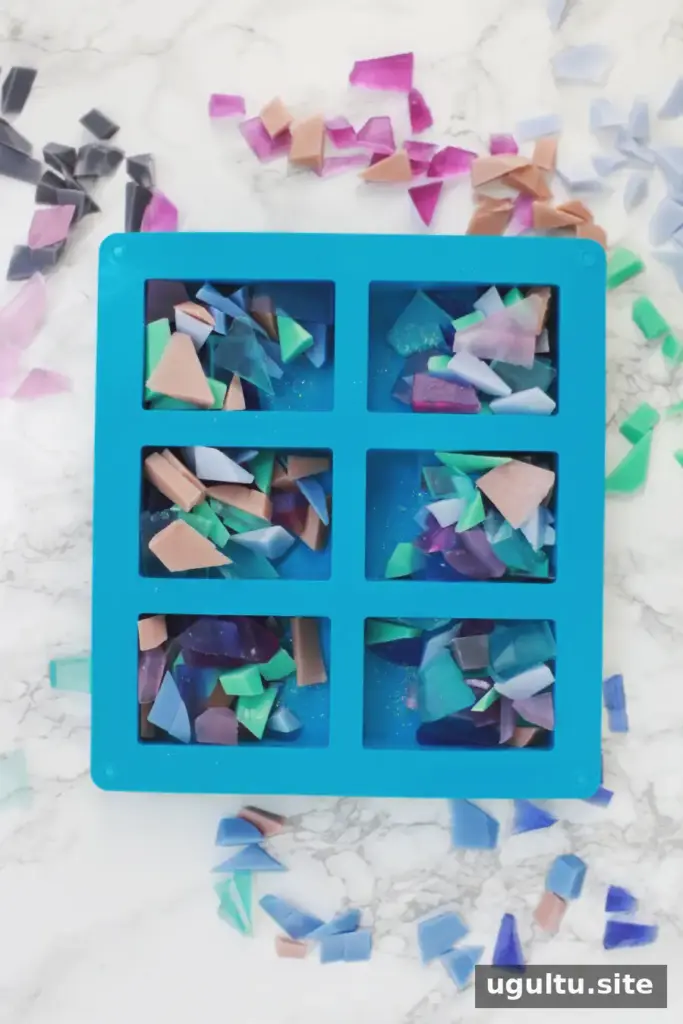
Step 3: For a little sparkle, add a light sprinkle of cosmetic-grade micro glitter to the bottom of a rectangle silicone mold. Do not use craft glitter in soap intended for skin. Arrange the colored soap pieces in the mold, placing more pieces near the bottom and fewer toward the top if you want a varied look. Mix the colors randomly for a less uniform pattern.
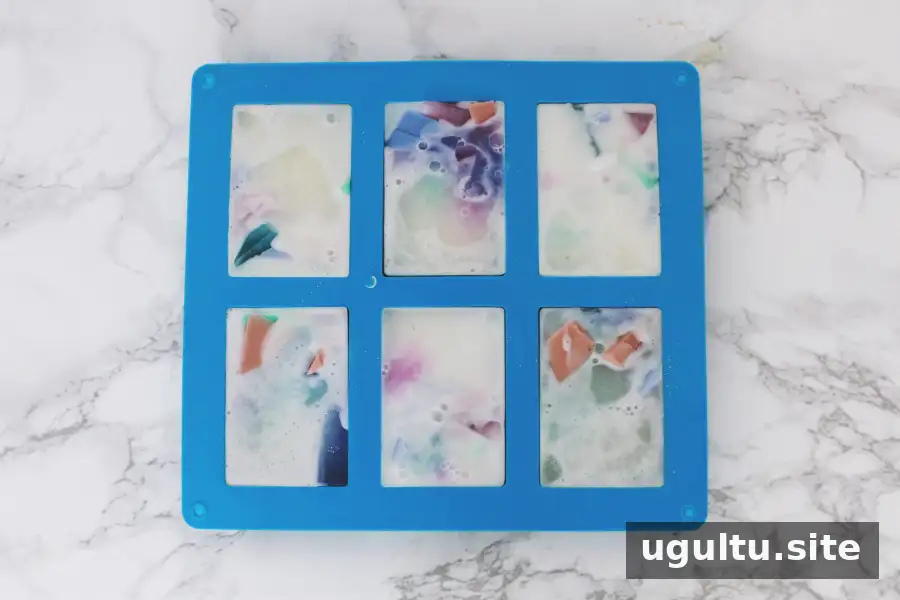
Step 4: Melt clear and opaque soap base in separate heat-safe pitchers. Pour the clear base slowly over the pieces in each mold, then top up with the opaque base. Having both bases melted and ready helps you pour them close together, before either has time to set. Let the molds stand overnight or refrigerate them for a few hours until the soap is firm.
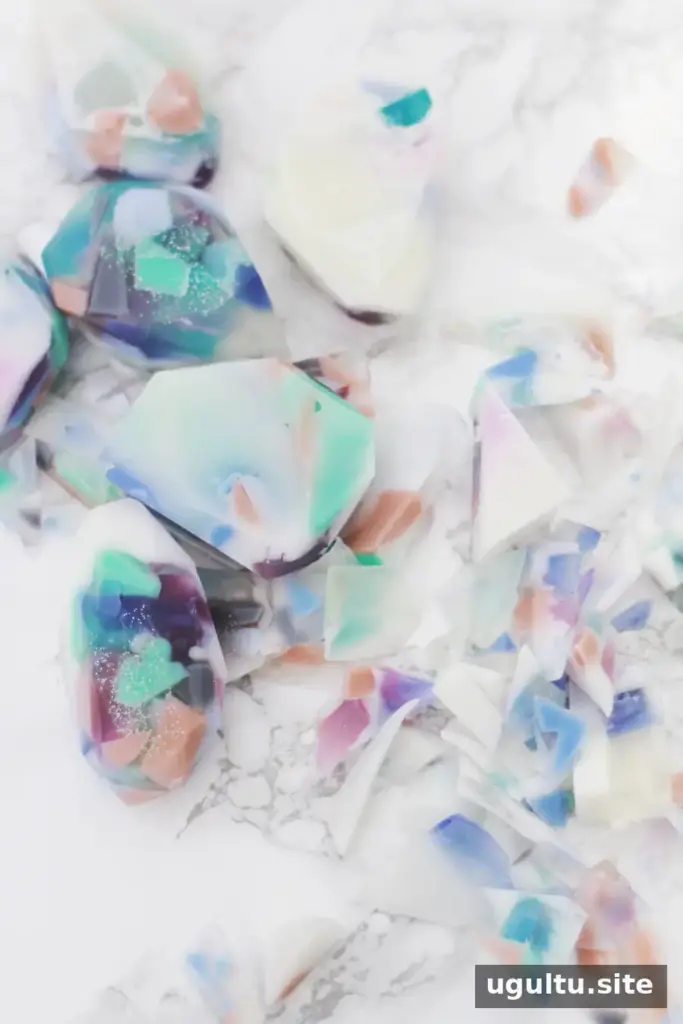
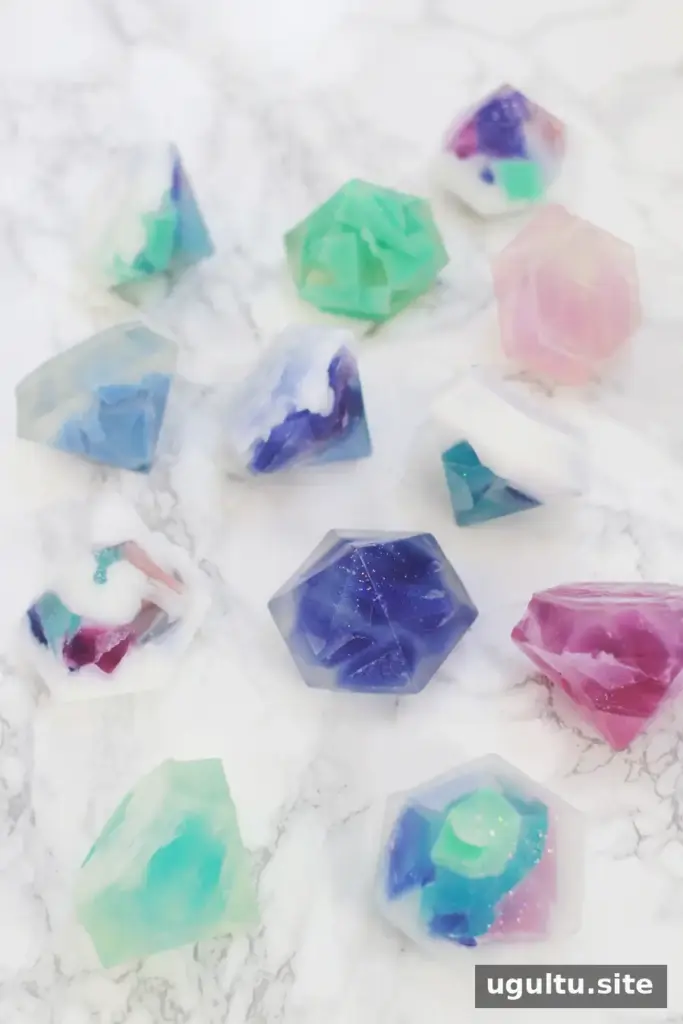
Step 5: Unmold the bars once they are set. Use a knife to shave small angled sections from the sides, forming facets that suggest a gemstone. Work gradually and remove only a little soap at a time; there is no need for every bar to have identical cuts.
Method Two: Diamond-Mold Gemstone Soap
For the second method, use a diamond-shaped silicone mold and follow the same basic preparation steps. Instead of combining many colored pieces, pour clear soap base and use one color for each bar. This creates a simpler, semi-transparent gemstone effect, especially with a deep indigo shade.
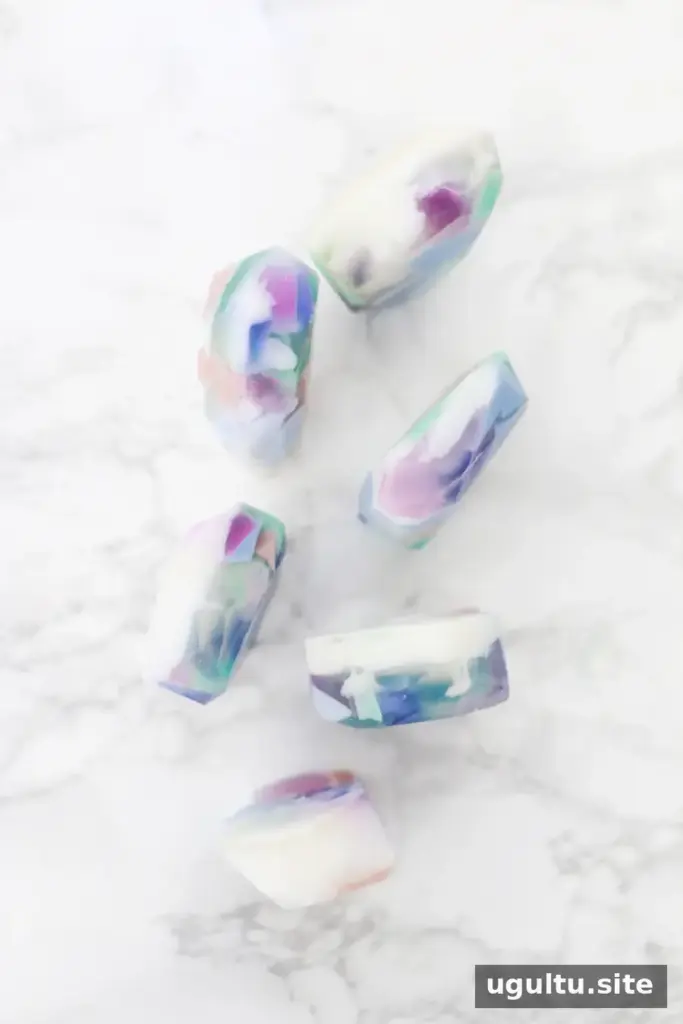
Allow the soap to set completely before removing it from the mold. Silicone molds make it possible to create the gem silhouette without hand-carving facets, while the clear base lets the color show through.
Helpful Tips for Better Results
- Use colorants and essential oils intended for soap, and follow their product directions for skin-contact use.
- Keep the soap pieces varied in size to create a more natural-looking pattern.
- Pour carefully and avoid overfilling the molds, leaving room for clean edges.
- Let each bar become firm before unmolding or carving to reduce smearing and breakage.
- Use a clean, stable work surface and handle the knife and melted base carefully.
These handmade bars can add a decorative touch to a guest bathroom or make thoughtful gifts. Whether you choose the hand-cut technique or the diamond mold, gemstone soap is an adaptable project: experiment with colors and clear or opaque bases while following the directions for the materials you use.