
 admin
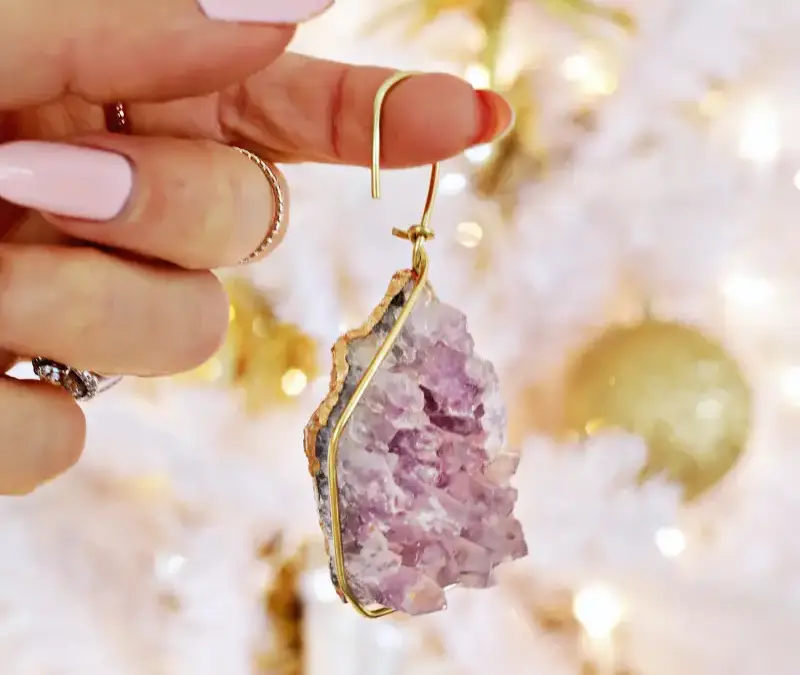
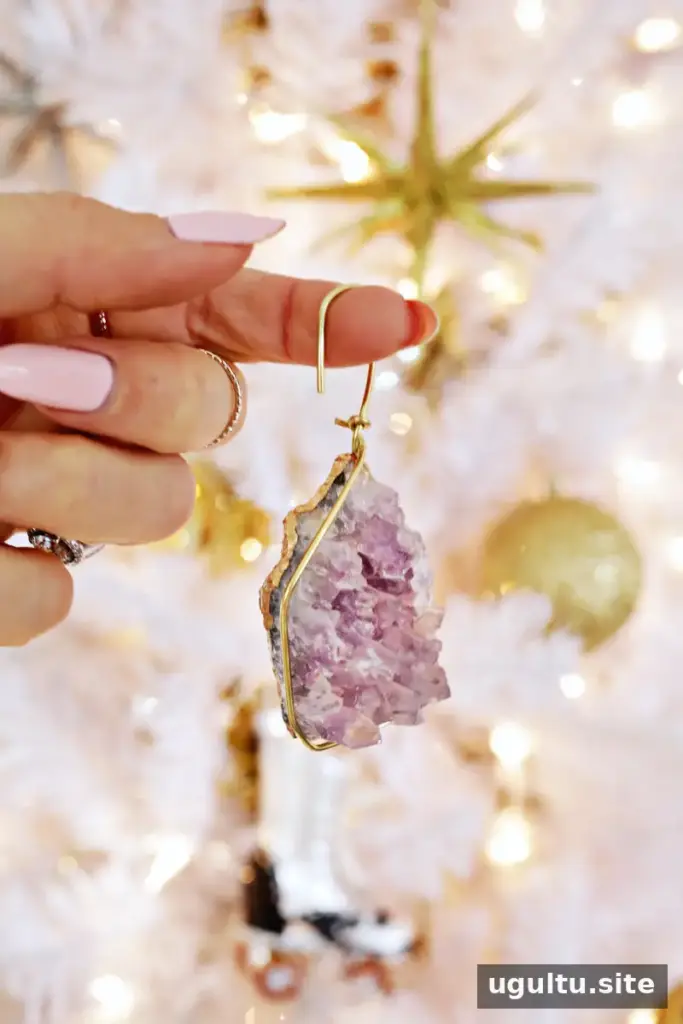
A Geode Ornament DIY project is an easy way to bring natural color and texture to a Christmas tree. Small amethyst geodes have distinctive purple crystals, while a touch of gold on the back and edges adds a festive finish. Make one ornament as a standout piece or several in a coordinated color scheme.
A mix of matching decorations and individual handmade pieces can give a tree a more personal look. These geode ornaments pair especially well with gold accents, but their natural shapes also work alongside simple, understated decorations.
Supplies for a Geode Ornament DIY
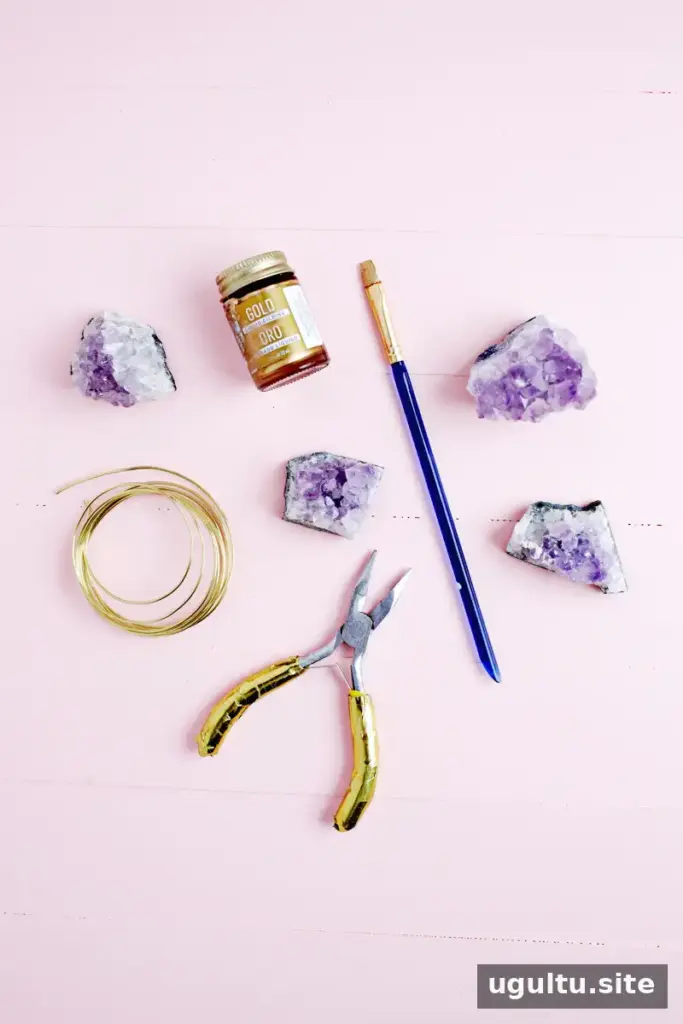
Gather the following materials before you start:
- Small amethyst geodes
- Liquid gold gilding
- 16-gauge brass wire, which offers a useful balance of strength and flexibility for this project
- Jewelry pliers and side cutters
- A small brush
- Glue suitable for securing wire to stone
Set up on a protected work surface, and handle the geodes carefully. Their shapes and weights may vary, so choose a piece that can sit securely in its wire frame.
Paint the Geode with Gold Gilding
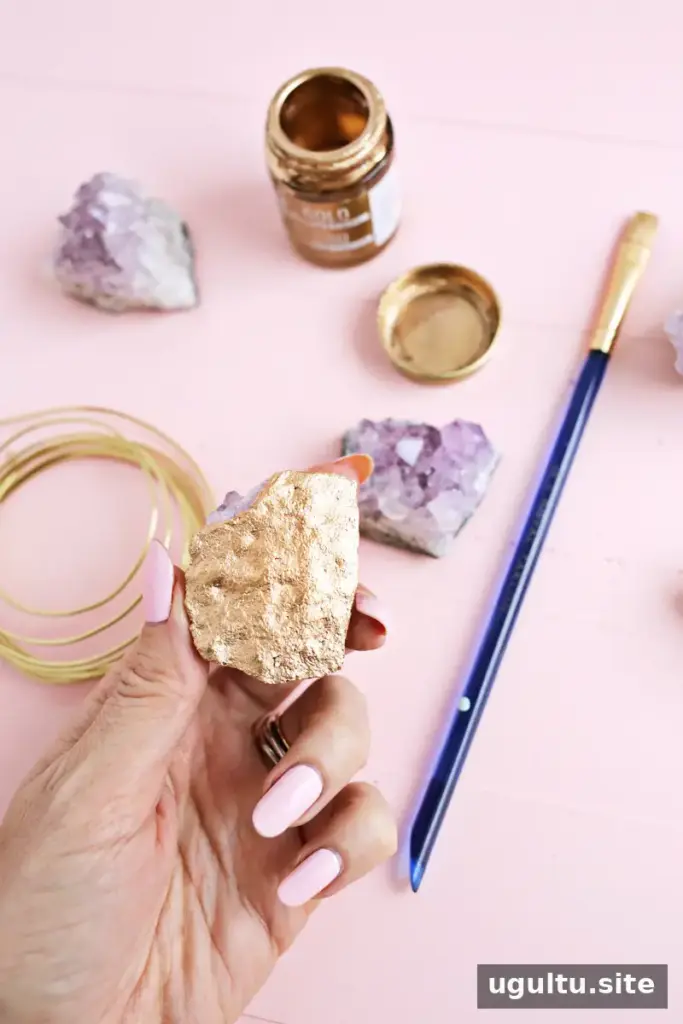
Use the small brush to apply liquid gold gilding to the back of each geode. For a finished look, carry a little of the gilding around the sides to form a narrow rim. Keep the crystal face clear so the amethyst remains the focus. Follow the gilding product’s instructions for drying before moving on.
Shape the Brass Wire Hanger
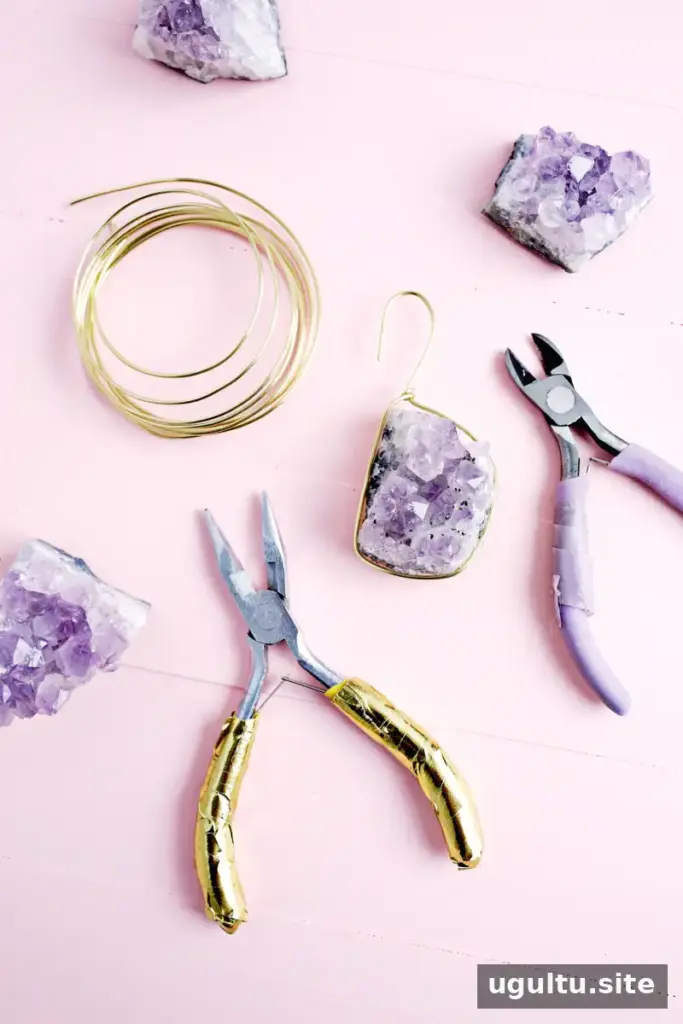
Leave about 1/2 inch of wire at the starting end. Begin at the corner that will be the top of the ornament and bend the wire around the geode’s outline. Work slowly and adjust the wire to follow the stone’s shape without forcing it against the crystals.
When the wire returns to the top, bend it into a hanging hook. Cut the wire with side cutters, then wrap the 1/2-inch tail around the base of the hook to bring the two sides together. Jewelry pliers can help you make controlled bends and tighten the wrap.
Secure the Geode and Let It Dry
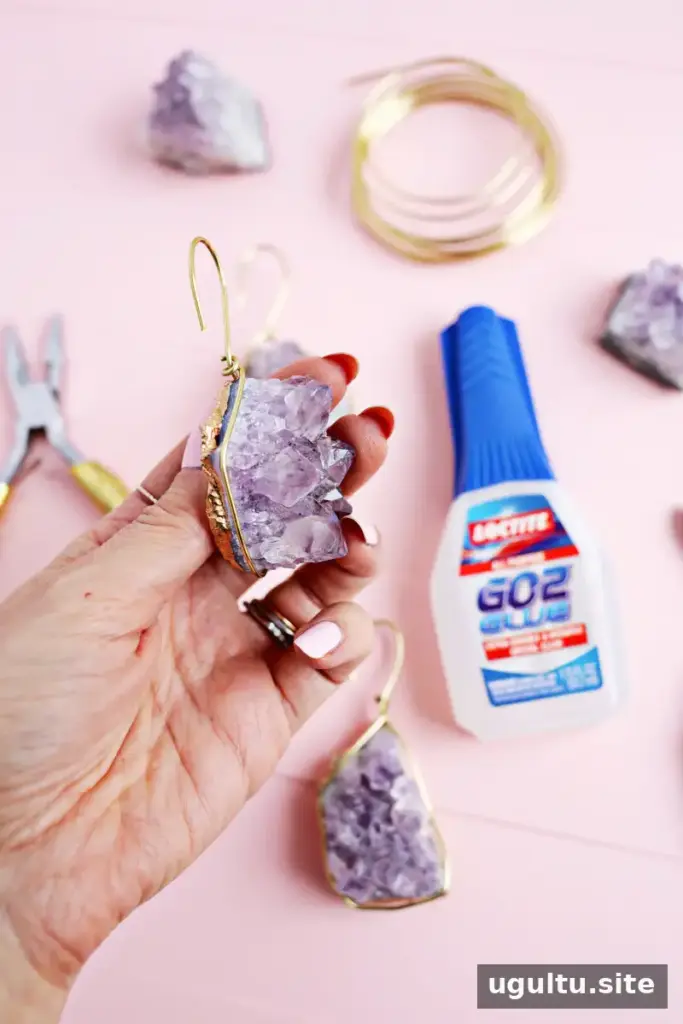
The wire frame should sit around the geode but may initially feel loose. Slide the loop upward slightly and add a few small dots of glue where the wire rests against the stone. Put the wire back in position over the glue, then leave the ornament undisturbed until the adhesive has fully set.
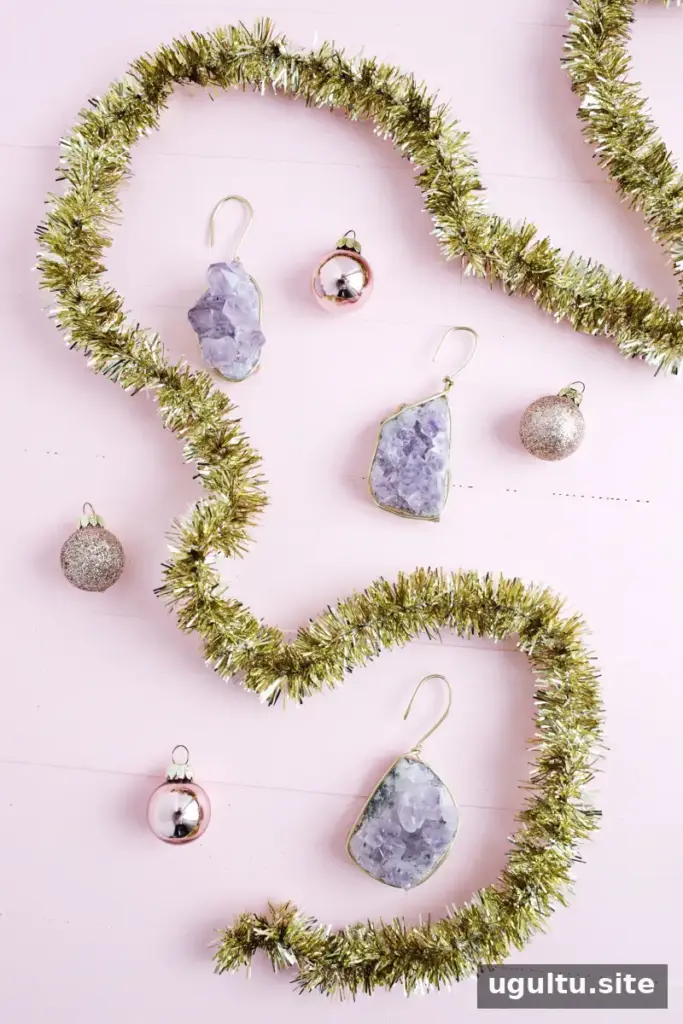
Hang and Enjoy Your Geode Ornament
Before placing the ornament on the tree, check that the wire is secure and the hook holds its shape. Geodes can be heavier than typical ornaments, so hang each one from a sturdy branch and avoid placing it where it could fall onto a hard or fragile surface.
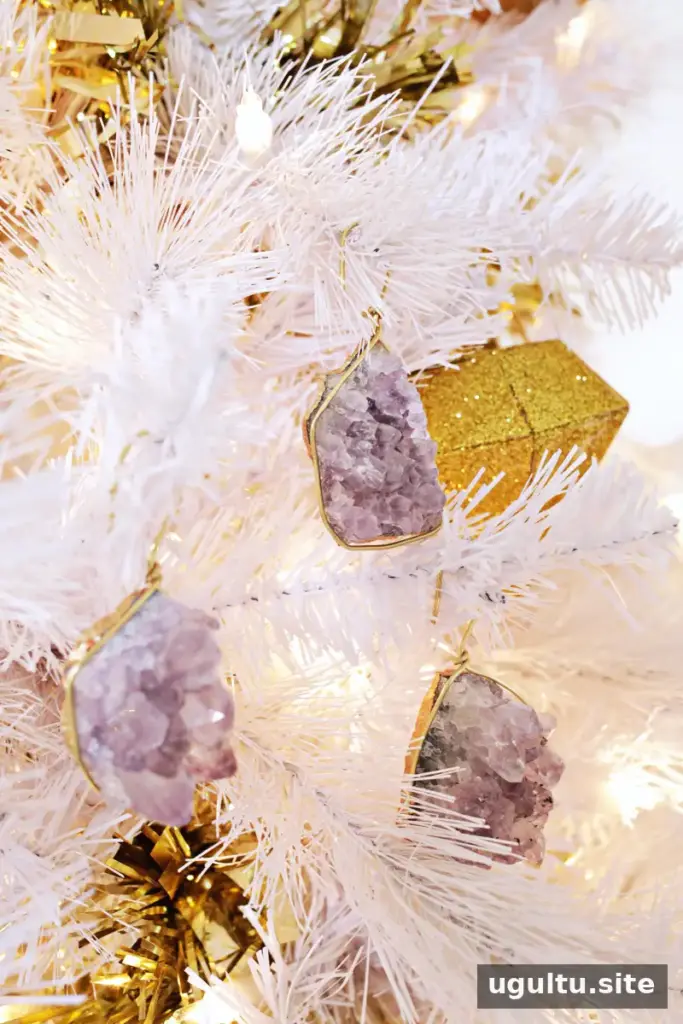
The finished geode adds an organic detail to holiday decor, and the gold edging complements the stone’s purple color. This Geode Ornament DIY can also be adapted to suit a tree’s existing palette: make a coordinated set, or let each stone’s natural outline create a one-of-a-kind decoration.
Project by Laura.


