
 admin
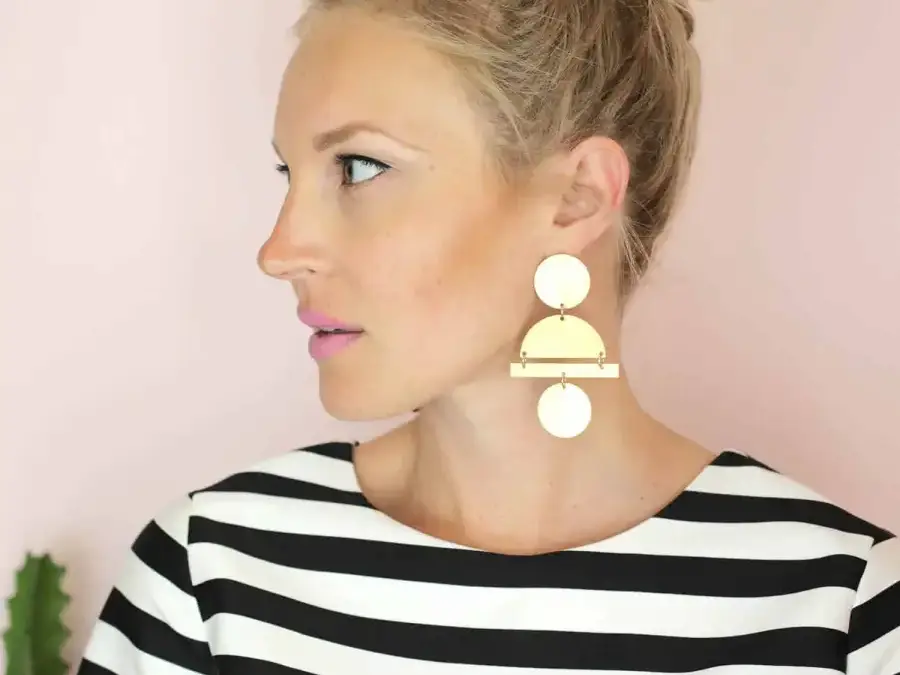
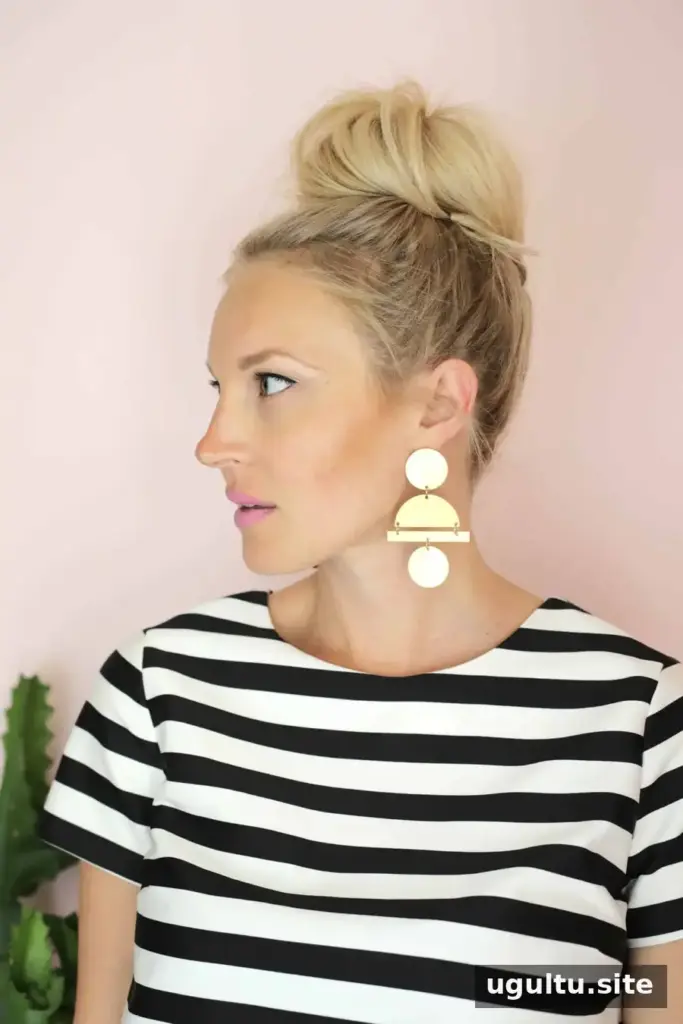
Geometric gold statement earrings are a simple DIY project for creating bold accessories from brass stamping blanks. This design combines circles, half moons and long bars for a look inspired by geometric jewelry styles of the 1960s and 1970s. With the pieces prepared and arranged, assembly takes only a few steps.
Materials for Geometric Gold Statement Earrings
Gather the following supplies before starting. Check that the blanks are large enough for the layout and that you have a metal punch suited to the material.
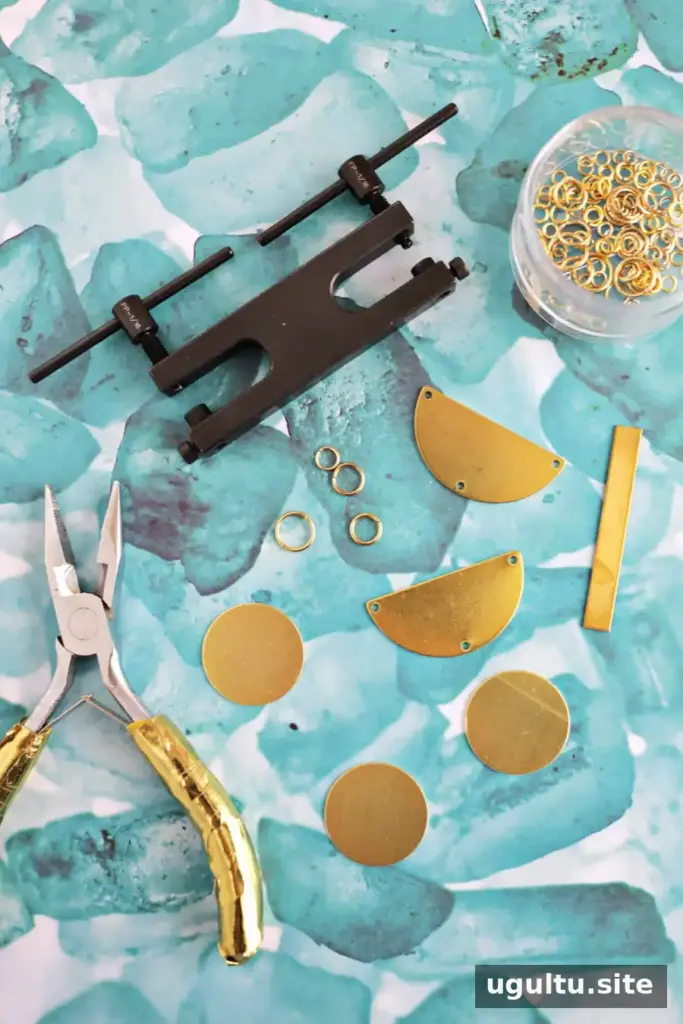
- Four 1-inch round brass stamping blanks
- Two half-moon brass blanks
- Two 2-inch bar brass stamping blanks
- Metal punch
- Gold jump rings
- Jewelry pliers
- Earring posts and backs
- Super glue
- Fine-point marker
Plan the Shape and Mark the Holes
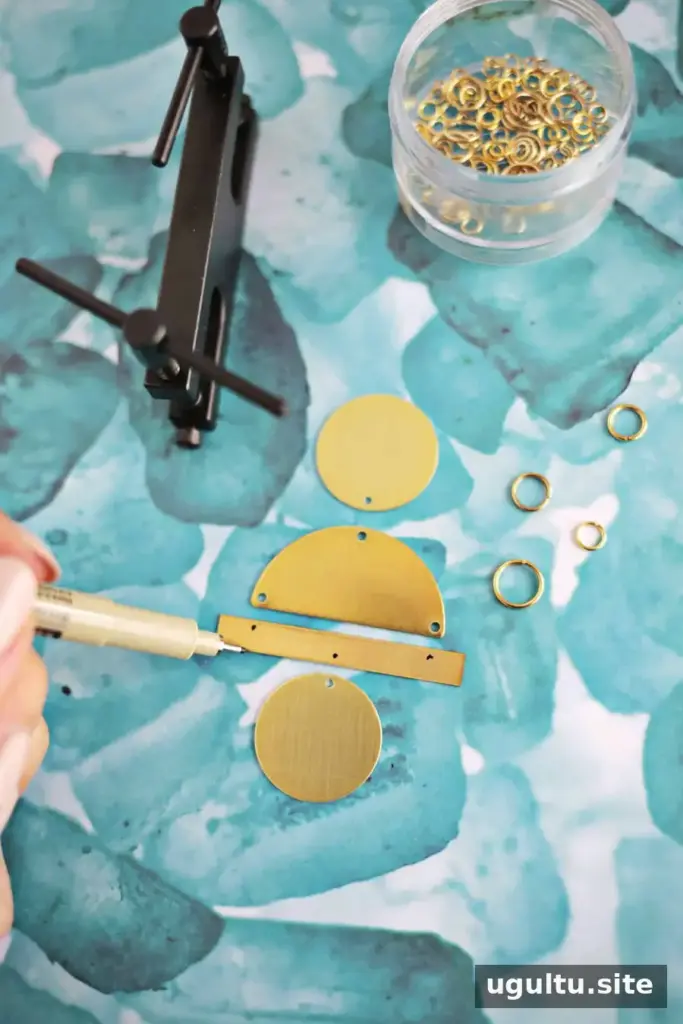
Arrange the blanks in the intended design before making any holes. The half-moon blanks used for this project already have holes in suitable positions. The circles and bars need additional holes so the components can be joined with jump rings.
Each circle needs one hole for connecting it to the piece above or below. The bar connects at three points, so place it alongside the other blanks and mark where its holes should go. A fine-point marker helps make the positions easier to see. Mark the backs of the blanks to keep any stubborn ink away from the visible front; rubbing alcohol can help remove leftover marker after punching.
Punch the Brass Blanks
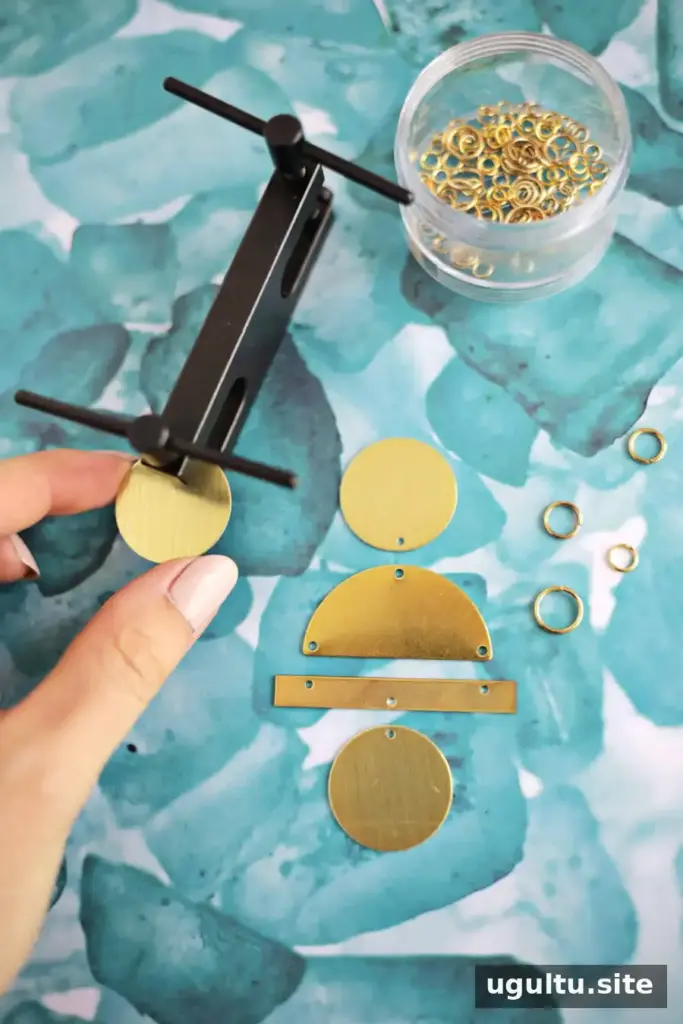
Use the metal punch to create a hole at each marked position. Keep the blanks steady and follow the tool’s instructions. Before moving on, check that the holes line up with the connecting points in your planned arrangement. Accurate placement helps the earrings hang evenly and reduces the need to adjust the layout later.
Connect the Earring Pieces
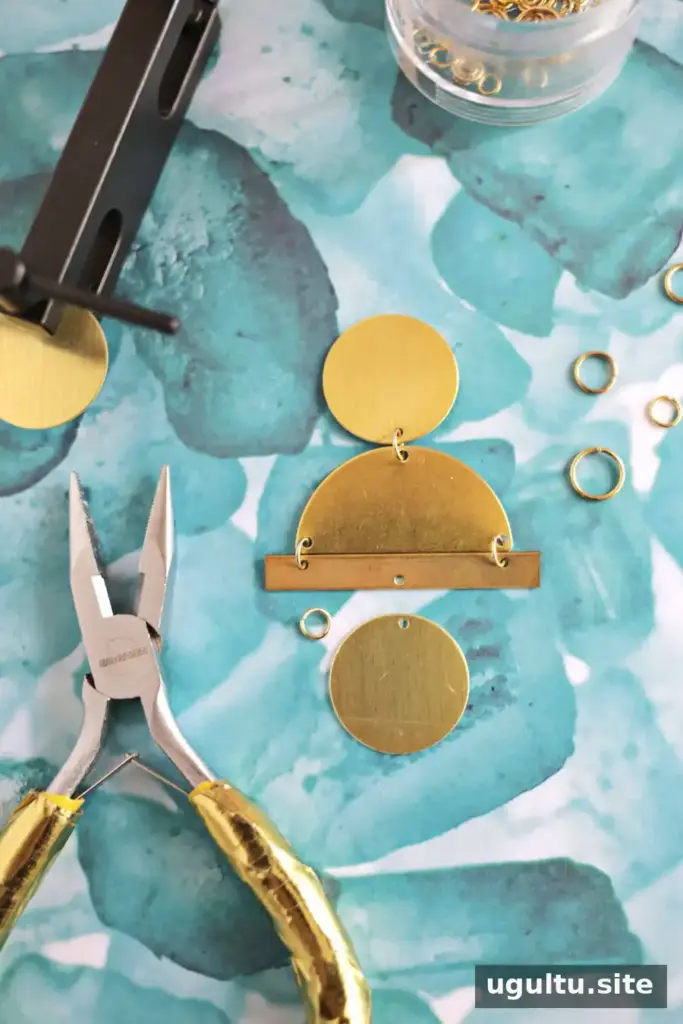
Use jewelry pliers to attach the blanks with four medium-sized jump rings per earring. Open and close each ring carefully with the pliers rather than pulling its ends apart, which can distort its shape. Different jump-ring sizes can change the spacing between the components, so choose rings that fit the distance between the holes and the look you want.
Attach the Posts and Let the Glue Set
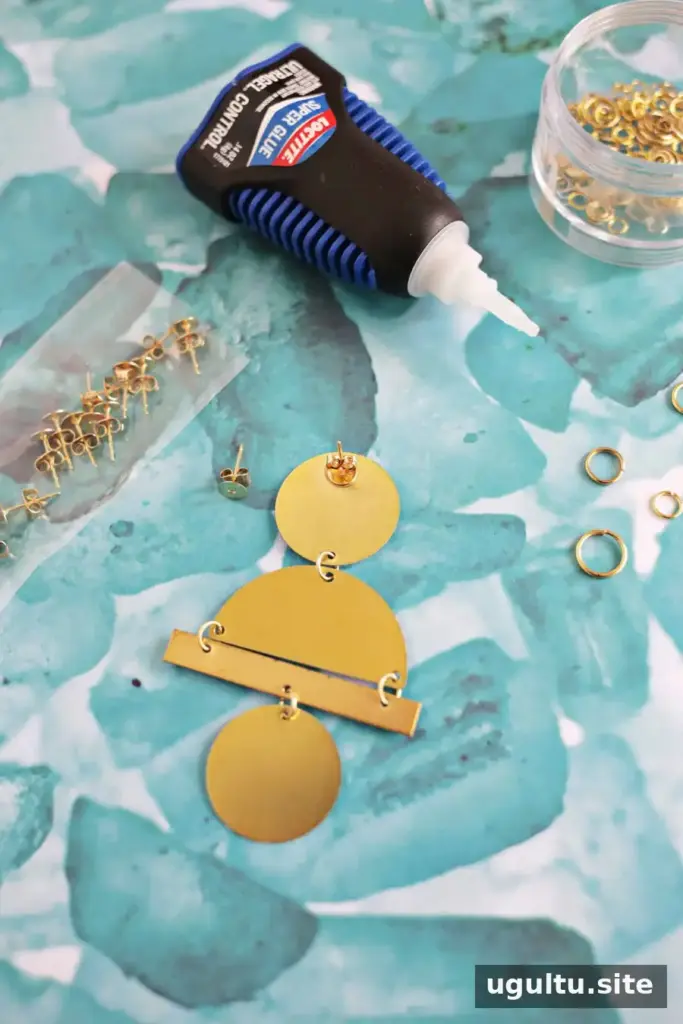
When all the brass pieces are connected, use super glue to attach an earring post to the back of the top circle, about 1/4 inch from its top edge. Apply the glue according to its package directions and allow it to set fully before handling or wearing the earrings. Keep the posts aligned in the same position on both earrings for a balanced pair.
Wear and Customize Your DIY Earrings
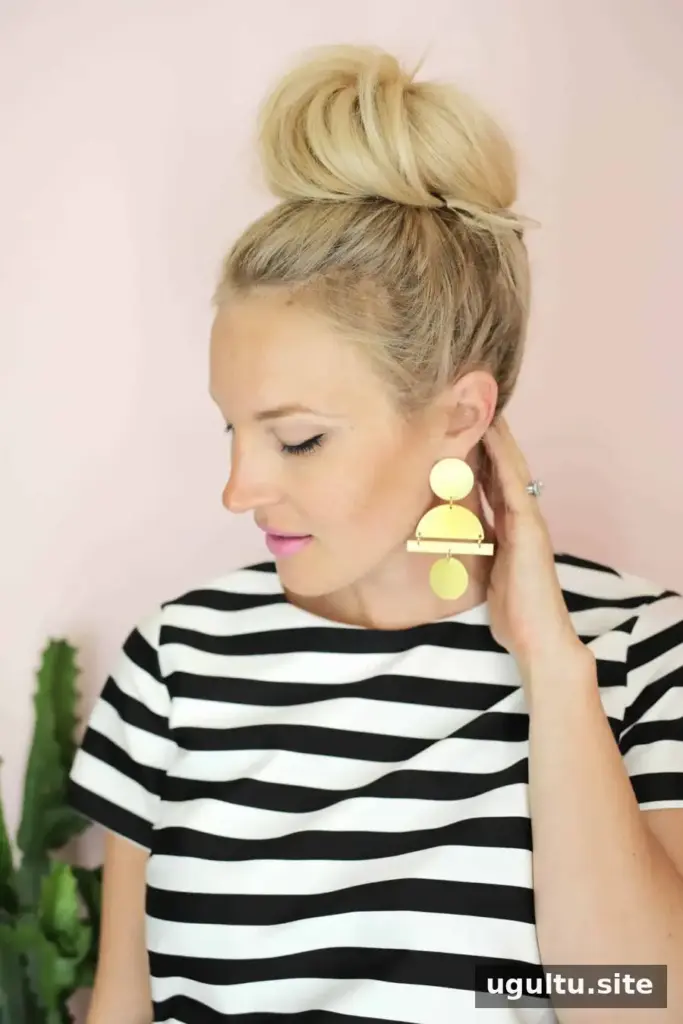
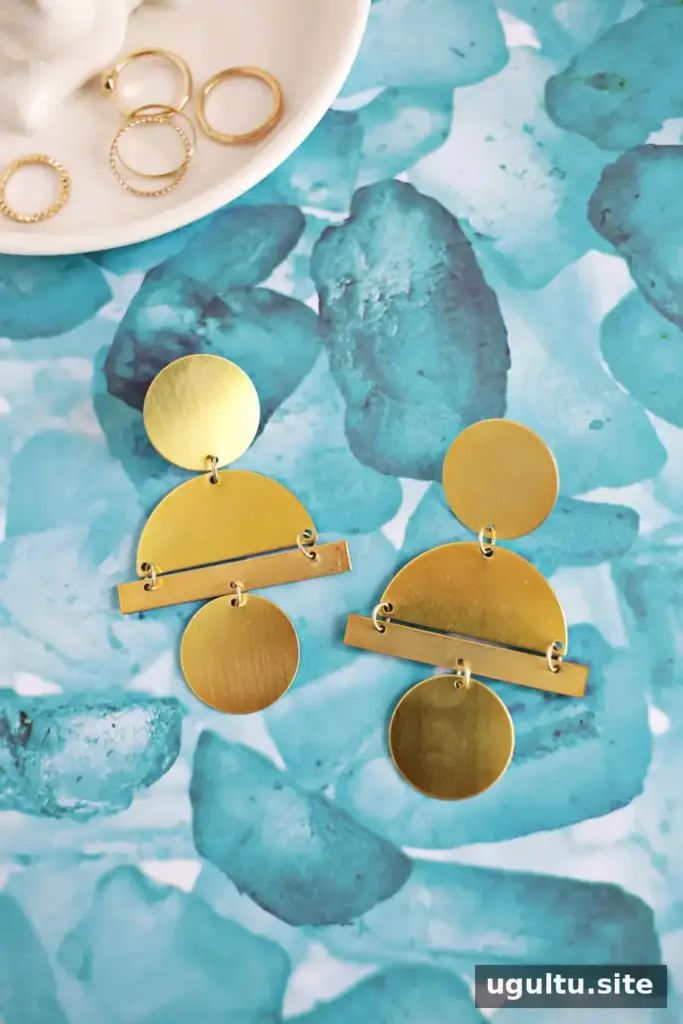
The finished geometric design makes a striking accessory that can add interest to a simple outfit. Although the earrings are large, the brass blanks are thin, which helps keep the overall construction from feeling bulky. As with any statement jewelry, consider comfort and weight when deciding how long to wear them.
Blanks are available in many shapes and sizes, so the same basic method can be adapted into other arrangements. Keep the connections secure, make sure the edges are comfortable to wear, and let any adhesive cure completely before use. This geometric gold statement earrings project is an approachable way to create a coordinated pair with a custom shape layout.
— Laura


