
 admin
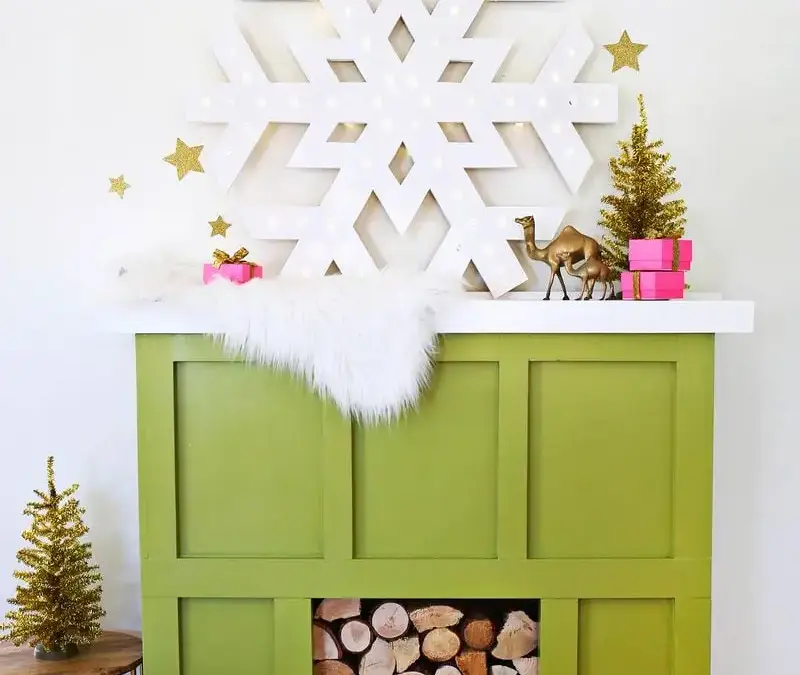
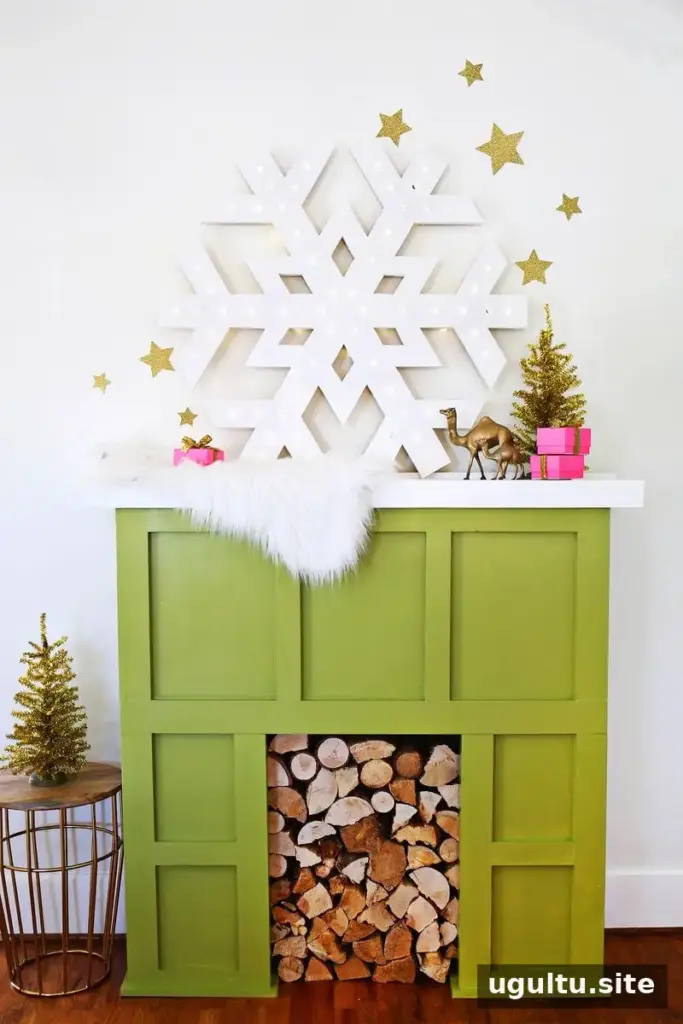
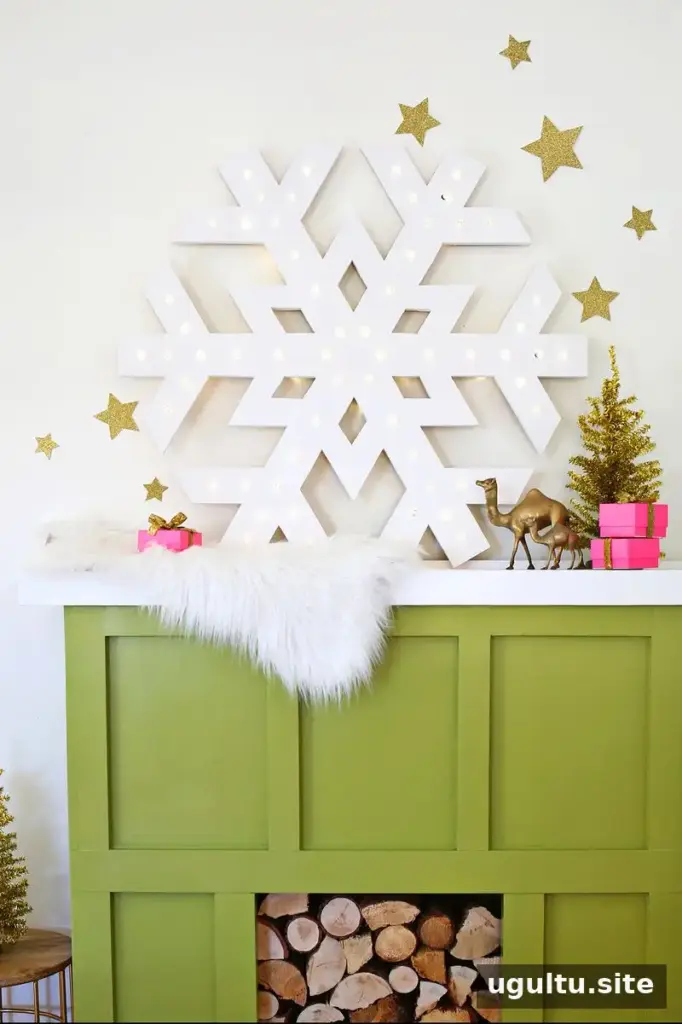
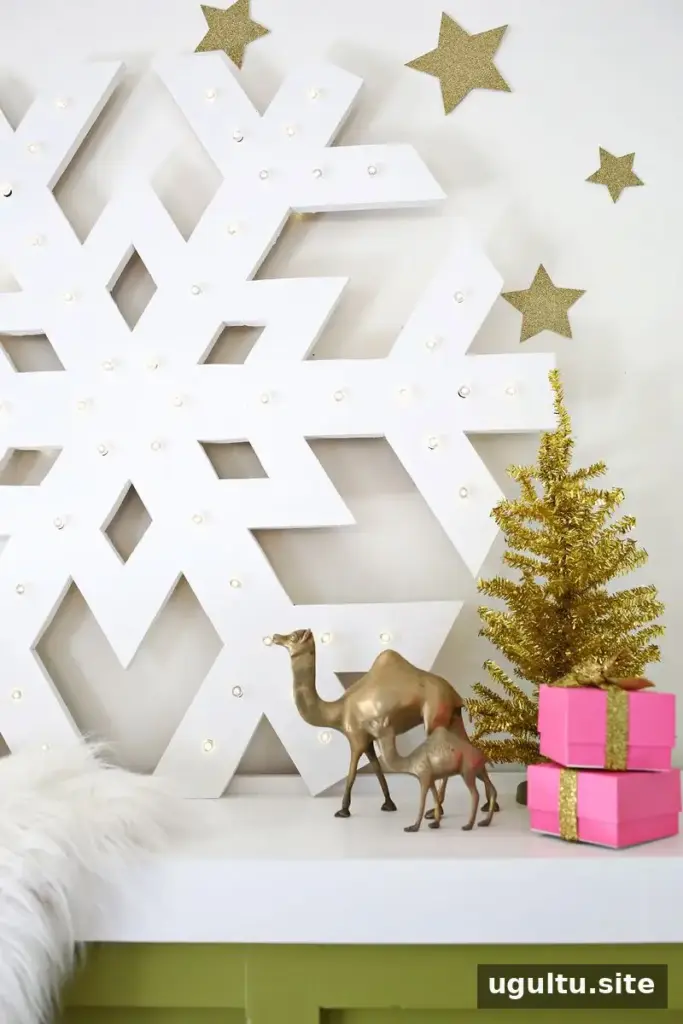
A DIY snowflake marquee light adds a bright, playful detail to holiday and winter decorations. Choose a quicker foam-core version for a temporary display or build the sign from wood for a sturdier decoration you can bring out again in future seasons.
The project involves tracing a large snowflake, cutting out its shape, drilling holes for the bulbs, painting the sign, and attaching battery-operated LED lights. Plan the size and material before you begin so you can select a suitable template and gather the right tools.
Plan your snowflake marquee light
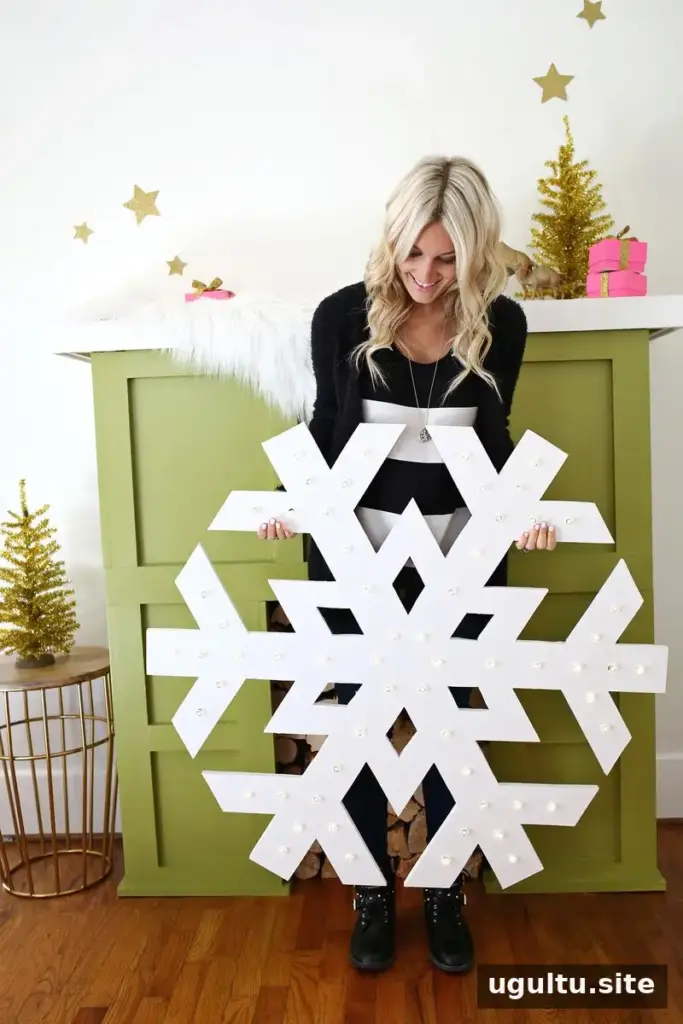
A foam-core sign is generally faster and less expensive to make, though it may last only one season. A wooden sign takes more time and requires a jigsaw, but can be kept for several holiday seasons. The example described here is 40 inches wide and uses a wood board that is 1/2 inch thick.
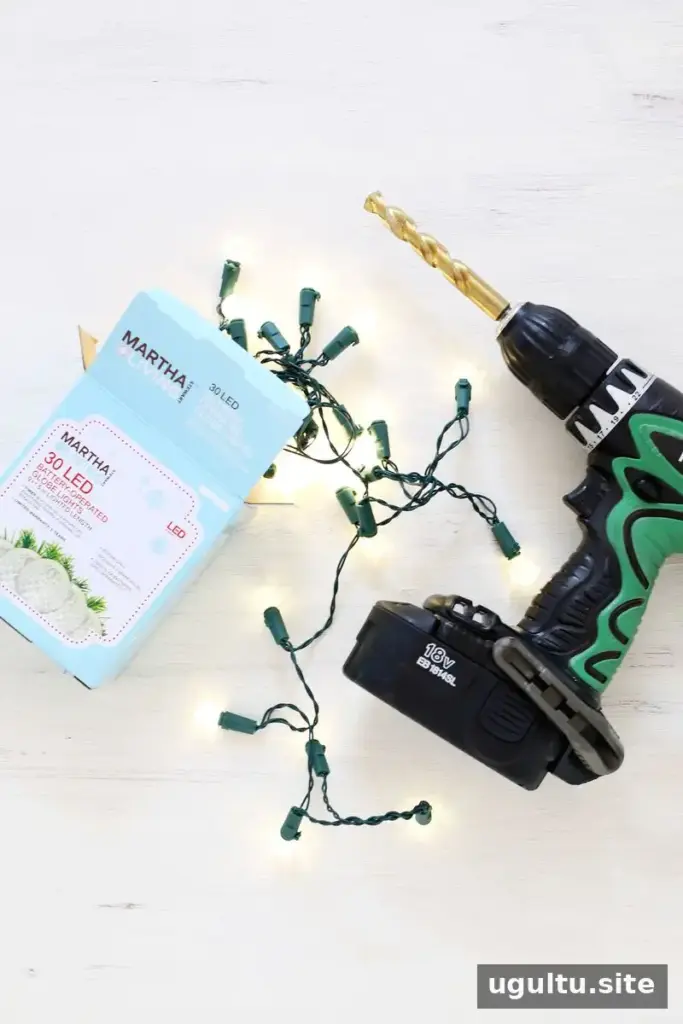
Materials and tools
- Battery-operated LED lights
- A snowflake template
- A drill and drill bits, or a paddle bit
- Duct tape
- For the wood version: a board large enough for your chosen sign size and a jigsaw
- For the foam-core version: large foam-core boards, an X-Acto knife, a metal ruler, and a cutting mat
Use a template that fits your board or foam core. A large-format print can cost around $5–$8, and a projector can also be used to trace a design if one is available. Mark the planned bulb positions on the template before transferring the pattern.
How to make a snowflake marquee light
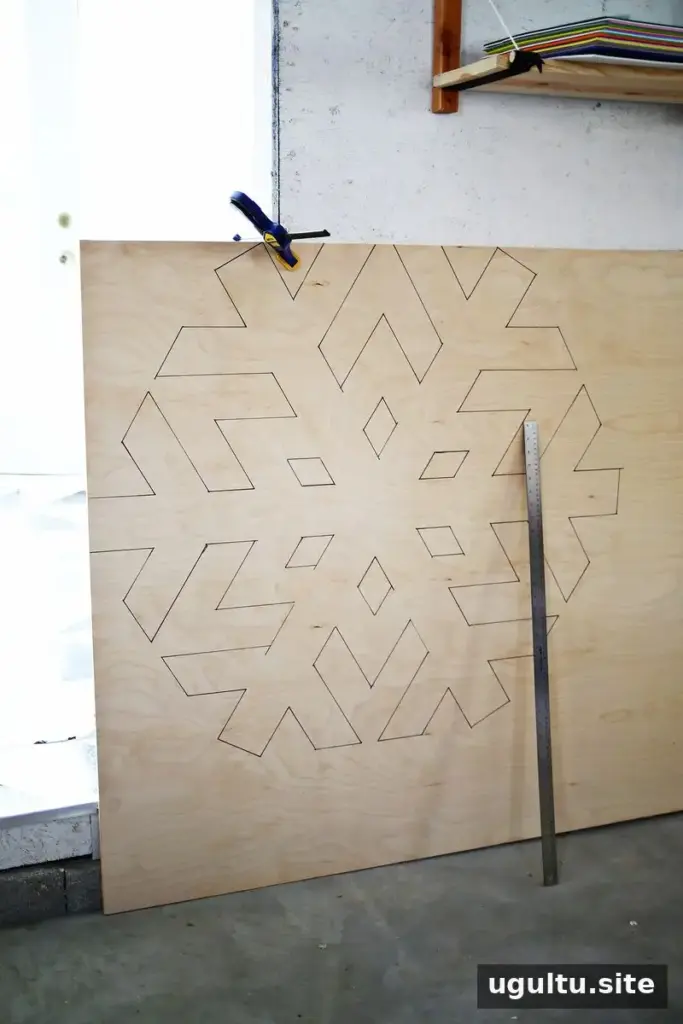
1. Trace the snowflake
Print the snowflake at the size you want, cut out the paper design, and position it on your chosen material. Trace around the outline, then mark the spots where the lights will go. Marking the bulb locations at this stage helps keep the spacing consistent and prevents holes from landing too close to the edges.
2. Cut out the shape
For foam core, use an X-Acto knife, a metal ruler, and a cutting mat. To make the sign thicker, cut multiple matching shapes and glue them together. Work carefully with several light passes rather than forcing the blade through the material at once.
For wood, clamp the board securely to a workbench, with the section being cut extending beyond its edge. Keep the flat base of the jigsaw against the board and guide the blade along the traced line. Let the saw move at its own pace for a cleaner cut. A jigsaw may cost under $50 if you do not already have one.
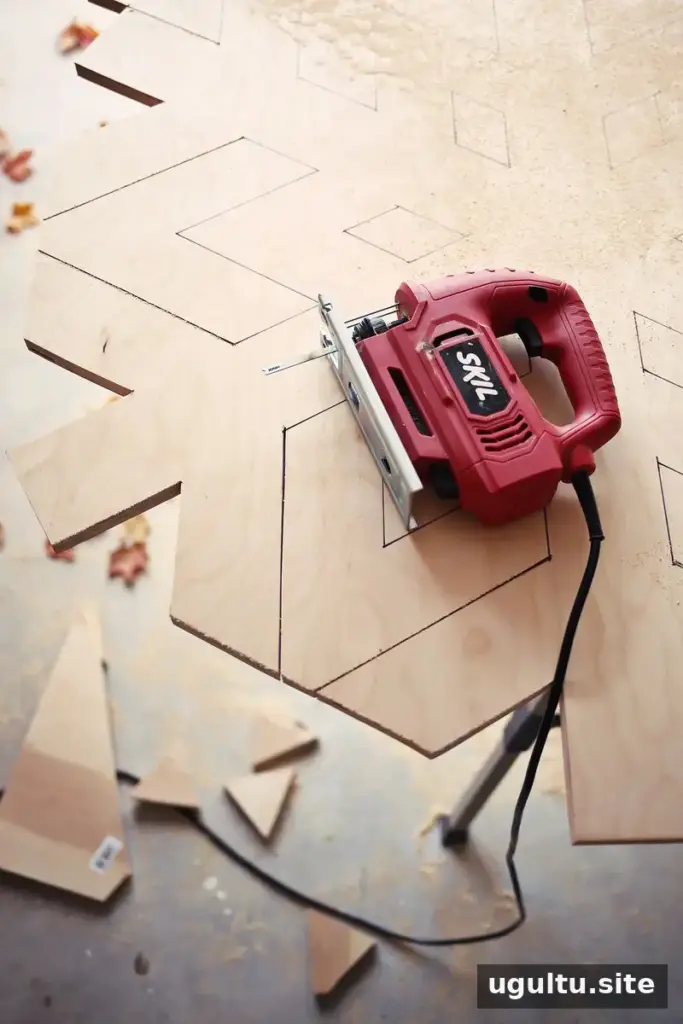
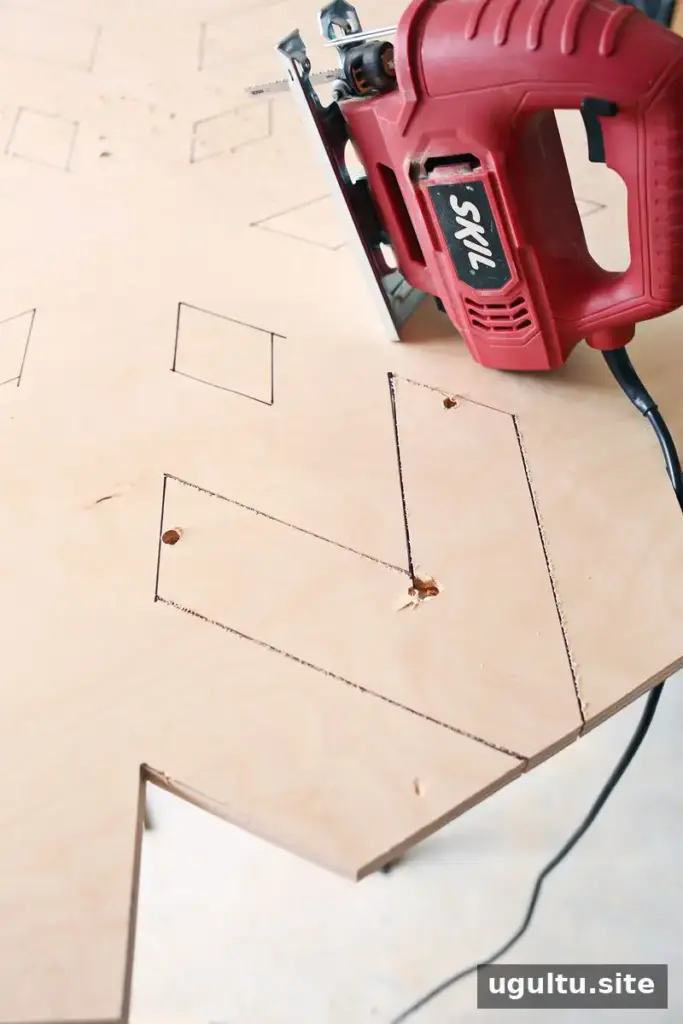
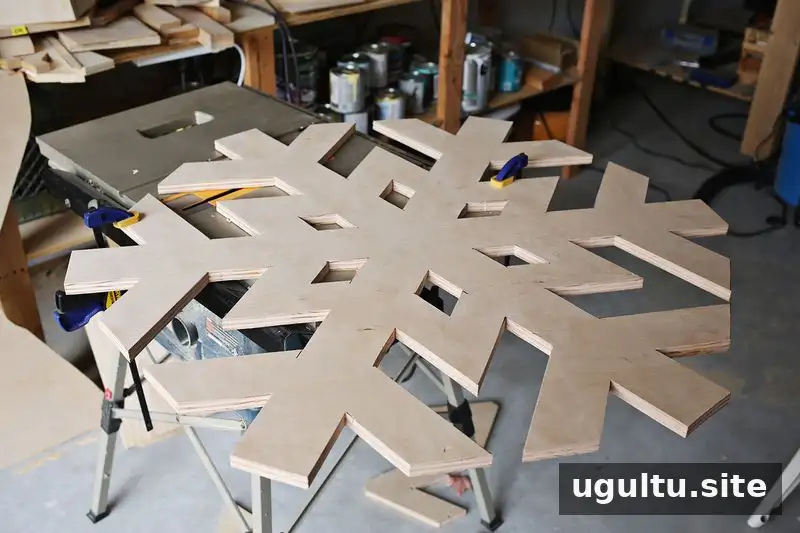
Make the cuts that are accessible from the outside edge first. For interior sections, drill an opening slightly wider than the jigsaw blade near the line you need to cut. Start the saw in that opening and follow the outline. When the snowflake is fully cut, smooth rough edges with fine sandpaper.
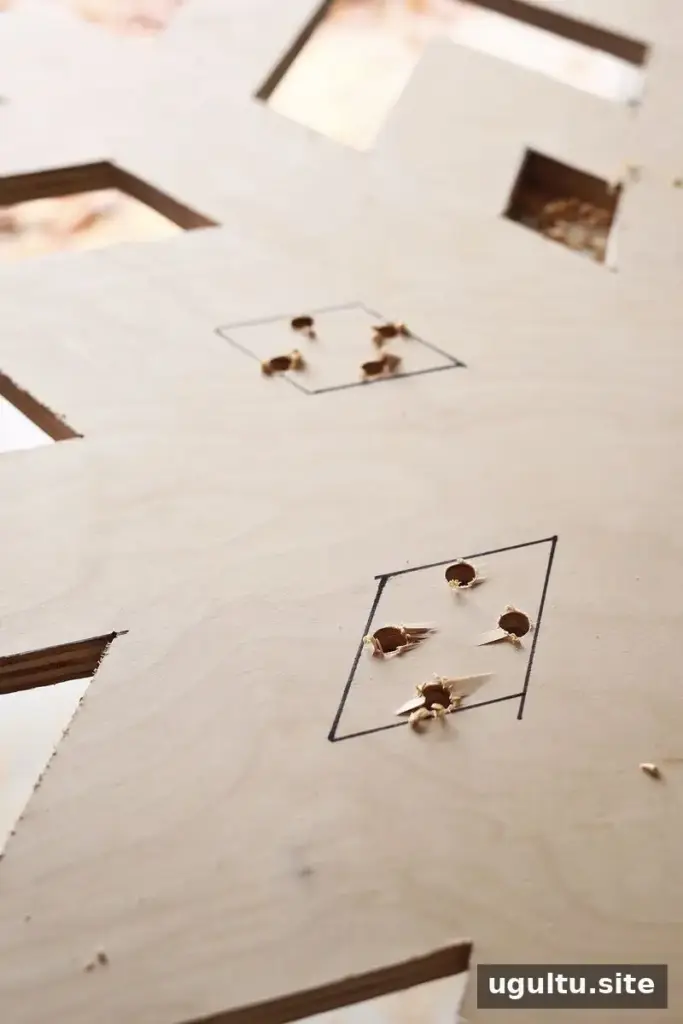
3. Drill holes for the lights
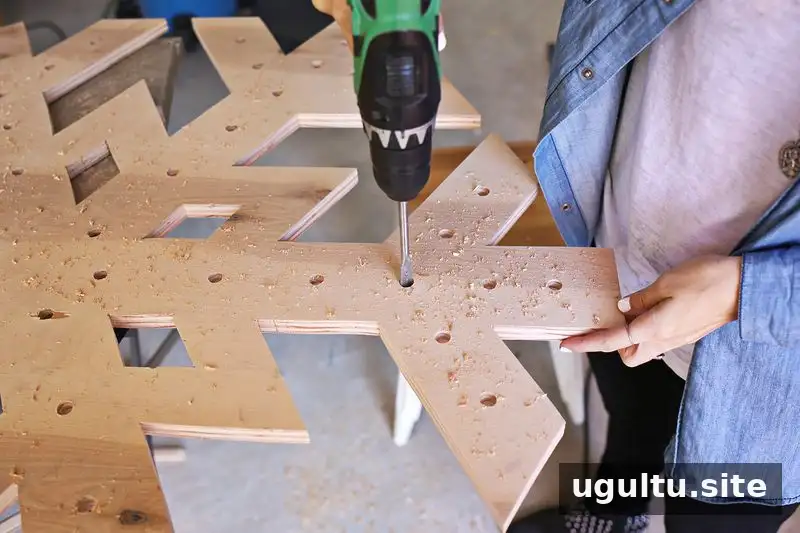
Use a drill bit wide enough for the bulbs to pass through. The example uses a 1/2-inch bit. A regular drill bit works for wood or foam core; a paddle bit can make cleaner holes in wood. When using a paddle bit, drill until its tip just breaks through the back, then turn the board over and finish the hole from the other side. This can help reduce splintering.
4. Paint and finish
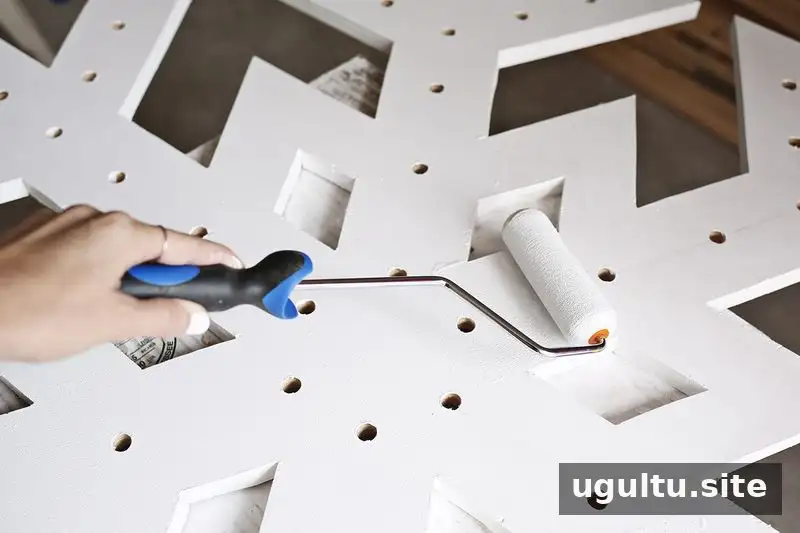
Choose a paint color that suits your display, including spray paint if appropriate for the material and work area. For extra sparkle, apply a glitter finish with a suitable adhesive. Let the finish dry completely before installing the lights, and follow the product instructions.
5. Add the lights
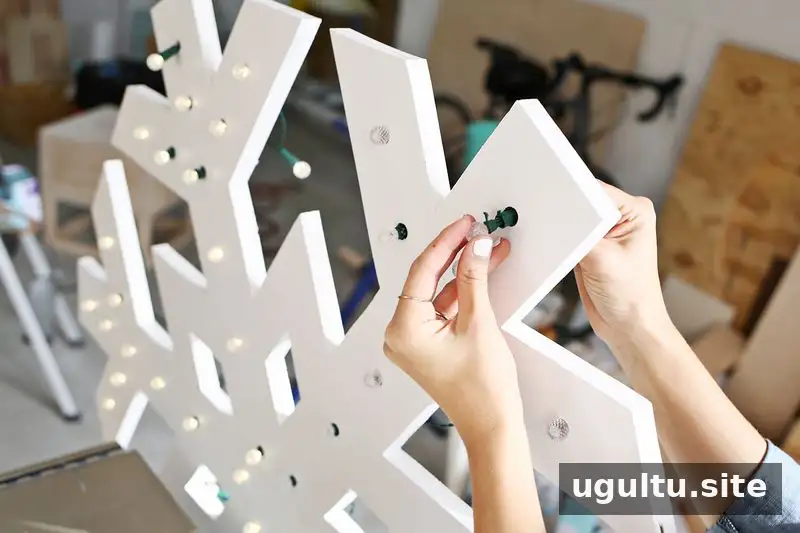
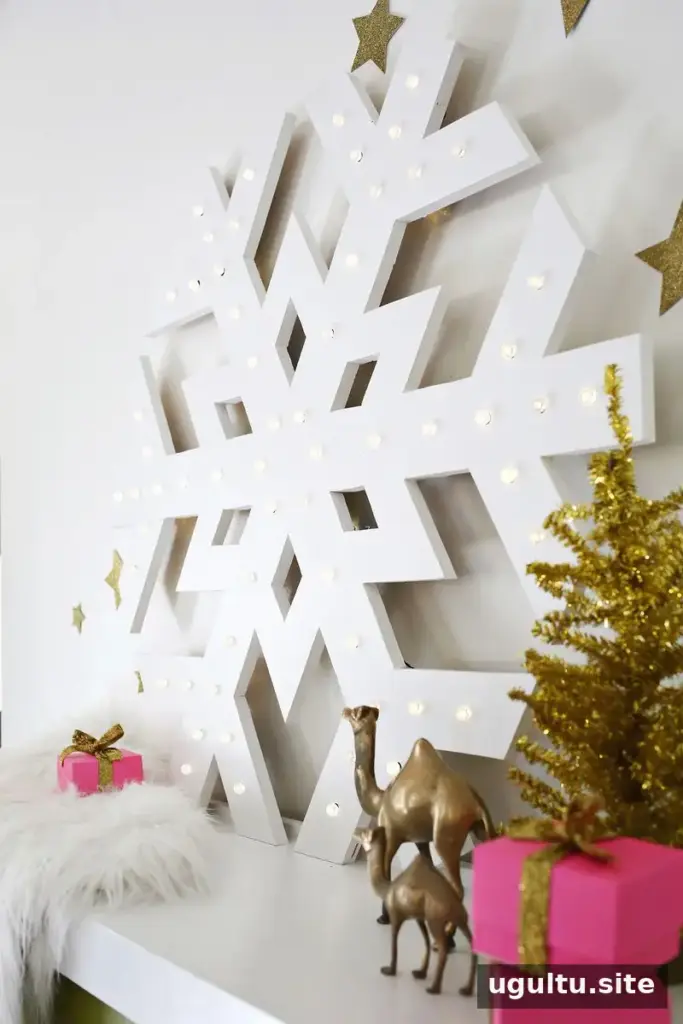
Battery-operated LED lights avoid the need to position the sign near an outlet and help keep the display free of a dangling power cord. If your lights have removable bulb covers, insert each bulb from the back and reattach its cover at the front, following the light set’s instructions.
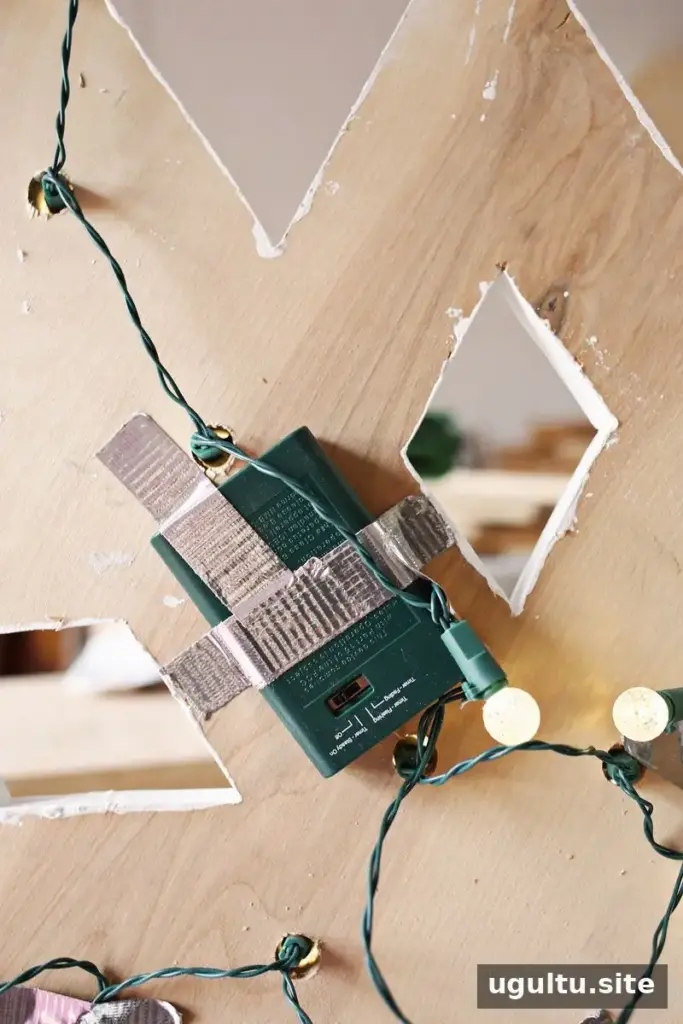
Start at any point on the back of the sign and feed the bulbs through the holes. If the spacing does not line up perfectly, it is fine to leave a hole empty. A few bulbs sitting behind the sign can also create a soft glow against the wall. Use duct tape to secure loose wires and the battery packs so they do not hang visibly.
Safety and display tips
- Before buying lights, check that they carry a label from an independent testing laboratory. Use indoor-rated lights for an indoor display.
- Do not use a string of lights with worn or broken cords, or loose or broken bulbs.
- Keep wires secured and out of sight, and follow the light manufacturer’s instructions for use.
- Turn the lights off before leaving home or going to bed.
- When cutting or drilling, secure the material and use tools according to their safety instructions.
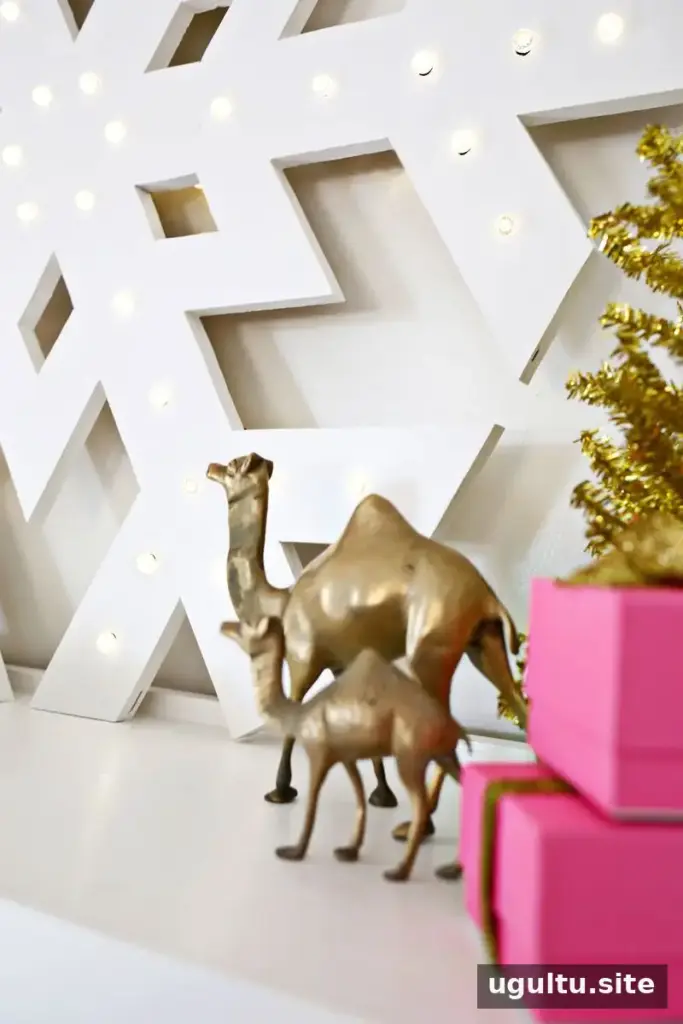
Enjoy your snowflake marquee light
A snowflake marquee light can brighten a mantel or another seasonal display, and its winter design can work beyond the Christmas season. Choose foam core for a simpler, short-term project or wood for a more durable sign, then size the template and bulb holes to suit your materials. With careful cutting, secure wiring, and suitable indoor lights, the finished snowflake marquee light can become a reusable part of your winter decor.
Project by Laura.


