admin
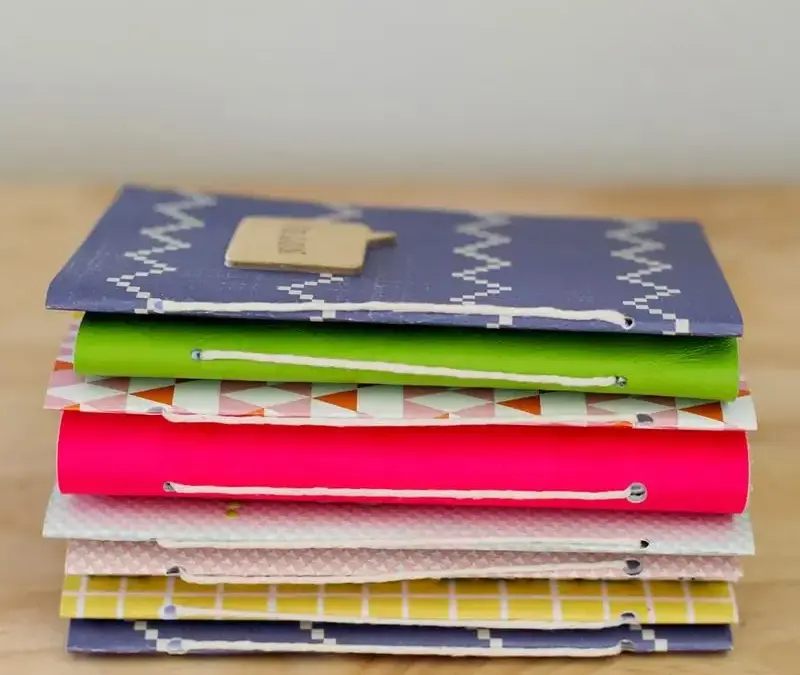
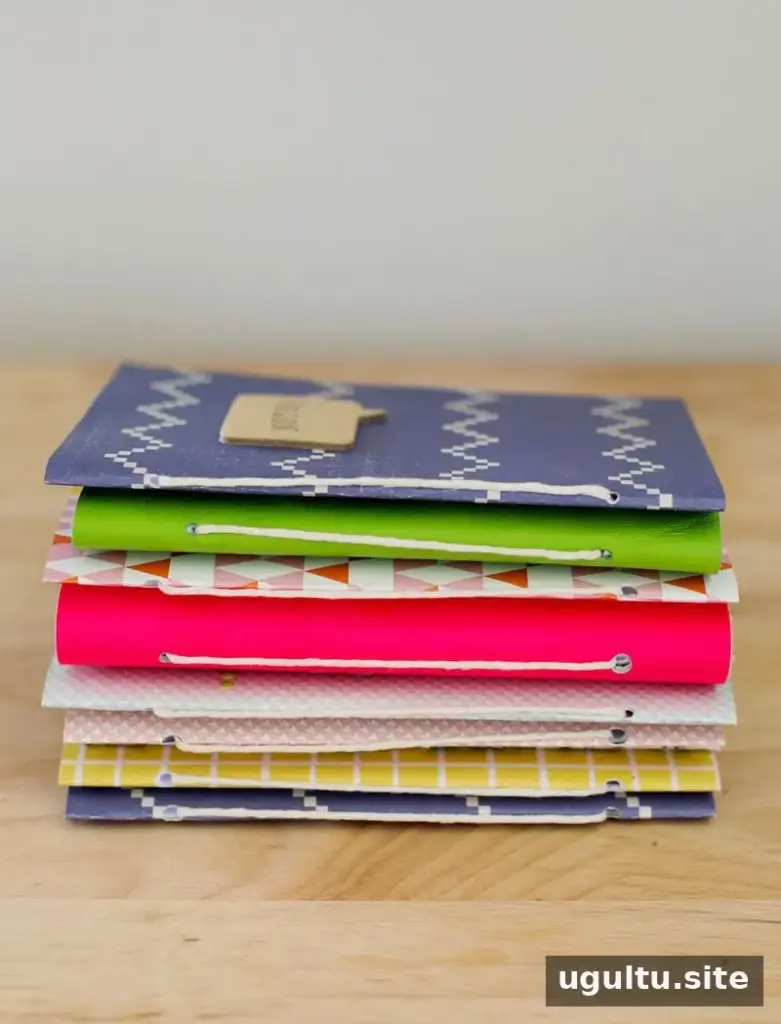
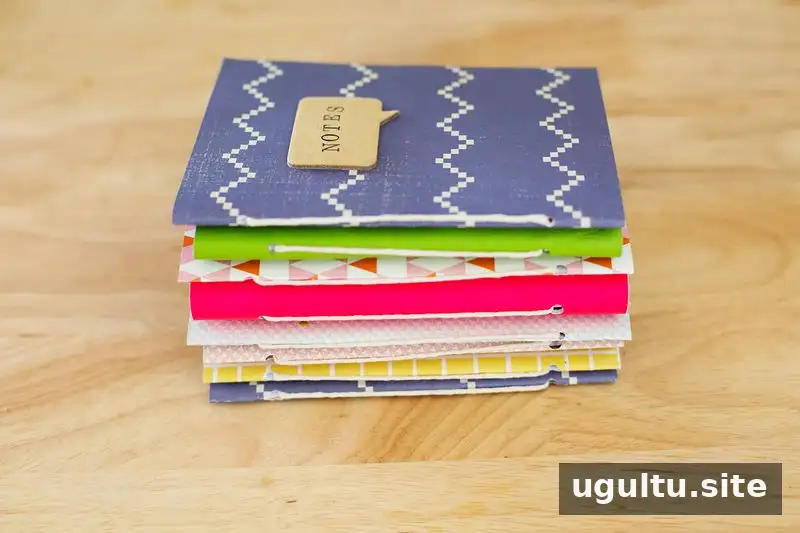
Homemade journals are a thoughtful, customizable gift that can be assembled with basic supplies and a few simple steps. This method creates a small booklet with folded pages, a flexible cover, and a twine binding. Make one as a personal gift or prepare several at once for birthdays, holidays, and other occasions.
Supplies for Homemade Journals
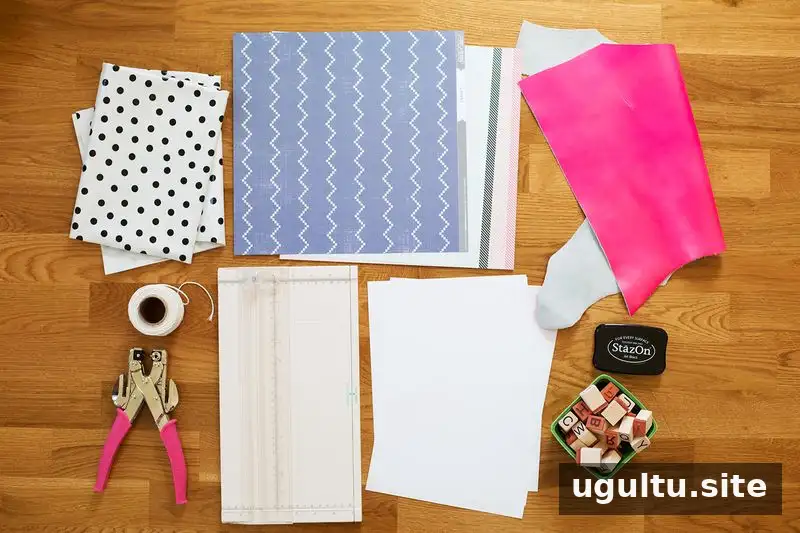
Gather the materials before you begin. For each journal, plan on using about seven sheets of standard 8.5 x 11-inch printer paper.
- Standard 8.5 x 11-inch printer paper
- A heavy-duty hole-punching tool suitable for multiple layers or thicker material
- String or twine
- Paper trimmer
- Cover material, such as paper, leather, faux leather, or oilcloth
- Optional cover decorations, such as letter stamps and ink
Choose a cover material that your hole punch can handle. If you are unsure, test it on a small offcut first.
How to Make a Simple Journal
1. Cut the paper
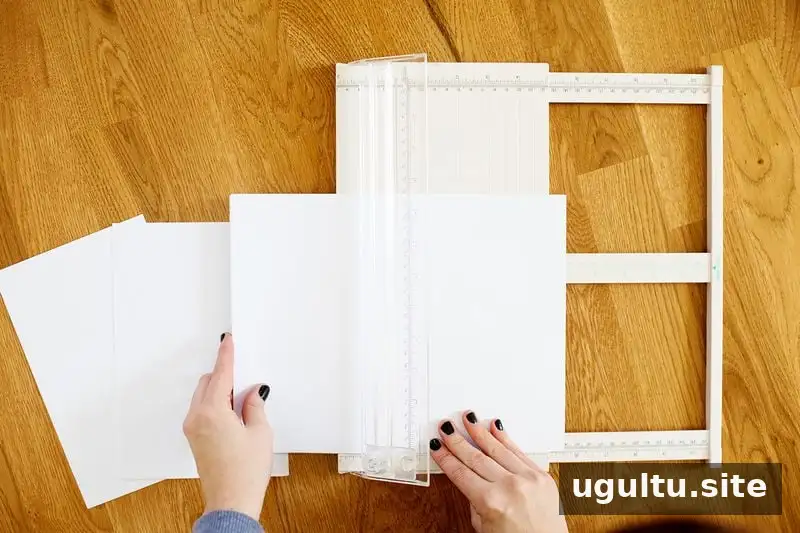
Cut each 8.5 x 11-inch sheet in half along its longer side. Each resulting piece should measure 8.5 x 5.5 inches. A paper trimmer helps keep the edges straight; cut only as many sheets at a time as your trimmer can handle cleanly.
2. Fold and arrange the pages
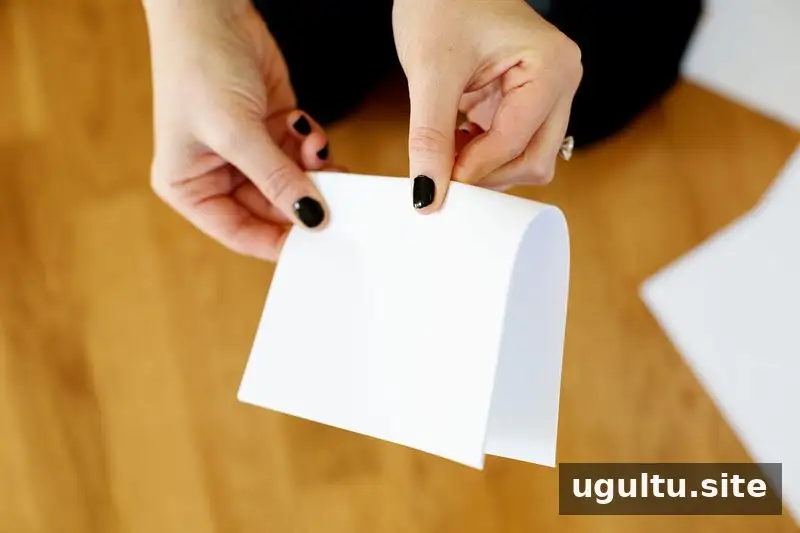
Decide how thick you want the journal to be. With about seven original sheets, you will have 14 cut pieces. Fold each piece in half and nest the folded pieces together to form the booklet. This arrangement gives you 28 pages. Check that the folds line up before moving on.
3. Measure and trim the cover
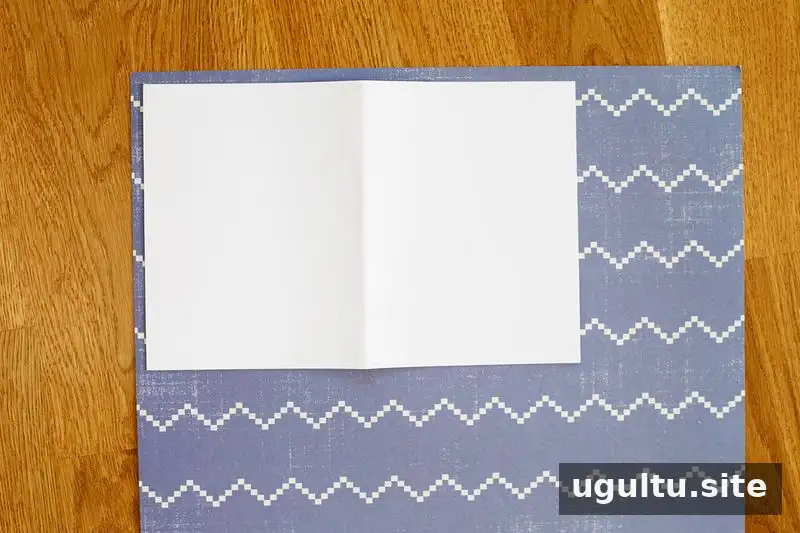
Use the folded pages to estimate the cover size. Leave roughly an extra inch overall so the cover extends about half an inch beyond the pages on each edge. This margin helps protect the paper and gives the booklet a comfortable fit.
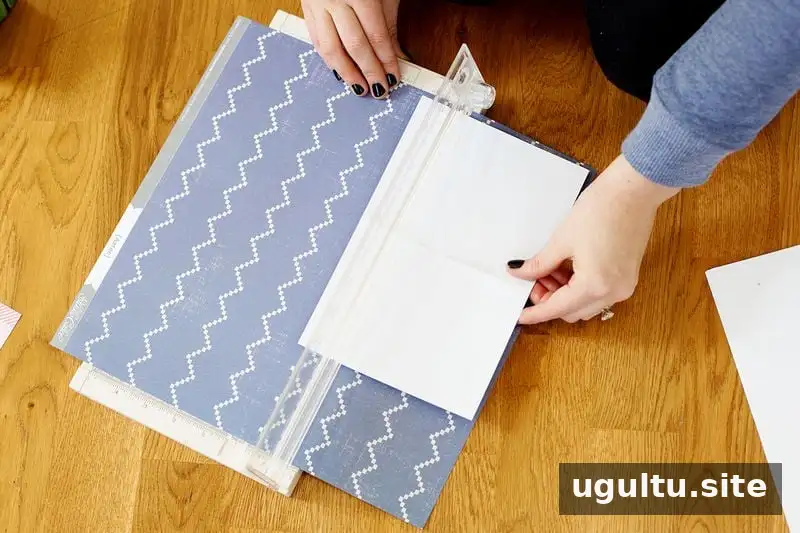
Trim the cover material to your chosen size. If the material is stiff or textured, make a test cut on a scrap piece to check how it handles.
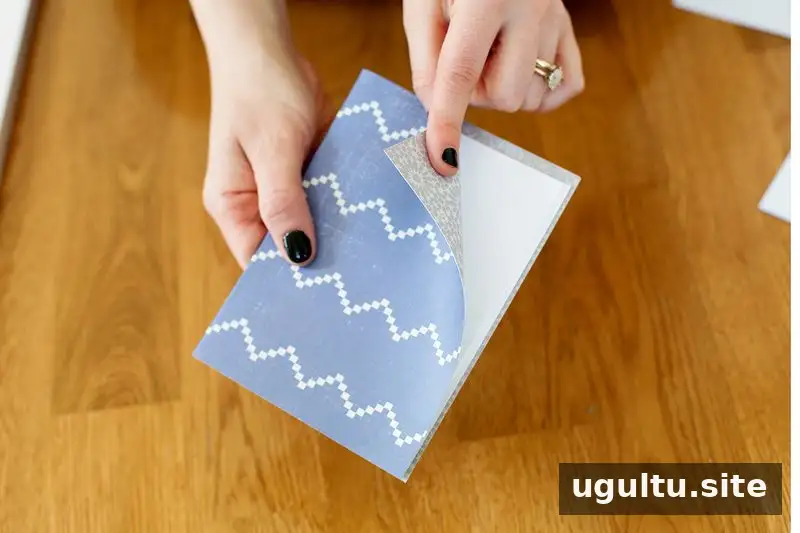
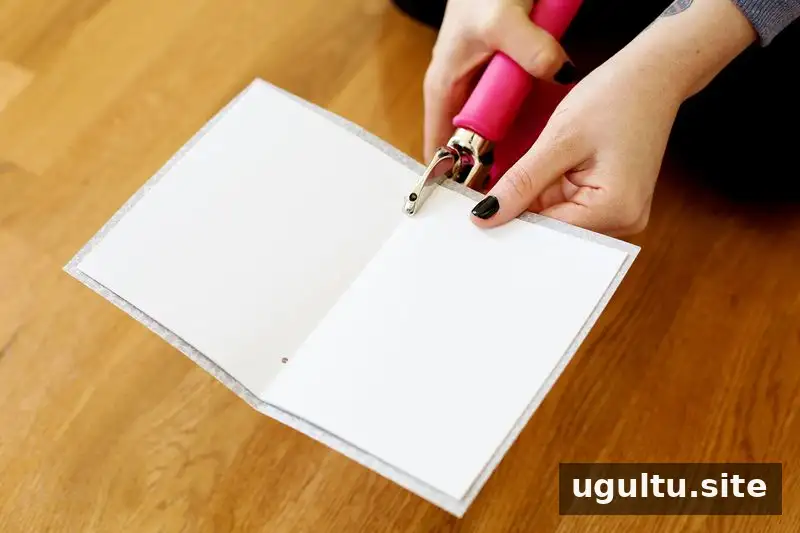
Place the folded pages inside the cover and confirm that they sit comfortably within its edges. Then punch two holes through the pages and the spine area of the cover. Keep the holes aligned so the booklet can be tied evenly. A heavy-duty punch is useful here, especially when working with several layers or a thicker cover.
4. Tie the booklet together
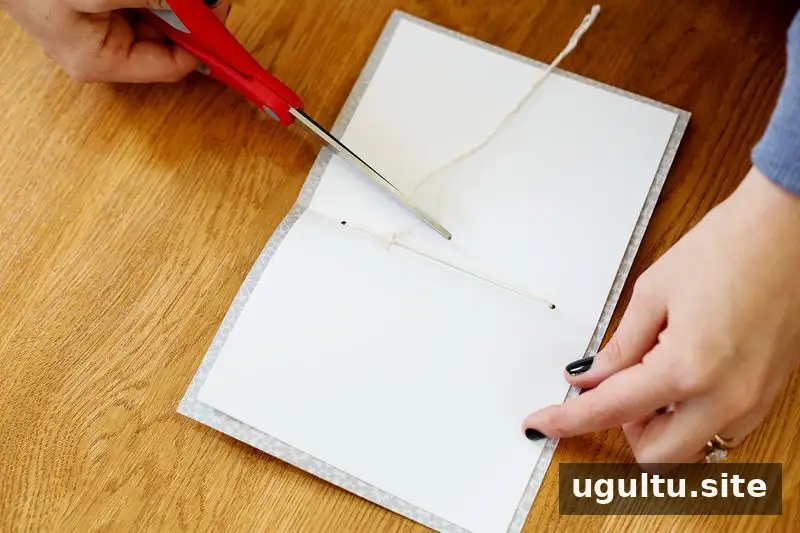
Thread twine through the holes to secure the pages and cover. Tie the knot on the inside of the journal so it is hidden when the booklet is closed. Avoid pulling so tightly that the pages buckle; the binding should hold everything in place while still allowing the journal to open.
Personalize Your Journal
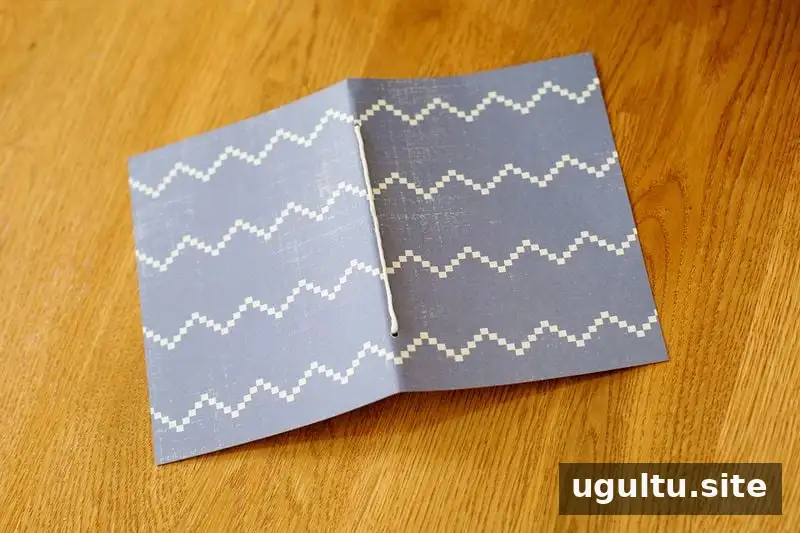
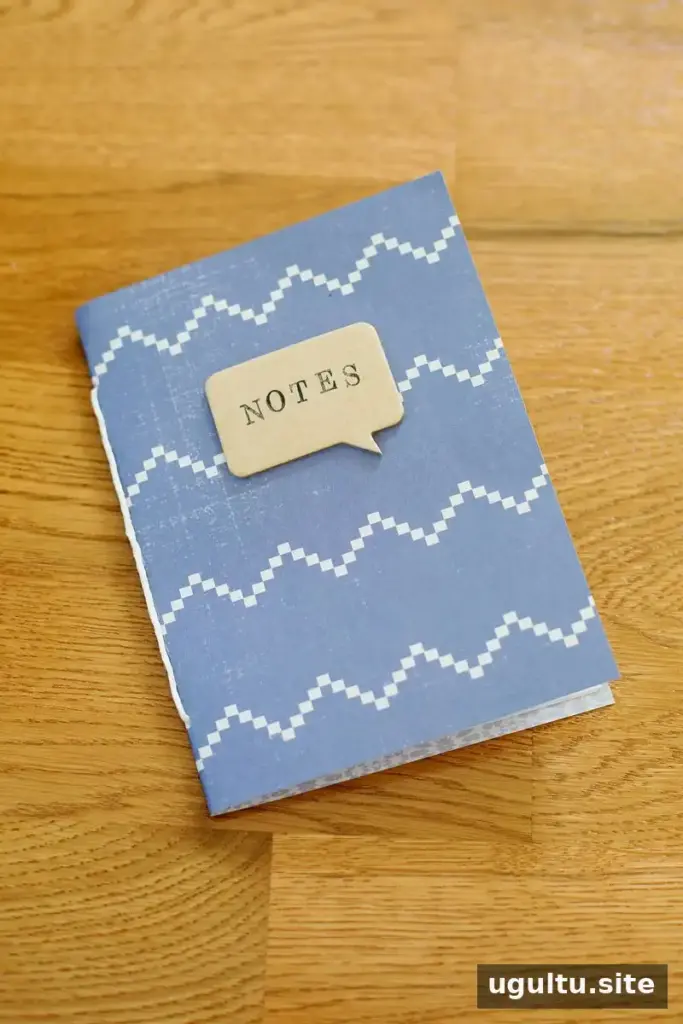
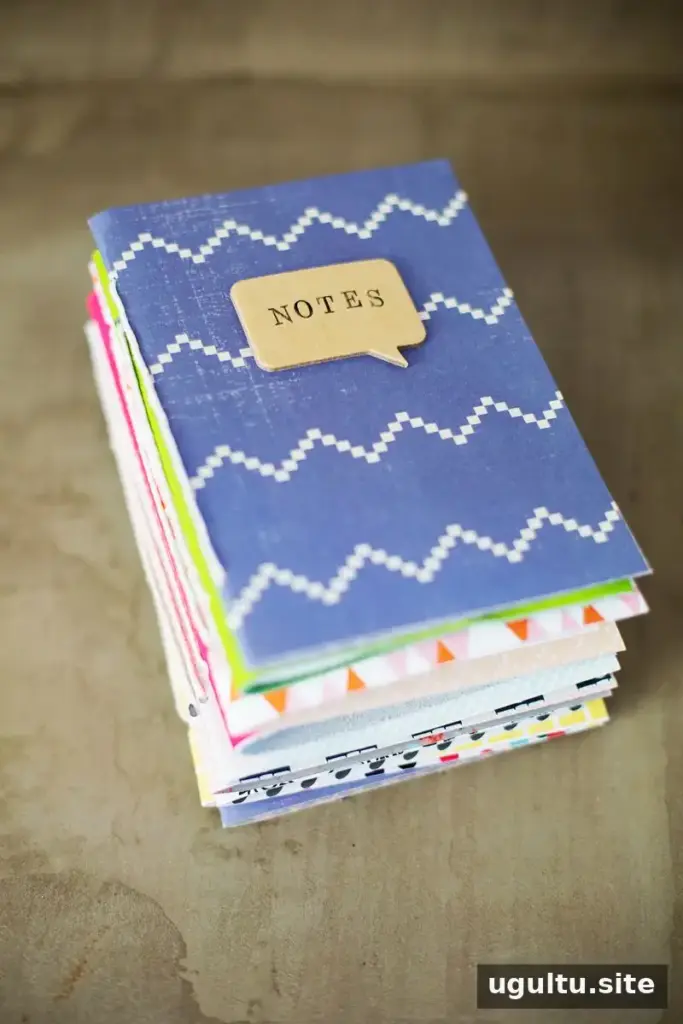
Once the first journal is assembled, the same steps can be repeated to make a small batch. Decorate the cover with stamped letters, watercolor details, or another finish suited to the chosen material. Names, dates, and occasion details can make each journal feel personal. If you plan to paint a paper cover, allow it to dry fully before punching and binding.

Conclusion
Homemade journals are easy to adapt with different paper, cover materials, and decorations. Before tying the finished booklet, check that the pages are aligned and the cover has enough room around them. Project credit: Elsie.